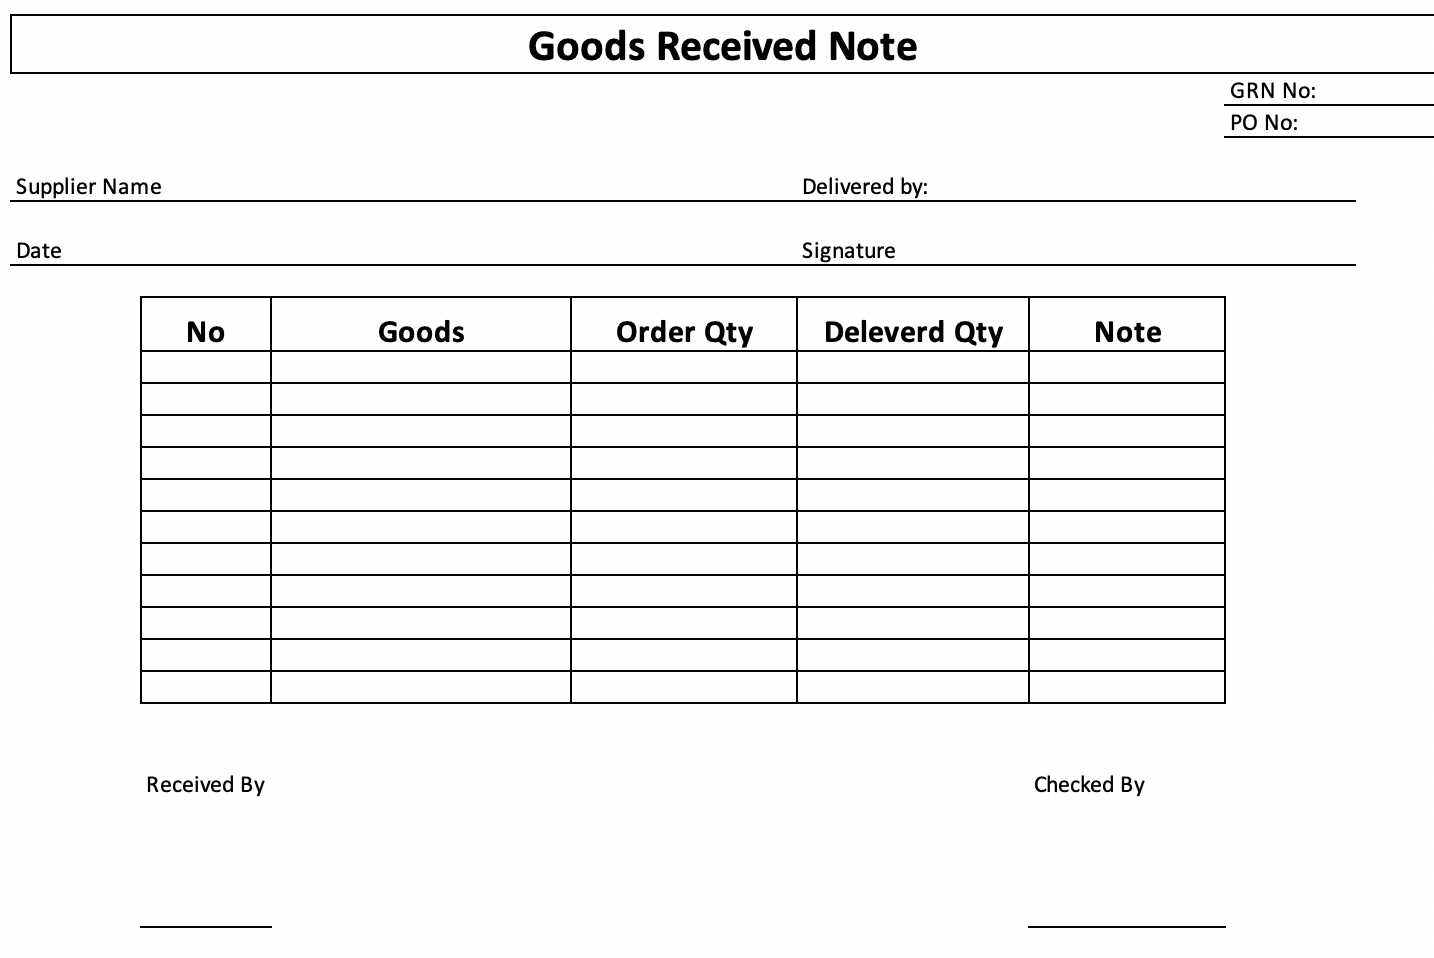
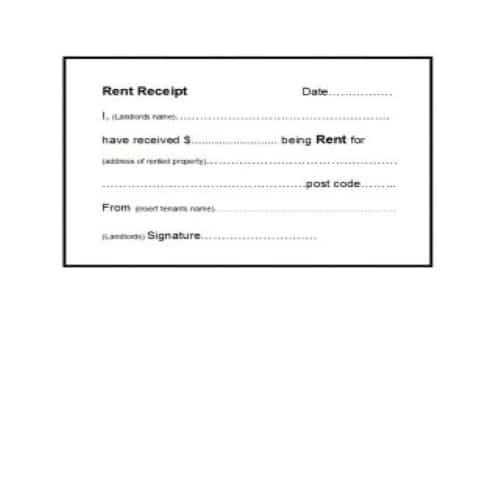
Use a clear structure when filling out a receipt template to ensure all necessary information is accurately included. Start by entering the date of the transaction, followed by the name of the buyer and seller, including their addresses if required. This establishes the basic context of the receipt.
Next, list the items or services provided. Include a brief description of each item along with its quantity and price. This allows both parties to review the transaction details quickly. Make sure to clearly indicate the total amount due, including any applicable taxes or discounts.
Finally, include the payment method (e.g., cash, credit card, etc.) and a unique transaction number for reference. Ensure all sections are filled out legibly to avoid misunderstandings later. Double-check the amounts and details for accuracy before issuing the receipt to the buyer.
Receipt Fill Out Template: A Practical Guide
Start by clearly identifying the type of transaction. This can include purchases, services rendered, or refunds. Be precise with your entry for each category to avoid confusion later on.
In the first row, include the date of the transaction. Use a consistent format (e.g., MM/DD/YYYY) for easy reference. This helps track transactions by time and ensures all records are up-to-date.
Next, provide the name and contact information of the person or company issuing the receipt. This can be your business or the seller in case of a purchase. Ensure all details are accurate and legible.
For the transaction details, list each item or service purchased. Break down the quantities, unit prices, and total cost per item. This will help both the buyer and seller confirm what was exchanged and at what cost.
Calculate the subtotal before applying any discounts or taxes. Be transparent and precise in this section. If there is a discount applied, specify the percentage or amount, along with the reason for it (if necessary).
If applicable, calculate taxes based on the subtotal. Ensure the tax rate is listed, and provide a breakdown of the tax amount. Some templates allow you to list multiple types of taxes if needed.
Finally, total the amount due after applying any discounts and taxes. This figure should be bold and easily identifiable to avoid mistakes. Don’t forget to include payment terms if the transaction is part of a contract or agreement.
Here is a basic template for clarity:
| Transaction Date | Issuer | Item/Service | Quantity | Unit Price | Total Cost |
|---|---|---|---|---|---|
| MM/DD/YYYY | Business Name | Product/Service | Qty | $X.XX | $X.XX |
| Subtotal | $X.XX | ||||
| Discount (X%) | -$X.XX | ||||
| Tax (X%) | $X.XX | ||||
| Total | $X.XX | ||||
Review the completed template before issuing the receipt. Ensure all details match the transaction and that there are no discrepancies in totals or information.
Understanding the Basic Structure of a Receipt
The first section of a receipt typically includes the store or business name, address, and contact information. This establishes where the transaction took place and provides the customer with the ability to reach out if needed.
Next, you will see the transaction details. This includes the date and time of purchase, the transaction number, and any other reference codes. This section is crucial for tracking purchases, especially for returns or exchanges.
The list of purchased items follows. Each item is displayed with its name, quantity, unit price, and total price. Taxes, discounts, and promotions may also appear here, ensuring that the customer can review the specifics of what was purchased and the total cost.
At the bottom of the receipt, you’ll find payment information, including the payment method (credit card, cash, etc.) and the total amount paid. This part confirms the method of payment and the final sum paid by the customer.
Finally, many receipts end with additional notes or return policies. This is where the business may include instructions for refunds, warranty information, or other important details related to the purchase.
How to Include Date and Time on the Receipt
Include the date and time at the top or bottom of the receipt to ensure clarity for both the customer and your records. Use the standard date format of “MM/DD/YYYY” or “DD/MM/YYYY,” depending on your region. Include the time in “HH:MM AM/PM” or “24-hour” format, ensuring it matches your location’s preferences.
1. Automatically Generate Date and Time: Many POS systems can automatically stamp receipts with the current date and time. Ensure your system is set to your local time zone and is configured to use the correct format for both.
2. Manual Entry: If you’re handling receipts manually, include both the full date and the specific time. Write the time clearly to avoid confusion, especially when dealing with late-night or early-morning transactions.
3. Location-Specific Considerations: If your business operates across time zones, make sure to display the time zone along with the date and time to avoid ambiguity. For example, “Date: 03/05/2025, Time: 10:15 AM PST” provides a clearer context for customers.
4. Formatting for Clarity: Avoid cluttering the receipt. Position the date and time in a way that is easy to find. A common spot is just below the business name or at the bottom, after the total amount, for clear visibility.
5. Include Time for Returns or Warranty Purposes: If you are offering a return window or warranty, ensure the time is accurate. This helps customers verify the validity of return deadlines and warranty coverage.
Adding Company Information: What to Include
Include these key details when adding company information to your receipt:
- Company Name: Clearly state your business name at the top of the receipt. This should match the legal name of the business.
- Business Address: Include the full address of your company. This helps with identification and may be useful for warranty or return purposes.
- Phone Number: Provide a contact number for customer inquiries or issues related to the purchase.
- Email Address: If applicable, include an email address for customer service or support queries.
- Tax Identification Number: Some regions require businesses to include a tax ID or VAT number for proper record-keeping and tax reporting.
- Website: If your company has an online presence, adding the website address can encourage customers to visit for further information or future purchases.
- Business Hours: Optionally, list your operating hours to assist customers in contacting you during the appropriate time.
By ensuring all relevant information is included, you make the receipt more informative and help customers with easy follow-up options. Keep the details concise and clear to maintain a professional presentation.
Correctly Displaying the Product or Service Details
Ensure product or service descriptions are precise and unambiguous. Use clear product names, including model numbers or specifications, where applicable. For services, specify the nature of the service, duration, and any relevant details like location or included features.
List the unit price for products, and if there are any discounts, mention the original price along with the discounted rate. This gives transparency to the customer. For services, provide a breakdown of the costs involved, such as hourly rates or packages.
Be specific about quantities or volumes. Whether selling multiple items or a single product, indicate the exact quantity or measurement. Avoid generic terms like “some” or “few” as they can create confusion.
If applicable, include important product features such as color, size, weight, or material. For services, detail any qualifications or experience that enhance the service’s value.
Make sure to align descriptions with any legal or regulatory requirements relevant to the product or service being offered. This builds trust with your customers and ensures compliance.
Including Payment Method and Transaction Information
Clearly indicate the payment method used in the receipt. Whether it’s a credit card, cash, or digital wallet, specify it under the “Payment Method” section. This ensures transparency for both the customer and the business.
- For credit/debit card payments, include the last four digits of the card number to identify the transaction.
- If using digital wallets like PayPal or Apple Pay, mention the service name and the confirmation number associated with the transaction.
- For cash payments, simply note the amount received and any change provided.
Transaction details such as the date and time should also be added. This gives both parties a clear timeline of the exchange, making it easy to reference in case of returns or disputes.
- List the exact date and time of the transaction in a clear format.
- If applicable, provide the transaction ID or reference number to track the payment across systems.
Lastly, for electronic payments, consider adding the payment processor’s name, so customers know which system was used for the transaction. This is especially useful for refunds or customer support inquiries.
Ensuring Clear and Readable Formatting
Use a clean, consistent font style such as Arial or Helvetica for better legibility. Keep the font size between 10pt and 12pt for standard receipts. Avoid cluttering the document with excessive text or details.
Separate key sections with clear headers, such as “Items,” “Total,” and “Date.” This organization helps the reader identify important information at a glance. Use bold text or underlining sparingly to highlight critical information like prices or totals.
Leave adequate white space between sections and line items to prevent the content from feeling cramped. A well-spaced document encourages easier reading and reduces errors during data entry or review.
Align text to the left for consistency, especially for descriptions and amounts. Right-align numerical values, such as prices or totals, for easy comparison. This method helps the reader quickly scan through values without confusion.
Be mindful of alignment and spacing. Misaligned text or inconsistent margins make a document harder to read and appear unprofessional. Keep all text and numbers aligned in a uniform grid to maintain clarity.
Double-check for any formatting issues that could cause confusion, such as overlapping text or symbols. Prioritize readability over decoration for a more polished and clear outcome.


