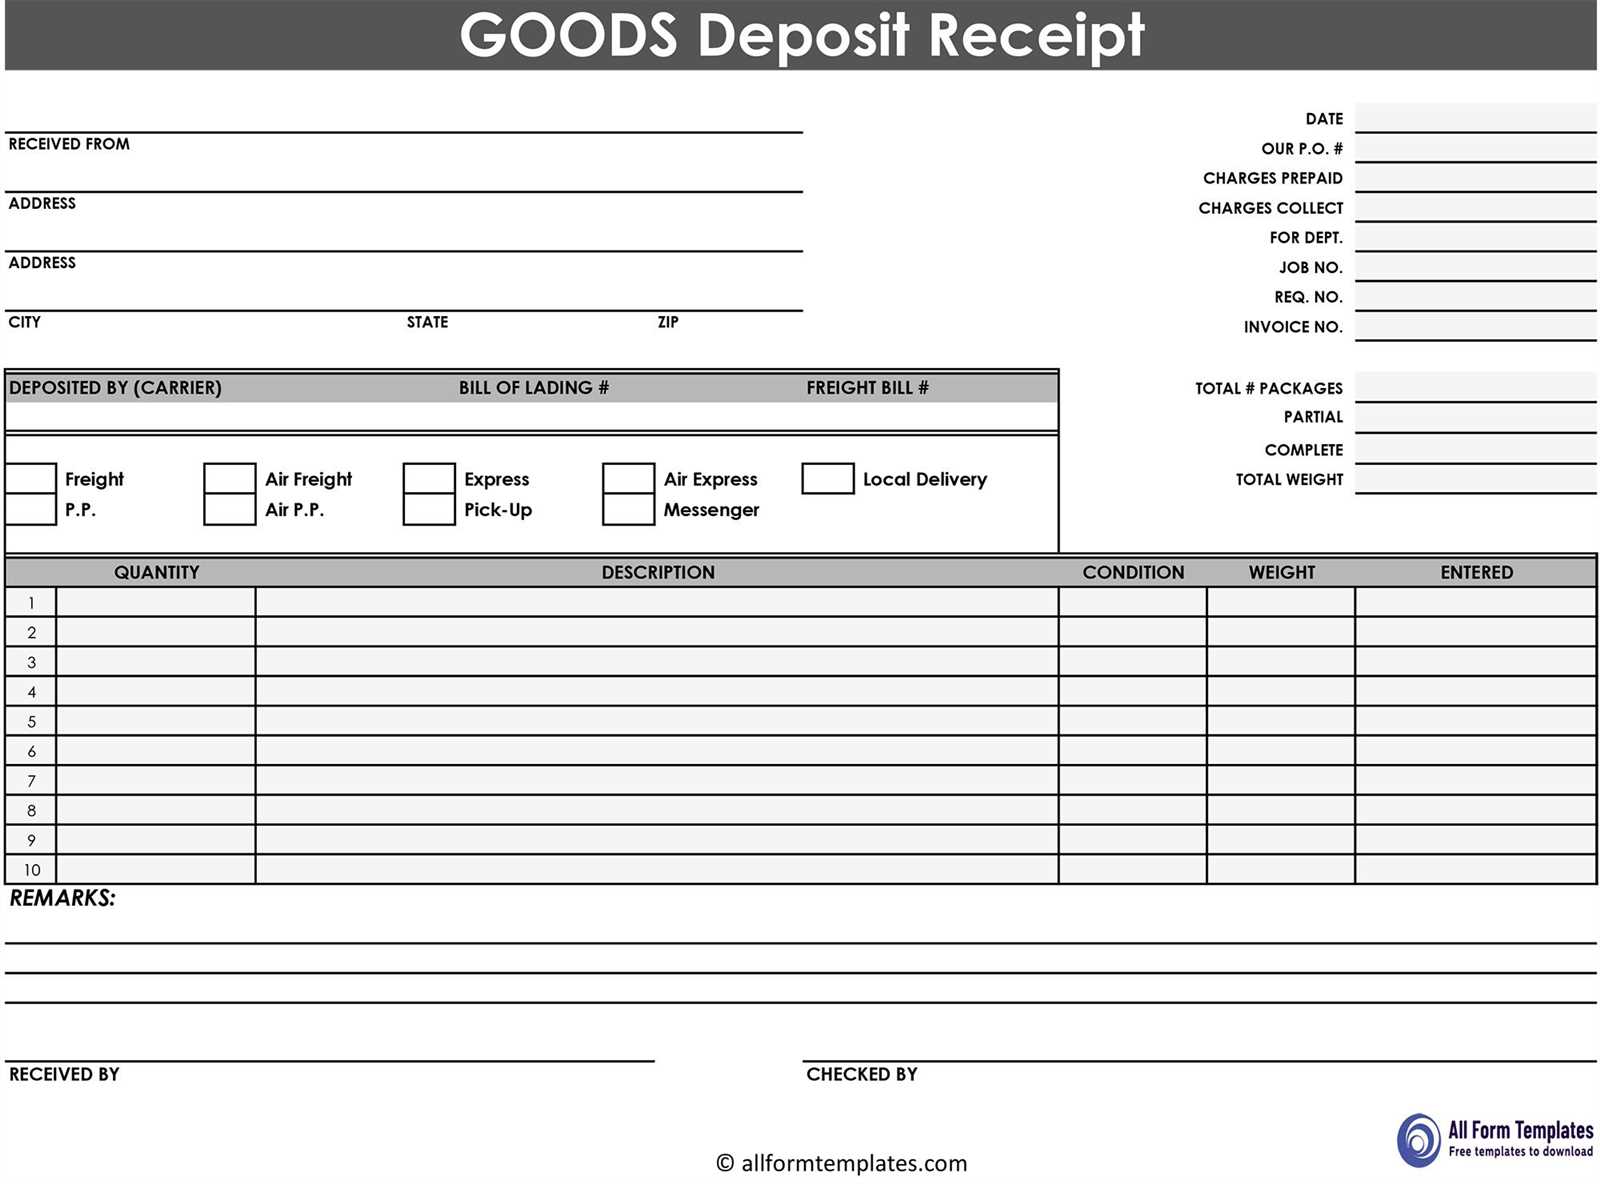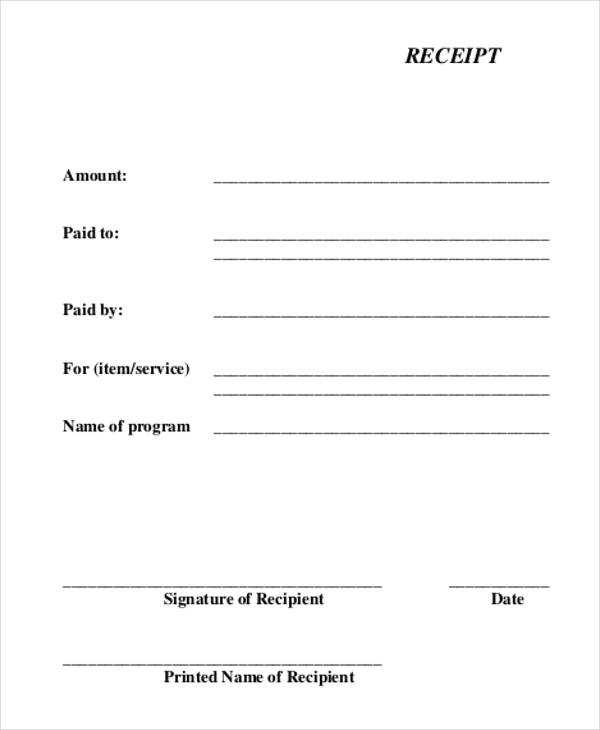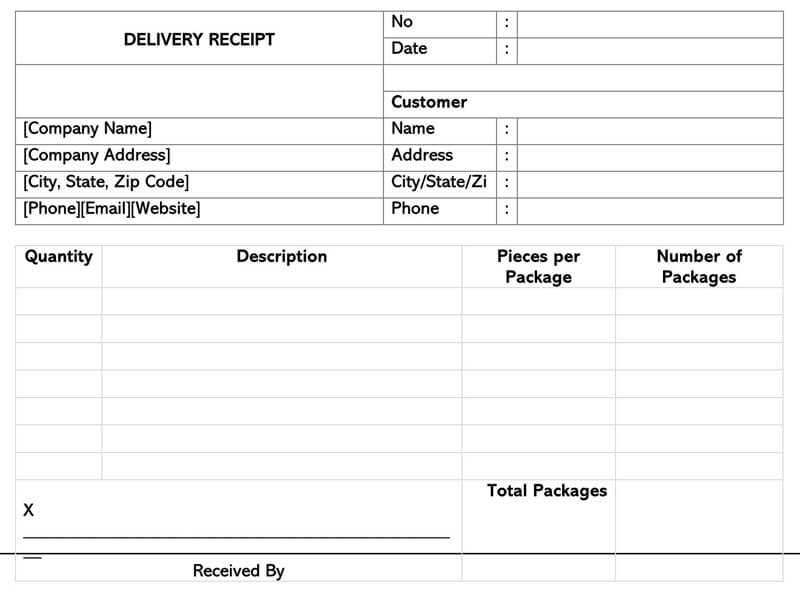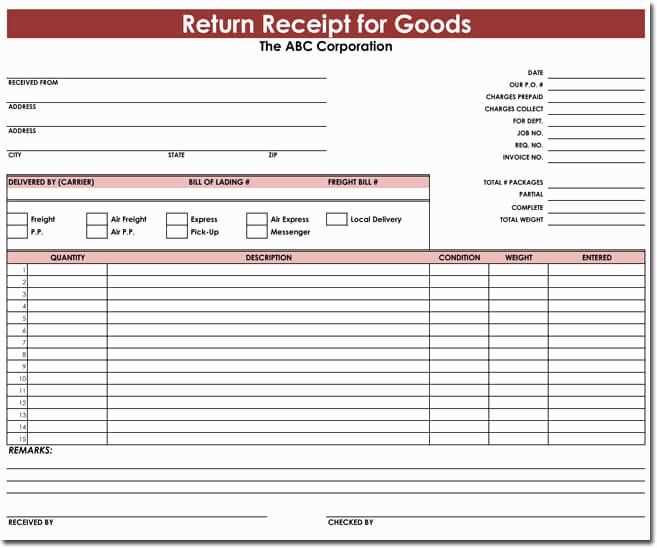
To create a clear and professional receipt for goods, start by ensuring the document includes the essential transaction details. This should cover the buyer and seller’s information, the goods purchased, quantities, prices, and any applicable taxes or discounts. A receipt template helps streamline this process and guarantees consistency in your records.
The first section should list the buyer’s name and contact details, followed by the seller’s information. Then, clearly outline the products or services provided. For each item, include the description, quantity, unit price, and total price. This will give the buyer all the information needed for their records.
Include a breakdown of any taxes applied to the transaction, such as VAT, along with the final total. It’s also helpful to indicate the payment method, whether by cash, card, or another method. This ensures both parties have a complete and accurate understanding of the transaction.
Lastly, provide a receipt number for easier tracking and referencing in case of any future inquiries or returns. A good template will help automate these steps and create a consistent, professional document each time a sale occurs.
Receipt for Goods Template: A Practical Guide

To create a clear and accurate receipt for goods, start by including essential details that both the seller and buyer can reference later. This includes the date of purchase, a description of the goods, their quantity, and the price for each item. Make sure to also note the total amount due, including any taxes or fees.
Key Components to Include
The template should feature the following:
- Seller Information: Company name, address, and contact details.
- Buyer Information: Name and contact information of the buyer.
- Item Details: A brief description, quantity, and unit price of each item.
- Total Amount: A clear breakdown of the total cost, including taxes, discounts, or additional fees.
- Payment Method: Indicate how the payment was made, such as cash, credit card, or bank transfer.
How to Format the Template

Use simple, legible fonts and layout. Align the text so that each section is easy to find, from the seller’s info at the top to the payment details at the bottom. For better readability, use a table format for listing the items, quantities, and prices. Ensure there is enough space for both signatures if required.
How to Customize a Receipt for Specific Products

To tailor a receipt for specific products, begin by ensuring that each product’s details are clearly displayed. This includes the product name, quantity, price per unit, and total cost. Incorporate a description field to highlight key features or variations, like size or color, that might be relevant to the customer.
For products that come with warranties, include a warranty expiration date or terms directly on the receipt. This serves as a reminder and enhances the receipt’s functionality beyond a simple proof of purchase.
In cases of product bundles, show each item in the bundle with its individual price before showing the total cost for the bundle. Use clear itemization so customers can see exactly what they are being charged for. This adds transparency and helps in case of returns or exchanges.
For businesses offering discounts or promotional codes, list any discounts applied to specific products directly under the product details. This gives clarity on how the final price was calculated, reducing confusion or customer inquiries.
Don’t forget to adjust tax calculations for items that may be taxed differently, depending on the product category. Display the tax rate applied to each item or the total amount, making it clear how the final total was calculated.
Key Elements to Include in a Receipt Template
Always include the business name and contact details at the top of the receipt. This helps the customer easily identify where the transaction took place and how to reach the business for any follow-up inquiries.
Include the date and receipt number for tracking and reference purposes. These details will help both the customer and the business keep a record of the transaction.
Clearly list the items or services purchased, including a brief description and the respective prices. This transparency ensures that both parties agree on what was bought and at what cost.
Specify any applicable taxes or additional charges. Include the exact percentage and amount of tax to avoid confusion and ensure clarity regarding the final total.
The total amount paid should be clearly marked at the bottom. This avoids misunderstandings about the payment amount and confirms that the customer has paid the full price for the goods or services.
Provide a payment method section to indicate whether the payment was made via credit card, cash, or another method. This adds another layer of clarity and allows customers to keep track of their spending methods.
Lastly, including any return or refund policies is helpful. A brief mention of the terms helps the customer understand the process should they need to make a return or request a refund.
Best Practices for Delivering Receipts Digitally
Use clear, consistent formats for digital receipts. Avoid clutter and focus on key information: date, transaction ID, itemized list, and total amount. Ensure that recipients can easily identify the details they need.
Choose the Right Format
- PDF: Offers a professional look and easy access across devices.
- Email: Ideal for quick, on-the-go access, with a clear subject line and relevant details in the body.
- SMS: Best for quick transactions, providing a link to the receipt on a secure website.
Maintain Security and Privacy
- Include encryption or password protection for sensitive information.
- Ensure the delivery method aligns with your customers’ expectations for privacy (e.g., secure links, verification steps).
Always offer a way for customers to easily access or download their receipt again if needed. Include customer support contact information in case they have issues with the receipt format or access.


