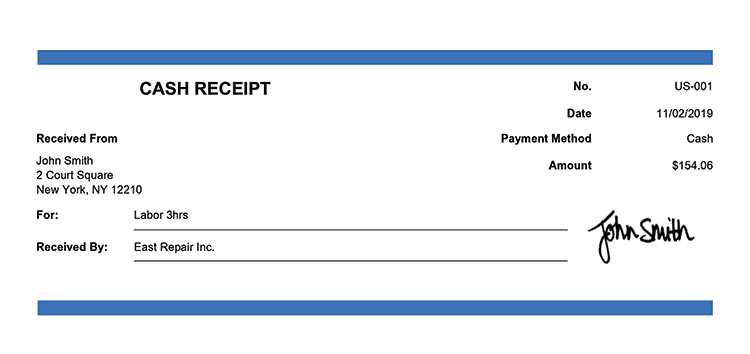
Basic Information Layout
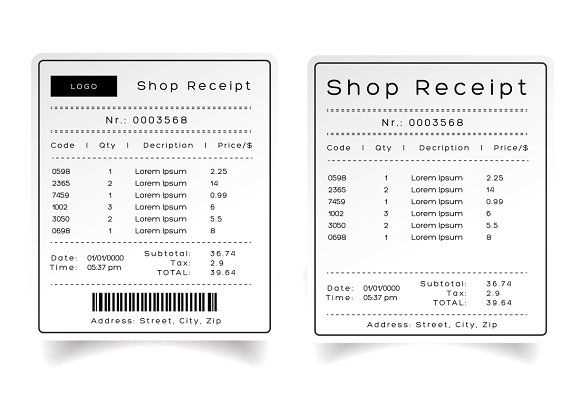
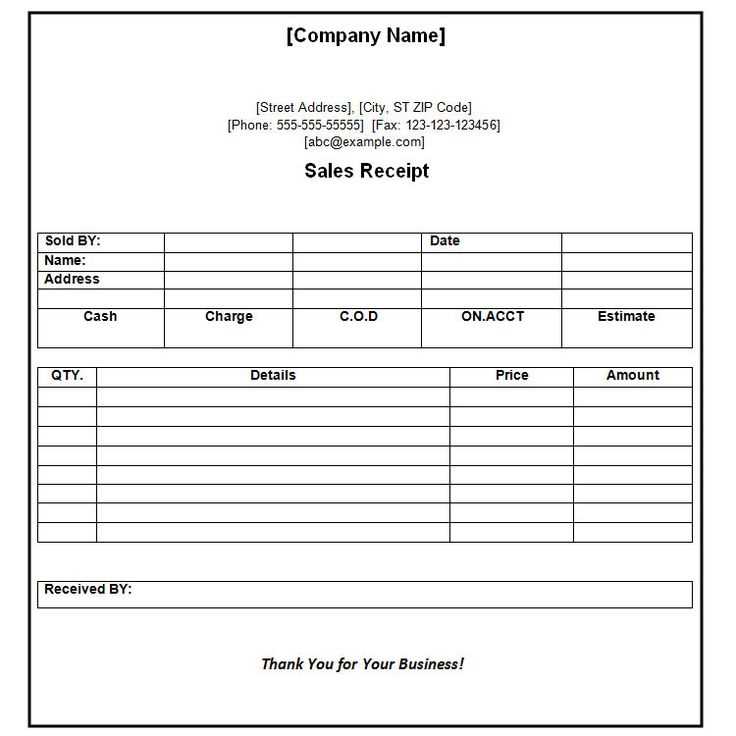
Include clear, concise details to make transactions smooth. Each receipt should start with the shop’s name, address, and contact information. This sets the stage for easy reference should customers need to contact you later.
Key Components:
- Shop Name and Contact Info: Place this at the top for quick identification.
- Receipt Number: Unique identifier for tracking and future reference.
- Transaction Date and Time: Clearly indicate the date and time of the purchase.
- Customer Name: Optional, but helpful for personalized records.
Itemized List of Purchased Goods
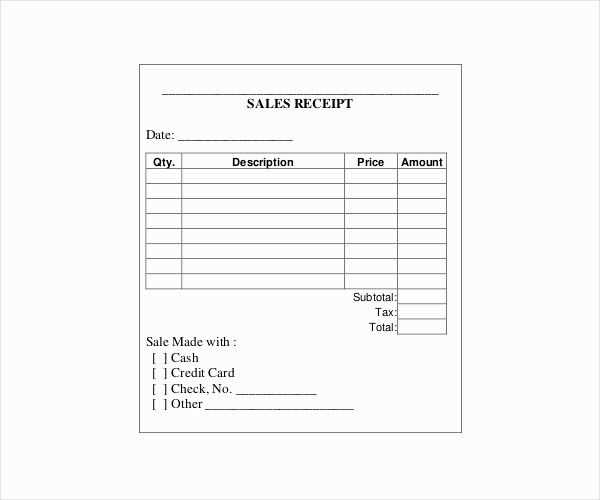
Provide a detailed breakdown of the frames and services purchased. Each item should include the product or service description, quantity, price, and total cost per item.
Details to Include:
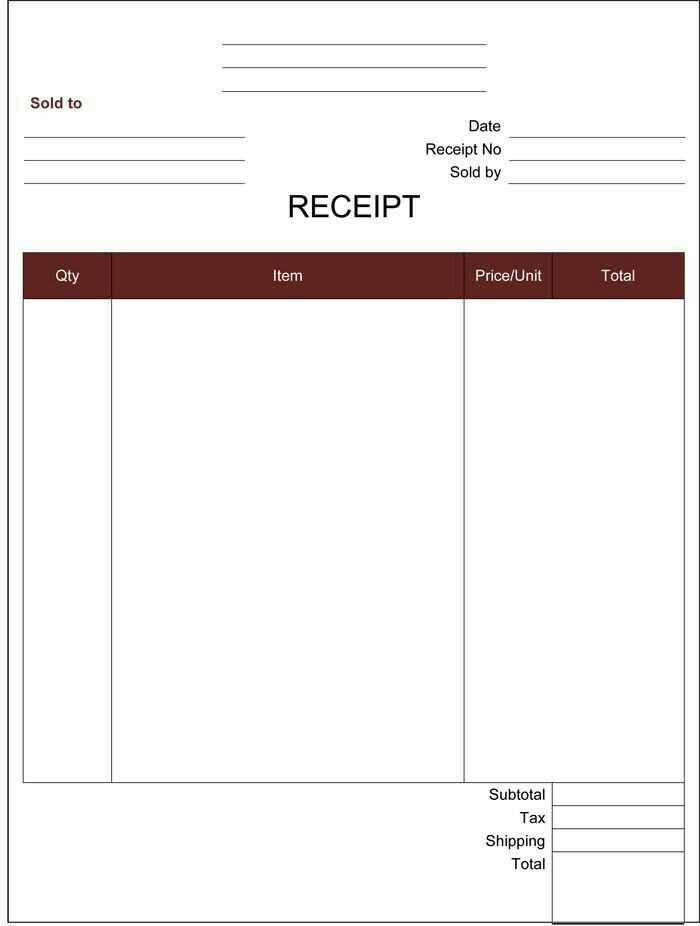
- Frame Type and Dimensions: Specify material and size of the frame chosen.
- Additional Services: If the customer opted for custom work (e.g., framing or matting), list these services separately with their respective prices.
- Taxes: Itemize any taxes applied, including the percentage rate.
- Total Amount: Summarize the total cost, factoring in items, services, and taxes.
Payment Details
Include the payment method and the amount paid. If the customer paid by card, provide the last four digits of the card number for their reference. For cash payments, note the amount tendered and change provided.
Example Layout:
- Payment Method: Indicate whether the payment was made via cash, credit card, or check.
- Amount Paid: Total paid by the customer.
- Change Given: If applicable, show how much change was returned.
Return Policy and Contact Information
Always include a brief statement of your return and exchange policy. This helps set expectations for the customer and reduces any confusion later.
Details to Include:
- Return Policy: State the time frame and conditions for returns or exchanges.
- Customer Support Contact: Include an easy way for customers to get in touch, such as an email or phone number.
This template will ensure your receipts are organized, clear, and customer-friendly. It simplifies record-keeping while promoting transparency and trust between you and your clients.
Receipt Template for Frame Shop
How to Include an Itemized List of Products
Choosing the Right Pricing Format
Adding Customization Options for Frames
Incorporating Tax Information into Receipts
Ensuring Payment Methods are Clear
Design Tips for a Professional Layout
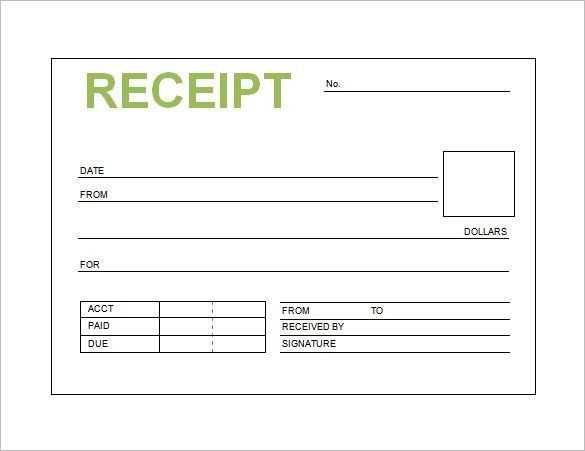
Start by clearly listing all products and services provided in a structured, itemized format. Each item should be accompanied by a short description, quantity, and unit price. This ensures clarity for both the customer and the business. A well-organized list prevents confusion and maintains transparency.
For pricing, select a format that’s easy to read and consistent across all items. Use clear labels such as “Unit Price” and “Total Price” for each line. Ensure that any discounts or promotions are clearly noted so the customer understands the breakdown of charges.
Customization options, such as frame size, color, or material, should be explicitly mentioned. Include a “Customization” section where each chosen option is clearly linked to its price. This helps customers track what they paid for and avoids future disputes over pricing.
Tax should be clearly indicated at the bottom of the receipt. Separate it from the subtotal and specify the rate used. This not only complies with tax regulations but also provides clarity for the customer about how their final price was calculated.
Clearly list the payment methods accepted at the bottom of the receipt. If the payment was made via card, note the transaction method (credit, debit, etc.). For cash payments, simply state “Cash” and the exact amount paid.
Design your receipt with a clean and professional layout. Use legible fonts, with proper spacing between sections. The company name and logo should be easily visible at the top, followed by the itemized list and totals. Keep the layout simple but functional, ensuring all important details are easy to find and read.


