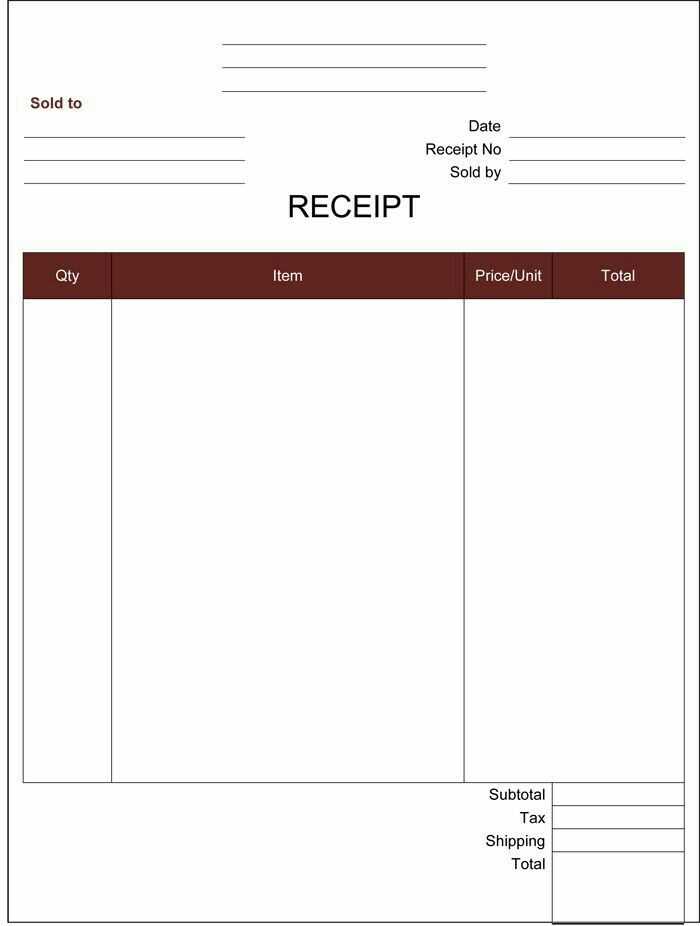
Organizing receipts by year becomes easier with the right template. A clear and straightforward format helps track your expenses for tax reporting or financial review. Use this template to simplify categorizing purchases and maintaining an accurate record for the entire year.
First step: Create columns that include the date, item description, vendor, and amount. This layout ensures every receipt is organized in a way that’s easy to understand. It also minimizes errors when revisiting your financials.
Next, add categories like “Office Supplies,” “Travel,” or “Meals” to group similar expenses together. This classification helps spot trends and aids in budgeting. Adjust categories to fit your specific needs, whether for business or personal purposes.
Lastly, ensure your template has space for additional notes, such as payment method or purpose. This extra information adds clarity for tax filing or reimbursements. Regularly updating the template makes it a reliable tool throughout the year.
Receipt for Year Template
Create a receipt for the year by summarizing all transactions made throughout the period. Organize the data chronologically and group them into relevant categories such as income, expenses, or refunds. This method provides clarity for both personal and business purposes.
How to Structure the Receipt
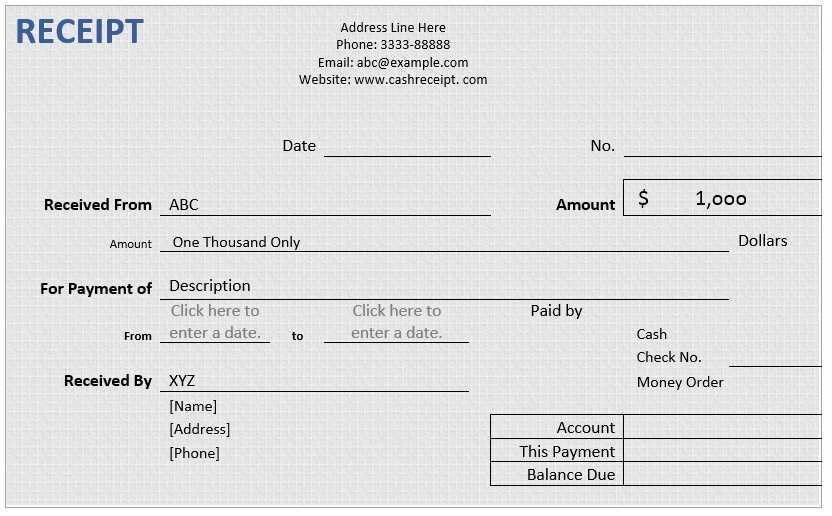
- Date Range: Specify the start and end dates for the receipts. This helps in identifying the timeframe for which the transactions are summarized.
- Transaction Categories: Include distinct categories like income, expenditures, and refunds for better organization and easy reference.
- Itemized List: Provide an itemized breakdown of each transaction with dates, amounts, and transaction types for full transparency.
- Total Summaries: End with a clear summary of the total income, total expenses, and any outstanding balances for the year.
Tips for Accurate Record Keeping
- Update the template regularly to avoid missing transactions throughout the year.
- Ensure each entry is labeled correctly with clear descriptions for easy identification.
- Store receipts and other related documents electronically to simplify retrieval and backup in case of discrepancies.
Designing a Simple Template for Receipts
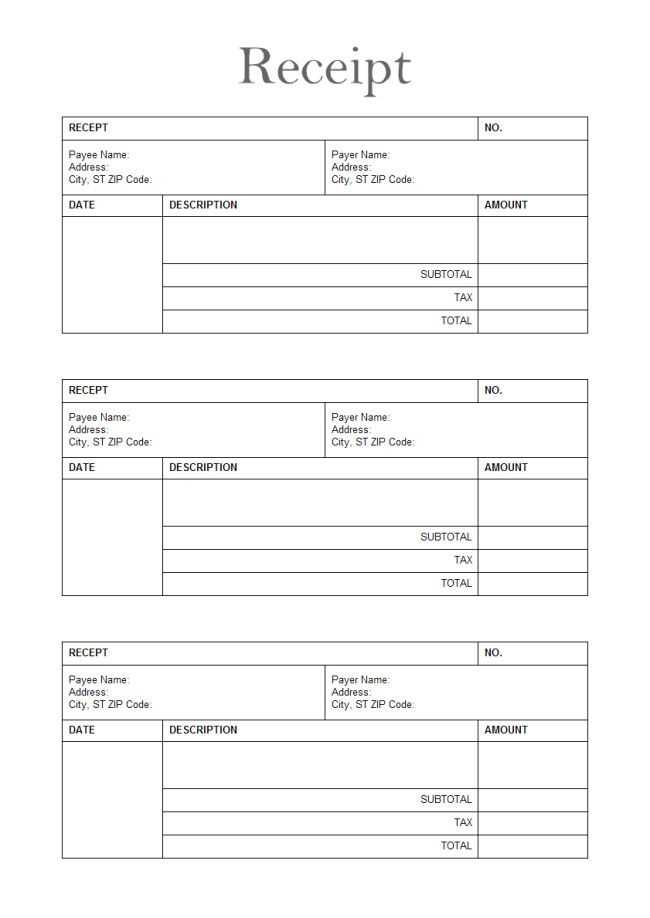
Keep your template clean and organized, with clear sections for all relevant information. Start with the header, including the business name and contact details. This should be prominent, so customers can quickly identify the source of the receipt.
Next, include a space for the transaction details. This should feature the date of purchase, the items or services sold, and their individual prices. A simple table format works well here, with columns for the item name, quantity, unit price, and total price.
Below the itemized list, display the subtotal, taxes, and total amount due. Ensure these are clearly separated, so the customer can easily understand the cost breakdown.
At the bottom, add a section for payment details, including the method of payment and any transaction number or reference code. A thank-you message or return policy information can also be included here, but it should not overcrowd the receipt.
Use legible fonts and avoid clutter. Leave enough white space to make each section distinct and readable. This simple structure ensures clarity while keeping the receipt concise and professional.
Customizing the Template for Different Businesses
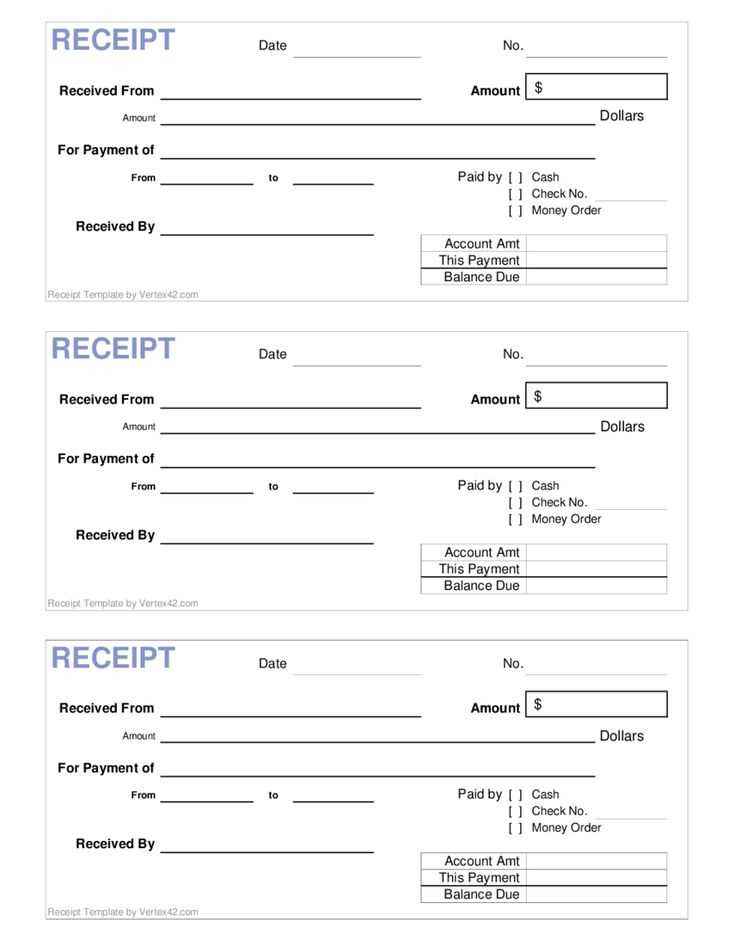
Adjust the receipt template by adding specific business details like your logo, company name, and contact information. Customize the layout to match your brand’s style–alter fonts, colors, and positioning of key elements to align with your business identity.
For retail businesses, include product descriptions and itemized pricing. For service-based industries, list services provided, along with rates and hours of work. Adjust tax calculations based on local rates or any unique tax structures your business operates under.
Incorporate payment methods accepted, like credit cards, PayPal, or bank transfers. Include the payment reference number or transaction ID for easy tracking. Make sure to add a section for return policies or warranty details if applicable to your business type.
For subscription-based businesses, customize the template to reflect recurring charges, billing periods, and contract terms. You can also include customer membership or loyalty numbers, making it easier for repeat customers to track their purchases.
Update the footer with your business’s legal disclaimers, privacy policies, or terms of service, ensuring compliance with local regulations. Customizing the template ensures that each receipt reflects your business practices and enhances your customer experience.
Implementing Year-End Adjustments and Summaries
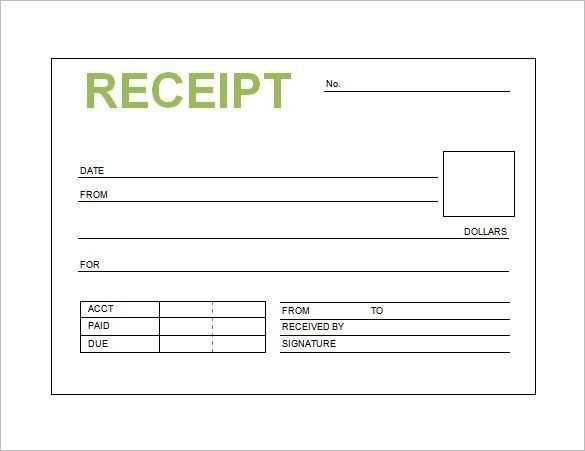
Adjust your records to reflect any final transactions or changes from the last quarter. Ensure that all invoices, payments, and adjustments are accurately reflected in your year-end summary. This will help you avoid discrepancies in your financial reports and streamline tax filing.
Balance Final Expenses and Revenues
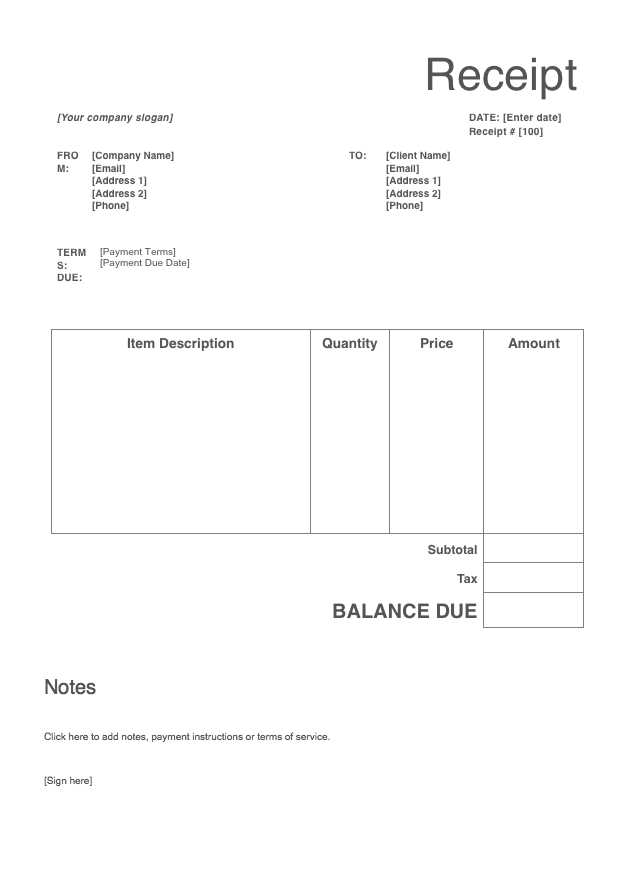
Ensure that any pending or unrecorded expenses are accounted for before finalizing your year-end report. Cross-check invoices against payments made and verify that all revenue streams are included. This will provide an accurate snapshot of your financial situation, minimizing errors when creating a year-end summary.
Review Tax-Related Entries
Look for any adjustments related to tax deductions or credits. Verify that the correct amounts for depreciation, prepayments, and any other applicable tax credits are included. This is especially important for businesses, as these adjustments can significantly impact your tax obligations. Ensure that these entries align with the latest tax regulations to avoid complications down the road.
After making the necessary adjustments, prepare a detailed summary of your financial position. This document should include final balances, income statements, and any relevant notes on adjustments made. Keep this summary for future reference or for any audit purposes.


