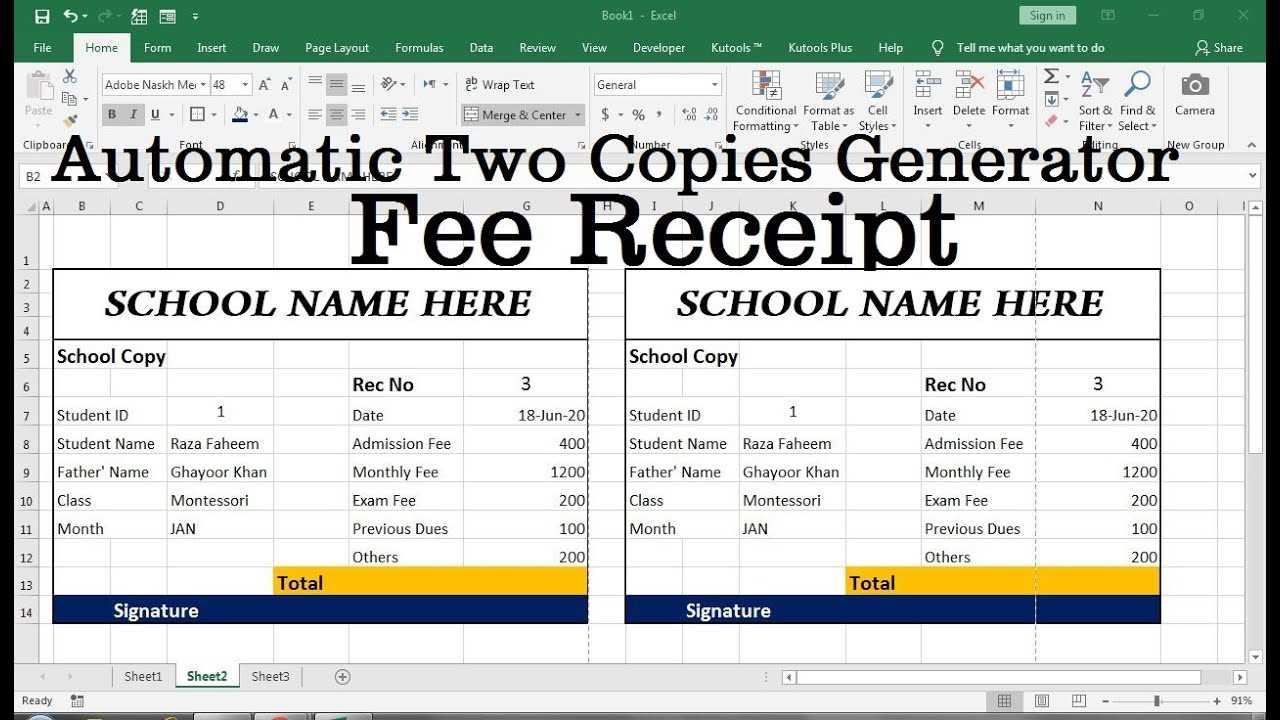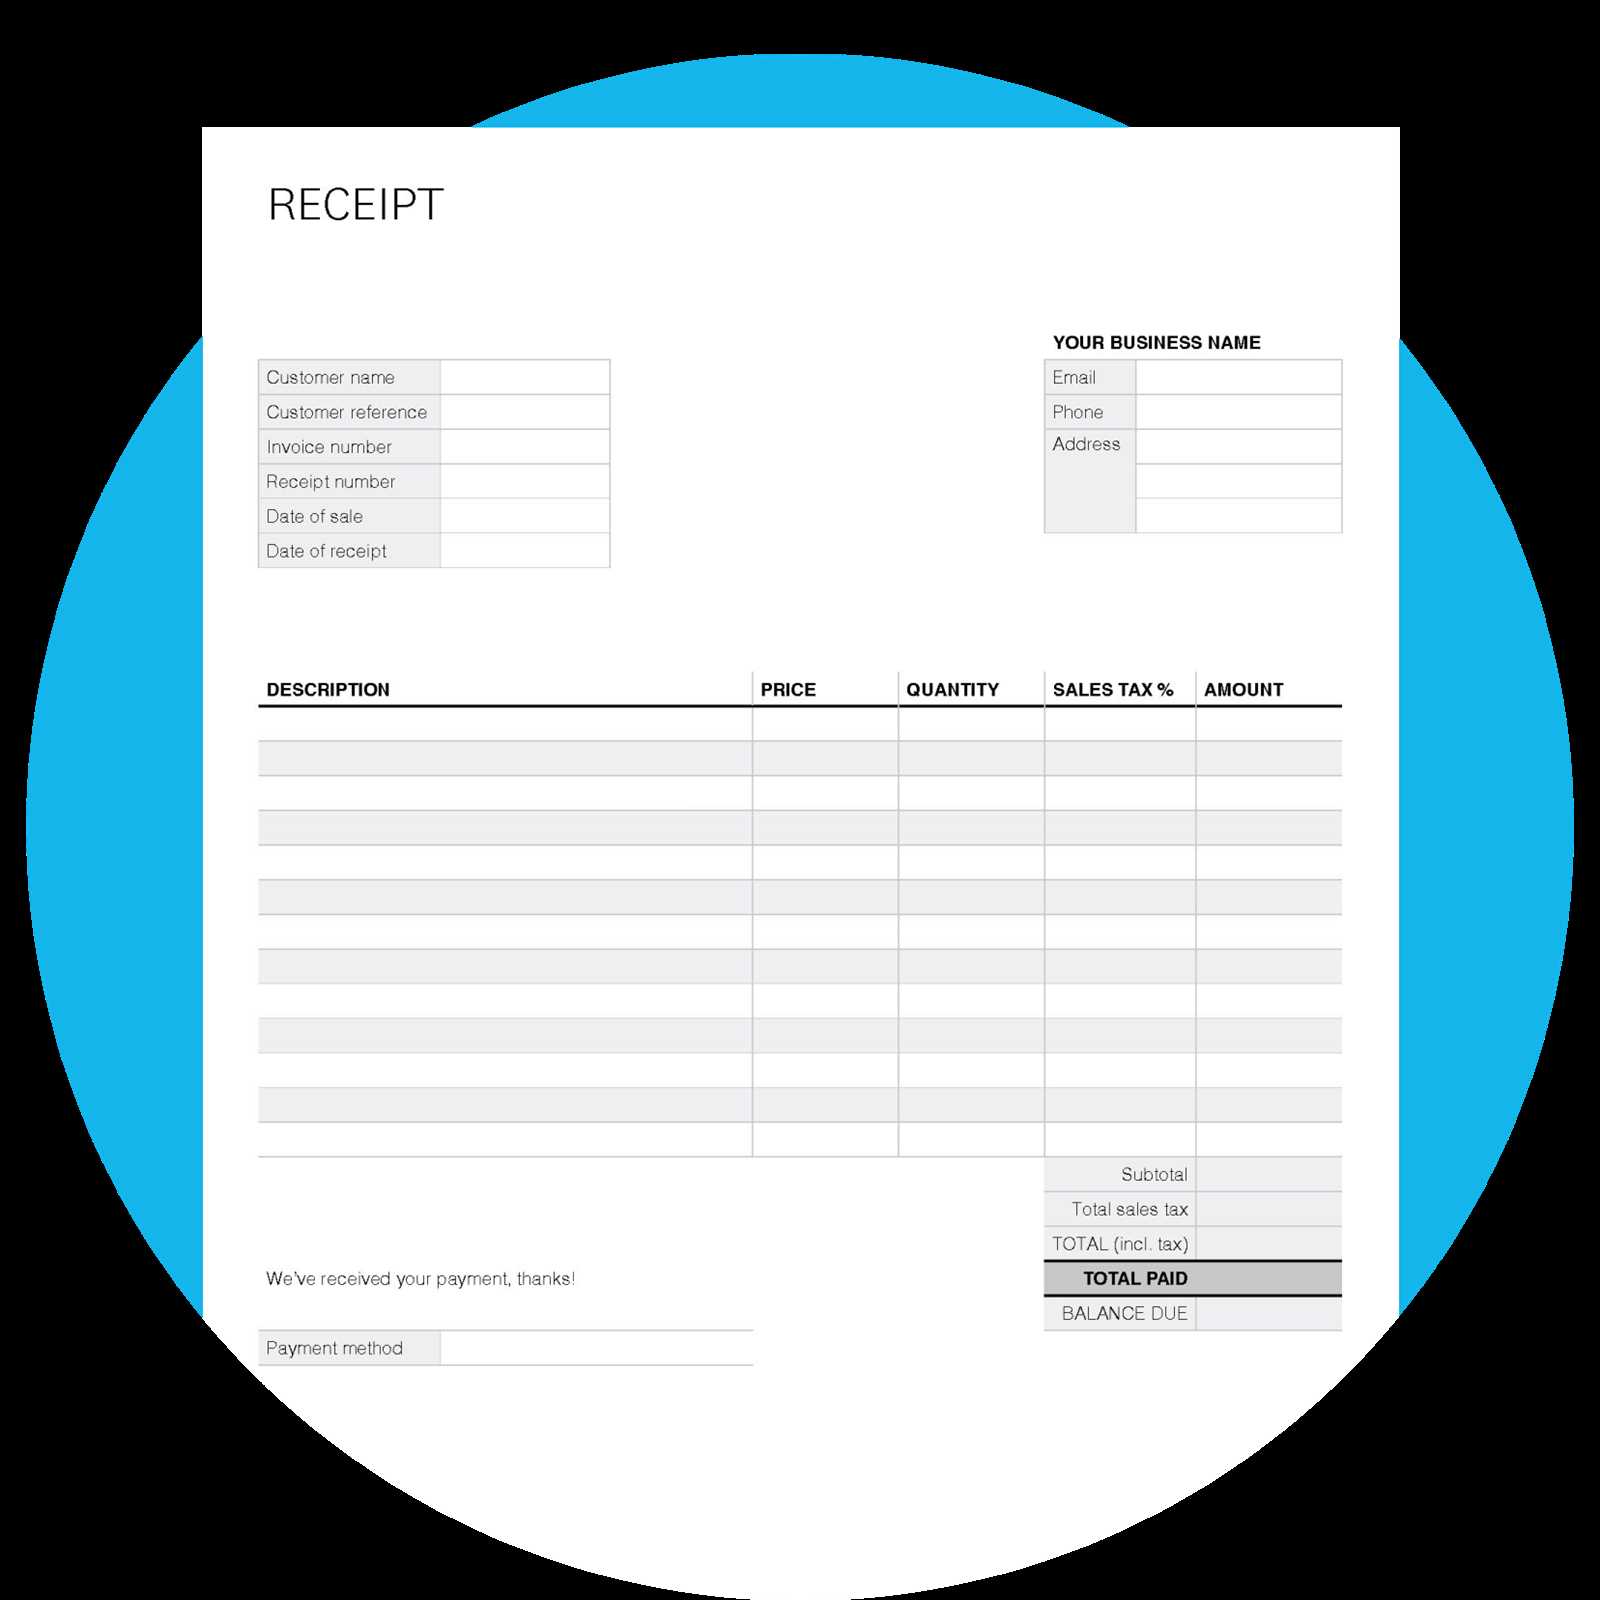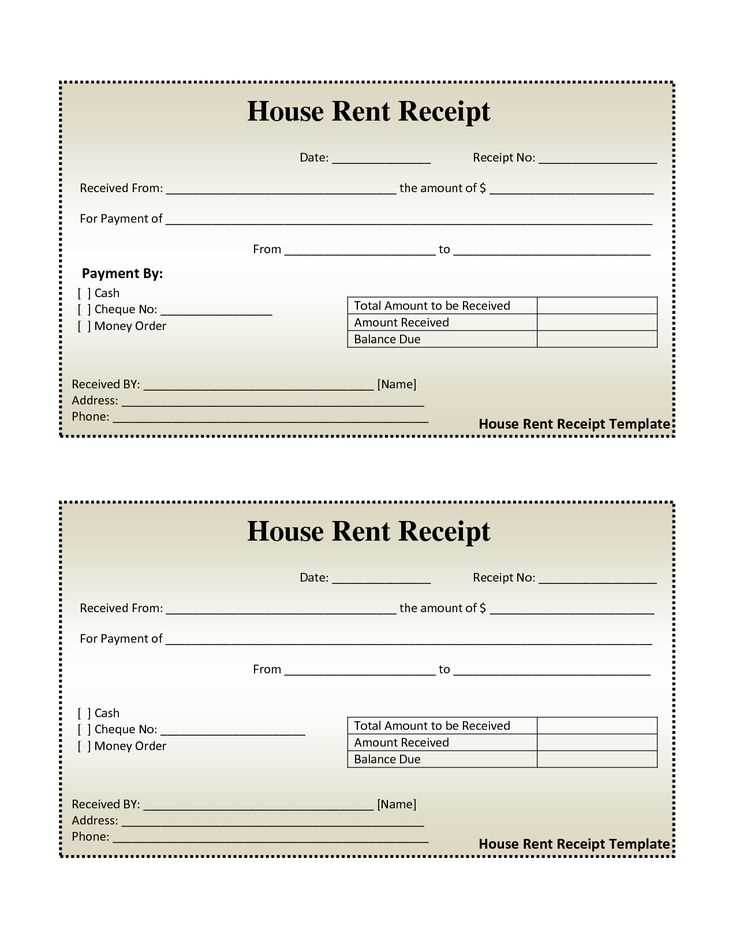
Use a structured template to create receipts that are clear, professional, and easy to manage. A well-designed format saves time, reduces errors, and ensures consistency across all transactions. Whether you need a simple layout or detailed itemization, a flexible template helps meet various business needs.
Define key elements such as date, payment method, item descriptions, and total amount. Including a unique reference number enhances record-keeping and simplifies future verification. If applicable, add tax details and company branding for a polished look.
Automation speeds up the process, eliminating manual entry and reducing the risk of mistakes. Many tools allow exporting to PDF, Excel, or email, making record management more convenient. Adjust formatting as needed to ensure compliance with financial regulations or industry standards.
Choose a template that aligns with your workflow, and customize it to match your branding. A well-structured receipt improves transparency, builds trust with customers, and simplifies accounting tasks.
Receipt Generator Template
Selecting a well-structured template ensures accuracy and clarity in every transaction. Focus on essential fields that provide a complete record of the purchase.
- Header Details: Include the business name, logo, and contact information for quick identification.
- Transaction Date: Display the exact date and time to maintain proper records.
- Itemized List: Clearly outline each product or service with individual prices and applicable taxes.
- Total Calculation: Sum up all charges, incorporating discounts and fees for precise billing.
- Payment Method: Specify whether the transaction was completed via cash, card, or online transfer.
- Unique Identifier: Assign a receipt number for effortless tracking.
- Customer Details: If applicable, include the recipient’s name and contact information for reference.
Ensure the template is adaptable for different industries by allowing customization of fields and branding elements. Digital receipts should be formatted for both print and electronic delivery, ensuring accessibility across devices.
Key Data Fields for a Structured Receipt
Transaction Date and Time: Always include the exact date and time of the transaction. This ensures clarity for both the customer and the issuer.
Unique Receipt Number: A sequential or randomized identifier helps track and verify purchases. Avoid duplicates to maintain accurate records.
Seller Details: Include the business name, address, and contact information. If applicable, add tax identification numbers to comply with regulations.
Buyer Information: If the purchase is tied to an account, capture the customer’s name or ID. For invoices, include their billing details.
Itemized List: Clearly list products or services with descriptions, quantities, and unit prices. This reduces disputes and enhances transparency.
Subtotal, Taxes, and Discounts: Show the subtotal before taxes, apply relevant taxes separately, and clearly display any discounts. Breakdowns prevent confusion.
Total Amount: Highlight the final payable amount prominently. Ensure currency symbols and decimal formatting are consistent.
Payment Method: Specify how the transaction was completed–cash, card, digital payment, or other methods. If partial payments were made, note the outstanding balance.
Return and Refund Policy: If applicable, include a brief statement on return eligibility and conditions. This helps manage post-purchase inquiries.
Digital or Physical Signature: If required for validation, add a signature or approval stamp. Digital receipts can include a verification code.
Customizing Layout and Design Elements

Adjust margins and spacing to ensure all details fit neatly without overcrowding. Use padding around text blocks for better readability. Align columns consistently to maintain a structured look.
Choose a clear, professional font. Sans-serif options like Arial or Roboto improve legibility, while a slightly larger font size for key details, such as totals and dates, enhances visibility.
Incorporate subtle color variations to differentiate sections. A light gray background for itemized lists or a soft blue highlight for payment details helps guide the reader’s eye without overwhelming the design.
Replace generic labels with specific terms that match your use case. If dealing with service invoices, emphasize labor descriptions and hourly rates. For product-based receipts, ensure SKU numbers and quantities stand out.
Integrate a logo and adjust its placement for balance. A top-left position aligns with traditional layouts, while center alignment creates a modern feel. Keep the file size optimized to maintain print quality.
Test layout adjustments across different screen sizes and printers. A responsive design ensures digital copies remain user-friendly, while print previews help avoid misalignment or cut-off elements.
Integrating Automated Calculations for Accuracy
Ensure precise totals by implementing real-time calculations for itemized receipts. Use JavaScript functions to automatically compute subtotals, taxes, and discounts as values are entered. This prevents manual errors and ensures consistency across all transactions.
Round currency values to two decimal places to maintain clarity. Implement built-in validation to catch discrepancies, such as mismatched totals or incorrect tax rates. For percentage-based calculations, apply standard formulas to avoid rounding inconsistencies.
Utilize predefined templates with fixed formulas to streamline invoice generation. Link input fields to calculation scripts, ensuring automatic updates when quantities or prices change. Display calculated values dynamically to provide instant feedback.
Store tax and discount rules in a structured format, such as JSON or a database, allowing seamless updates without altering code. Implement conditional logic to apply location-based tax rates automatically.
Regularly test the accuracy of all calculations using sample data. Compare system-generated totals with manual calculations to identify and fix discrepancies before deployment.
Exporting and Printing Options for Various Needs

Select the right format based on your requirements. PDFs ensure compatibility and preserve layout, while CSVs provide structured data for further processing. Choose image formats like PNG or JPG for easy sharing.
| Format | Best For | Key Advantage |
|---|---|---|
| Invoices, Receipts | Fixed formatting, cross-device compatibility | |
| CSV | Data Analysis | Easily importable into spreadsheets |
| PNG/JPG | Quick Sharing | Compact file size, universally viewable |
For printing, adjust margins and paper size in the print dialog. Use high-resolution settings for sharp text and graphics. If batch printing, automate the process using scripts or batch PDF exports.
Security Measures to Prevent Unauthorized Modifications

Enable access control by restricting editing rights to authorized users only. Implement role-based permissions, ensuring that sensitive sections remain locked for modification unless explicitly granted.
Implement Cryptographic Hashing
Use cryptographic hashing to detect tampering. Generate a hash for each receipt and store it separately. When verifying integrity, recalculate the hash and compare it with the original. Any discrepancy signals unauthorized changes.
Utilize Digital Signatures
Sign each receipt with a unique digital signature from a trusted key pair. This ensures authenticity and prevents forgery. Verify the signature before processing or accepting the receipt as valid.
Audit logs are essential for tracking changes. Maintain a secure, time-stamped record of all modifications and access attempts. Regularly review logs for anomalies, and trigger alerts when unexpected alterations occur.
Implementing these measures strengthens security, reduces fraud risks, and ensures that generated receipts remain reliable and verifiable.
Embedding Branding Elements for Professional Presentation
Incorporate your logo prominently at the top of the receipt to establish brand identity. Choose a high-resolution image for clarity. Maintain consistent colors that align with your brand’s palette throughout the document to enhance recognition.
Consistent Typography
Select a font that reflects your brand’s personality. Use this font consistently for all text elements, including headings, item descriptions, and totals. Ensure readability by balancing size and style–bold for headings, regular for body text.
Strategic Use of Colors
Utilize your brand colors strategically to highlight key information. Apply them to borders, headings, or background elements to draw attention without overwhelming the receipt. This approach creates a cohesive look while ensuring that essential details stand out.
Incorporate a brief tagline or slogan near the bottom. This reinforces your brand message and leaves a lasting impression. A call-to-action, like inviting customers to follow your social media or visit your website, can also enhance engagement.
Ensure all branding elements are positioned neatly. Maintain adequate spacing to avoid clutter, which could detract from the professional appearance. The overall layout should be clean and easy to navigate, guiding the customer’s eye through the receipt.


