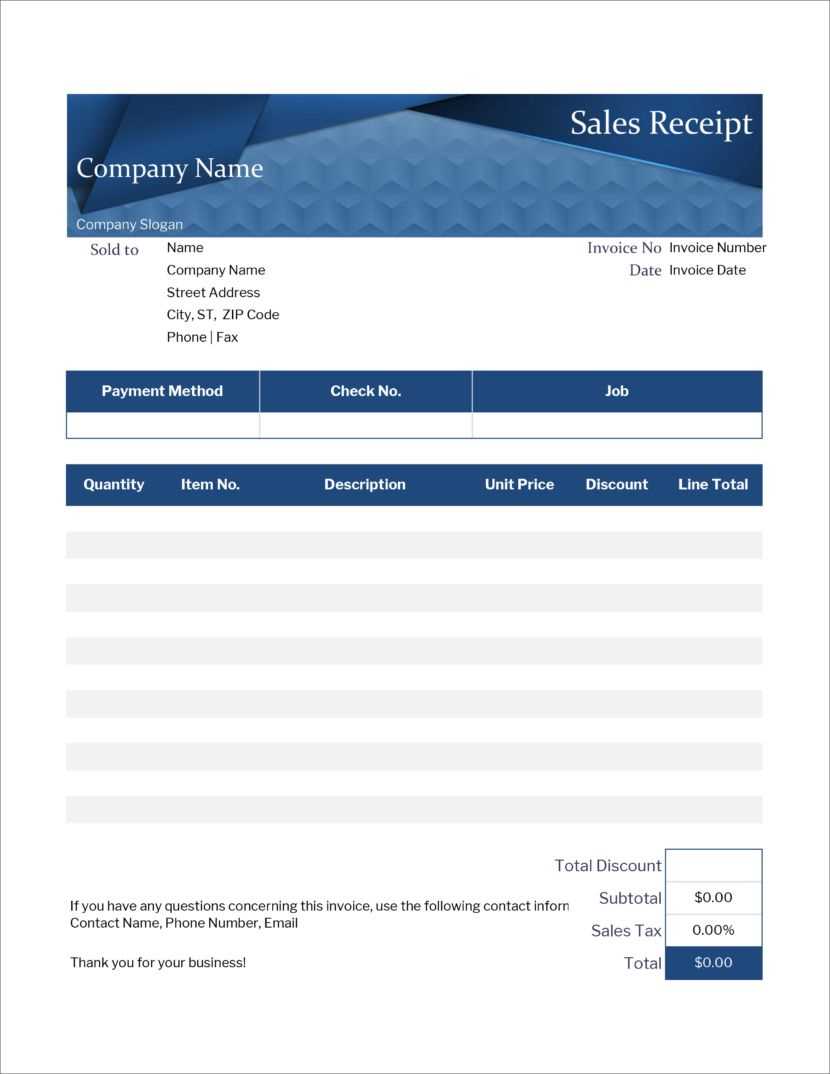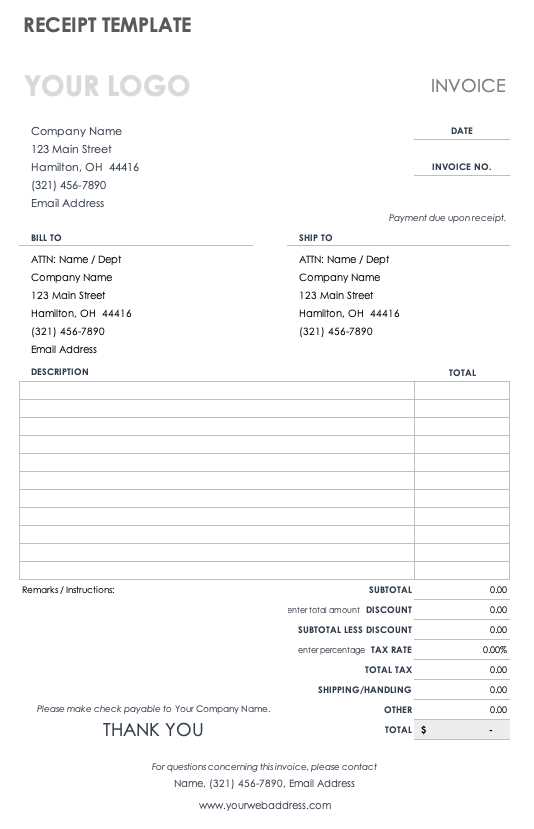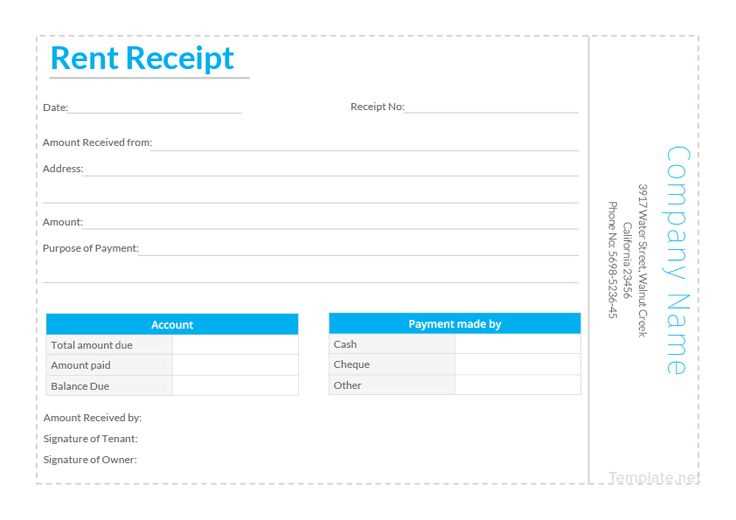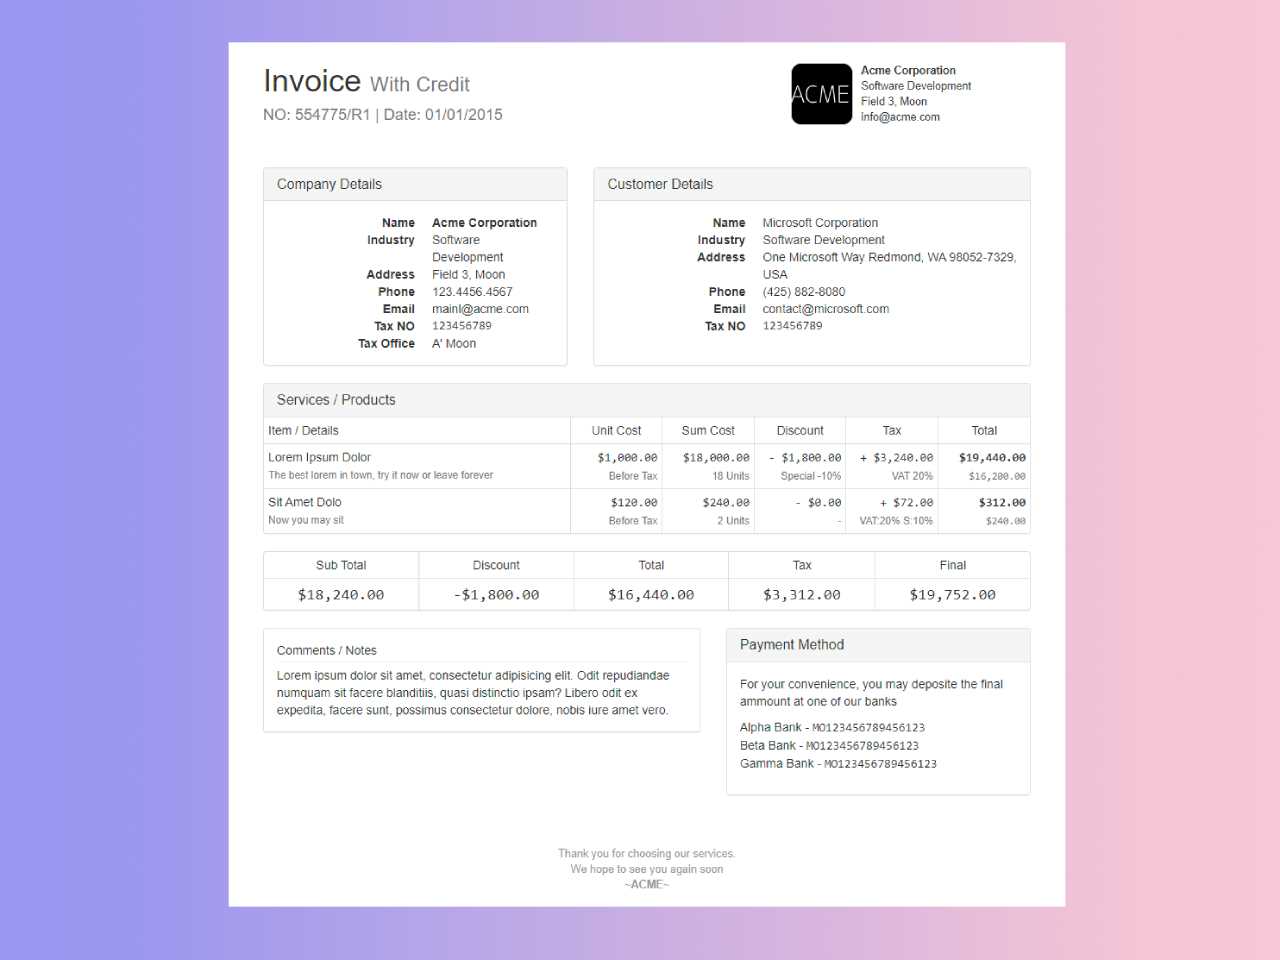
Designing a receipt template using HTML offers an easy way to create a clean and professional look for transaction records. With a simple structure, you can customize the layout to include important transaction details like item names, quantities, prices, and totals. This allows businesses to provide clear, accurate receipts to customers quickly.
To start, structure your HTML with a basic layout that includes sections for the company name, transaction details, and total amount. Use tables to display itemized lists clearly. Ensure that you apply proper HTML elements for currency and numbers, making it easy for recipients to read and understand the breakdown.
For a better user experience, integrate CSS for styling. Keep the design simple, focusing on clarity rather than decorative elements. Use responsive techniques so the receipt displays correctly across various devices and screen sizes.
Detailed Guide on Receipt HTML Template

To create a functional and user-friendly receipt template in HTML, start with structuring the basic layout. Keep it clear and organized, so users can easily navigate through the details.
1. Basic Structure
The foundation of a receipt template should include a header, body, and footer. Here’s what to include:
- Header: Company name, logo, and contact details.
- Body: List of purchased items with descriptions, quantities, prices, and totals.
- Footer: Payment method, transaction ID, and any additional notes.
2. Key HTML Tags for Receipt Layout
Use these tags to keep the layout structured and readable:
- <header>: For the top section containing company information.
- <table>: Display the list of purchased items with clear columns for item name, price, quantity, and total.
- <footer>: For payment details and transaction number.
Additionally, use <strong> to highlight important details like totals or payment methods. Ensure each section is visually distinct for easier reading.
Creating a Basic HTML Structure for Receipts

Begin with a clean layout. Set up a basic HTML document with the necessary elements, including the <html>, <head>, and <body> tags. The <head> tag should contain metadata like the document title, and the <body> tag will hold the visible content of the receipt.
Basic Layout Elements
The receipt structure includes several key parts: store details, itemized purchases, totals, and footer. Use <div> elements for sections like store name, address, and contact info. For item listings, <ul> or <table> can organize product names, prices, and quantities. Each item can be wrapped in <li> tags for an unordered list or rows in a table with <tr> and <td> tags.
Formatting with CSS
For readability, apply basic CSS to align text, style borders, and adjust spacing. Use font-family for clean typography and padding for appropriate space between elements. Properly format the totals section to highlight the final amount, making it easy to distinguish from other content.
Integrating Dynamic Data into the Receipt Template
To integrate dynamic data into a receipt template, use placeholders in your HTML where data will be injected. These placeholders can represent fields like transaction ID, item names, prices, and totals. Typically, these placeholders are marked with curly braces or other symbols for clarity.
Using JavaScript for Dynamic Content
JavaScript is an excellent tool to dynamically populate the receipt template. Create an object containing the transaction data, and then loop through the object to insert values into the placeholders. You can update the receipt content without reloading the page, enhancing the user experience.
Backend Integration
On the server-side, use a template engine to merge data into the HTML structure before sending it to the client. This ensures the receipt is generated with the most current transaction data. Whether you’re using PHP, Node.js, or another backend language, integrating dynamic data is a straightforward process of retrieving and rendering the relevant information.
Styling Receipts for Professional Appearance
Ensure your receipts feature a clean, organized design. Use a simple, readable font like Arial or Helvetica for clarity. Avoid clutter by keeping text sizes consistent and limiting the number of fonts used.
Text Alignment and Spacing

Align key details such as the company name, item list, and total amount to the left for readability. Keep enough white space between sections to avoid overwhelming the viewer. Use line breaks effectively to separate items, taxes, and totals clearly.
Branding and Color Scheme
Incorporate your brand’s colors subtly into the receipt design. Use accent colors for highlights like totals or important notes, but keep the rest of the document neutral. This maintains readability while reinforcing your brand identity.


