Design a receipt quickly with a template. It provides a structured format for essential details, saving time. Keep your template simple to ensure clarity and professionalism.
Template Structure
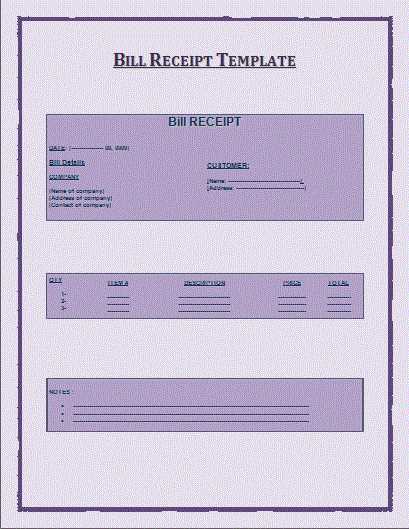
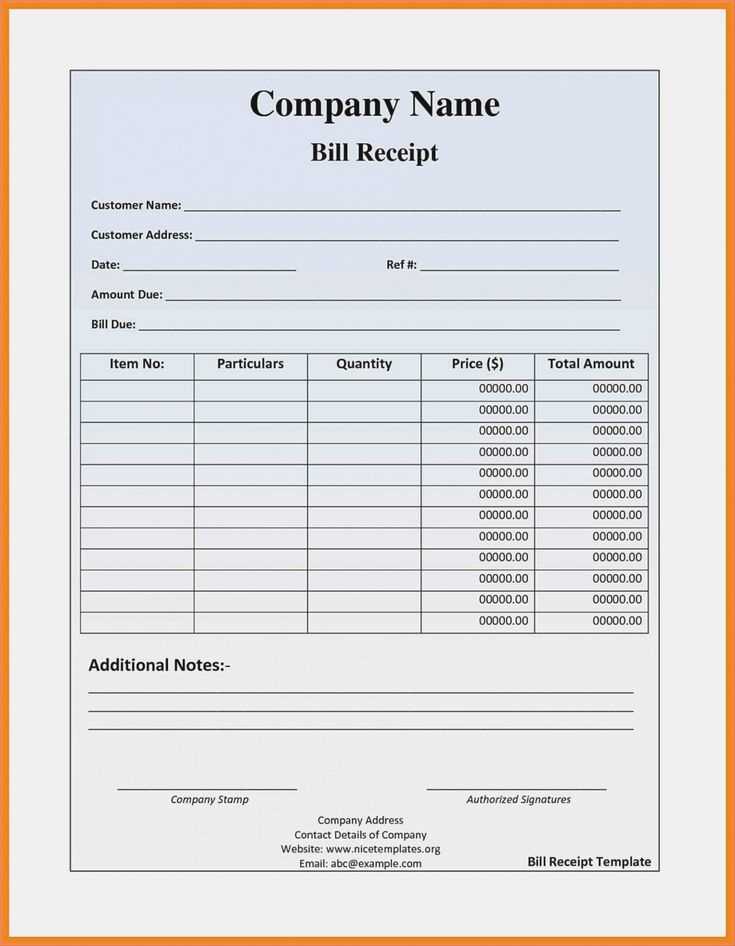
- Header: Include your business name, address, phone number, and email for easy identification.
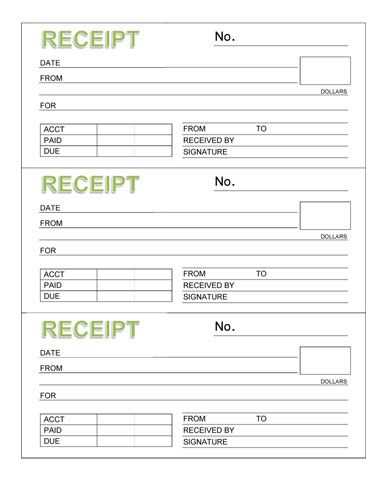
- Date: Add the date of the transaction for accurate record-keeping.
- Receipt Number: Unique identifiers help organize and track each receipt.
- Customer Details: Name, contact information, and any relevant customer ID are helpful.
- Items and Prices: List the items or services purchased with the corresponding prices.
- Payment Information: Clearly state the payment method (e.g., cash, card, or online transfer).
- Total Amount: Clearly highlight the total for the transaction.
- Footer: Include any thank-you notes or return policy details.
Customizing Your Template

Adjust the layout based on your business needs. For example, if you’re a service provider, emphasize service descriptions over items. If your business deals with many products, consider adding columns for quantity, unit price, and total cost.
Digital vs. Physical Receipts

Digital templates can be filled out on a computer or mobile device. You can save and send receipts via email, providing convenience for both you and the customer. Physical receipts, on the other hand, can be printed instantly after payment, giving customers a tangible record.
Use your template regularly to maintain consistency in your transactions.
Receipt Maker Template: A Practical Guide
Selecting the Right Receipt Template for Your Business
How to Customize Your Receipt for Different Payment Methods
Incorporating Legal and Tax Information on Receipts
Integrating Templates with Accounting Software
Designing Receipts for Efficient Record Keeping
Printing and Sharing Receipts: Best Practices
Choose a receipt template that suits your business needs and fits your brand’s identity. Focus on clarity and simplicity. Look for templates that allow customization of key details, like company logo, contact information, and transaction specifics. Ensure it accommodates multiple payment methods such as cash, credit card, and digital wallets.
Customizing Receipts for Payment Methods

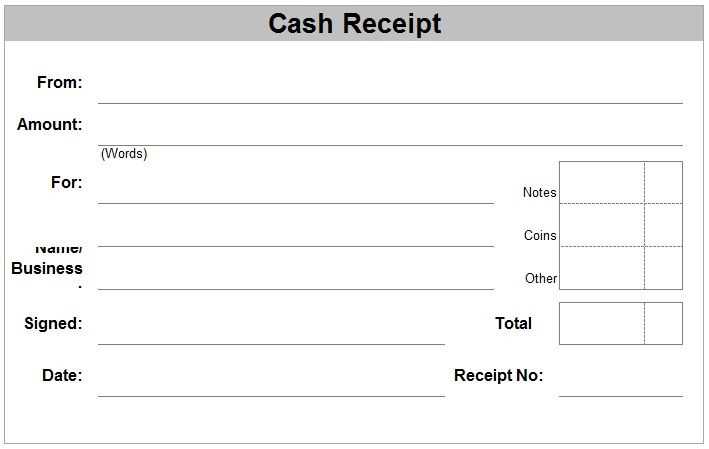
Adapt your receipt to reflect different payment types by adding specific details such as card numbers, payment gateways, or transaction IDs. For cash payments, include a line showing the amount paid, any change given, and the total transaction amount. Digital payments should list the payment provider and reference number for clarity.
Legal and Tax Information
Ensure your receipt complies with local tax laws by including your tax identification number and tax rates for each item sold. If necessary, provide a breakdown of applicable taxes to meet legal requirements. Customizing the template to include this information saves time and helps ensure accuracy during audits.
Integrating your receipt template with accounting software streamlines financial recordkeeping. Many software platforms allow direct importing of receipt data, reducing manual entry. Choose a template that’s compatible with popular accounting programs to automate processes and maintain accurate financial records.
Design receipts for easy tracking. Keep sections like date, item details, payment method, and total amount clearly organized. This setup simplifies searching and referencing past transactions, particularly for refunds or returns.
When printing receipts, use high-quality paper for durability. Ensure receipts are easy to read by using clear fonts and appropriate spacing. For digital sharing, provide options for customers to receive receipts via email or SMS, enhancing convenience while maintaining a professional touch.


