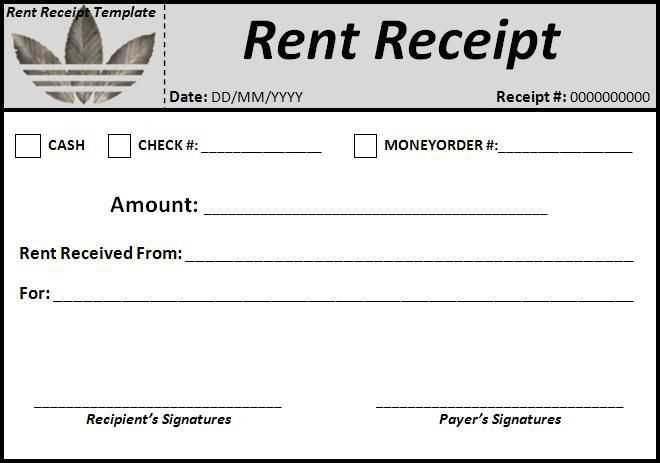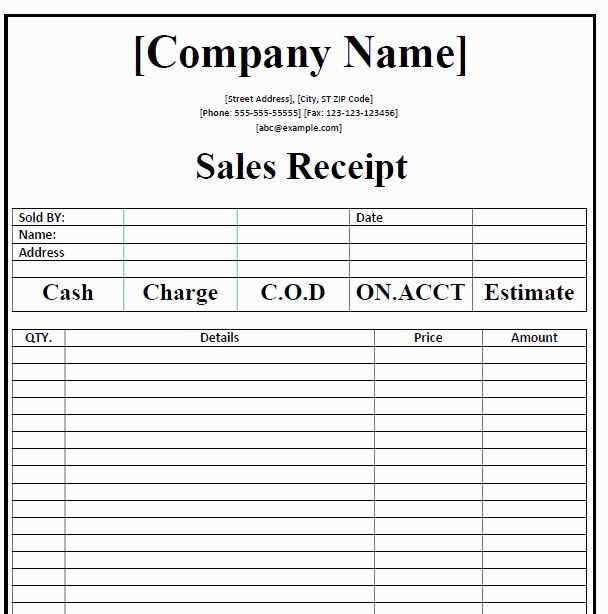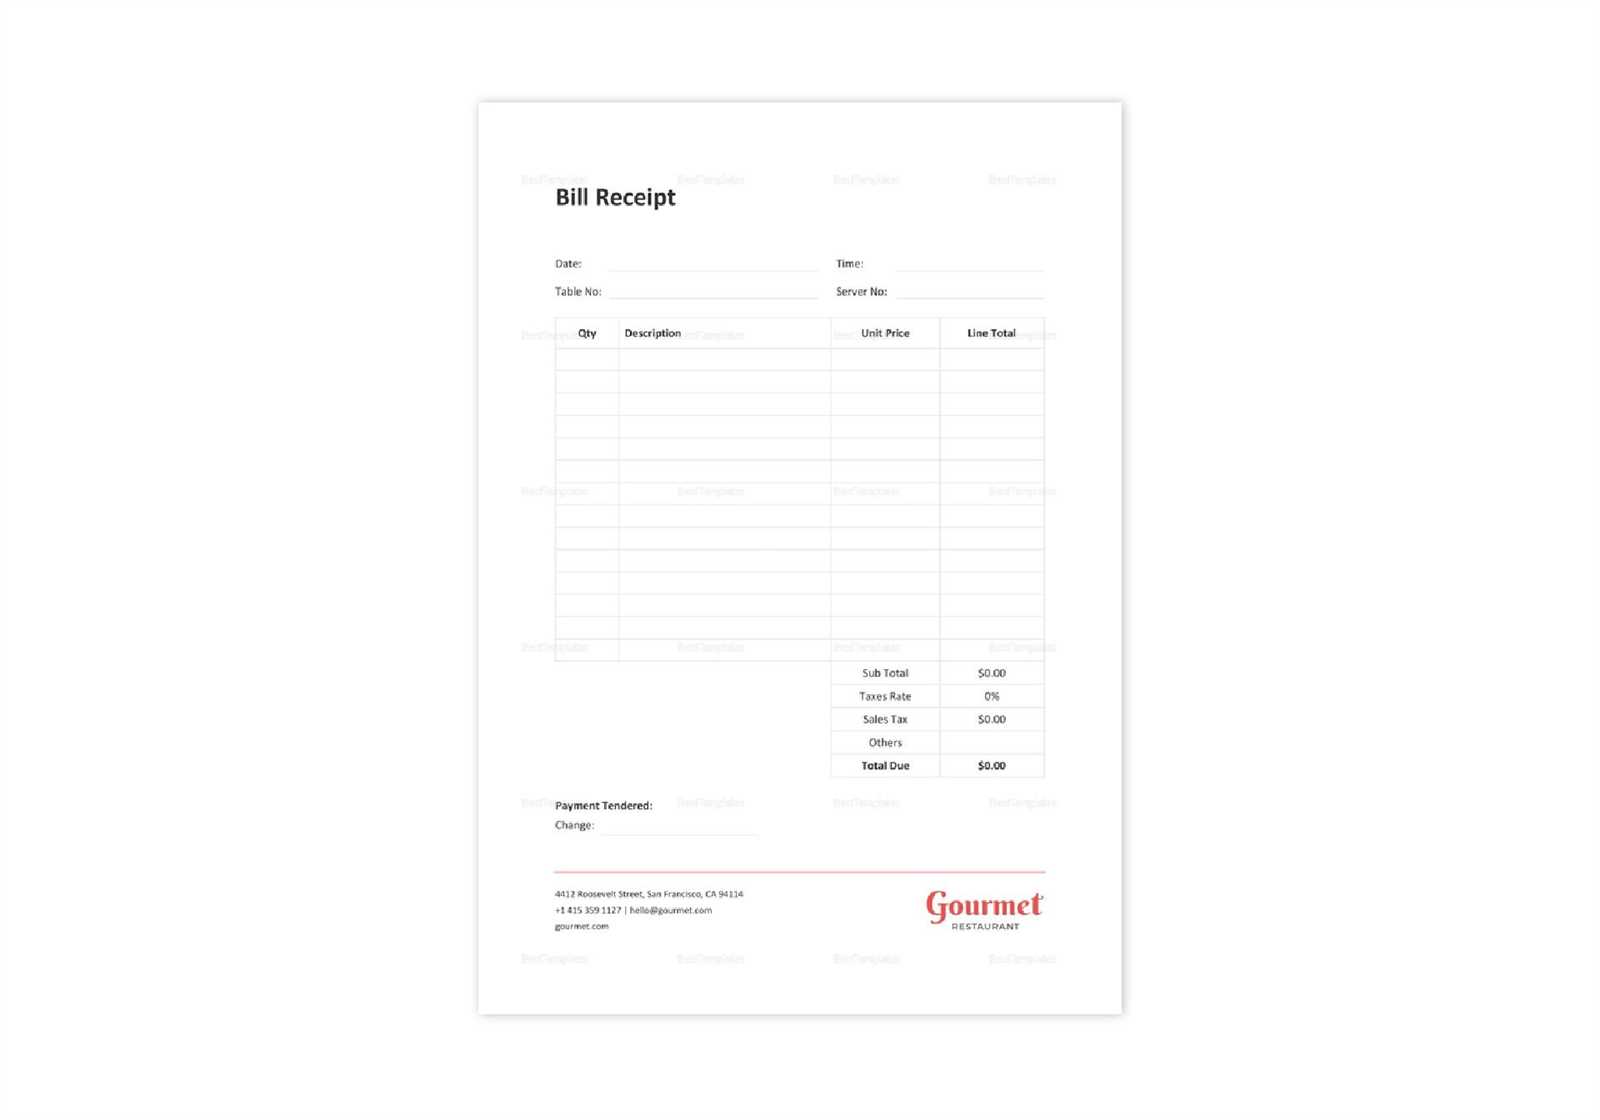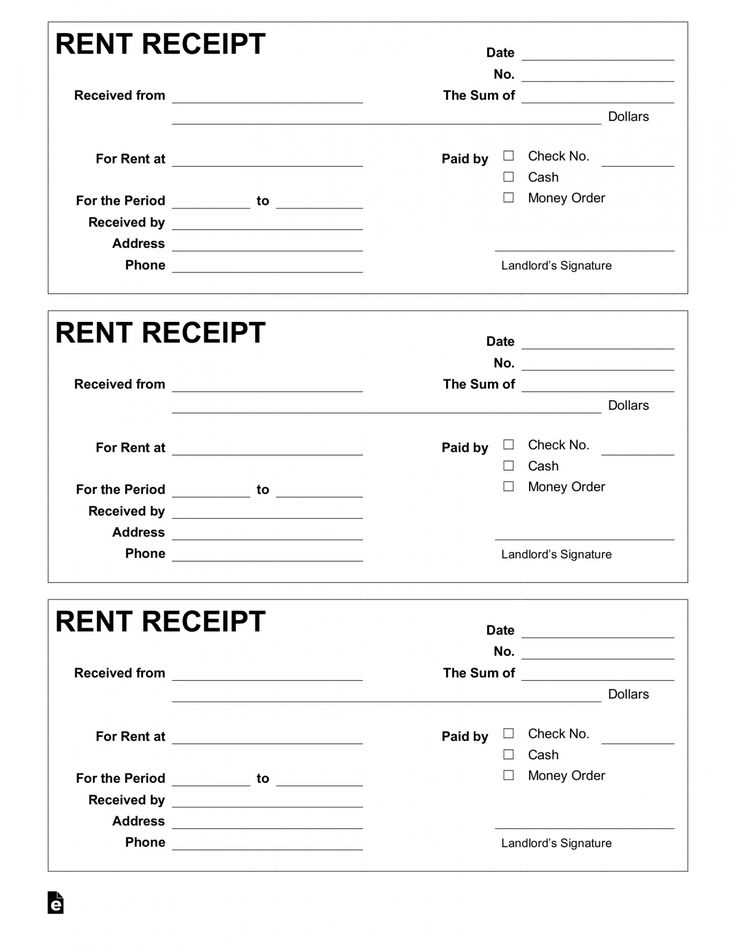
Design a simple, clean, and organized receipt page that customers can easily understand. Focus on presenting the necessary information in a clear structure. A basic template includes sections for the company’s name, date, items purchased, and total amount. Make sure the layout is easy to read and not overwhelming.
Start with the header – clearly display your business name or logo at the top. Include the transaction date and receipt number for easy reference. This information provides the context for the customer and ensures they can quickly locate the details they need.
Next, list the purchased items. For each item, provide a description, quantity, price per unit, and the total amount. This gives the customer an overview of what they are being charged for. Group items based on categories, if necessary, for better clarity.
Finish with a total section at the bottom. Ensure the subtotal, any applicable taxes, and the final amount are clearly separated. Adding a footer with contact information or return policies can also enhance the template, giving the customer all the details they might need in one place.
Receipt Page Template Guide
To create a receipt page that meets both functional and aesthetic needs, focus on these core components:
Key Elements
- Header: Include a clear title such as “Receipt” or “Invoice” with company details like logo, name, and contact information.
- Transaction Details: List the transaction date, receipt number, payment method, and order reference to make tracking easier.
- Itemized List: Display purchased items with prices, quantities, and any applicable discounts or taxes.
- Total Summary: Clearly highlight the total amount due or paid, including breakdowns of taxes, discounts, and shipping costs.
- Footer: Include return policy, terms of service, and customer support contact information.
Design Considerations
- Clarity: Use simple fonts and readable sizes to ensure the content is easy to scan.
- Spacing: Maintain appropriate margins between sections for better visual flow.
- Branding: Incorporate brand colors and logo without overcrowding the page.
- Responsive Layout: Ensure the template adapts well to both desktop and mobile views for accessibility.
Choosing the Right Layout for Your Template

Start with a layout that enhances readability and user experience. Opt for a clear structure, ensuring elements like product details, pricing, and contact info are easily accessible. A well-organized template allows for quick browsing and smooth navigation.
Prioritize simplicity in your layout. Avoid overcrowding the page with excessive information. Use white space effectively to create a balanced, uncluttered design. Limit the number of sections to avoid overwhelming your visitors.
For a more dynamic look, consider a grid-based layout. This allows you to present multiple items or options in a compact, visually appealing manner. Ensure the grid is responsive, adjusting to different screen sizes for mobile optimization.
Keep consistency in mind when choosing fonts and colors. A cohesive style ties the page together and guides the user’s attention to important information. Stick to a limited color palette and use contrasting text colors for readability.
Lastly, think about the user’s journey. Position key elements like call-to-action buttons or discounts at the top or in easy-to-reach spots. This minimizes effort for users, guiding them toward completing their purchase or form submission quickly.
Key Elements to Include in a Receipt Page

Ensure your receipt page contains the transaction date and time. This helps both the customer and the business keep track of the purchase. It should be placed at the top for easy reference.
Purchase Details
Clearly list the purchased items, including descriptions, quantities, and prices. Grouping items under categories or using itemized lists improves clarity. Provide the total amount, including taxes, to avoid confusion.
Payment Information

Include the payment method used (e.g., credit card, PayPal, etc.). If applicable, show the last four digits of the payment card to confirm the payment method.
Include any discount or promotional codes applied to the purchase. This transparency ensures the customer understands the final amount paid.
Customizing the Template for Different Platforms
Adjust the receipt template based on the platform to ensure seamless integration and user experience. On mobile platforms, reduce the content size and simplify the layout to fit smaller screens. Prioritize key information such as total amount, date, and transaction ID to avoid cluttering the page.
For desktop versions, take advantage of the larger screen real estate. Include additional details like itemized lists or promotional messages, but maintain clarity by organizing content in sections. Consider using grids or tables to structure data neatly.
When adapting the template for e-commerce platforms, integrate payment system logos and secure transaction icons for user trust. Customize the style of the receipt to match the branding of the store, ensuring consistency across all customer touchpoints.
If the template is intended for email receipts, optimize for both desktop and mobile viewing. Use responsive design techniques to ensure readability and accessibility on all devices, ensuring links and buttons are easy to interact with.
Finally, keep accessibility in mind for all platforms. Use high-contrast colors, legible fonts, and provide alternative text for images. Ensure that receipt templates are navigable via keyboard for users with disabilities.


