How to Create a Receipt Paper Template
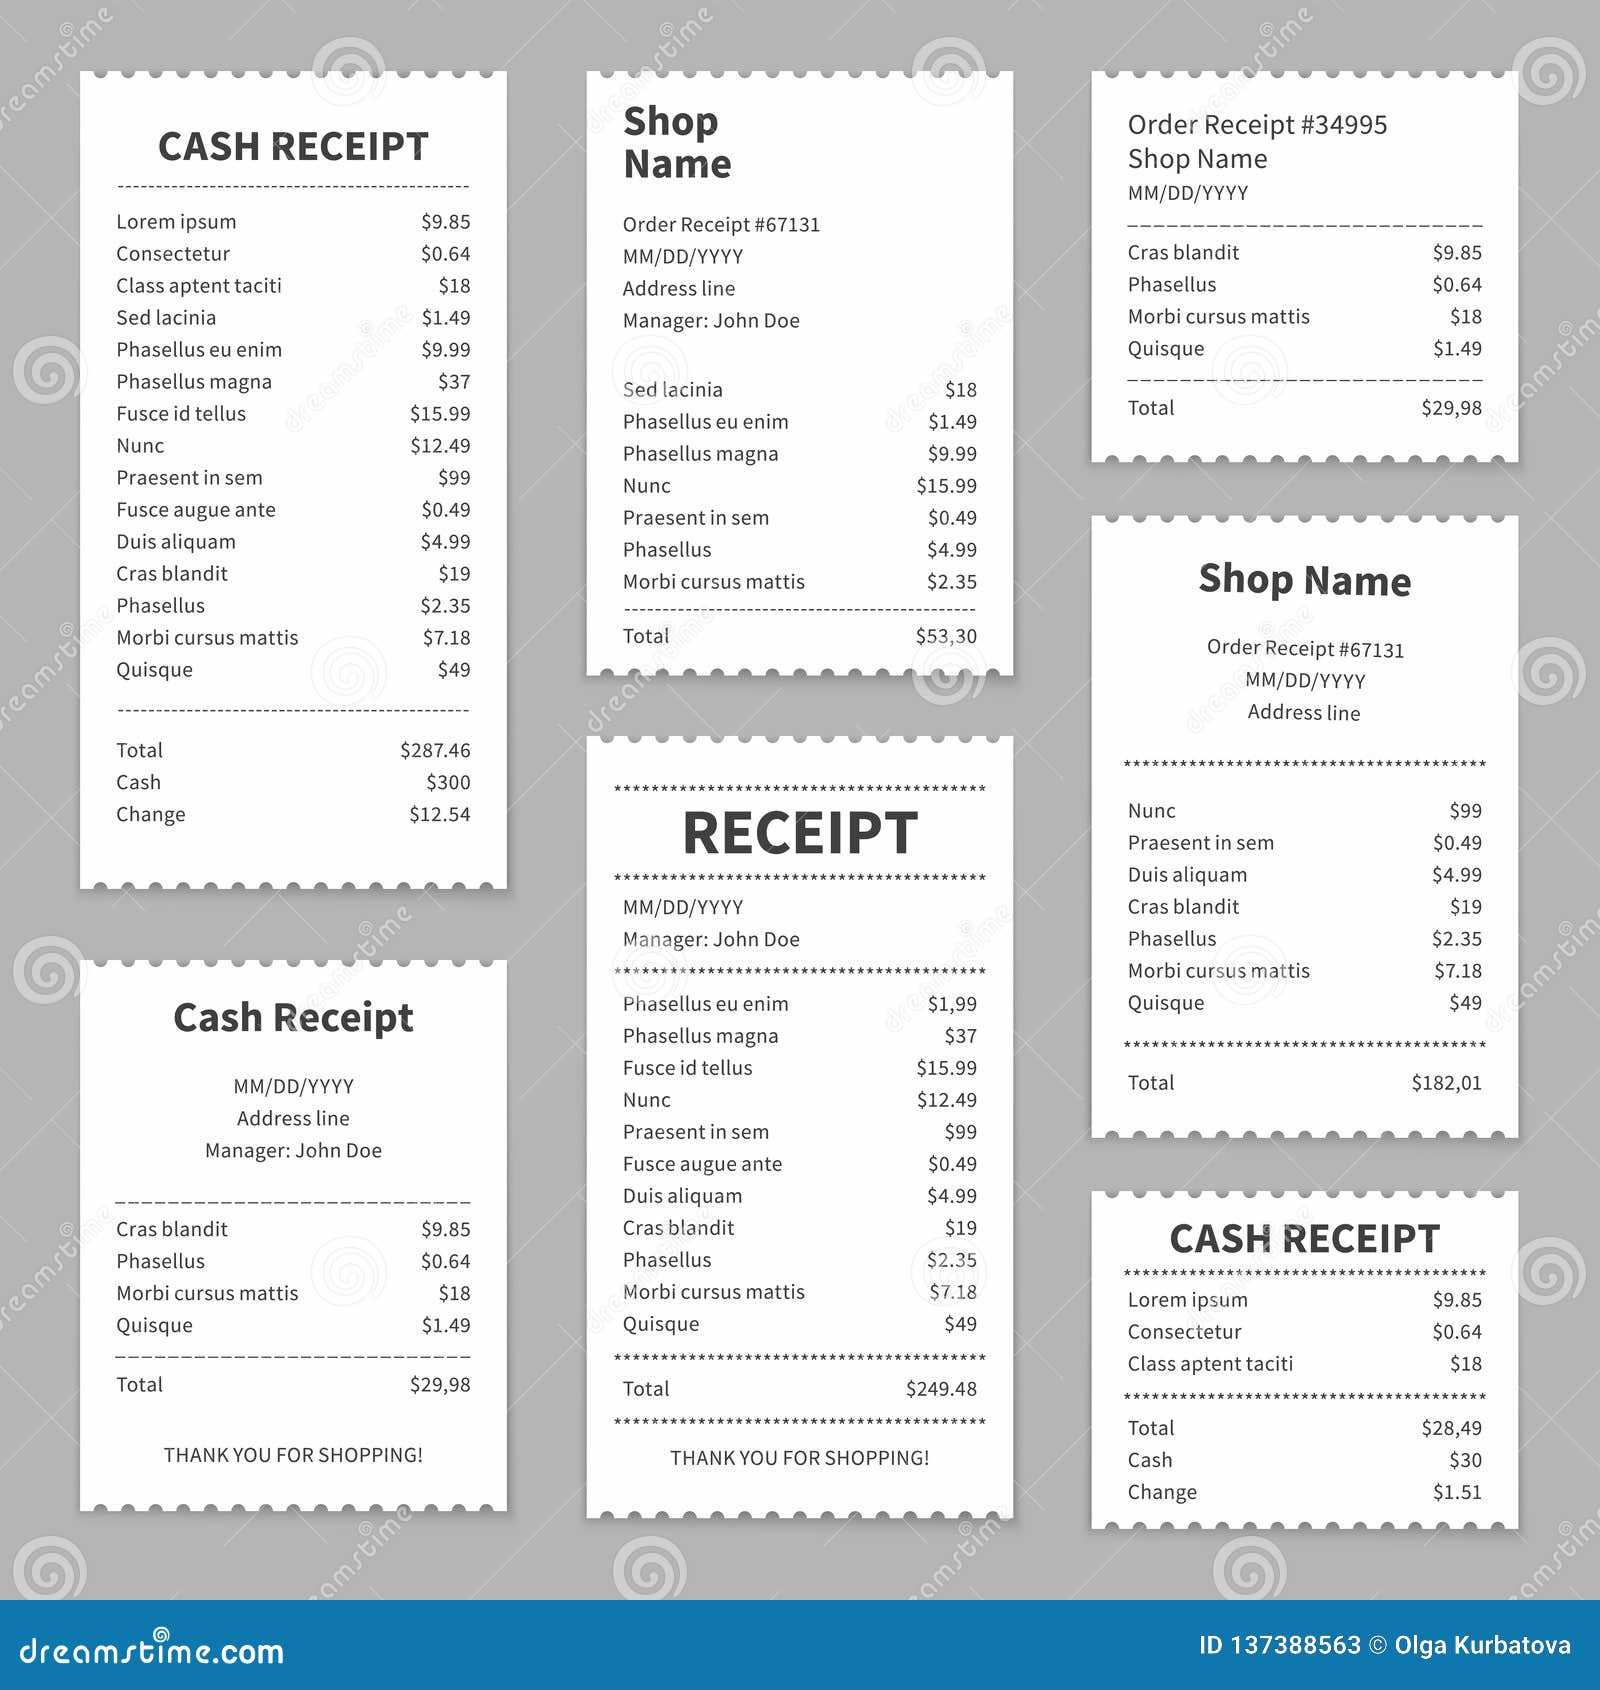
Start by selecting the right dimensions for your receipt paper. Most receipts use a standard width of 80mm or 58mm, with lengths that can vary depending on the content. For an accurate fit, use a layout program that supports these sizes to ensure your template will print correctly on your chosen paper.
Important Sections of a Receipt
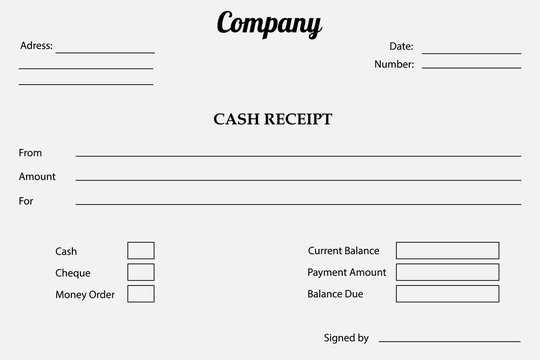
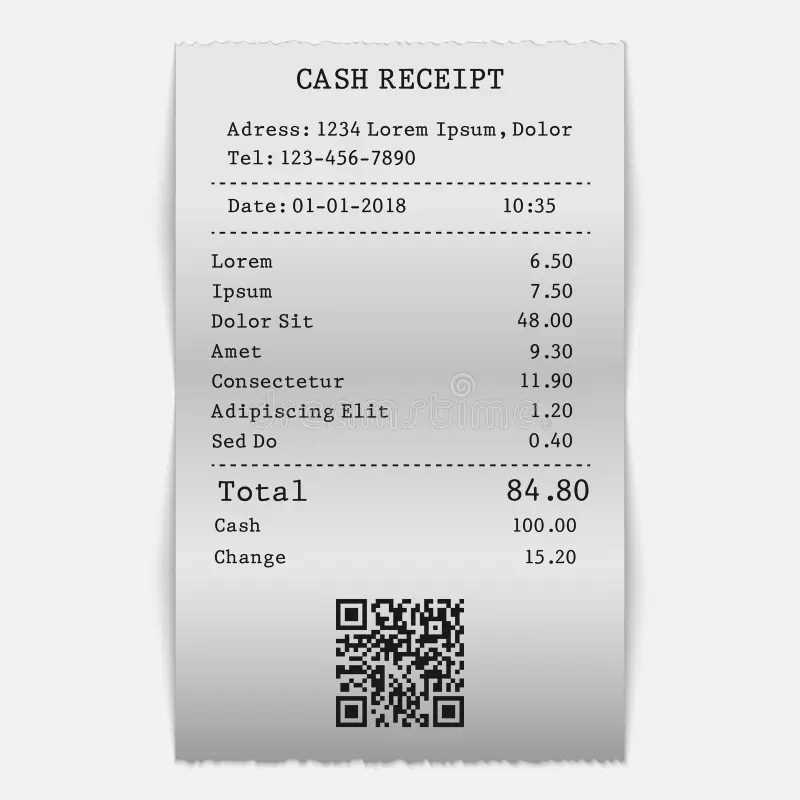
A typical receipt includes several key sections that must be formatted correctly:
- Header: The business name, logo, and contact details should be placed at the top of the receipt.
- Transaction Details: Include the date, time, and receipt number for easy reference.
- Itemized List: Clearly list each item purchased, including the description, price, and quantity.
- Total Amount: Calculate the total cost, including taxes, and display it prominently.
- Footer: Include any additional information, such as return policies, customer service contacts, or special offers.
Formatting Tips for Clean Layouts
Use simple fonts and ensure proper alignment for readability. Consider using a monospace font for the itemized list so that all prices and quantities align correctly. Adjust the spacing between sections to avoid a cluttered appearance and allow for easy reading at a glance.
Customizing Your Template
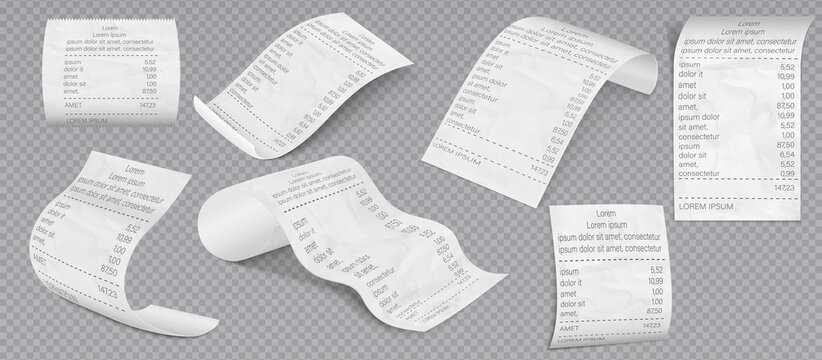
For businesses, adding a personalized touch is easy. Include custom branding elements, such as your company colors or a unique font for the header. Ensure the contact information is clearly visible and placed in a consistent location across all receipts to avoid confusion.
Once your template is ready, test print it to ensure the layout fits your receipt paper and that all text is legible. Adjust margins and content alignment if necessary before finalizing the design.
Receipt Paper Template: A Detailed Overview
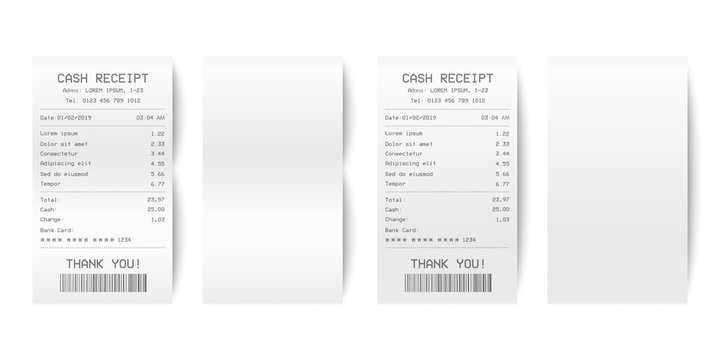
The right receipt paper template simplifies the process of creating clear, professional receipts. Ensure your format includes key elements like business name, contact information, transaction details, and a footer with return policies. Consistent layout boosts legibility and reinforces brand identity.
For effective receipt design, prioritize functionality. The structure should accommodate varying fields depending on your business needs. Include sections for item descriptions, quantities, prices, taxes, and totals, adjusting these elements to suit your particular industry, whether retail, hospitality, or services.
Consider margins and spacing when formatting receipt fields. Too little space may cause text to overlap, while excessive spacing could make the receipt seem inefficient. A well-proportioned design contributes to readability and ease of use, especially in fast-paced environments like checkouts.
Print quality plays a major role in presentation. Use high-quality printers and paper to ensure the printed text remains crisp and legible. Inconsistent prints or smudged text can result in confusion or disputes with customers. Choose thermal paper for a longer-lasting print, as it resists fading over time.
Avoid common receipt design errors, such as overcrowding or lack of clear sectioning. Overloading information can overwhelm customers, while poorly designed fields might confuse cashiers. Maintain balance between necessary details and concise presentation to streamline the customer experience.
When considering electronic vs. physical receipts, weigh the pros and cons of each format. Electronic receipts reduce paper waste and provide easier storage and retrieval. However, physical receipts are still preferred by some customers for easier access or for returns. A flexible approach ensures your business meets various customer preferences.


