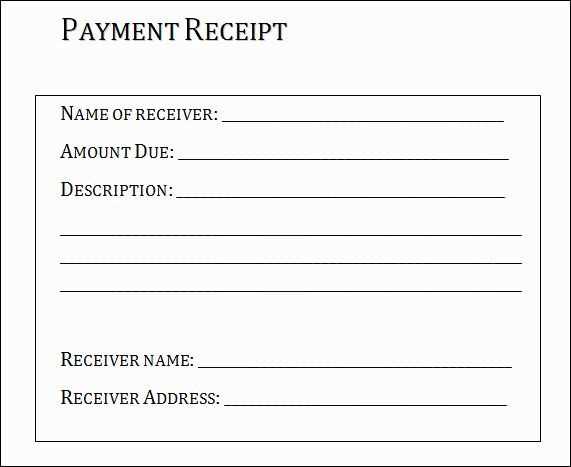
Use a clear and straightforward template to streamline the reimbursement process for receipts. A well-structured form ensures all necessary details are captured, minimizing confusion and delays. Start by including the date of purchase, vendor name, and item description. These basic components allow for easy verification and quick processing of requests.
Next, incorporate fields for total amount, payment method, and any taxes paid. This transparency is key to maintaining accuracy and accountability in financial records. Additionally, an optional receipt number field can help track submissions for both parties.
For a smooth approval process, ensure a section for signatures from both the claimant and the approving manager. This confirms that all entries are accurate and authorized. Lastly, providing a space for comments or additional notes allows flexibility for any unique circumstances surrounding the reimbursement request.
Receipt Reimbursement Templates: A Practical Guide
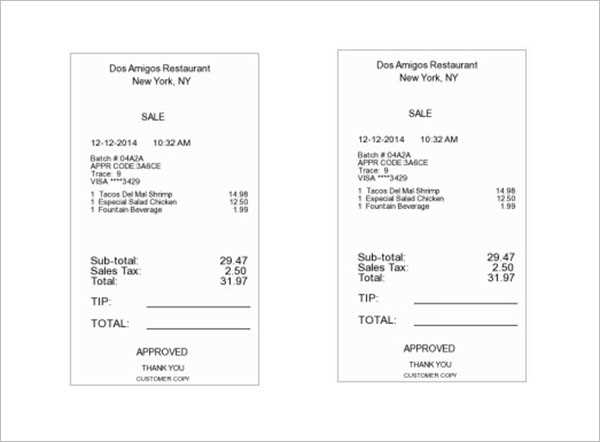
Choose a clear, concise format when creating reimbursement templates. A simple table layout with well-defined categories makes data entry easier. Include fields for the date, expense category, amount, and a brief description. Ensure space for attaching a scanned copy of the receipt for verification. This method allows both the employee and the finance team to quickly process reimbursements with minimal confusion.
Use a consistent naming convention for all template files, so they are easy to identify and track. Save files with a clear title, such as “Reimbursement_Receipt_[Date]_[Employee Name].” This helps streamline filing and searching through records.
Automate as much of the process as possible. For example, integrate your templates into accounting software where employees can directly input data. This reduces manual entry and minimizes errors. Set up fields for automatic calculations of totals, ensuring that there is no need to double-check simple arithmetic.
Regularly review your templates and adjust them as necessary to fit any changing company policies or tax laws. Clear communication with employees regarding the changes helps avoid confusion and ensures compliance with updated procedures.
How to Design a Custom Receipt Reimbursement Template
Focus on clarity and simplicity. Begin by defining the key fields that need to be included, such as date of purchase, amount spent, vendor details, and reason for expense. This helps ensure that all relevant information is captured without overwhelming the user.
Use a clean layout with clearly marked sections. Organize the data in a way that is easy to read, using bold labels and simple formatting. This can include creating separate rows for each line item or expense type. This structure will make it easier to review and approve claims.
Consider adding an area for attachments, like scanned receipts or invoices. A designated space for these documents keeps everything in one place, streamlining the process. Be sure to specify the maximum file size and acceptable formats for uploaded files to avoid complications.
Incorporate space for employee details, such as name, department, and employee ID number. This ensures that each reimbursement request can be traced back to the correct individual and department for accountability.
Make the template customizable to fit different reimbursement scenarios, whether it’s for travel, supplies, or other business expenses. Customizable fields allow employees to tailor the form to their specific needs while maintaining consistency.
Finally, ensure that the template is mobile-friendly. A responsive design allows employees to submit reimbursement requests from any device, increasing accessibility and reducing barriers in the submission process.
Key Elements to Include in a Reimbursement Request Form
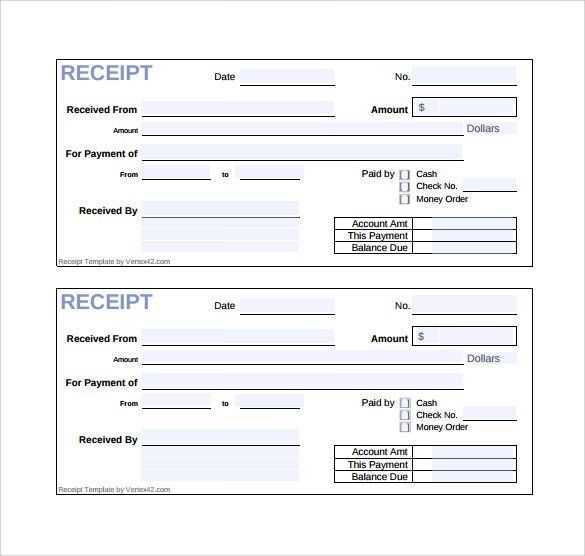
Make sure the form clearly asks for the employee’s name and contact details. This helps the responsible department easily reach out if further information is required.
Expense Description
Provide a section for a detailed description of each expense. Include the date, location, purpose, and nature of the expense. This will clarify the reason for the reimbursement and ensure it aligns with company policies.
Receipt Attachments
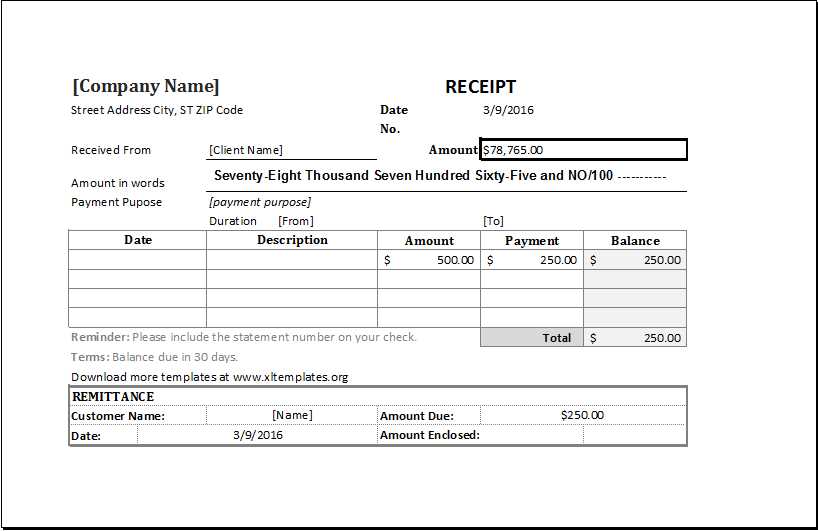
Ensure there’s a spot to upload or attach receipts. Clear and legible receipts should be mandatory to avoid confusion or the rejection of the claim.
The total amount should be broken down and displayed with supporting calculations if needed, to give a transparent view of the claimed reimbursement.
Don’t forget a signature field for the employee and their supervisor. This confirms that the expense is legitimate and approved by the relevant authority.
Finally, include a space for additional comments or notes. This allows employees to clarify any special circumstances or provide context that may not be obvious from the receipt alone.
Common Mistakes to Avoid When Using Reimbursement Templates
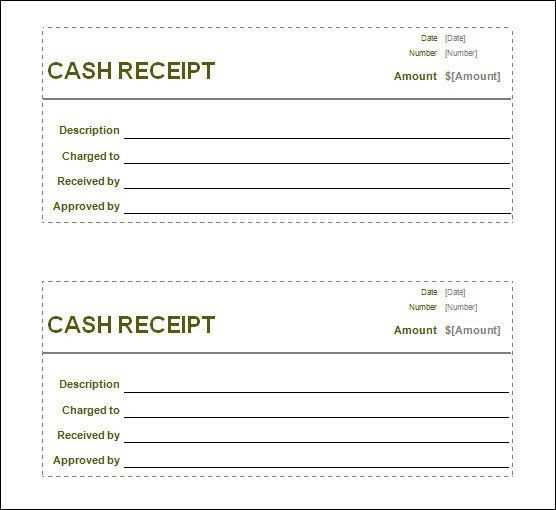
Ensure the accuracy of the information you input into the template. Misplacing figures or miscalculating totals can delay the process and result in unnecessary confusion.
1. Failing to Include Complete Details
- Always double-check that you’ve included all required information: dates, amounts, and descriptions of expenses.
- Missing information might cause the submission to be rejected or delayed.
2. Using Incorrect Receipt Formats
- Submit receipts in the format specified by the template or organization. Failing to do so may lead to the rejection of your request.
- If scanning or uploading receipts, ensure they are legible and clear to avoid discrepancies.
3. Not Following Submission Guidelines
- Every template has specific guidelines for submission. Adhering to these will prevent delays in processing and approval.
- Check submission deadlines and instructions regarding supporting documentation or additional forms.


