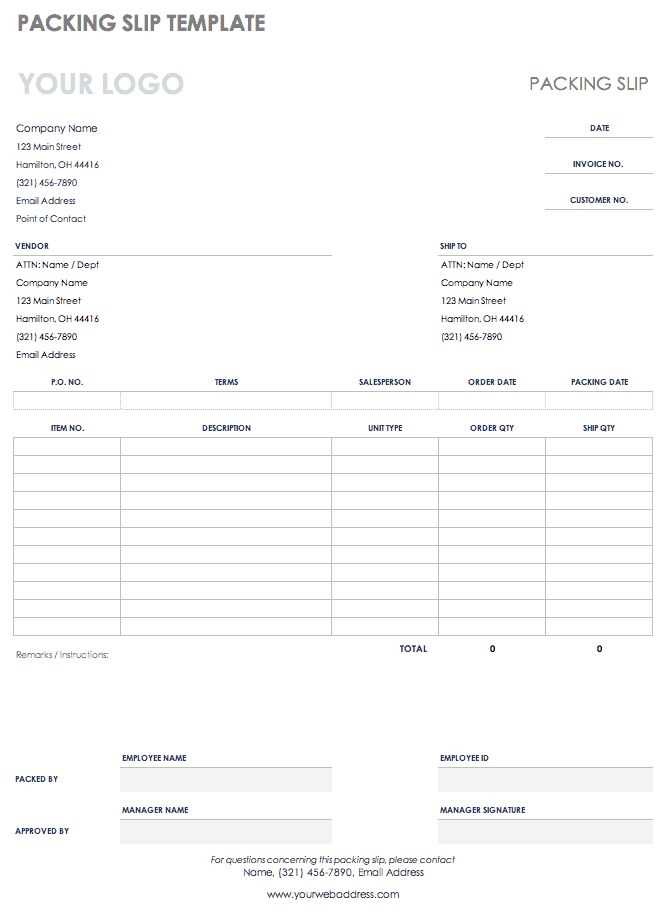
Creating a receipt slip template is straightforward and practical. It allows businesses to maintain consistency and ensure that all necessary information is included in every transaction. By using a template, you avoid errors and save time while ensuring clarity for your customers.
Start by including the date, company name, and contact details at the top of the receipt. Follow this with a list of items or services provided, their quantities, and the total amount due. Make sure to clearly display the payment method, whether it’s cash, card, or any other form of payment.
To improve usability, consider adding fields for discounts or taxes if applicable. This helps customers see a breakdown of costs and makes it easier for your business to track finances. Keep the layout clean and easy to read, using simple fonts and adequate spacing between sections.
Finally, be sure to leave space for any additional notes or terms and conditions if necessary. This can include return policies or warranty information. Providing these details helps avoid confusion and builds trust with customers.
Receipt Slip Templates: Practical Insights
Use clear formatting to ensure information on your receipt slip is easily readable. A simple design with designated sections for each type of information helps customers quickly identify key details like date, amount, and items purchased.
- Header Section: Include your business name, logo, and contact details. This establishes a professional tone and makes it easier for customers to reach you if needed.
- Date and Time: Ensure the date and time are prominently displayed. This provides a reference point for both the customer and the business.
- Itemized List: Break down purchases with clear labels, quantities, and prices. This eliminates confusion and provides transparency.
- Total Amount: Clearly show the total amount owed, including any taxes or additional fees. The calculation should be easy to follow.
- Payment Method: Include details about the payment method used (cash, card, etc.), confirming the transaction was processed.
- Return Policy: If applicable, mention the return policy or any other necessary terms in the footer section for quick reference.
By following these guidelines, you’ll ensure your receipt slip template is not only functional but also builds trust with your customers through clarity and transparency.
Choosing the Right Template for Different Business Needs
Select a receipt template based on your business type and the details you need to include. For retail businesses, choose a simple template that captures the itemized list of products, prices, and total amounts. Ensure it includes space for taxes, discounts, and payment methods. If you’re in the service industry, opt for a template that highlights the type of service provided, the duration, and the hourly rate if applicable. Incorporating a clear breakdown of costs will enhance clarity for both parties.
Retail Business Templates
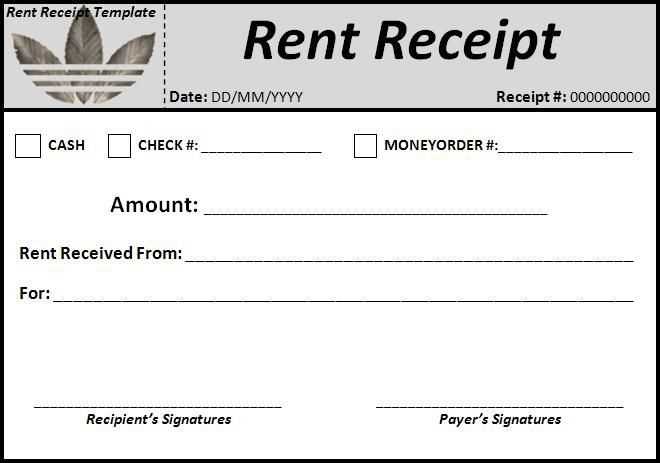
For retail businesses, a basic itemized receipt is usually sufficient. Look for templates that allow for product descriptions, quantities, unit prices, and the total price with taxes and discounts. The template should also include room for the business name, contact details, and a transaction number for easy tracking. This will ensure customers can quickly identify their purchases, and you can manage returns or exchanges smoothly.
Service Industry Templates
For service-based businesses, a more detailed receipt is often required. Choose a template that includes services provided, time spent, hourly rates, and any extra fees. Be sure to include fields for the date of service and payment methods. This helps clients understand what they are paying for and makes your billing process transparent. Make sure the template is simple yet detailed enough for clients to review at a glance.
Customizing Receipt Slips to Match Brand Identity
Align your receipt slips with your brand’s visual identity by using consistent fonts, colors, and logos. Begin by selecting a typeface that reflects your brand’s tone–whether it’s professional, modern, or friendly. Keep readability in mind and ensure the font size is appropriate for easy reading, even in small print.
Color Scheme and Logo Placement
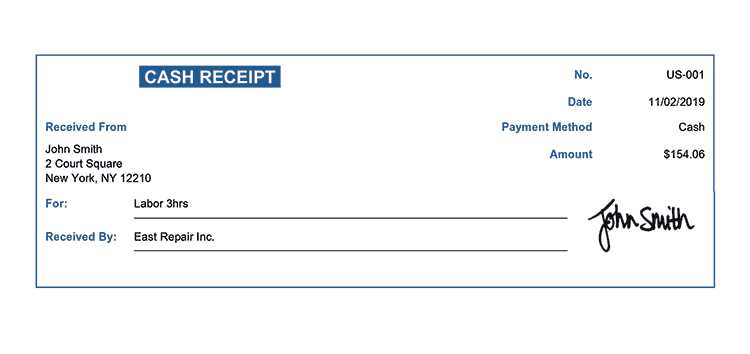
Choose a color scheme that matches your branding guidelines. Stick to your primary brand colors to create a cohesive design that customers immediately recognize. Position your logo prominently, but avoid overcrowding the slip with unnecessary elements. A clean design with your logo at the top or bottom ensures a professional look without overwhelming the customer.
Brand-Specific Messaging
Incorporate a short, branded message or slogan on the receipt to reinforce your brand’s values or personality. This could be a tagline, a thank-you note, or a reminder of your website or social media handles. Personalizing the experience helps to build a stronger connection with your customer.
Common Mistakes to Avoid When Using Receipt Slip Templates
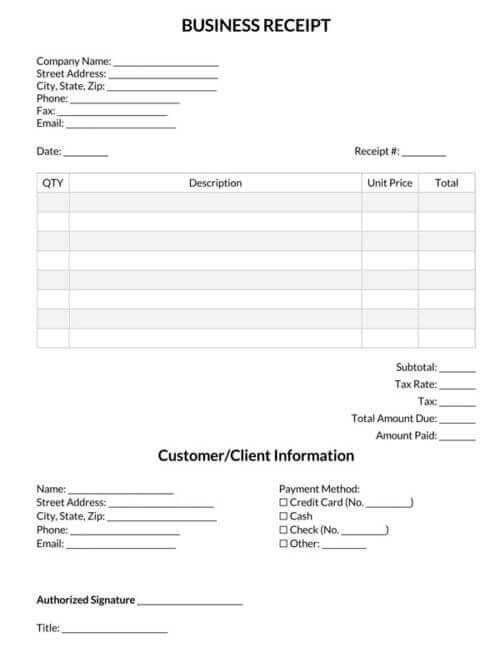
Ensure accurate information before printing. Mistakes in customer names, item details, or prices can cause confusion and potential disputes. Always double-check that all data matches the transaction.
Overlooking Customization Options
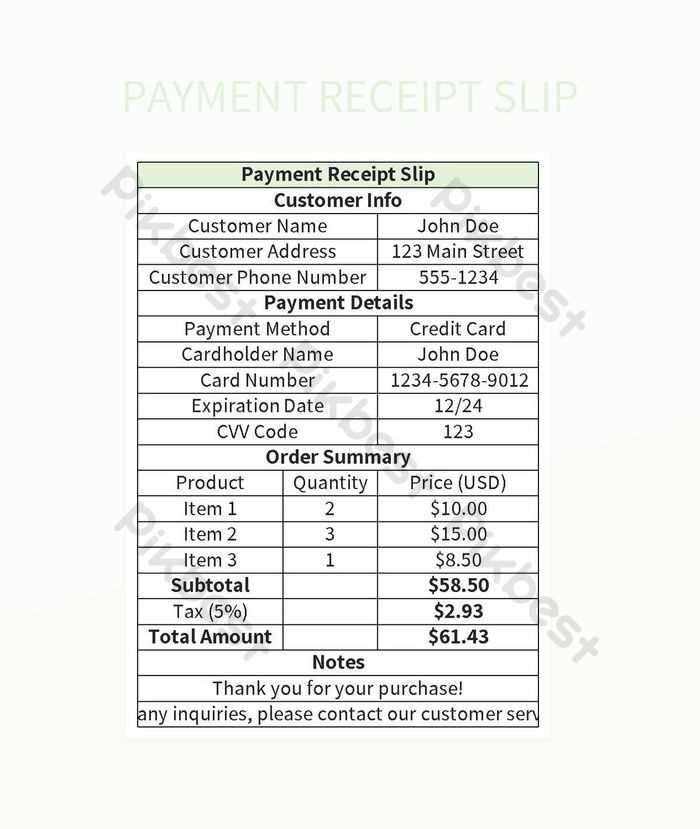
Many receipt templates offer customization features. Don’t use a generic template without adjusting it to your business needs. Adding your company logo, contact info, or specific terms will make the receipt more professional and aligned with your brand.
Neglecting the Date and Time
Failing to include the correct date and time of purchase is a frequent mistake. This information is crucial for record-keeping and potential returns. Make sure the template automatically updates to reflect the accurate date and time.


