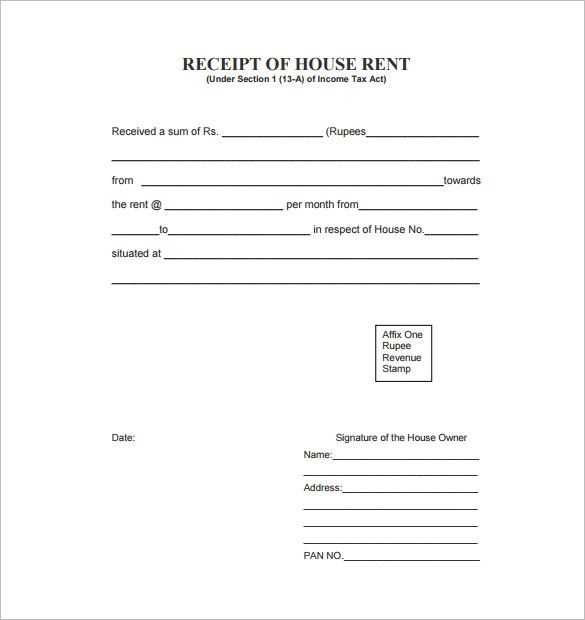
Choosing the right receipt template makes a significant difference in your business operations. A clean and professional design helps customers feel confident in their purchase, while simplifying record-keeping on your end. Depending on your needs, you can select from basic, customizable, or detailed templates that suit your brand and transaction type.
If you’re managing small transactions, a simple template with just the essentials–such as the business name, date, and total amount–might be all you need. For businesses with more complex needs, a template with itemized lists and tax breakdowns offers greater transparency and accuracy.
Customization options can add a personal touch, making your receipts stand out. Consider including your logo, color scheme, or even a loyalty program code to enhance customer experience and promote return business.
For those running online stores, digital receipt templates can streamline processes by automatically sending receipts to customers after purchases. These templates can be easily integrated with most e-commerce platforms to save time and reduce errors.
Receipt Template Choices
Choose a template that aligns with your brand’s tone and the transaction’s nature. Minimalist designs work well for straightforward purchases, while detailed templates are better for complex transactions requiring more information. Select a template that supports your business goals and provides clarity for your customers.
Basic vs. Detailed Templates
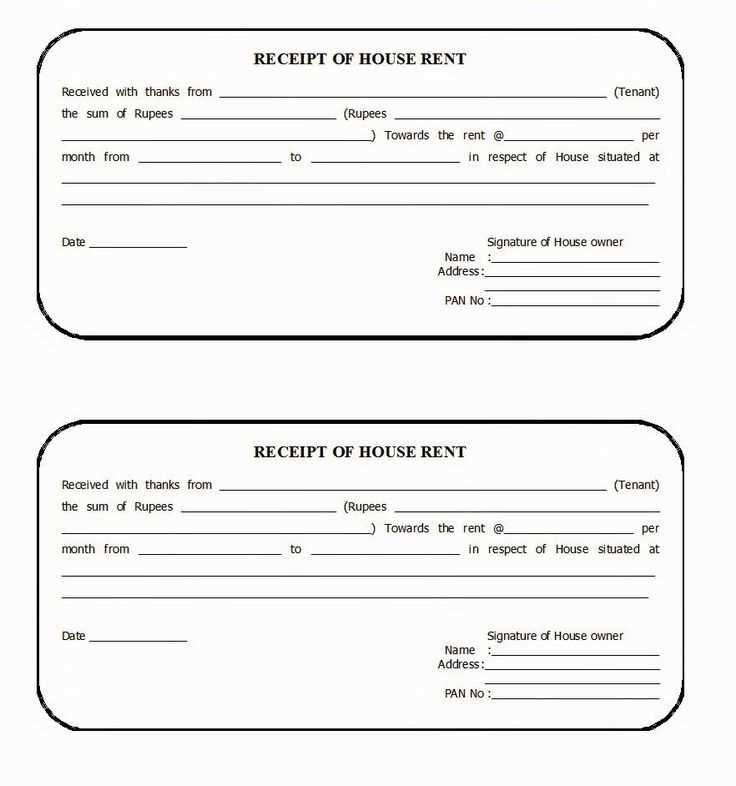
Basic templates are ideal for simple, quick transactions. They typically include essential information like the item, price, and date. Detailed templates offer more flexibility, allowing space for taxes, discounts, and customer information. Consider how much detail you need and pick a template that avoids overwhelming your customers with unnecessary information.
Customizable Templates
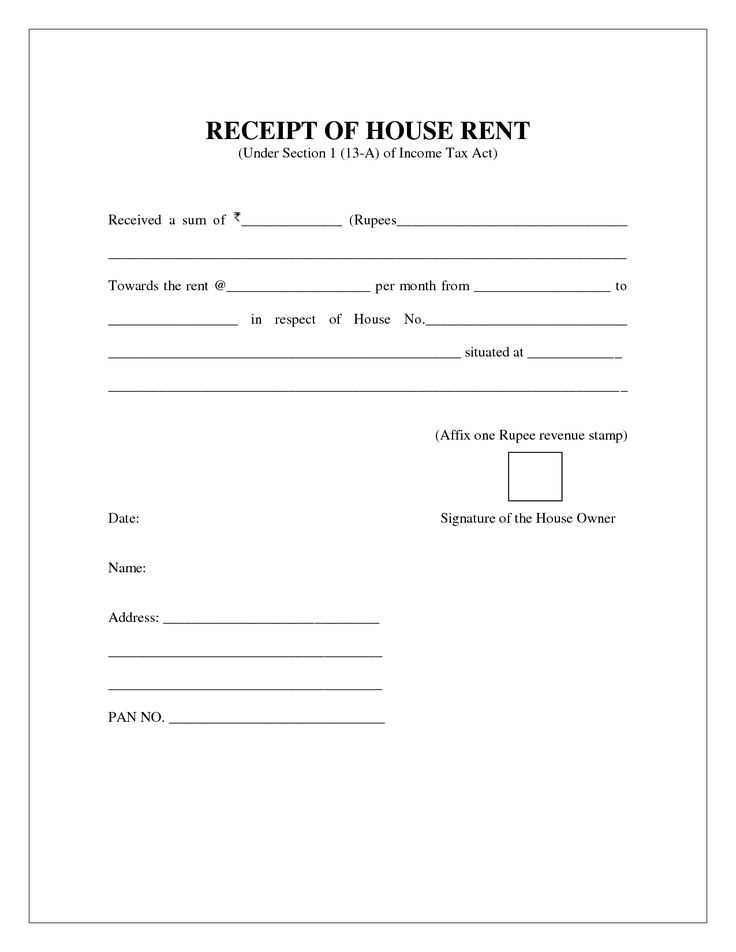
Opt for a customizable template if you need flexibility in formatting or adding extra fields. Customization can include logos, specific product categories, and payment terms. A template with this capability can adapt to different business needs without compromising readability.
Selecting the Right Template for Business Use
Choose a receipt template that matches your brand identity and specific business needs. Focus on simplicity and clarity to make sure the receipt is easy to read and understand. Avoid overloading it with unnecessary details. Instead, highlight key information like the transaction date, total amount, and payment method. For different industries, look for templates designed for specific use cases, such as service or retail, ensuring they capture all the relevant details for that field.
Key Features to Include
- Business Information: Ensure your logo, business name, and contact details are clearly visible.
- Transaction Details: Include items like the transaction date, customer’s name, payment method, and a breakdown of purchases or services.
- Legal Requirements: Verify that your template complies with local laws, including tax identification numbers or other mandatory data.
Template Customization Tips
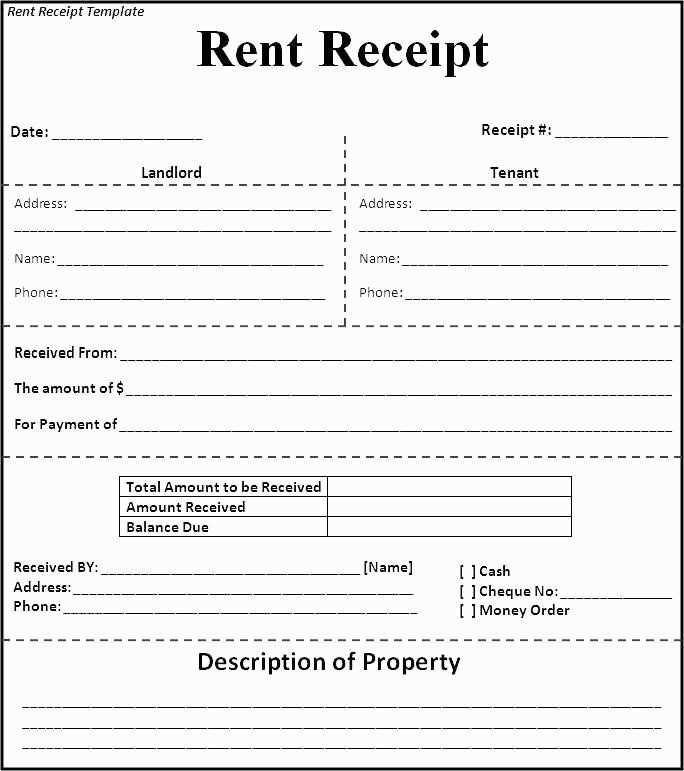
- Branding: Use your brand colors and fonts to make the template align with your overall business image.
- Space for Notes: Leave space for additional information such as return policies or promotional codes.
- Mobile Compatibility: Ensure the template is legible and well-formatted across both desktop and mobile devices.
Customizing Templates for Specific Transactions
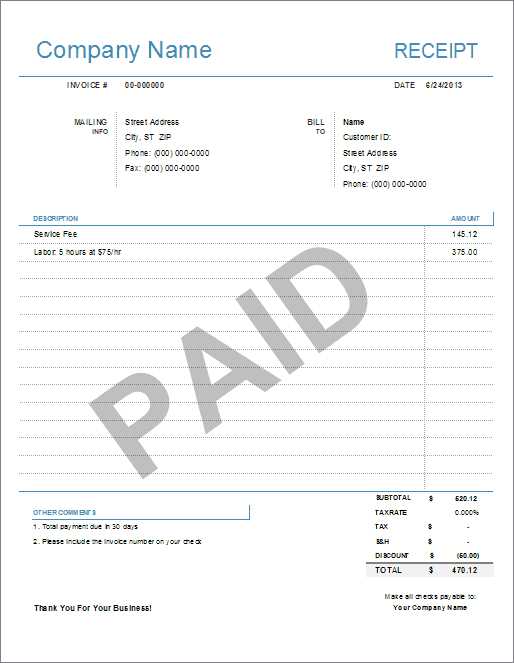
Adapt your receipt templates to reflect the specifics of each transaction. For example, for service-based businesses, include additional fields for hours worked or service descriptions. This provides clarity and improves customer understanding of the transaction details.
Adding Relevant Data Fields
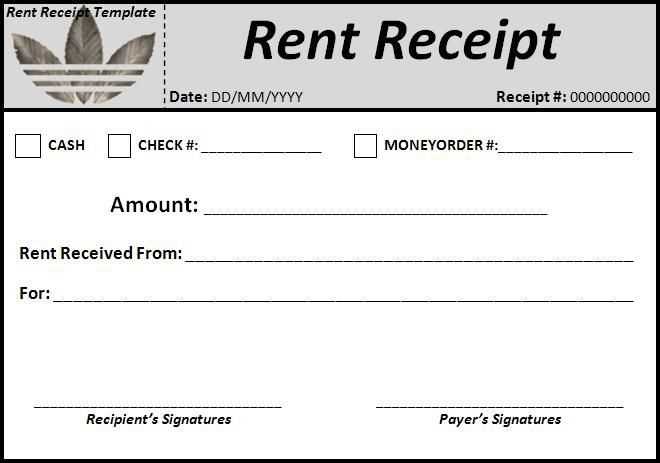
Incorporate transaction-specific information like item serial numbers, location details, or special discounts. This not only makes the receipt more informative but also serves as a useful reference for both parties in the future.
Tailoring the Layout
Modify the layout based on the nature of the transaction. For example, for refunds or exchanges, make sure to include a section that clearly outlines the reason for the change. Similarly, include warranty details if selling durable goods. Tailoring the template for each scenario helps to avoid confusion and streamlines the process.
Integrating Templates with Accounting Software
Link your receipt templates directly to accounting software to streamline invoicing and financial reporting. Most modern accounting systems offer integration features that allow seamless template imports, which saves time on manual data entry. Choose a template format that aligns with your software’s capabilities, ensuring compatibility for smooth data transfer.
Start by selecting a template that matches the structure required by your accounting system. Many programs support CSV, Excel, or PDF formats. Once you have the correct template, use built-in tools or third-party connectors to import data, including client details, transaction dates, and amounts.
Automate recurring tasks such as sending receipts or generating invoices. This reduces human error and improves the overall workflow. Set up automatic reminders for follow-ups based on due dates or payment status, keeping track of outstanding invoices without additional effort.
Ensure that your chosen template can handle necessary tax calculations, discounts, or other adjustments that might be required in your specific industry. Customizing the template fields will make sure all relevant data is captured and transferred correctly into your accounting software.
Sync your accounting data regularly to avoid discrepancies. This ensures that receipt information is always up-to-date, with any changes reflected instantly across the platform. Look for software that provides integration support for your specific receipt template format, and stay updated with any software updates to avoid compatibility issues.


