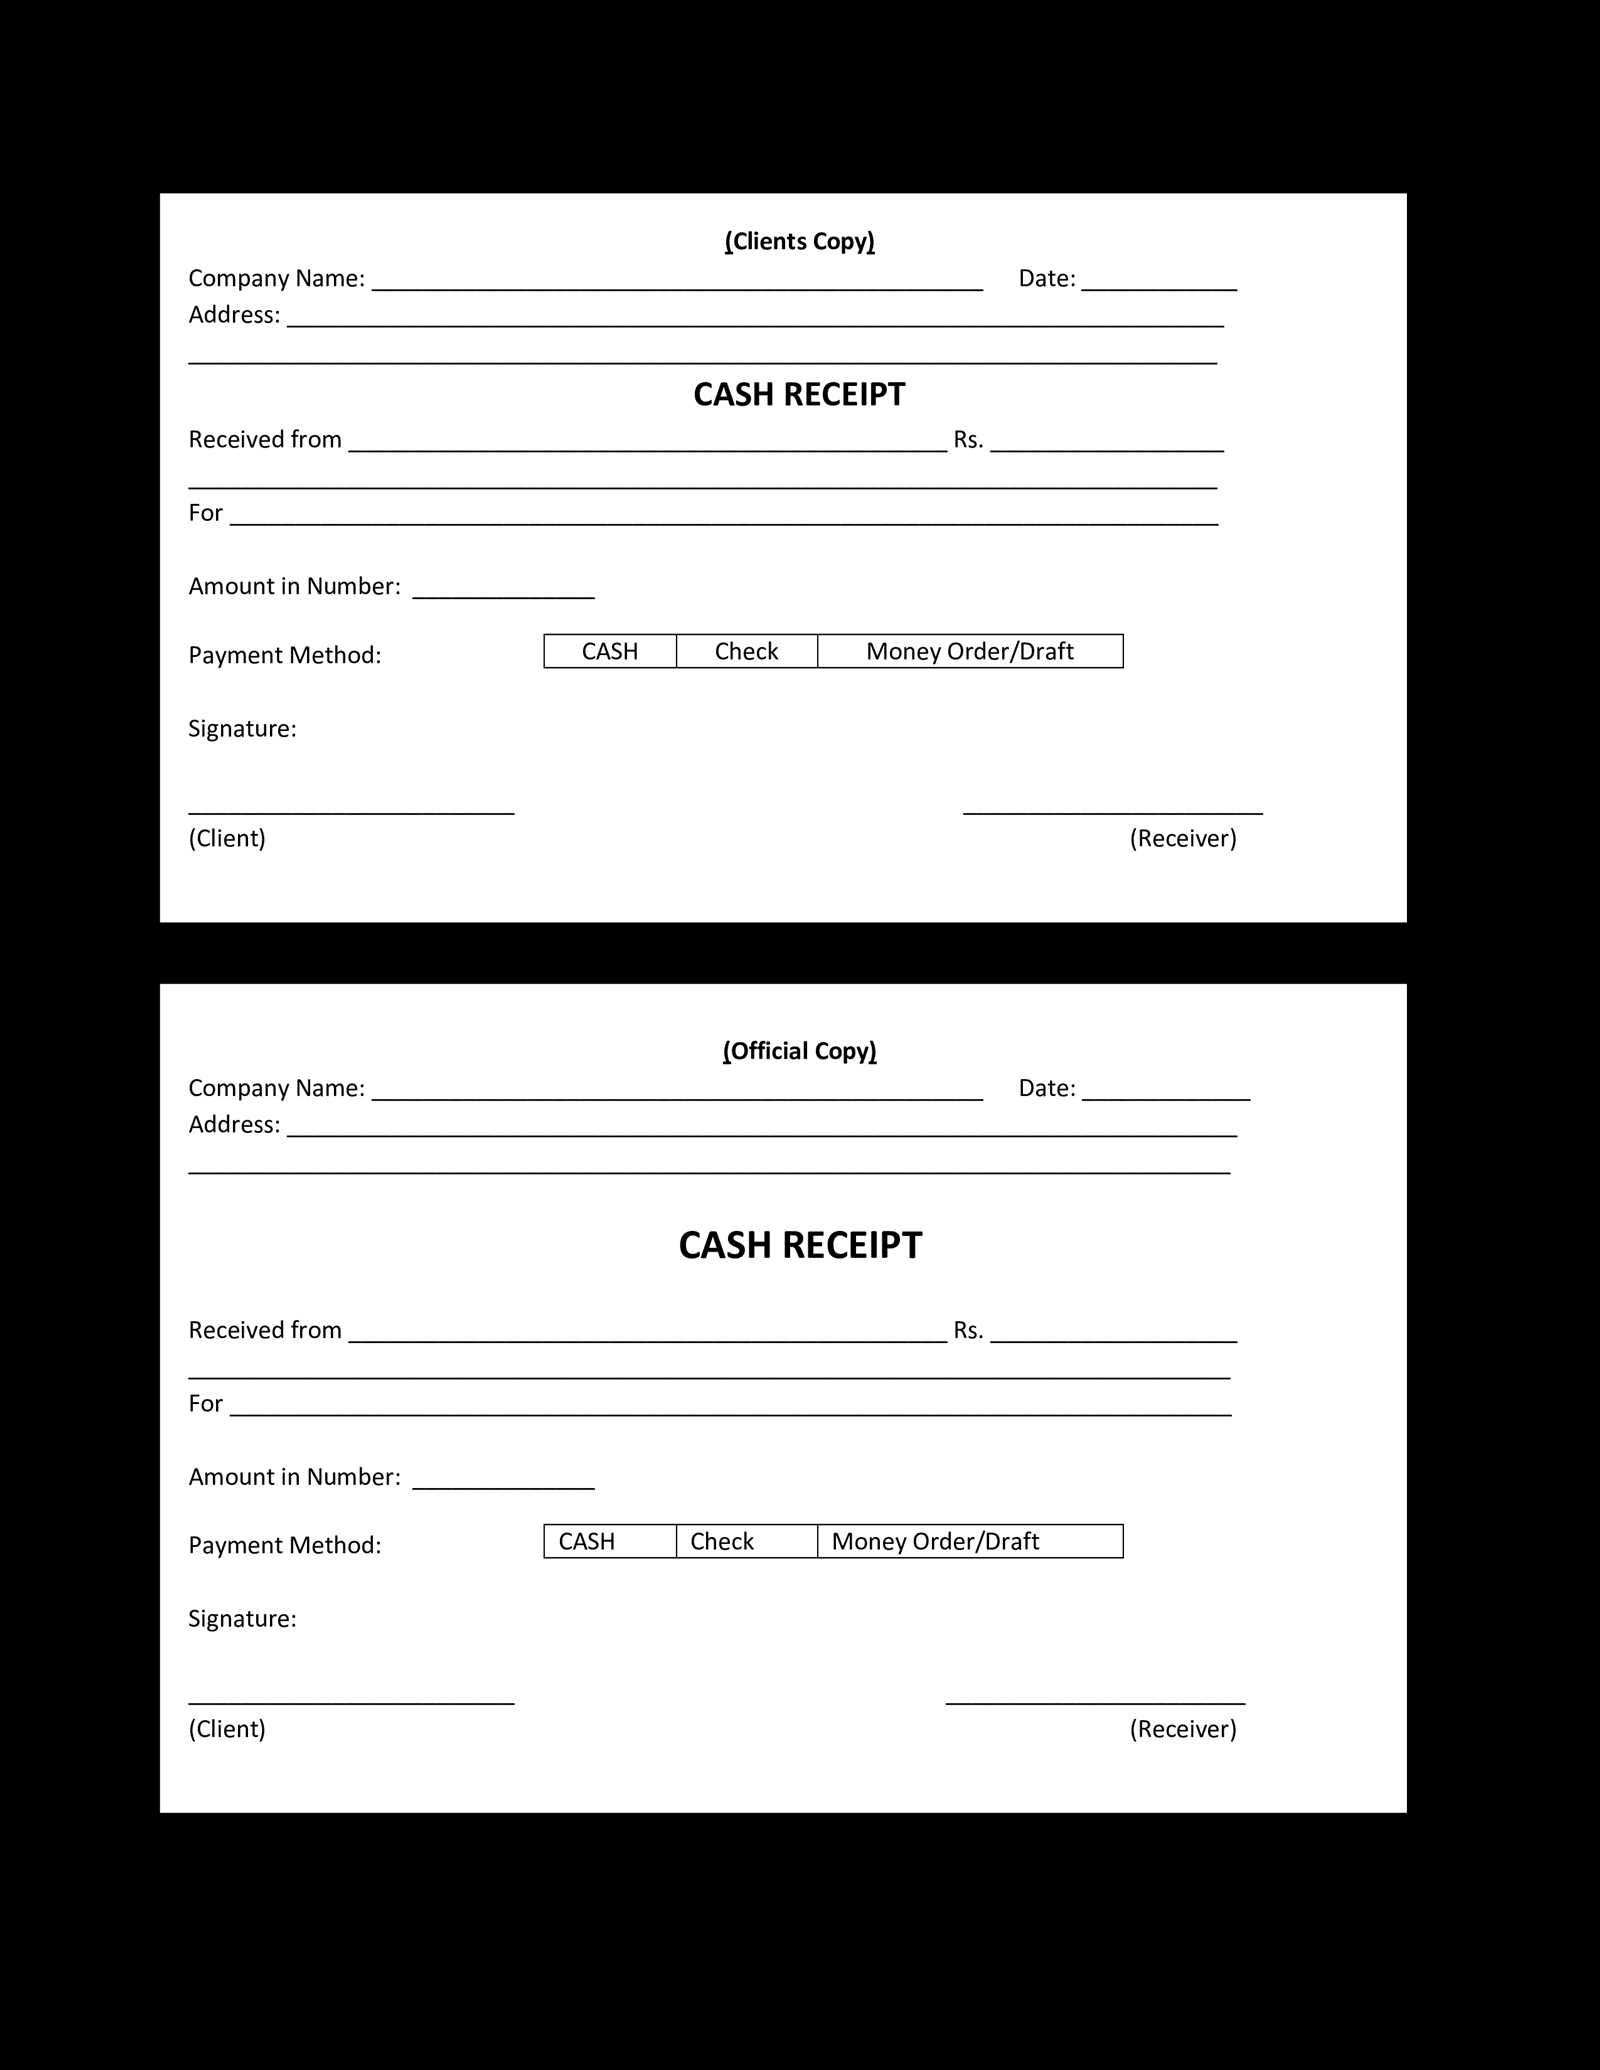
For a smooth renovation project, having a clear and organized receipt template is crucial. This template will help you keep track of all expenses, including materials, labor, and any additional costs that may arise during the work. Start by listing the project details at the top of the receipt, including the date, location, and the names of the parties involved.
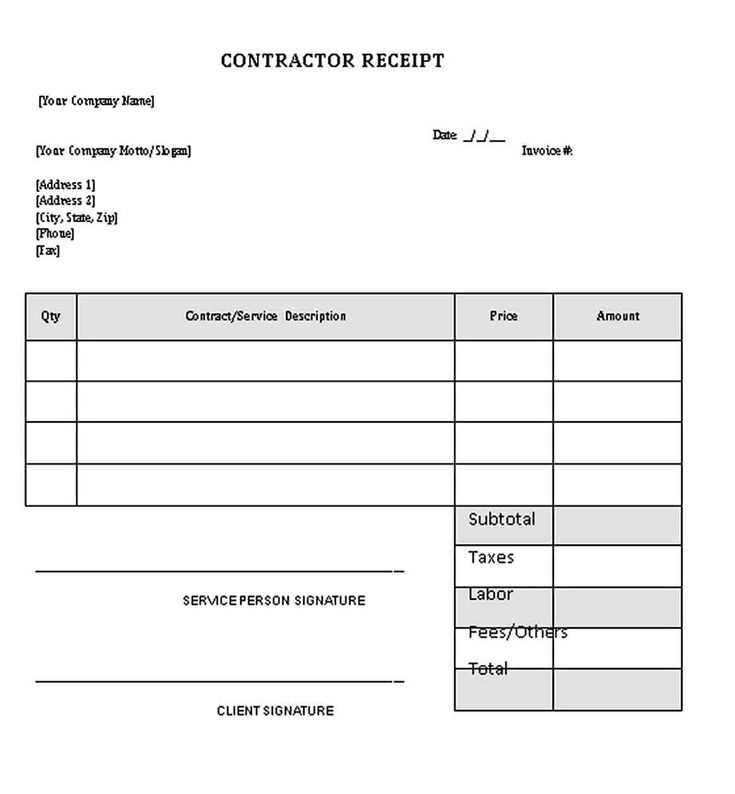
Itemizing Costs is the next step. Break down each expense clearly, specifying the quantity, unit cost, and total cost for each item or service. This ensures transparency and prevents confusion later. For example, you can list individual materials such as tiles, paint, or fixtures, alongside labor charges for contractors or subcontractors.
Once the items are listed, include payment details. Clearly state the amount paid, the payment method (e.g., credit card, bank transfer, or cash), and the due date for any remaining balance. This section should also include any terms and conditions agreed upon for the renovation work.
Finally, ensure to leave space for signatures from both the service provider and the client. This confirms that both parties are in agreement with the work completed and the costs incurred. A well-organized receipt can prevent future disputes and is an important part of keeping your renovation project on track.
Receipt Template for Renovation Work
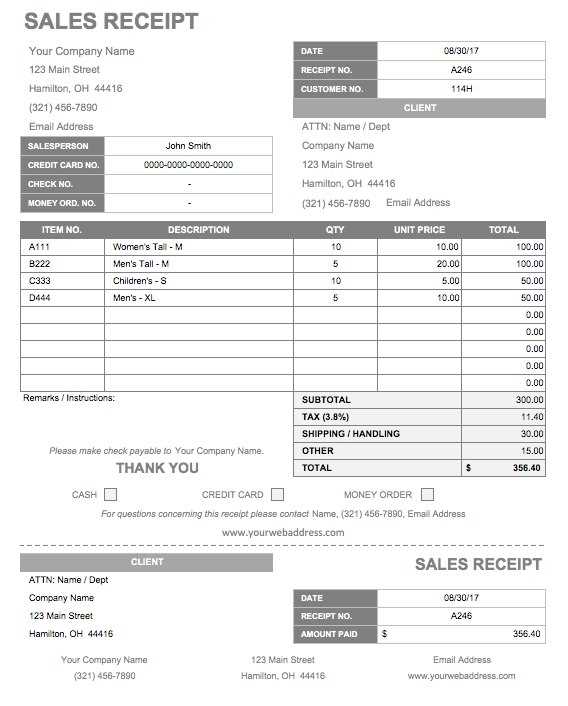
To create a clear and organized receipt for renovation work, include the following elements:
1. Service Provider Information: Include the company or contractor’s name, address, phone number, and email. This ensures the recipient knows who performed the work.
2. Client Information: List the client’s name, address, and contact details to confirm the person receiving the service.
3. Date of Work: Clearly mention the date the renovation work was completed or the date the payment is being made. This helps to avoid confusion in future reference.
4. Description of Services: Provide a detailed breakdown of all the renovation services offered. This may include types of work performed, materials used, labor hours, and any special instructions or requests fulfilled.
5. Costs: Itemize the cost of each service, including labor, materials, and any additional charges. Be sure to include taxes, if applicable, and clearly state the total amount due.
6. Payment Terms: Indicate the payment method (cash, credit, bank transfer, etc.), payment due date, and any other relevant conditions, like deposits or installment options.
7. Signature Section: Include space for both parties to sign, confirming that the services were rendered as described and the payment terms are agreed upon.
By including these elements in your receipt template, you provide a transparent and professional document for both the client and service provider.
How to Create a Clear Breakdown of Renovation Costs
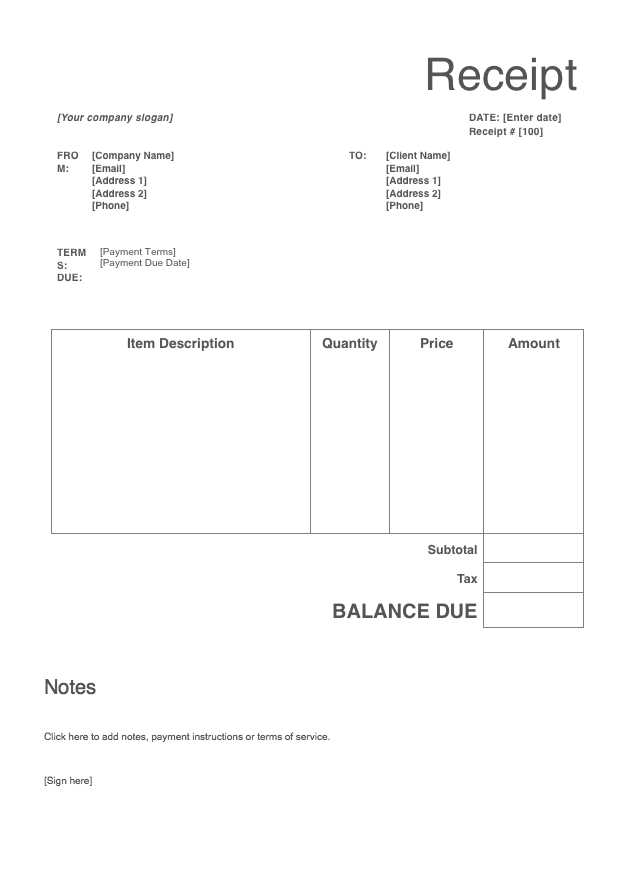
Begin by listing all tasks involved in the renovation. Group them into categories such as demolition, plumbing, electrical work, materials, labor, and permits. Assign specific costs to each task based on estimates or quotes.
Estimate Labor and Material Costs
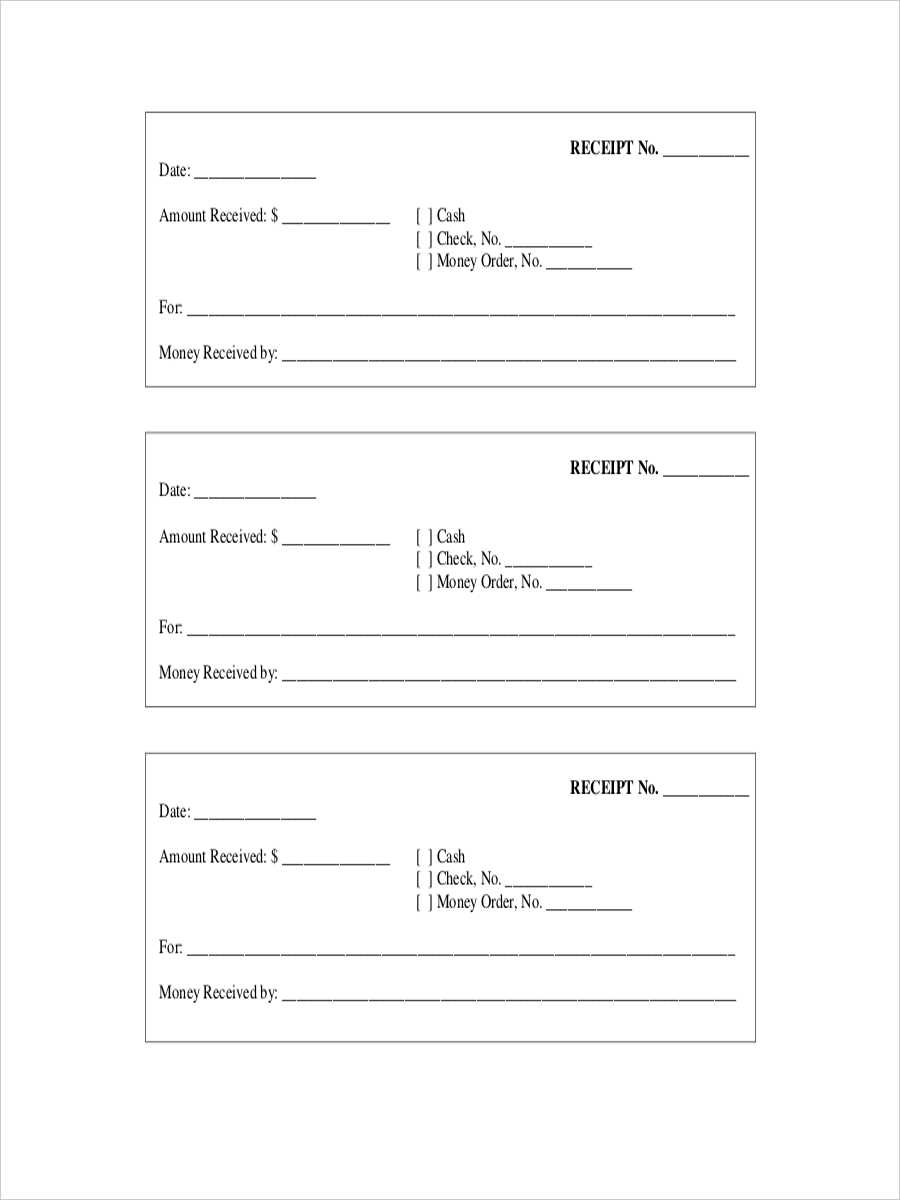
Obtain quotes from contractors and suppliers for each task. Labor costs may vary depending on the scope of the project, while material costs can fluctuate based on quality and availability. Break down both labor and material expenses for each category.
Include Additional Fees and Contingencies
Incorporate potential additional expenses like disposal fees, transportation, and unforeseen issues. Set aside a percentage of the total budget, typically 10-15%, to cover unexpected costs. This ensures a more accurate financial plan for your renovation project.
By organizing costs clearly, you can track spending and ensure the renovation stays within budget. Be detailed, yet flexible, in your estimates to accommodate any adjustments along the way.
Essential Details to Include in the Receipt for Tax Purposes
For tax purposes, include the following details in the receipt:
- Full business name and address: Clearly state the name of the business or contractor performing the renovation work, along with their registered business address.
- Date of transaction: The receipt should have the exact date the work was completed or when payment was made.
- Itemized list of services: Include a breakdown of each service or material used, along with the respective costs. This ensures transparency and clarity for tax records.
- Tax identification number: Display the business’s tax ID number to validate the transaction for tax reporting purposes.
- Total amount paid: Specify the total amount for the renovation work, ensuring it reflects all taxes, fees, and discounts applied.
- Payment method: Note the method used for payment (e.g., credit card, bank transfer, cash).
- VAT or sales tax amount: If applicable, the exact VAT or sales tax rate and amount charged should be stated separately.
- Contractor’s license number: If required by local laws, include the contractor’s license or certification number to confirm they are authorized to perform the work.
These details help maintain clear financial records and comply with tax regulations. Ensure the information is legible and easily verifiable for any future reference or audits.
Customizing Your Receipt for Different Renovation Services
Adapt your receipt template for each type of renovation service you provide to ensure transparency and avoid confusion. For electrical work, include a breakdown of labor hours, materials used, and any special equipment charges. Highlight the specific tasks completed, such as rewiring or installing outlets, with corresponding rates. For plumbing services, list each fixture installed or repaired, detailing labor and parts costs, including pipe materials or specialized tools. This clarity helps clients understand the specific charges for each element of the service.
Tailoring the Receipt for Construction Projects
For larger construction jobs, such as remodeling or additions, break down the receipt into sections. List the phases of work completed, such as demolition, foundation work, framing, and finishing. Include costs for each phase, materials, and any permits acquired. This method ensures the client is fully aware of what was done at each step, making the entire process more transparent and helping to avoid disputes.
Including Specifics for Painting and Flooring
When handling painting or flooring projects, specify the square footage covered, the type of paint or flooring used, and any prep work, such as sanding or priming. Include rates for each of these services to clarify what the client is paying for. Offering a detailed description of the materials, especially if premium products are used, ensures clients see the value of their investment.


