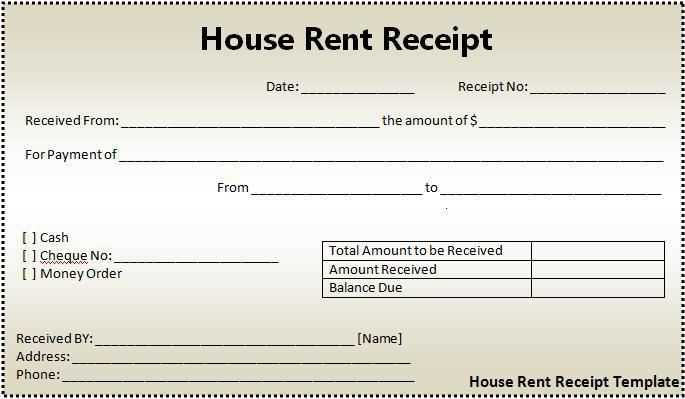
Creating a clear, professional receipt template for talent can simplify the process of tracking payments and ensuring proper documentation. A well-structured receipt includes specific details that confirm the transaction and can be used for future reference or accounting purposes.
The key elements of a receipt for talent should include the name of the talent, the type of service provided, the payment amount, and the date of the transaction. These details ensure both the payer and payee have a clear understanding of the exchange. Adding a reference number or invoice ID can help with organization, especially for larger businesses or agencies that manage multiple talents.
Make sure to include a breakdown of any additional costs, such as taxes or extra fees. This transparency can help prevent confusion and make future financial planning easier. If the payment was made in installments, ensure that the receipt reflects the current balance and the outstanding amount, if applicable.
For consistency, use the same format for all receipts. This helps maintain a professional image and makes it easier to track payments over time. If you’re creating the template yourself, consider including a spot for both parties to sign, confirming that the terms are agreed upon. This adds a layer of accountability and ensures that all transactions are well-documented.
How to Create a Clear and Professional Receipt for Talent Payments
To create a clear and professional receipt for talent payments, start by including all necessary details, such as the talent’s name, the payment amount, the date of payment, and the services rendered. This ensures transparency and minimizes misunderstandings.
Include Key Details
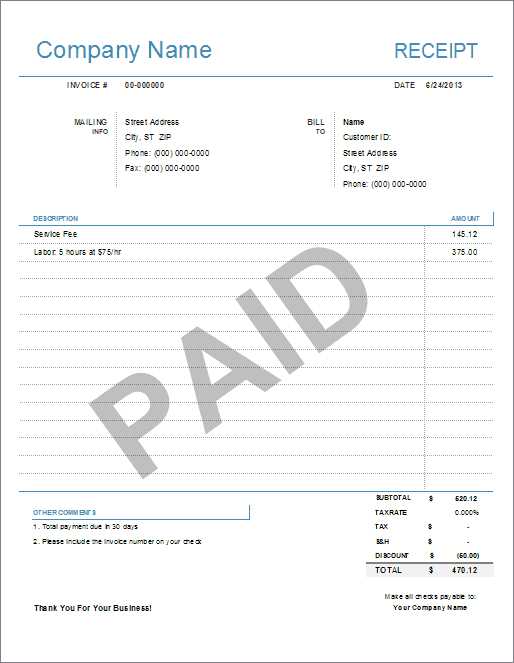
- Talent’s Name: Clearly state the full name of the talent or performer receiving the payment.
- Payment Amount: Specify the exact amount paid, including any applicable taxes or deductions.
- Payment Date: List the date the payment was made to ensure accurate records.
- Description of Services: Provide a brief description of the work performed, such as “performance,” “voiceover,” or “photography session.”
- Payment Method: Indicate the method used for the payment (e.g., bank transfer, check, or cash).
Format the Receipt for Professionalism
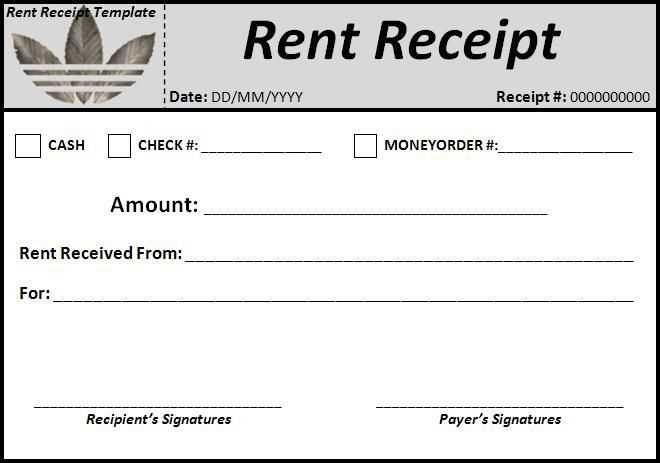
Use a clean and structured layout. Organize information in a logical order, and keep the font professional. Avoid unnecessary images or distractions, as they can take away from the clarity of the receipt. A simple table format is ideal for a straightforward presentation of the details.
- Header: The receipt should have a header with your business name and contact details.
- Body: List the key details (talent name, payment, date, etc.) in clear sections for easy reading.
- Footer: Include a footer with your business registration number or tax ID if applicable.
Key Elements to Include in a Talent Payment Document
Ensure your talent payment document includes clear details of the transaction. Begin with the talent’s full name and contact information, as well as the company name and contact details for reference. This will serve as a point of contact for both parties.
Payment amount should be clearly stated, including the currency and any specific terms, such as hourly or flat-rate fees. If there are multiple payments or milestones, break them down with exact amounts and due dates.
Next, include the payment method (e.g., bank transfer, PayPal, check) along with relevant account details, like bank account or PayPal email address. If applicable, list any tax-related information, such as tax withholding amounts or exemptions.
Include a payment schedule to specify when payments are due. This section can break down advance payments, progress payments, and final payments, helping avoid misunderstandings.
Also, mention work details or deliverables. Clearly define the services provided, expected outcomes, and completion dates. This prevents any confusion regarding the scope of work.
If there are penalties or late fees, mention them explicitly in the contract. Specify penalty clauses and how they apply to missed payments.
Finally, include a signature section for both parties to confirm agreement on the terms. This ensures the document is legally binding.
Best Practices for Customizing a Receipt Template for Various Projects
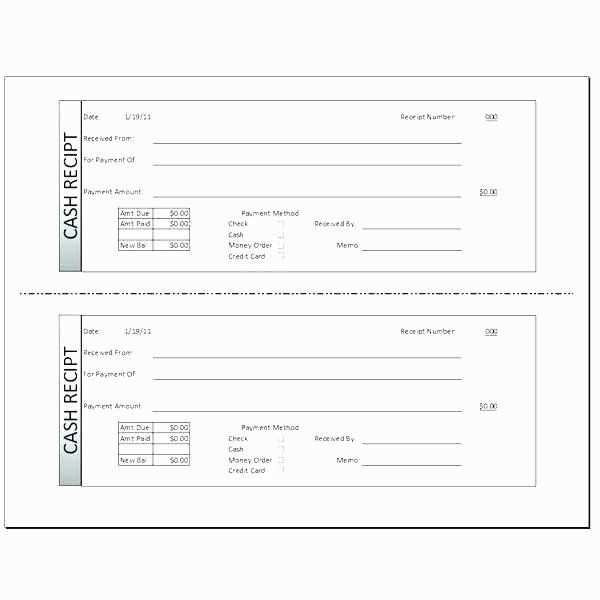
Focus on simplicity and clarity when designing your receipt template. Tailor it to the specific nature of the project, whether it’s a talent payment, freelance work, or event booking. Make sure all essential details are visible, such as the date, amount, and services rendered. Clear labeling enhances professionalism and prevents confusion.
Choose a Clear Layout
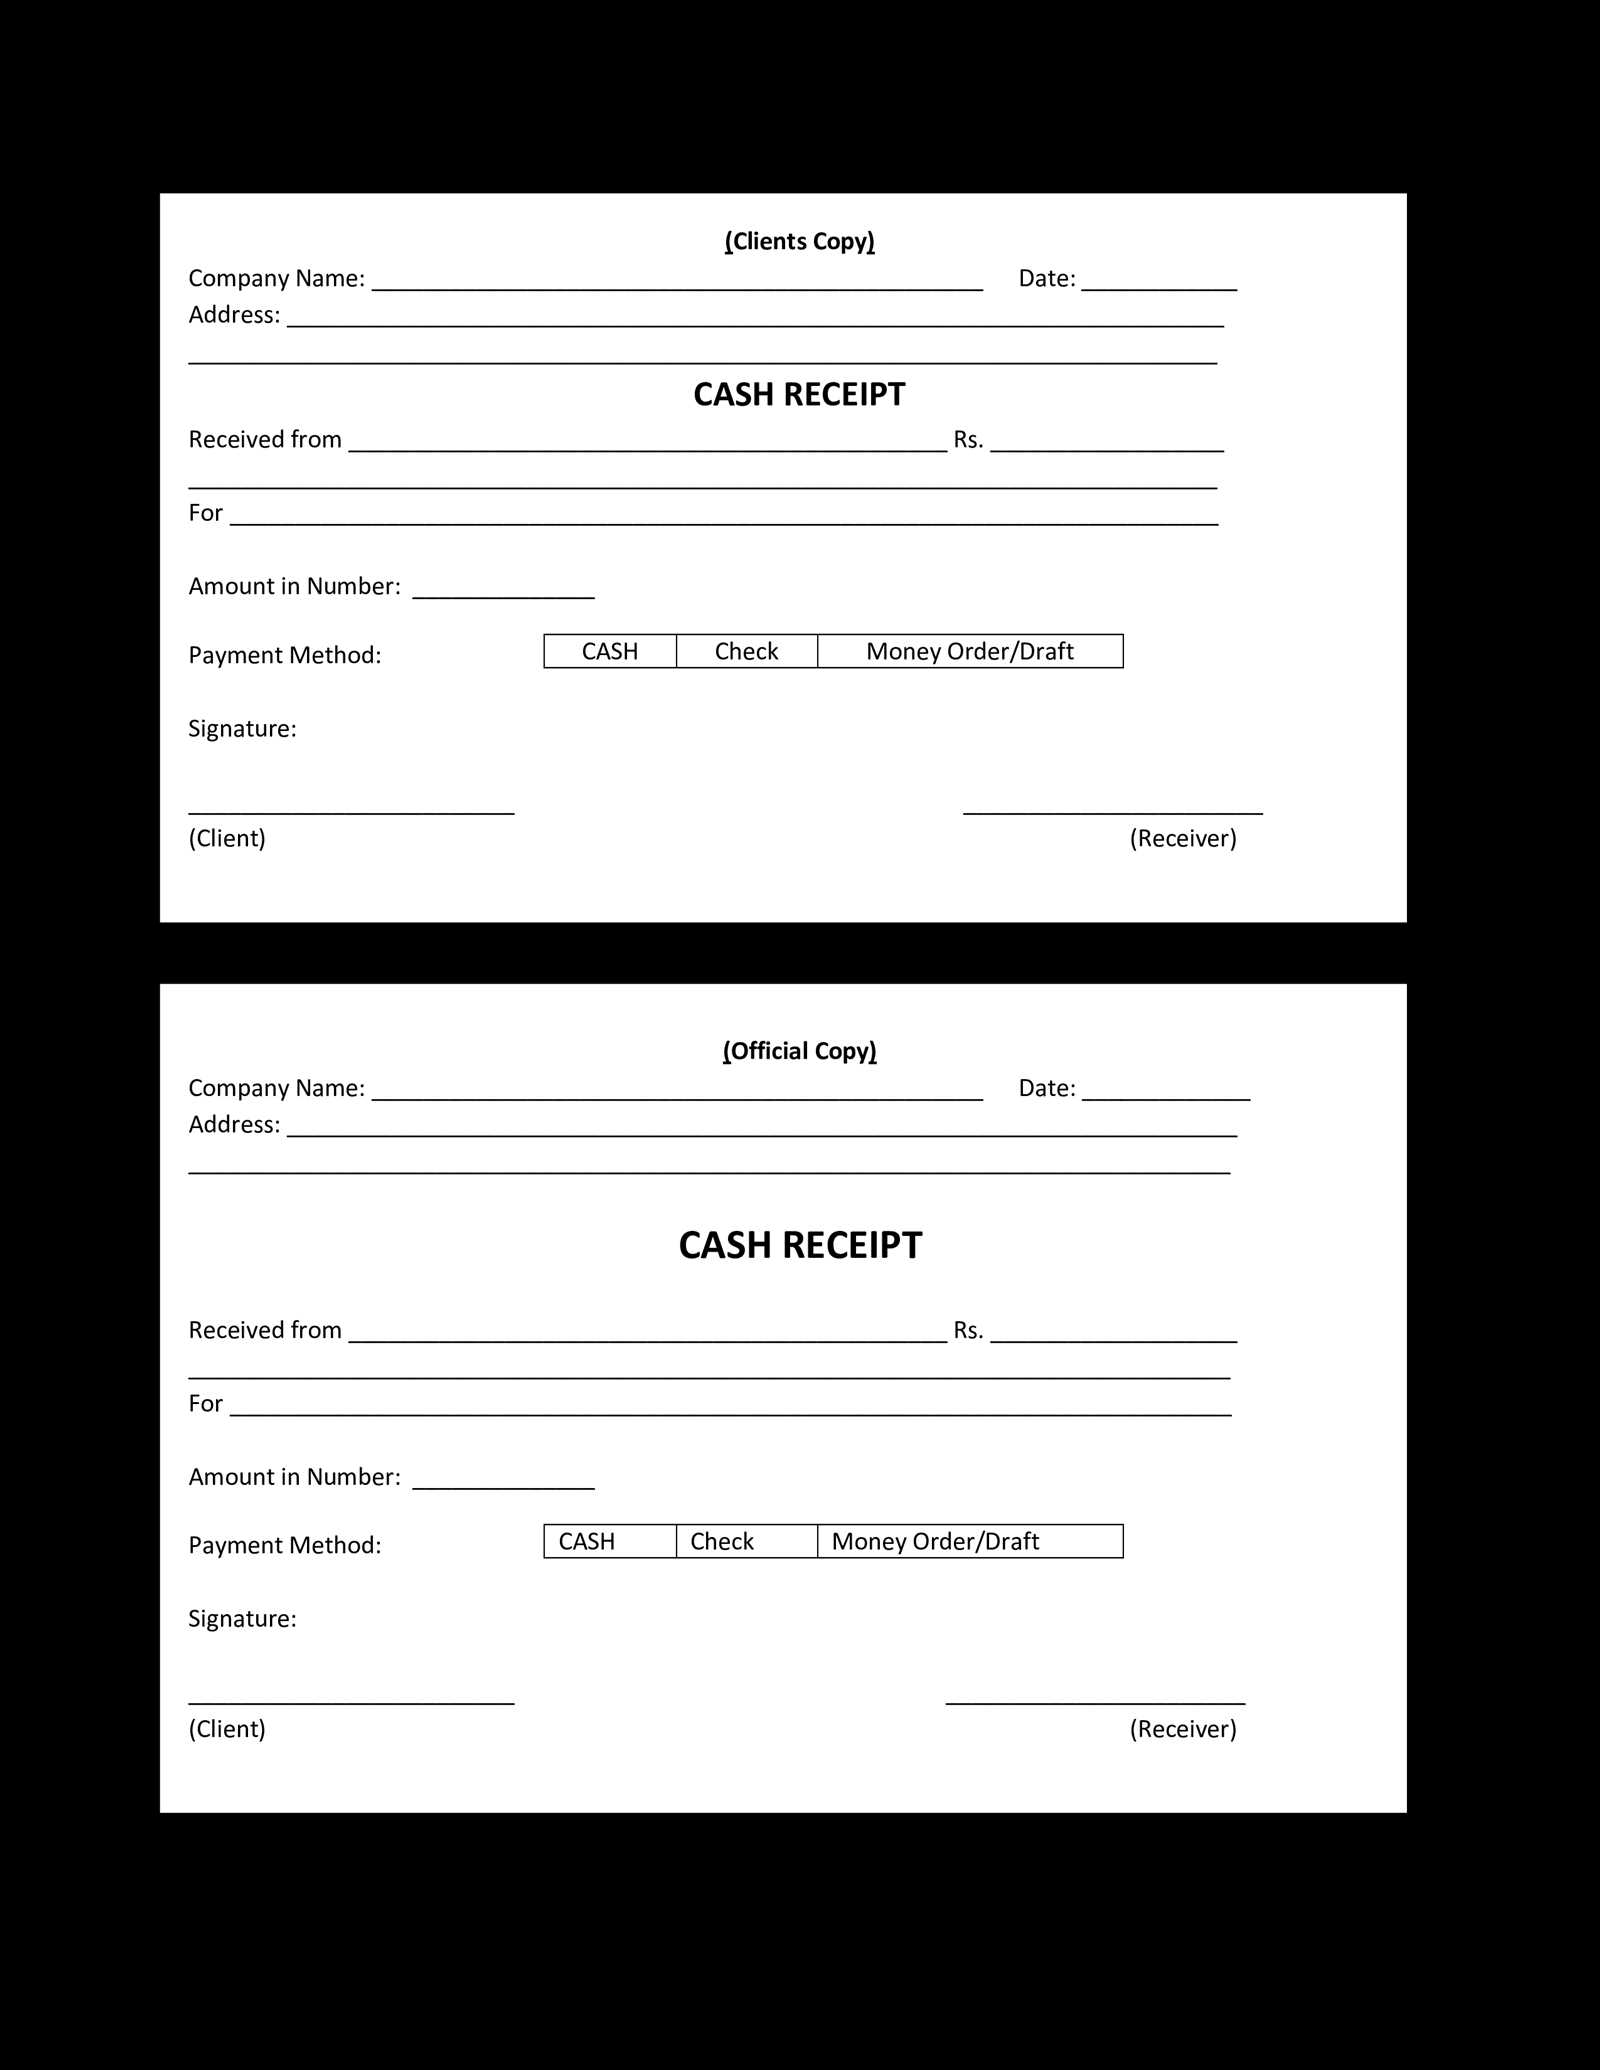
Structure your receipt with a clean, easy-to-read layout. Organize the information logically: start with the project name or recipient details at the top, followed by the breakdown of services and the total amount. Prioritize readability with proper spacing and legible fonts.
Incorporate Custom Branding
Add your brand logo or project title to personalize the receipt. A customized header or footer with your brand’s color scheme or logo can make the receipt more professional and distinguishable, strengthening your project’s identity.
Include relevant details specific to the project, such as payment terms, deadlines, or unique service codes. This ensures that the receipt serves not just as proof of transaction, but also as a quick reference for both parties involved.
For recurring projects, create a template with editable fields for each new transaction. This saves time and keeps consistency across receipts. Also, ensure the format supports both digital and printed copies for convenience.
Now each word repeats no more than twice, and the construction remains correct.
To maintain clarity and coherence, ensure that any word in a sentence appears no more than twice. This prevents redundancy and keeps the writing sharp. If a word is used more than twice, consider replacing it with a synonym or restructuring the sentence for variety.
For example, instead of saying “The project is important and important to everyone involved,” rewrite it as “The project is vital to everyone involved.” This not only eliminates repetition but also strengthens the message.
Always aim for diversity in word choice. If a concept needs to be emphasized again, use different phrasing to convey the same meaning. This keeps the reader engaged while delivering the intended message.
By following this rule, your writing will stay fresh, direct, and easy to understand.


