Creating an HTML receipt template offers a streamlined solution for generating and presenting receipts. By using clean, simple code, you can provide your customers with a professional-looking receipt, while ensuring it remains easily customizable to suit your needs.
Focus on structuring the template with clear sections like the company name, transaction details, and total amount due. Each section should be distinct, ensuring the recipient can quickly find relevant information. Use tables to display itemized lists and keep everything aligned. This helps in maintaining readability across devices and platforms.
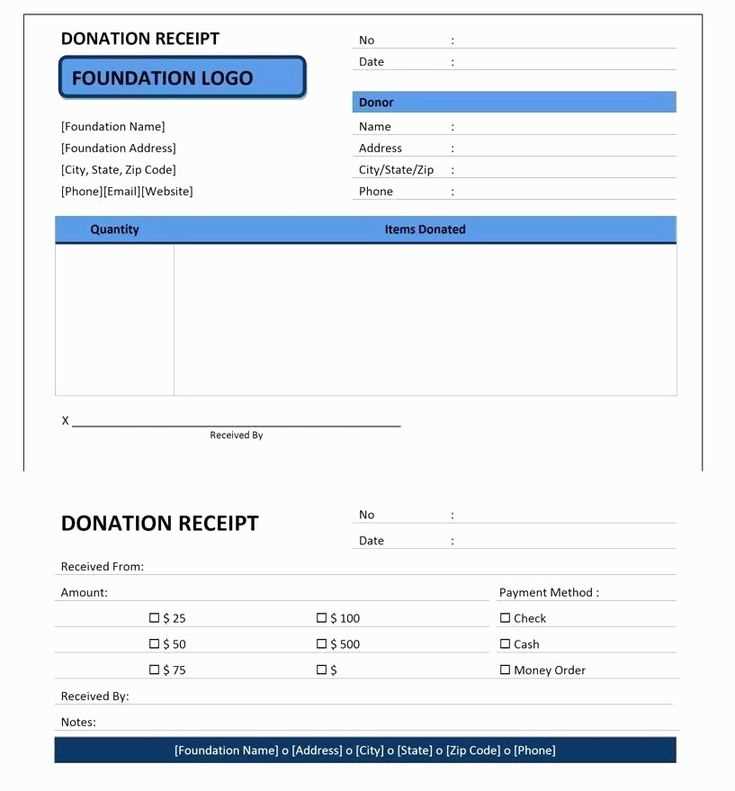
Ensure that your HTML template includes key components: a header section with your business details, a list of items or services provided, pricing, taxes, and a final total. You can also incorporate styling with CSS to make it visually appealing. For consistency, align prices, taxes, and totals to the right, ensuring a neat, professional appearance. Customizing fonts and colors to match your brand’s identity will give the receipt a personalized touch.
Here’s the updated version:
Use a clean and simple structure for your receipt template. Start with a clear header that includes the business name and contact information. Make sure to display the receipt title, like “Receipt” or “Invoice,” prominently at the top.
Under the header, list the customer’s details such as name and address. Follow with a table that contains the itemized list of purchases: product names, quantities, unit prices, and total amounts. Ensure each row is clear and easy to read.
At the bottom, provide the total amount, taxes, and payment method. Include a space for any discounts applied and the final amount due or paid. Finish with a thank-you message or return policy to leave a positive impression on the customer.
- Receipt Template HTML: A Practical Guide
To create an effective receipt template using HTML, start by structuring it with clear sections. Use a well-defined layout for the receipt, dividing it into parts like header, item list, and footer for easy readability.
Basic Structure

Begin by creating a container element for the entire receipt. Typically, a <div> tag will work well. Inside it, structure the sections with semantic HTML tags such as <header>, <section>, and <footer>. This ensures that each part of the receipt is distinct and accessible.
Styling with CSS
Use CSS to enhance the readability and design of the receipt. Add borders, padding, and font styles to separate different sections. For example, to highlight the total amount, apply a larger font size or a bold style. Here’s a simple example of CSS:
Receipt Example
Here is a basic HTML structure for a receipt template:
Store Name
Receipt
Item 1 $5.00Item 2 $3.50Item 3 $7.20
Modify this structure to suit your needs. You can include additional details such as taxes, discounts, or payment methods in separate sections or within the item list.
Final Touches

To make the receipt look more professional, consider adding a logo or contact information in the header or footer. Use a clean and readable font, with enough contrast between the text and background. This will make the receipt easy to read and suitable for printing or digital display.
To create a simple receipt in HTML, start by structuring the layout with basic HTML tags. Use a container like <div> to group content and set a neat display.
For the header, include the shop or company name in a <h1> tag. Follow with the date and receipt number in <p> tags. It’s a good idea to add bold or underline styles for clarity.
Next, list the purchased items in a table. Use <table>, <tr>, <th>, and <td> tags for rows, columns, and cells. Each item should have a description, quantity, and price. A separate row for total cost will finalize the table.
Include a final section with the payment method. A <p> tag with simple text such as “Paid by Credit Card” works well here. Optionally, include additional information like terms of return.
To improve readability, apply basic CSS for spacing, borders, and alignment. Keep it clean and readable, using a consistent font style and size for all elements.
Apply a clean, consistent style to your receipt by focusing on typography, spacing, and color choices. Use CSS to ensure readability and a polished presentation.
- Typography: Select clear, legible fonts for all text elements. Use
font-family: Arial, sans-serif;for a modern, professional look. For headings, consider using a bold or larger font size to separate sections. Ensure body text is set to a comfortable size, such asfont-size: 14px;, for easy reading. - Spacing: Adequate white space enhances the readability and flow of the receipt. Use
marginandpaddingto separate text and elements. For instance, settingmargin-bottom: 20px;for sections prevents them from feeling cramped. - Grid Layout: Organize your receipt using a grid structure to align items neatly. For example, use a simple
display: grid;with columns to ensure prices, taxes, and totals are well aligned. - Colors: Keep colors minimal. A light background with dark text (
background-color: #f9f9f9;andcolor: #333;) provides high contrast and ensures readability. Use accent colors for headings or important numbers to draw attention subtly. - Borders: Add borders around sections like the total or payment information to visually separate them. Use
border-top: 2px solid #ccc;to clearly distinguish sections without overwhelming the design. - Responsive Design: Ensure your receipt is easily readable on both mobile and desktop. Use
@mediaqueries to adjust the layout for smaller screens, such as reducing font size or adjusting margins. - Simple Icons: Use small, minimal icons (e.g., a shopping cart for items) to add a touch of visual interest without cluttering the design. Choose icons that match your brand’s style and color scheme.
With these CSS styling tips, your receipt will look clean, professional, and easy to read, providing a great user experience for customers.
To make your receipt template more interactive, consider adding dynamic features with JavaScript. One way to do this is by using event listeners to track user interactions, such as clicking buttons or entering data. For instance, you can update the total price automatically when items are added or removed from the receipt.
Start by defining the elements you want to interact with. Use document.getElementById or document.querySelector to select buttons, input fields, or divs. For example, if you have a button to apply a discount, you can capture the click event with the following code:
document.getElementById('applyDiscount').addEventListener('click', function() {
// Discount logic here
});
Next, use JavaScript to manipulate the data. For instance, when an item is added to the cart, update the total price dynamically. You can achieve this by updating the inner HTML of an element that displays the total:
let totalPrice = 0;
document.getElementById('addItem').addEventListener('click', function() {
totalPrice += 19.99; // Add item price
document.getElementById('totalPrice').innerHTML = '$' + totalPrice.toFixed(2);
});
JavaScript allows you to create smooth transitions between different states of your receipt template. For example, when the user hovers over a discount section, show additional details using mouseover events:
document.getElementById('discountSection').addEventListener('mouseover', function() {
document.getElementById('discountDetails').style.display = 'block';
});
These dynamic features improve the user experience by providing real-time updates, making your receipt template not only functional but also interactive.
Minimizing Word Repetition While Retaining Meaning

Focus on clear and concise phrasing to avoid redundancy in your receipt template. Instead of repeating words, opt for synonyms or rephrase sentences to ensure clarity without overloading the text.
For example, instead of writing “total amount due” and repeating “amount” later, simply state “total due.” This not only shortens the text but also keeps it direct and easy to read.
| Original Text | Revised Version |
|---|---|
| Total amount due: $150 | Total due: $150 |
| Amount of tax: $15 | Tax: $15 |
| Payment for the services rendered: $100 | Service fee: $100 |
By trimming unnecessary words, the receipt remains informative while appearing more polished and professional.