Creating a clean and functional receipt template in HTML can simplify the process of issuing receipts for your business or personal use. By using simple HTML structure, you can design templates that are easy to edit and customize as needed. Start by organizing the key sections of the receipt, such as the business name, date, itemized list, total, and payment details.
Ensure the layout is clear, with each section properly separated. Use tables for a neat presentation of itemized lists, making it easier for both the sender and receiver to understand the details. It’s also a good idea to use CSS to style the receipt, ensuring that it aligns with your brand’s look and feel. With just a few lines of code, you can create a receipt that is both professional and functional.
If you’re looking for additional features like adding logos or QR codes for digital payment verification, HTML allows you to incorporate these easily. Incorporating a simple footer with business contact details or a return policy can also add a personal touch, providing more value to the user.
Detailed Guide to Receipt Templates in HTML
Creating a receipt template in HTML is a practical way to provide customers with a clear, organized summary of their purchases. Begin by structuring the document with basic elements like headings, tables, and lists. This ensures the receipt is both readable and visually appealing.
Basic Structure
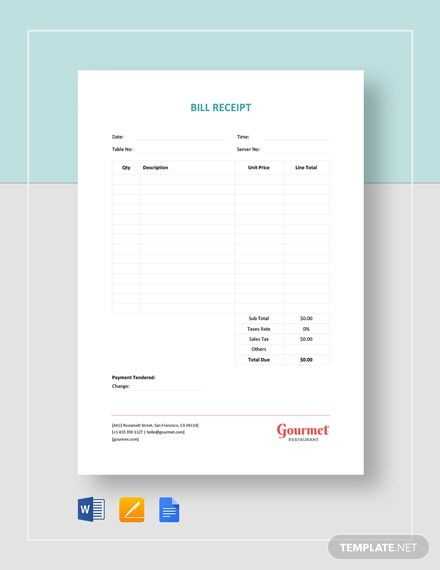
The foundation of a receipt template should include sections such as the company name, transaction date, list of items purchased, and total amount. Use a table to display item details like product names, quantities, and prices.
Here’s an example structure:
Receipt
Company Name
Date: DD/MM/YYYY
| Item | Quantity | Price |
|---|---|---|
| Product 1 | 2 | $20.00 |
| Product 2 | 1 | $15.00 |
Total: $55.00
Styling and Customization
To enhance readability, add some basic styling to the table. Adjust column widths and row padding to ensure proper alignment. You can use border-collapse to tidy up the table borders and text-align for centered text.
Here’s a simple style example:
Make sure to adjust the colors and fonts based on your brand’s style guide, if applicable. You can also add logos or icons for visual appeal, especially for digital receipts.
Lastly, include a footer with contact details, refund policies, or any other important information. This will ensure your receipt contains all necessary information for future reference.
Creating a Simple Receipt Layout Using HTML
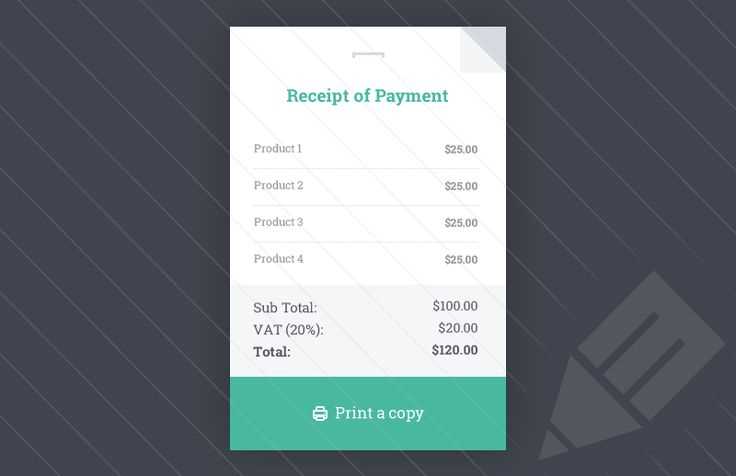
For a clean and functional receipt design, use basic HTML elements such as <div>, <p>, and <table>. Structure the layout with clear sections like company details, item list, totals, and footer information.
First, define a <div> container for the whole receipt. Inside this, you can place another <div> for the header, which typically includes the company name and contact info. Use <p> tags for text content to ensure proper spacing and alignment.
For the item list, a <table> is ideal. Create <thead> for column headers like ‘Item’, ‘Price’, and ‘Quantity’, and <tbody> for the actual items. This provides structure and makes the receipt easy to read. The <td> elements in the table rows hold item data, and you can format them neatly with padding.
Below the table, display the subtotal, tax, and total price in a <div> or <p> tags, applying clear labels to ensure each is easy to identify. You can use <hr> for separation between sections.
Finally, include footer details like thank-you notes, store policy, or website link. Keep the footer minimal to avoid clutter.
Here’s an example:
<div class="receipt">
<div class="header">
<p>Your Store Name</p>
<p>Contact: 123-456-789</p>
</div>
<table>
<thead>
<tr>
<th>Item</th>
<th>Price</th>
<th>Quantity</th>
</tr>
</thead>
<tbody>
<tr>
<td>Item 1</td>
<td>$10.00</td>
<td>2</td>
</tr>
<tr>
<td>Item 2</td>
<td>$5.00</td>
<td>1</td>
</tr>
</tbody>
</table>
<p>Subtotal: $25.00</p>
<p>Tax: $2.50</p>
<p>Total: $27.50</p>
<div class="footer">
<p>Thank you for shopping with us!</p>
</div>
</div>
This layout keeps things simple, ensuring the receipt is both easy to read and print-friendly. Adjust the structure and add styling to fit your needs as necessary.
Integrating CSS for Styling Your Receipt Template
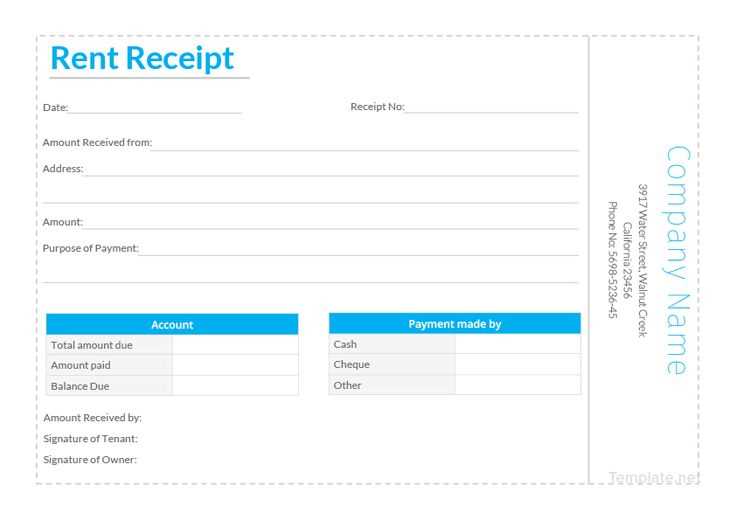
Use CSS to enhance the readability and layout of your receipt template. Start by defining a clear structure with margins, padding, and font styling for a clean, organized look.
Setting Up Basic Layout
Apply a consistent margin around the edges of the receipt to ensure content doesn’t touch the sides. Use padding within sections to create space between text and borders. A simple rule to follow is:
- Set margin for the body:
margin: 20px; - Use padding within each section to separate text:
padding: 10px;
Text Styling
Choose fonts that are easy to read, such as sans-serif. Apply bold styling to section headers and important information like totals or payment methods. Use CSS to adjust font sizes:
- Header font size:
font-size: 18px; - Item list font size:
font-size: 14px; - Total amount bold:
font-weight: bold;
Ensure that the text color provides enough contrast with the background. A light background with dark text (e.g., background-color: white; and color: #333;) makes reading easier.
Creating Separation with Borders
Use borders to separate sections clearly. For example, add a border around the total amount for emphasis:
- Set border for total section:
border: 2px solid #000; - Use dashed borders for item descriptions:
border-bottom: 1px dashed #ccc;
Adjust the spacing around the borders using padding to ensure the text inside is not cramped.
Adding Color for Organization
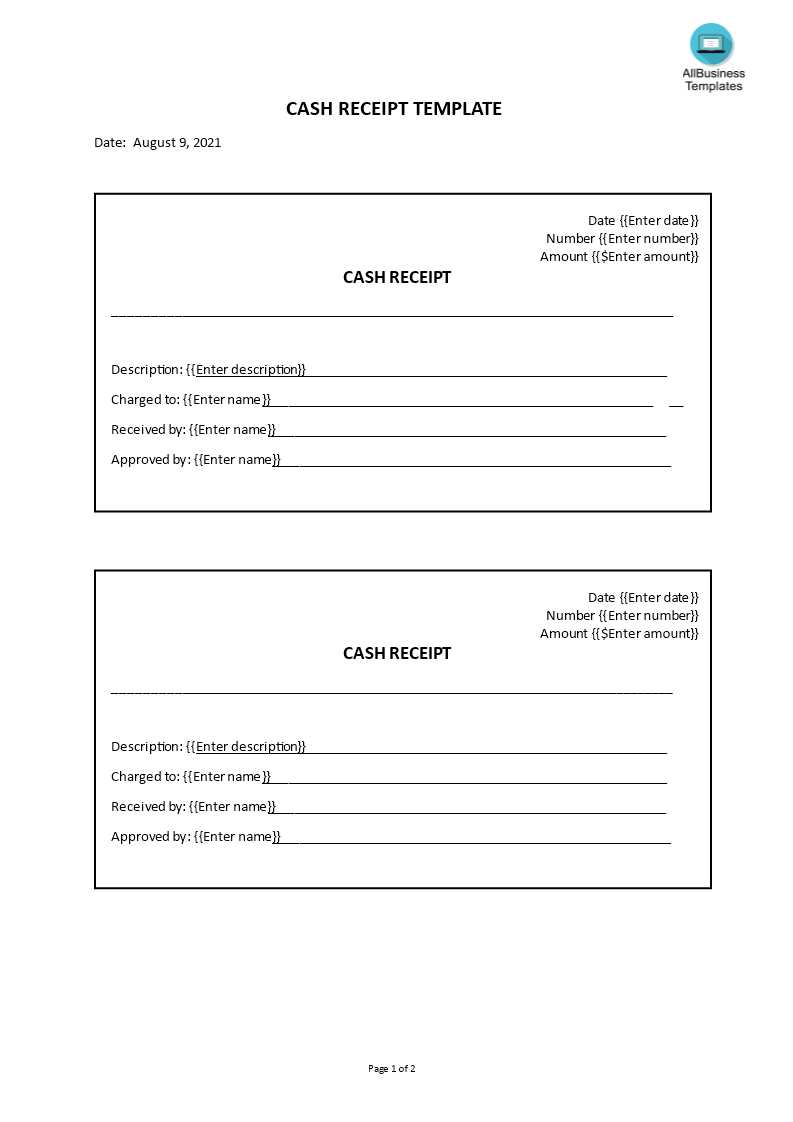
Use light background colors to differentiate sections like item lists and totals. Keep the colors subtle to avoid distraction:
- Background color for item rows:
background-color: #f9f9f9; - Background color for the header section:
background-color: #efefef;
These small adjustments help break up the content into digestible sections, making the receipt both attractive and functional.
Incorporating Dynamic Data with JavaScript
Use JavaScript to dynamically populate your receipt templates with real-time data, making the process more flexible and interactive. You can replace static content with variables that are calculated or fetched from external sources, such as APIs or user input.
Binding Data to HTML Elements
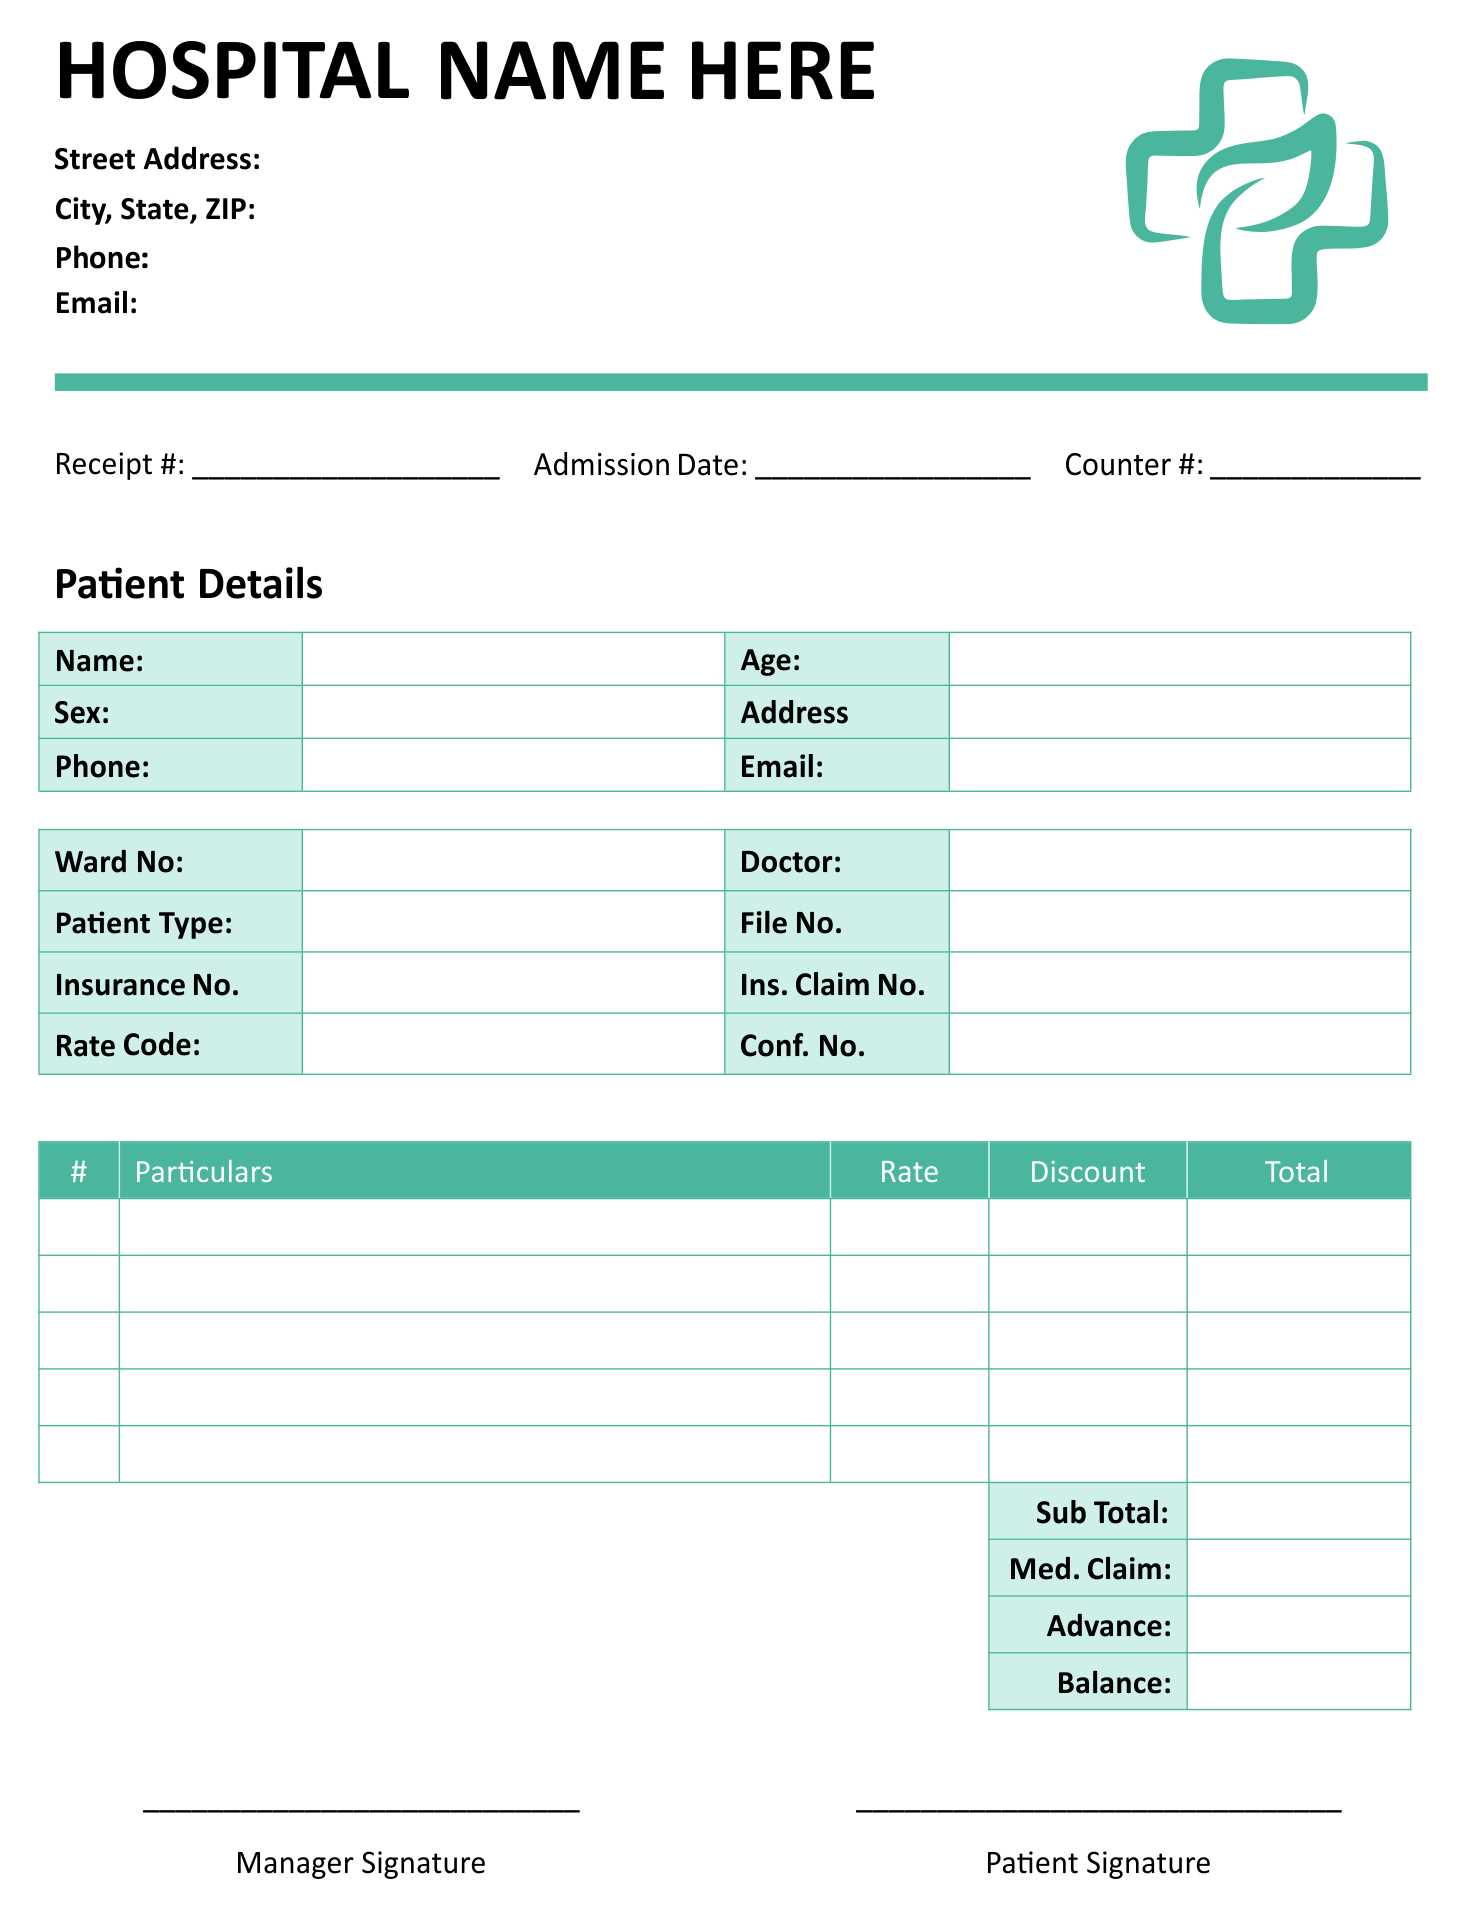
To integrate dynamic data, start by creating placeholders in your HTML structure, like <span id="item-name"></span>. Use JavaScript to update these elements. For example, to display an item name, you can write:
document.getElementById('item-name').innerText = "Apple";
This simple method binds the data directly to the HTML element, making the receipt content change instantly based on JavaScript variables.
Fetching Data from External Sources
If you need to populate receipts with information from external databases or APIs, you can use the Fetch API to get data. Here’s an example of fetching receipt details from an API:
fetch('https://api.example.com/receipt')
.then(response => response.json())
.then(data => {
document.getElementById('item-name').innerText = data.item;
document.getElementById('price').innerText = `$${data.price}`;
})
.catch(error => console.error('Error fetching data:', error));
This approach allows you to load real-time data into your receipt template, improving the user experience by displaying up-to-date information.
