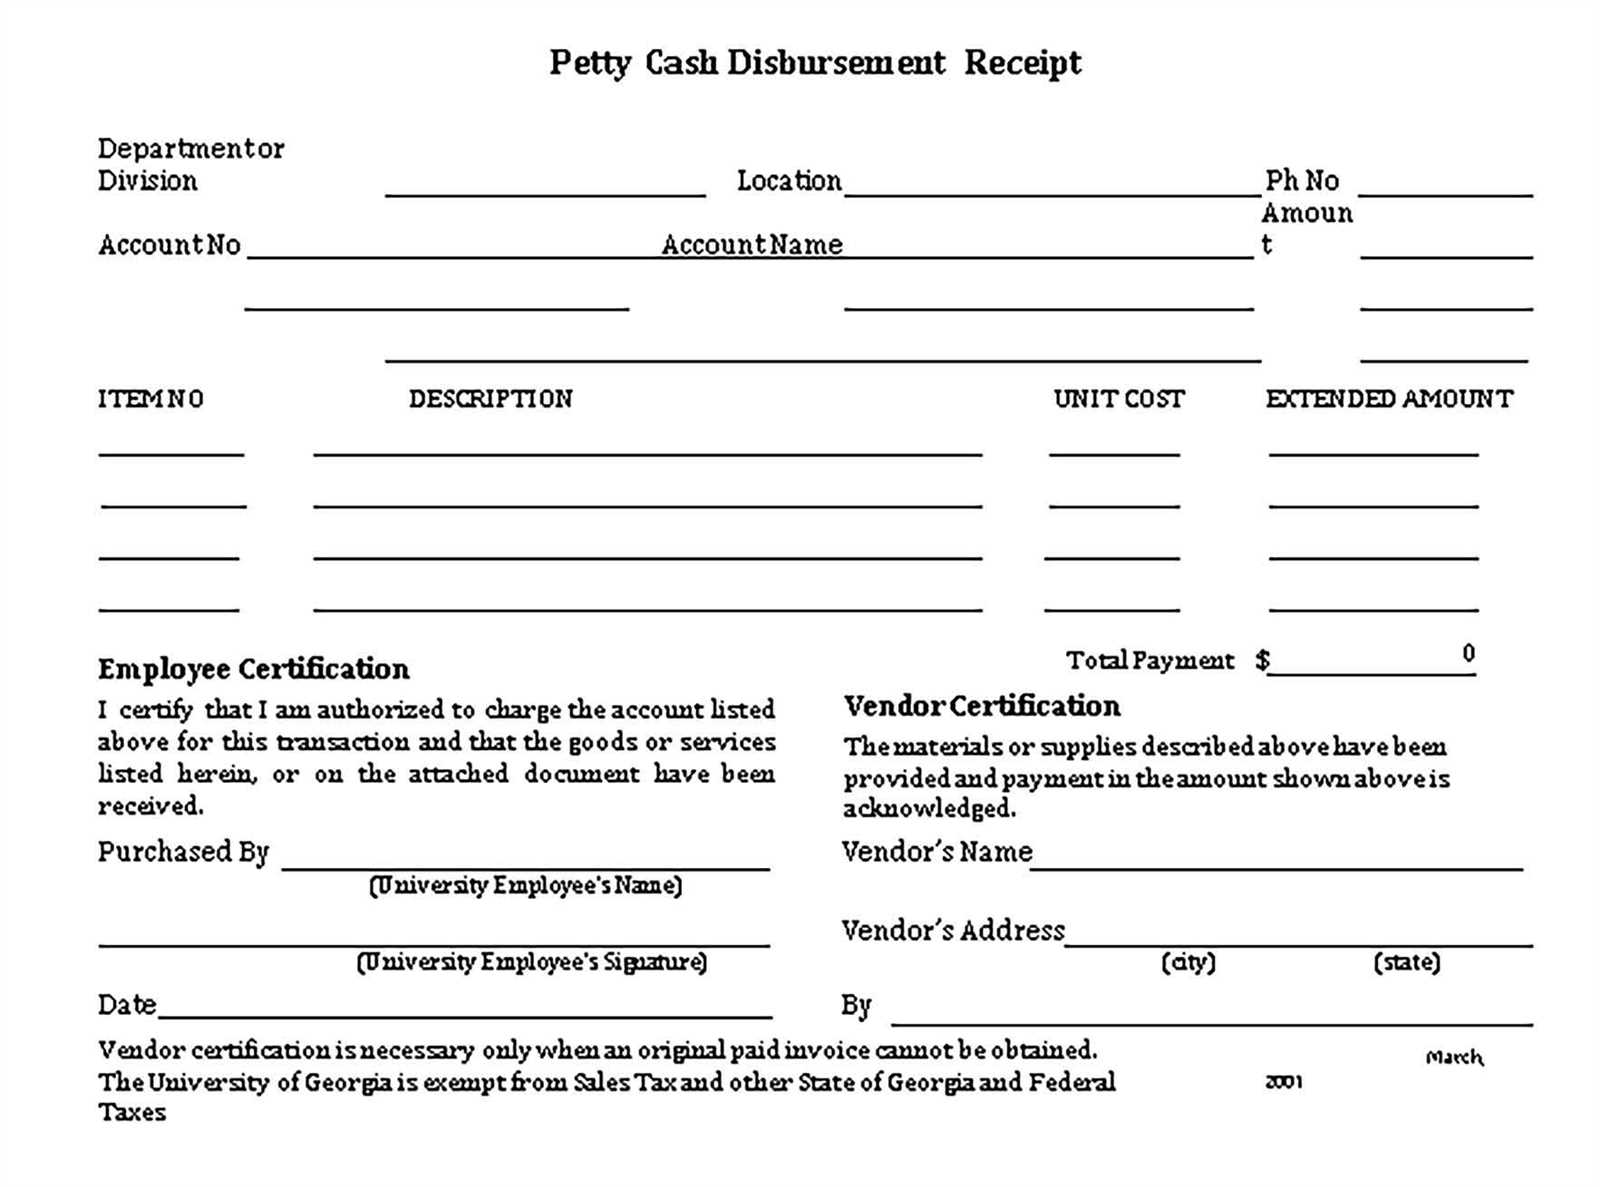
For a smooth and accurate tracking of goods received, using a well-structured template is a must. This document acts as proof of receipt, outlining the details of the items delivered. A standardized format saves time and reduces the risk of errors, making it easier to manage inventory and streamline operations.
Ensure that each entry on your receipt includes the item description, quantity, unit price, total value, and the delivery date. Additionally, include spaces for signatures from both the receiving party and the supplier to confirm agreement on the delivered goods. This simple yet effective method of documentation enhances transparency and accountability.
It’s also beneficial to incorporate a section for any discrepancies or damages noticed upon receipt. Recording this information immediately prevents delays in addressing issues with suppliers. Having a template that covers all relevant details allows for quick updates and better tracking of returns or adjustments if necessary.
Here’s the revised version:
When creating a goods receipt template, start by including the following key fields:
- Receipt Date: This ensures accurate tracking of when the goods were received.
- Supplier Information: Clearly list the supplier’s name, address, and contact details for future reference.
- Purchase Order Number: Link the goods receipt to a specific order to avoid confusion and streamline reconciliation.
- Item Description: Include a detailed description of each item, including specifications and quantities received.
- Unit Price: Document the agreed price for each item, which is necessary for proper financial tracking.
- Batch Number/Serial Number: If applicable, include batch or serial numbers for traceability.
- Quantity Received: Clearly specify the amount received versus the amount ordered, highlighting any discrepancies.
- Condition of Goods: Note whether the items arrived in good condition or if there was any damage.
- Receiver’s Signature: Ensure that the person accepting the goods signs off on the receipt to confirm accuracy.
Be sure to keep your template consistent across all departments to ensure all relevant information is captured every time. This will reduce errors and simplify inventory management.
- Detailed Guide on Goods Receipt Template
A goods receipt template is a structured document used to record the receipt of goods in a systematic manner. It allows businesses to track items received, validate deliveries, and match invoices against received goods. The template is vital for maintaining accurate records and ensuring smooth operations between suppliers and warehouses.
1. Key Components of a Goods Receipt Template
The template typically includes the following elements:
- Receipt Date: The date when the goods are received at the warehouse or designated location.
- Supplier Information: Details of the supplier, including name, contact, and address.
- Purchase Order Number: The reference to the purchase order that initiated the transaction.
- Product Description: A clear list of all items received, including quantities and product codes.
- Quantity Received: The number of units delivered, matching the quantity in the purchase order.
- Condition of Goods: Any remarks about the condition of the items, including damages or discrepancies.
- Signatures: Signatures of the receiving personnel and the delivery person to confirm receipt.
2. Tips for Using the Template Effectively
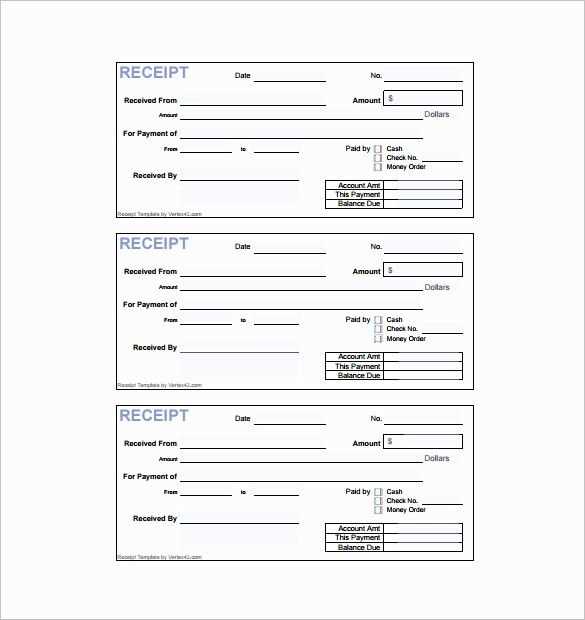
Ensure that all fields are filled out clearly to avoid confusion or errors later. Double-check that the quantities match the original order and highlight any discrepancies immediately. Keep copies of all receipts and compare them with the corresponding invoices to confirm that the correct products and amounts were billed.
Designing a flexible receipt template ensures your business delivers clear, professional, and consistent documentation to customers. Begin by selecting a platform or software that allows for easy customization, such as Excel, Word, or a dedicated receipt generator. This gives you full control over the layout, fields, and design elements.
Key Elements to Include
Your template should cover the basics–company name, address, and contact information. Include transaction details such as date, itemized list of purchased goods or services, tax, and total amount. Incorporating a payment method section provides clarity for both parties.
Personalizing for Brand Identity
Make your receipt template reflect your brand by adding your logo, custom color scheme, and unique font choices. Consistency across all documents reinforces your brand image and enhances customer trust. Keep the design clean to maintain readability while adding small branding elements that make your receipts stand out.
| Field | Description |
|---|---|
| Company Name | Your business name, displayed prominently at the top. |
| Address | Include full address for easy reference. |
| Transaction Date | The exact date of the purchase. |
| Itemized List | A breakdown of goods or services purchased. |
| Payment Method | Specify if paid by card, cash, or another method. |
| Total Amount | Final price including taxes and any additional fees. |
Once your template is created, test it by filling in a few mock transactions to ensure all the fields are properly aligned and visible. If any adjustments are needed, tweak the margins, font sizes, or overall layout. A clean, intuitive receipt not only looks professional but also simplifies your customer’s experience.
Begin with the purchase order number for easy reference and matching. Ensure the document includes the supplier’s name, contact details, and delivery address to verify the origin of the shipment. Include the date of receipt to track delivery timelines. The product description, including quantities, unit measurements, and item codes, must be clear and accurate to match the order and avoid discrepancies. Also, confirm the condition of the goods upon arrival; note any visible damage or missing items. Capture the signatures of the receiving personnel and the delivery driver for accountability. Finally, include a unique goods receipt number for record-keeping and future audits.
Scan and upload receipts immediately after receipt to prevent clutter and ensure all information is captured accurately. Use a mobile app or scanner to digitize receipts right at the point of purchase. This saves time and eliminates the risk of losing paper copies.
Organize receipts in folders within a cloud storage service or an expense tracking software. Categorize them by type of purchase, date, or project to make retrieval faster and easier. Tagging receipts with keywords like vendor name, amount, or purpose further enhances searchability.
Utilize optical character recognition (OCR) software to extract key data from receipts. This allows you to automatically pull details such as the date, vendor, and amount, reducing manual data entry. Sync the extracted data directly into your accounting or expense management system.
Automate workflows by setting up receipt approval processes. With digital receipts, you can streamline approval steps for reimbursement or accounting purposes by sending them directly to the responsible parties via email or an integrated system.
Integrate receipt management into your financial software to automatically categorize and reconcile expenses. This ensures accurate reporting and reduces errors during manual input. Regularly back up digital receipts to secure cloud storage to prevent data loss.
Receipt of Goods Template
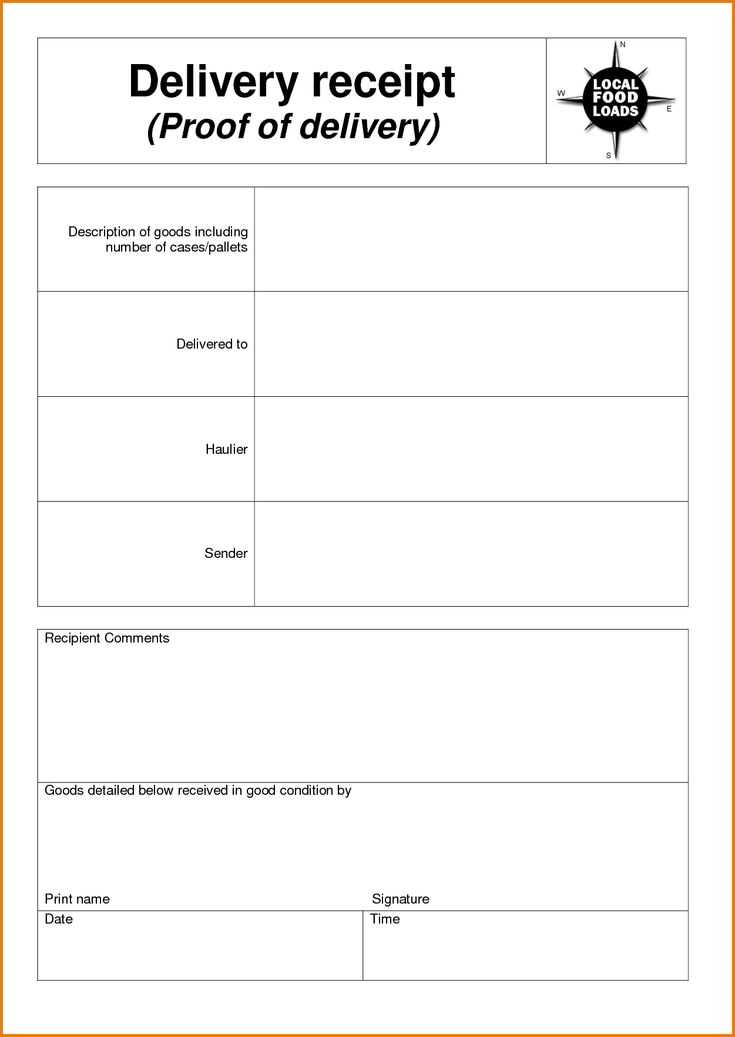
Ensure the goods receipt template includes the following key sections to streamline the process:
Item Details
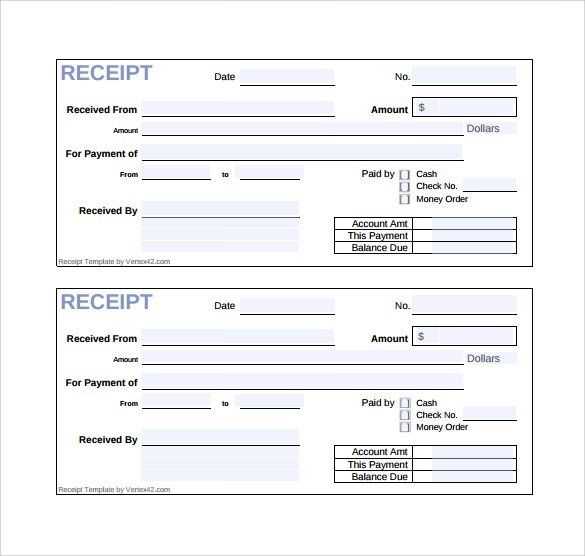
Provide a detailed list of items received, including item codes, descriptions, quantities, and unit prices. This helps match received goods with the purchase order.
Vendor Information
Include the vendor’s name, contact information, and invoice number to keep accurate records of the transaction. This information will be helpful in case of any discrepancies or returns.


