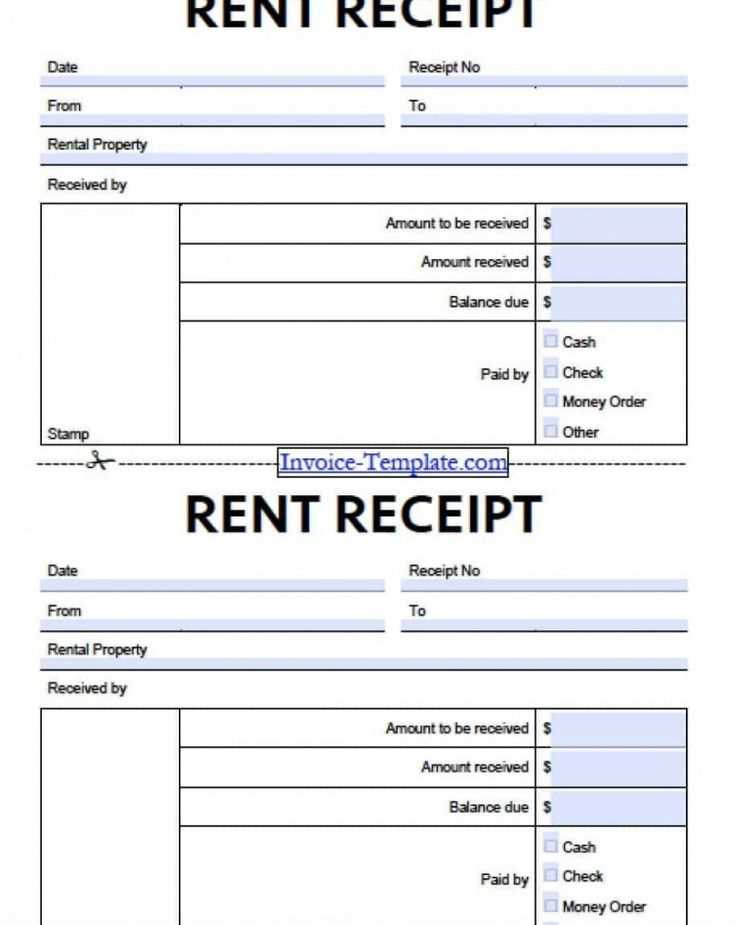
Start by selecting a template that suits your needs–whether it’s for a simple transaction or a more detailed purchase. Choose a format that keeps your records clear and organized, making it easy to track purchases over time.
Keep it simple. Templates shouldn’t overwhelm you with unnecessary fields. Focus on key information: date, item description, quantity, price, and total amount. You can always add more details if required for tax purposes or internal reporting.
Personalize it. Customizing templates with your business logo or adjusting color schemes makes them professional and consistent with your brand image. Use clear, readable fonts and avoid clutter to ensure your receipts are both functional and visually appealing.
Test before using. Before you settle on a template, test it with real data to ensure it captures everything needed without mistakes. It’s important that the formatting remains intact when printed or saved as a PDF for easy sharing.
Receipts Templates
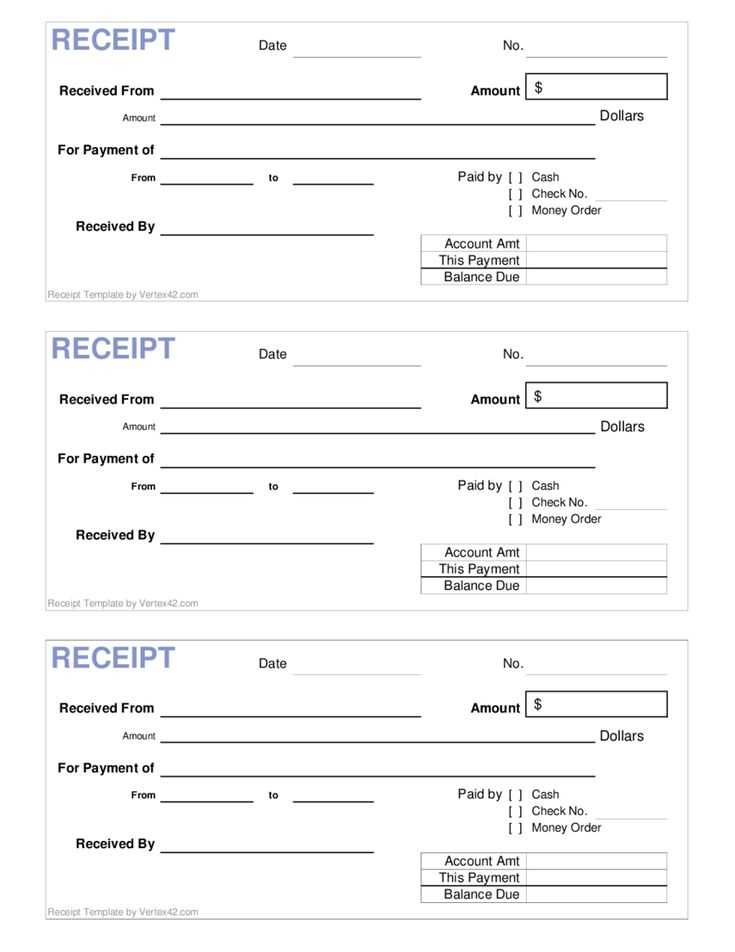
Use a simple, clear receipt template to save time and ensure accuracy. A well-structured template helps avoid errors and provides a professional touch to your transactions. Start with the basics: include the date, item or service description, total amount, and payment method. This makes it easy for both parties to track purchases.
Key Features of a Good Receipt Template
A functional template should clearly display:
- Receipt Number: Helps in organizing and tracking receipts.
- Business Details: Include your name, address, and contact information to build trust.
- Detailed Items: List each item or service, its price, and quantity for transparency.
- Total Amount: Clearly show the total due, including taxes, fees, or discounts.
- Payment Method: Specify if the payment was made by card, cash, or other methods.
Customizing Your Template
Personalize your receipt template by adding your logo or brand colors. This reinforces your business identity and makes receipts more professional. If you offer discounts or special offers, include these details too, as this adds value and clarity for your customers.
How to Create a Custom Receipt Template in Word
Open a new document in Microsoft Word and set up your page layout. Start with a blank page, then adjust the margins and page orientation if needed. Standard receipts are usually in portrait orientation with 1-inch margins, but you can customize these based on your needs.
Step 1: Insert Header with Business Details
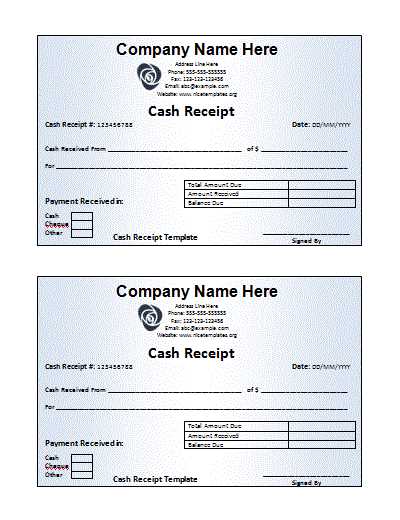
Click on the header section and enter the business name, address, phone number, and email. You can add your logo by clicking “Insert” > “Pictures” and placing the image at the top left or right. Make sure the contact information is clear and easy to read.
Step 2: Create the Receipt Table

Next, create a table to structure the receipt details. Go to “Insert” > “Table” and select a table with enough rows and columns. You’ll need columns for item description, quantity, unit price, and total price.
- Label the columns: “Item”, “Quantity”, “Unit Price”, and “Total”.
- Enter a row for each item purchased, leaving the total column empty for now.
- Use formulas to calculate totals automatically in the table for each row and the final amount. Right-click on the cell where the total should appear and choose “Insert Formula”.
Step 3: Add Footer for Additional Information
Include any additional details at the bottom of the receipt, such as payment method, transaction date, or any return policy. You can insert a footer by double-clicking the bottom of the page and typing in the necessary information.
Step 4: Save Your Template
Once you’ve designed the layout, save the file as a template. Click “File” > “Save As” and choose “Word Template (.dotx)” from the file type options. This allows you to reuse the receipt without modifying the layout every time.
How to Use Receipt Templates for Different Business Transactions
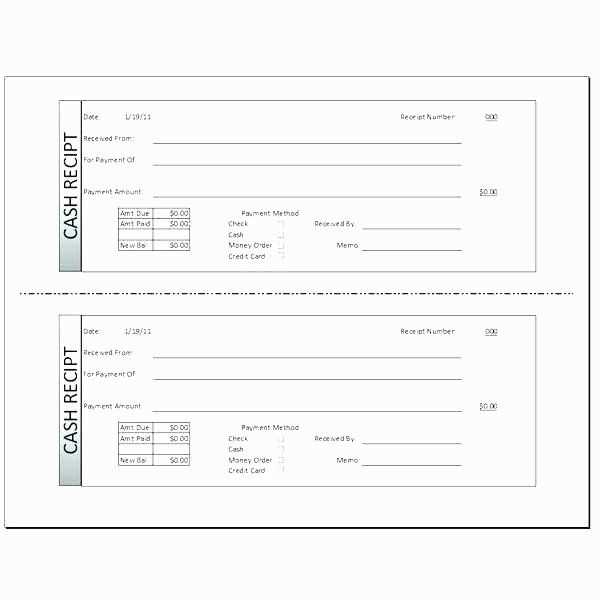
Customize receipt templates based on transaction types. For sales transactions, include item descriptions, prices, quantity, and any applicable taxes. For services, list the service provided, date, and payment terms.
For refunds or returns, clearly indicate the original transaction date, items returned, and any adjustments made. This keeps records transparent and easy to track.
When dealing with deposits or partial payments, make sure the receipt reflects the amount received, balance due, and payment schedule, if applicable.
If you’re managing a subscription-based business, receipts should outline the subscription period, payment amount, and renewal terms. These details help customers keep track of their commitments.
Adjust your template to meet your business needs. Whether you’re invoicing for one-time purchases or ongoing services, a tailored receipt template streamlines your record-keeping and enhances professionalism.
How to Convert a Receipt Template to PDF for Professional Use
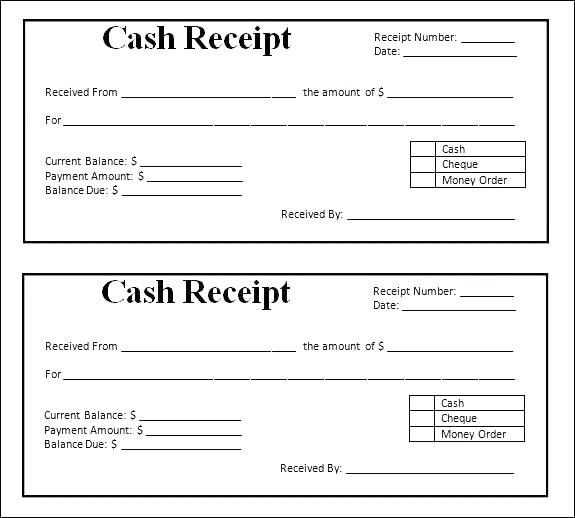
To convert your receipt template into a PDF, first, open the document you want to save. If you’re using a template in a word processor like Microsoft Word or Google Docs, simply go to the “File” menu.
Steps for Conversion in Microsoft Word
Click “Save As” or “Export” and choose “PDF” as the file format. Choose a location to save the PDF, then click “Save”. The template will now be available as a PDF, keeping its formatting intact.
Steps for Conversion in Google Docs
In Google Docs, go to the “File” menu, hover over “Download,” and select “PDF Document (.pdf).” The receipt template will automatically download in PDF format to your computer.
If you’re using design software like Adobe Illustrator or Canva, the process is similar. Choose “Download” or “Export” and select PDF as the output format. Make sure to adjust any settings for quality or compatibility with your printer or digital needs before saving.
For more complex templates, like those with interactive elements, ensure your PDF settings preserve these features by selecting the “interactive PDF” option if available.


