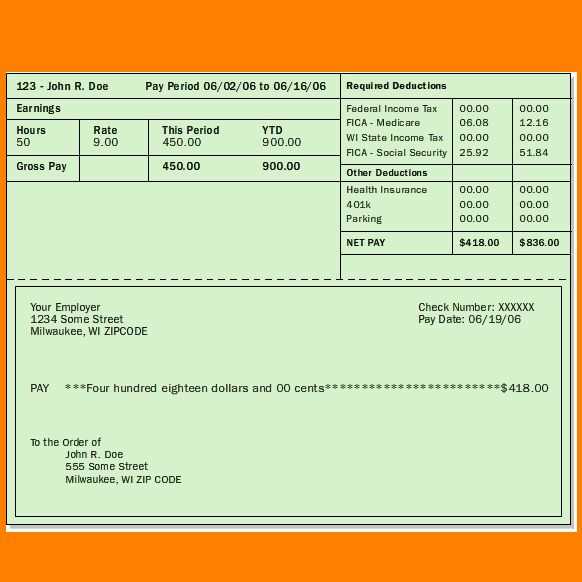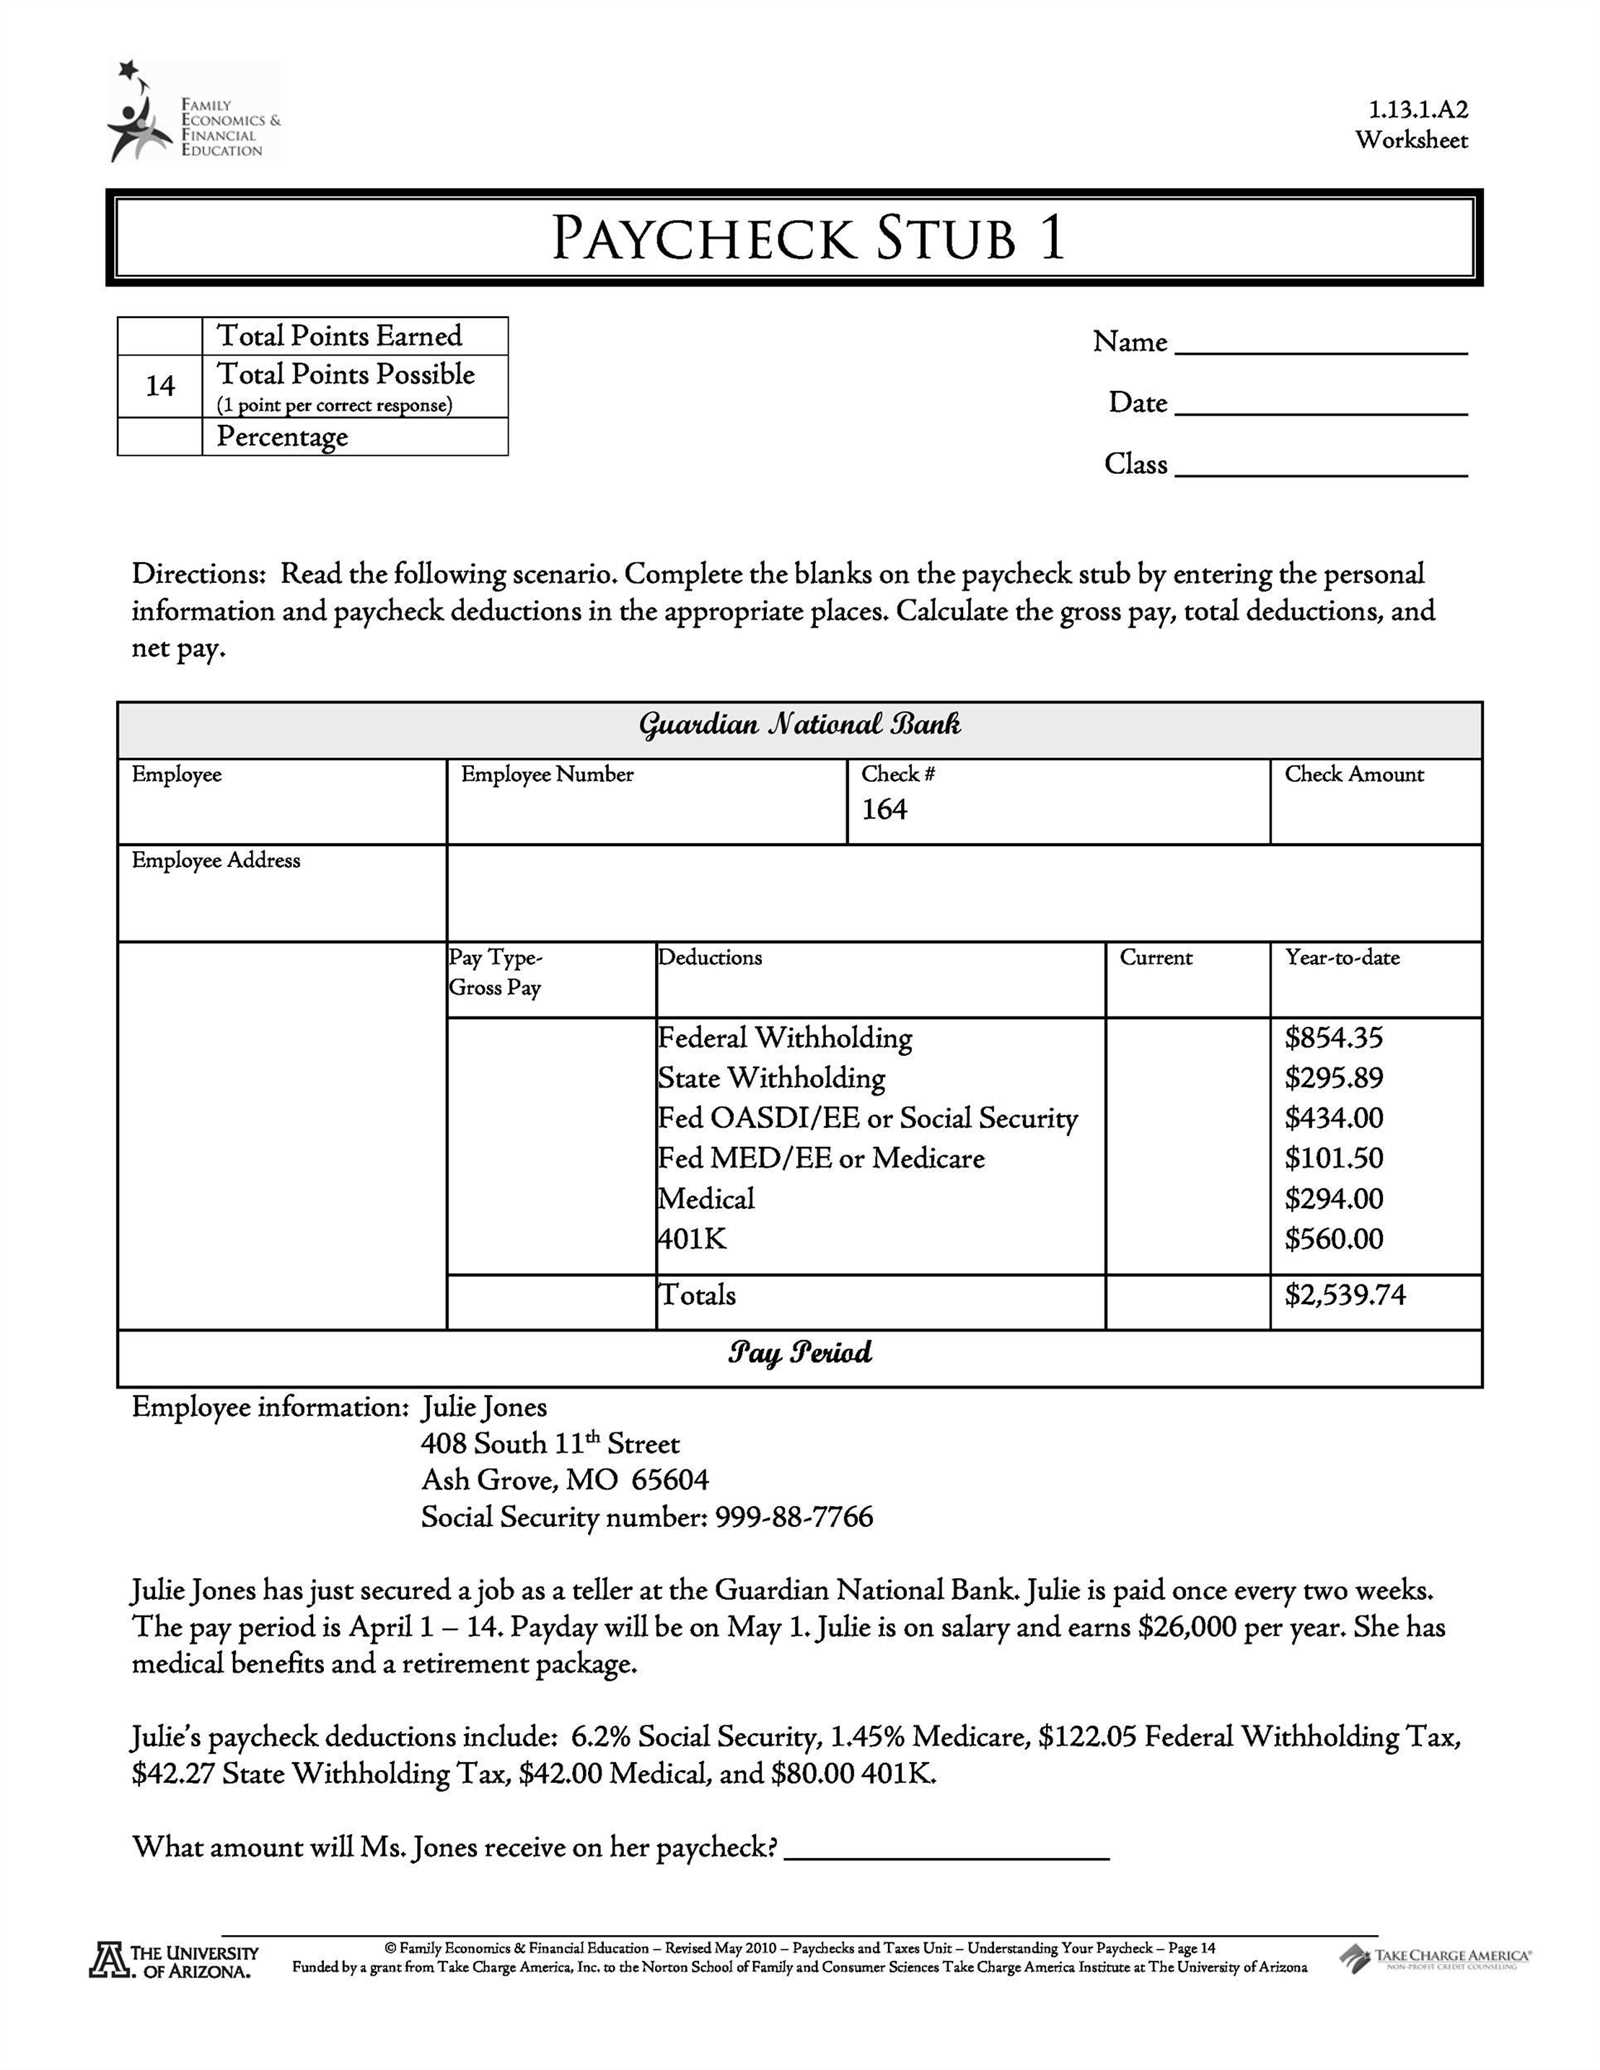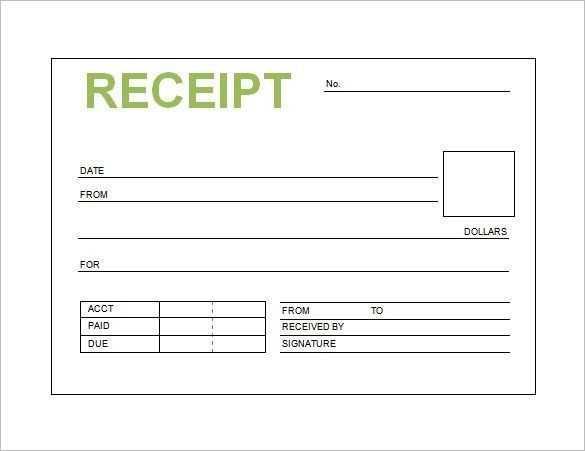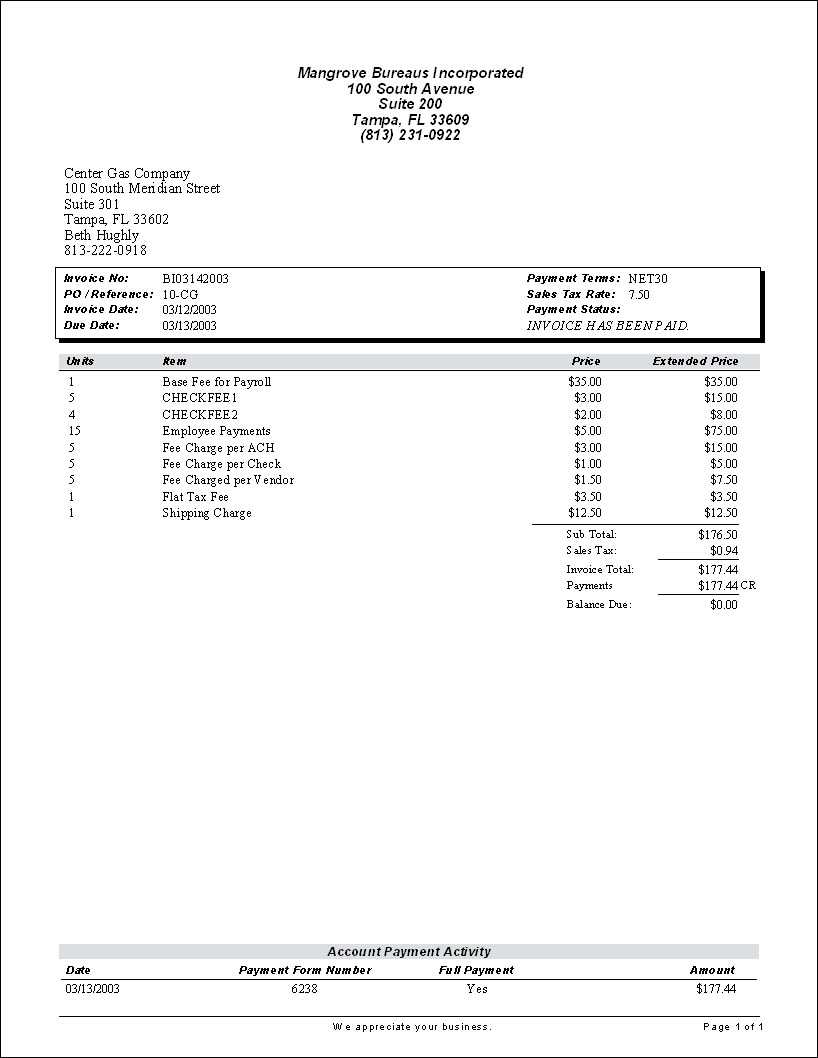
To streamline the process of creating receipts, using a receipt template with a stub is highly effective. This setup allows businesses to maintain a clear record of transactions while offering customers a convenient way to keep track of their purchases.
When designing a receipt with a stub, ensure that the main receipt portion includes critical details such as the date, items purchased, total cost, and payment method. The stub, on the other hand, should remain attached to the main receipt, featuring a tear-off section with minimal information, usually the transaction reference number and a brief description of the purchase.
This simple but organized approach helps both the customer and the business stay on top of financial tracking. As a result, it’s easier to handle returns, process warranties, or review past transactions when needed.
Using templates designed for receipts with stubs also allows businesses to maintain consistency and professionalism in all transactions. It reduces the chances of errors and ensures that all necessary details are included on both the receipt and the stub.
Receipts with Stub Template

Use a stub template for receipts to provide a clear breakdown of purchase details. Include necessary information such as the transaction amount, tax, and any discounts applied. Ensure the receipt is easy to read and organized by separating each section for better clarity.
Key Elements to Include
Start with a section for the itemized list, showing individual prices. Then, include totals at the bottom, breaking them into categories like subtotal, tax, and discount. Add a unique receipt number and date for tracking purposes. If applicable, include payment method details for transparency.
Layout Tips

Ensure that each section of the receipt is clearly marked. Use bold text for headings like “Total Amount” or “Tax”. Keep spacing consistent to avoid clutter and make the receipt easy to read at a glance. Provide space for customer information if needed, but avoid overloading the template with unnecessary details.
Designing a Simple Receipt Stub Layout
Begin with a clear, simple structure to ensure readability. Place the transaction details such as date, total amount, and transaction ID at the top. These details help quickly identify the transaction and are most commonly needed for reference. Keep the font size for these items larger than the rest for easy access.
Next, incorporate the itemized list section. This is where individual products or services, along with their prices, are displayed. Align the text neatly, using columns for item descriptions, quantities, and prices. Use subtle lines to separate the columns and keep the layout organized. Avoid cluttering the area with excessive text or logos.
For the stub portion, include space for a receipt tear-off line. Make sure the tear-off area is clear and easily identifiable, separating it from the main receipt body. Keep it free of excessive graphics to avoid confusion when the receipt is split.
Finally, place a small section for contact information or additional notes at the bottom. This space can include company name, address, or a short return policy statement. Ensure this text is legible without detracting from the overall design.
Best Practices for Customizing Receipt Stub Templates

Choose a clear and consistent layout to ensure the receipt stub is easy to read. Keep the font size legible and maintain proper spacing between sections to avoid clutter. This helps customers quickly find relevant information, such as the amount paid or transaction details.
Include the most important details, like the store name, address, and contact information, along with transaction specifics such as the date, items purchased, and price breakdown. Avoid overloading the receipt with unnecessary data that can detract from key points.
Use branding elements sparingly. Integrate your logo, colors, and any other brand identifiers without overwhelming the receipt. A minimalist approach ensures the receipt remains professional and does not distract from the transactional information.
Make the stub section distinct. Separate it clearly from the main body of the receipt using subtle lines or spacing. This allows customers to easily detach and keep the stub for their records.
Consider implementing customizable fields where necessary. This might include loyalty program codes, discount information, or special promotions. This personalizes the receipt for the customer while adding value to their experience.
Test your template on different devices and printers. Ensure compatibility with a range of printing options and that all content is properly aligned, especially when printing in various sizes or formats.
Finally, keep your design adaptable for future updates. Make it easy to modify the template for changes in pricing, services, or regulations without requiring a complete redesign. This flexibility saves time and reduces future costs.
Ensuring Compatibility Across Different Devices
Test your receipt templates across multiple devices to ensure readability and functionality. Some templates may appear differently depending on the screen size or resolution, so testing on various devices prevents issues like misalignment or missing elements.
- Use responsive design techniques such as media queries to adjust the layout based on the device’s screen size.
- Test on common devices like smartphones, tablets, and desktops to cover a wide range of possibilities.
- Check for font and image scaling to avoid text being too small or images becoming distorted on smaller screens.
- Ensure that interactive elements like buttons or links are easy to use on touch devices with a sufficient hit area.
Pay attention to the compatibility of technologies used. For example, ensure that features like CSS grid and flexbox are supported across different browsers and devices. Use fallbacks where necessary, like setting a basic layout for older devices or browsers.
- Validate your HTML and CSS to catch potential issues that may arise across different devices.
- Consider using a cloud-based testing tool to simulate various devices and browsers.
Don’t overlook accessibility. Devices with different input methods or assistive technologies may require adjustments for smooth usability.


