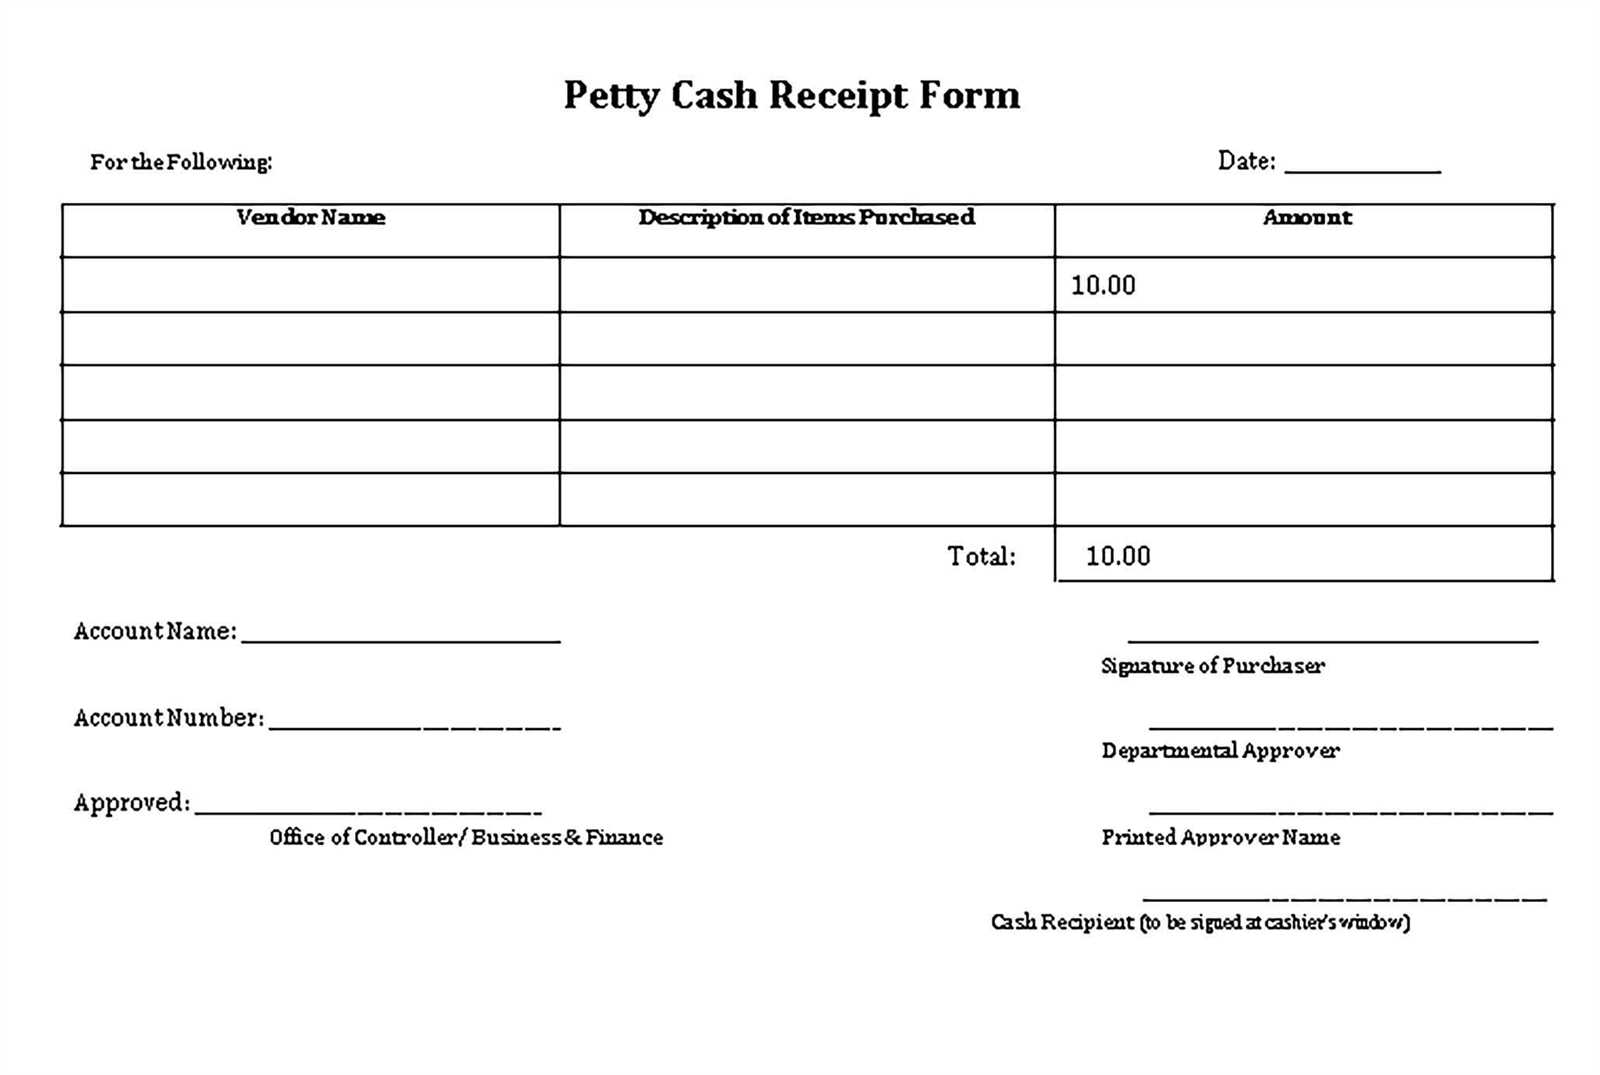
Use this records request receipt template to create a simple and clear acknowledgment for records requests. It helps keep both parties informed about the request’s status and ensures transparency in communication. Include necessary details such as the requester’s name, the date received, and a brief description of the records requested.
Ensure your template includes space for tracking information. Add sections for the expected processing time, the contact person for follow-up, and any additional instructions. This way, the requestor knows exactly what to expect next and when they can anticipate a response.
If applicable, mention any fees or additional requirements for processing the records request. If the request cannot be fulfilled immediately, providing an expected date of completion can help manage expectations and maintain positive communication with the requester.
Records Request Receipt Template
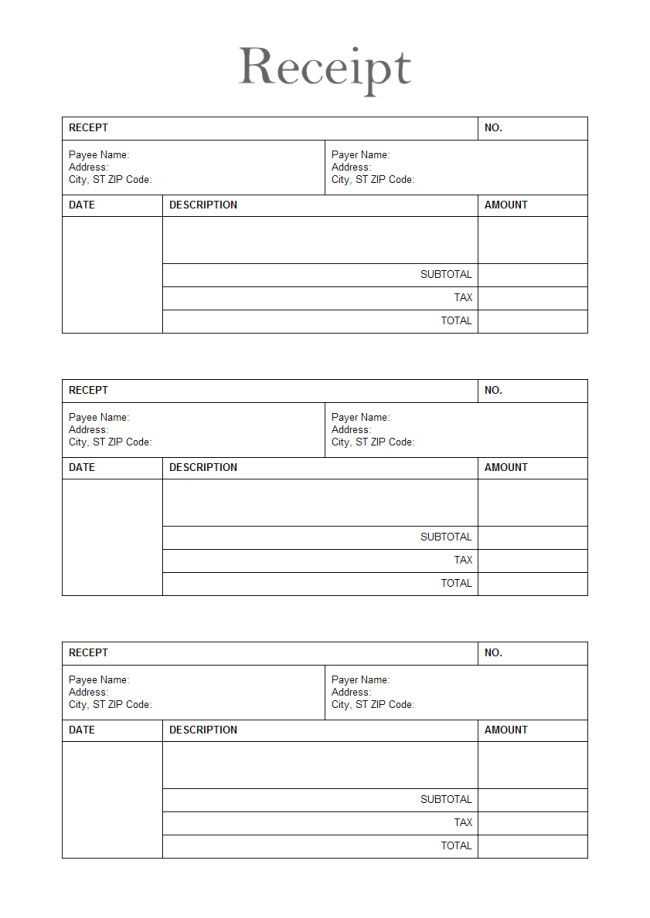
Use a simple and clear format for acknowledging receipt of records requests. Start by noting the date the request was received, and include a reference number to track the request. Provide a brief description of the requested records and their status, such as whether they are currently available, require further processing, or need clarification. Include the expected timeframe for processing the request and any additional steps required.
For example, your receipt might read:
Request Received: January 15, 2025
Reference Number: 123456789
Requested Records: Employee performance evaluations (2018-2020)
Status: Request under review, additional clarification required
Estimated Response Time: 10 business days
Next Steps: Please clarify which department you are requesting the records from. We will proceed once this is confirmed.
Always end the receipt by thanking the requester for submitting their inquiry and offering a contact number or email for follow-up questions. This keeps communication transparent and open, allowing the requester to follow up easily if needed.
Creating a Clear Template Layout
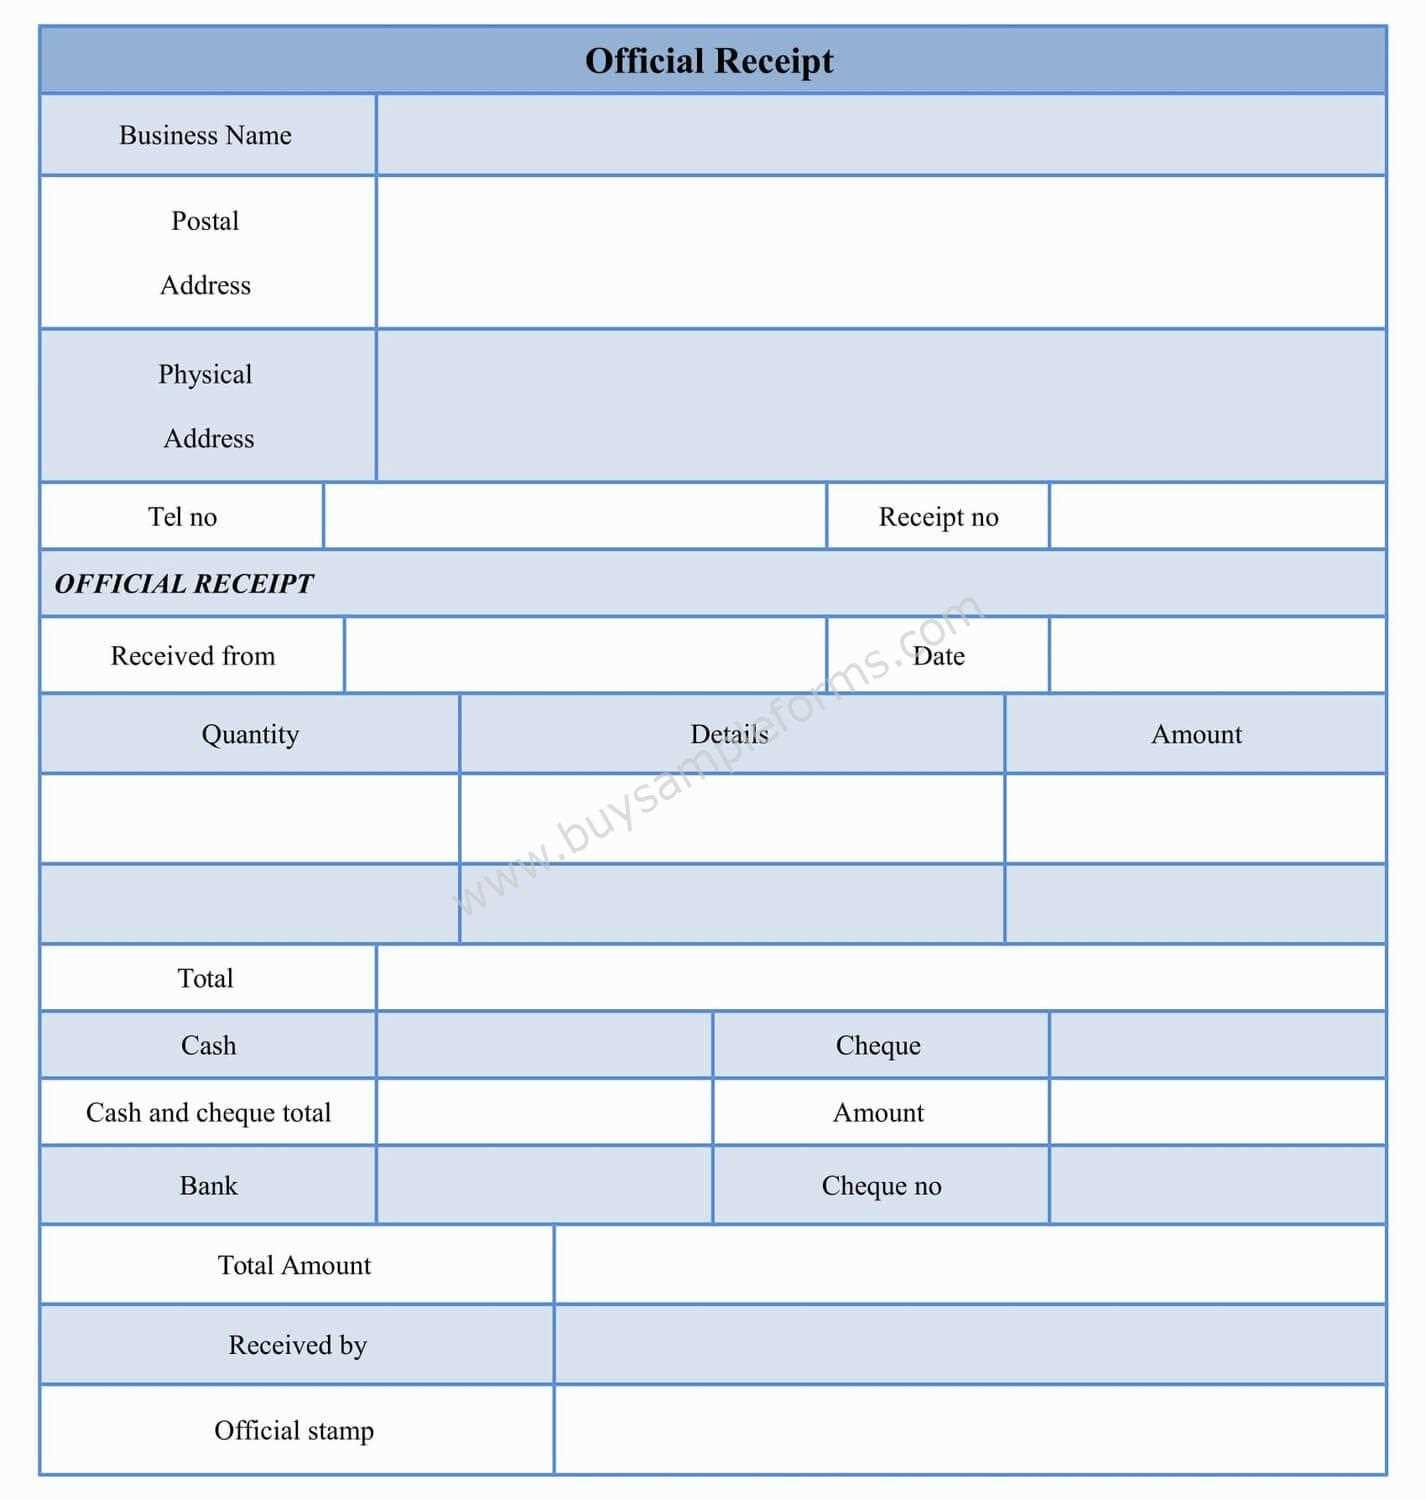
Design the layout with a logical structure to make the records request process straightforward for users. The template should be simple to follow and visually organized to ensure clarity. Keep the sections cleanly separated and limit clutter by focusing on the key details needed to process the request.
Define Key Sections
Structure the template into distinct sections, such as Contact Information, Request Details, and Submission Guidelines. This way, users can easily navigate through the form without confusion.
Use Tables for Organization
Tables are useful for presenting information in a structured format. They help users fill out the necessary fields efficiently and avoid missing details. Here’s an example of how you could organize the layout:
| Field | Description | Required |
|---|---|---|
| Name | Full name of the requester | Yes |
| Contact email for updates | Yes | |
| Request Type | Type of records requested | Yes |
| Date | Date of the request submission | Yes |
| Additional Notes | Any specific details related to the request | No |
Consider using bold or different colors for the headers to make them stand out. This approach makes it easier for users to identify important fields quickly. Keep the text simple, and avoid long descriptions to prevent overwhelming the reader.
Key Elements to Include in the Receipt
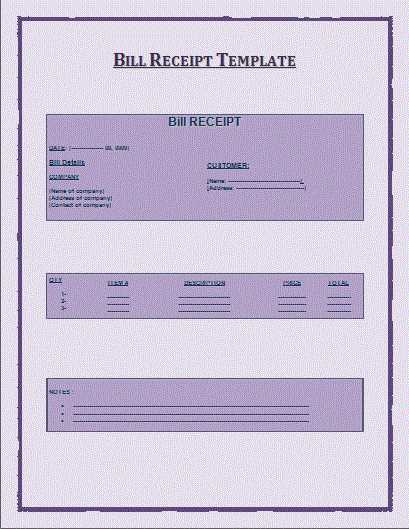
Include a unique identification number for each request. This helps track and reference the document easily. Add the date of receipt to establish a clear timeline. It also provides a useful record for follow-up communication.
Clearly mention the requestor’s name and contact information. This ensures that both parties are identified correctly. Include a brief description of the records being requested. This will clarify what has been asked for, reducing misunderstandings later on.
State the anticipated processing time, even if it is just an estimate. This manages expectations and provides transparency. Include details of the method and any associated fees for retrieving the records. This clarifies any potential costs upfront.
Provide a section for signatures or digital acknowledgments. This confirms that the receipt was issued and provides accountability. Lastly, add any relevant legal or organizational disclaimers about privacy or data use. This ensures compliance with applicable regulations.
Formatting Guidelines for Easy Reading
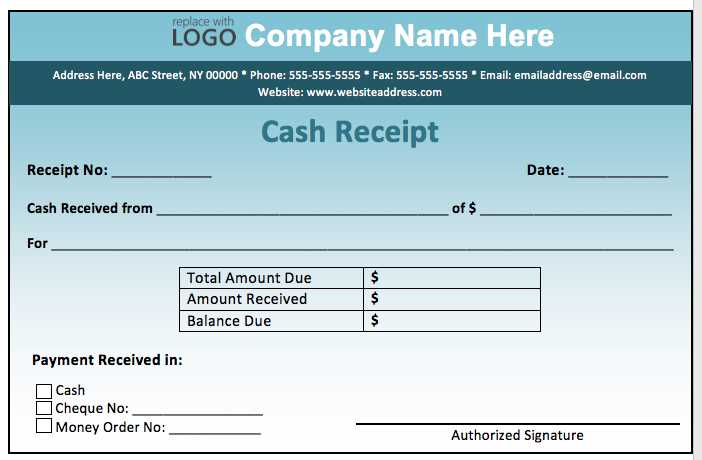
Clear structure plays a key role in making records requests easy to read. Start by using concise headings that guide the reader through each section. Keep paragraphs short and focused on a single idea.
- Use Bullet Points: Bullet points break down information, making it easier to scan. Avoid long sentences within lists.
- Highlight Key Information: Bold or underline critical points to draw attention. Don’t overdo it–use these sparingly.
- Consistent Font Size: Stick to one readable font size throughout the document, adjusting for headings and subheadings only.
- Whitespace is Important: Give content room to breathe. Adequate margins and spacing between sections help avoid overwhelming the reader.
- Avoid Dense Blocks of Text: If a section is too long, break it up into smaller parts or use numbered lists to make it digestible.
- Be Direct: Use simple language. Avoid complex terminology that could confuse the reader.
By following these formatting strategies, your records request receipt template will be user-friendly and easy to navigate.
Common Mistakes to Avoid in Receipt Templates
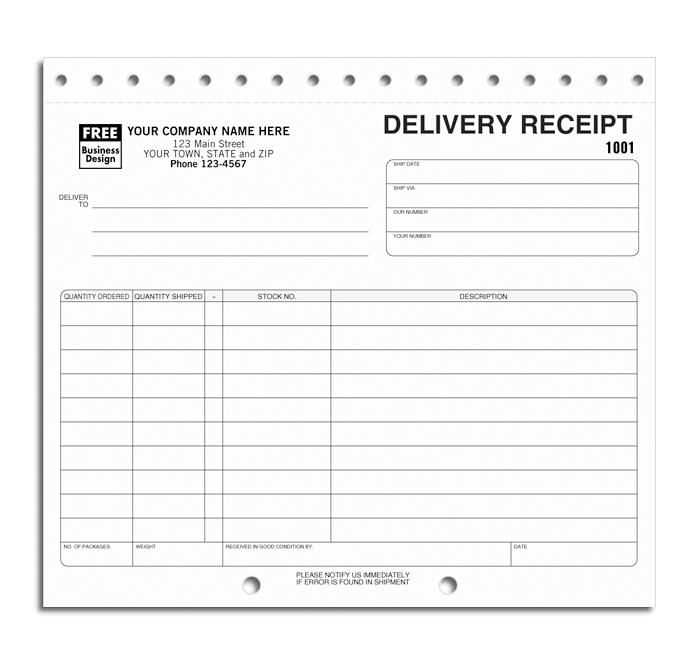
First, ensure the receipt contains all necessary details, including the seller’s name, address, and contact information. Failing to include this basic information can lead to confusion and issues for both the seller and the buyer.
Next, double-check the accuracy of transaction details. Incorrect item descriptions, prices, or quantities are a common issue that can cause disputes. Always verify the calculations before finalizing the receipt.
Avoid using generic or unclear terms. Be specific about the items sold and services provided. Ambiguous descriptions make it harder for the recipient to understand the transaction, which could lead to misunderstandings later on.
Another mistake is not leaving room for taxes. If applicable, make sure to include tax amounts separately, as this helps with transparency and ensures compliance with tax regulations.
Don’t overlook the importance of clear formatting. Cluttered, hard-to-read receipts can cause confusion. Use proper spacing and alignment to keep everything easy to follow.
Finally, always provide a receipt number for record-keeping. Without a unique reference number, tracking transactions becomes difficult, especially if there are any follow-up issues.
How to Tailor the Template for Different Requests
Adapt the template by adjusting the language based on the type of request. For formal requests, use polite and clear phrasing, while informal requests can have a more relaxed tone. Customize the sections that ask for information, ensuring that they match the specifics of the request being made. For instance, if the request concerns public records, emphasize the relevant fields like the record type and timeframe. When dealing with administrative records, focus on the precise departmental details.
Consider including a section that asks for detailed contact information or any follow-up actions. This is particularly useful when handling inquiries about documents that might require additional clarification. For requests that involve more technical records, add a field to specify the document format or medium needed.
Tailor the template’s closing to align with the urgency or formality of the request. For more urgent needs, prompt the recipient to specify deadlines or response expectations. For less time-sensitive requests, a general acknowledgment of the request’s receipt suffices. Finally, ensure the tone and level of detail reflect the specific type of document requested. Adjusting the wording and structure of your template will make it more relevant and efficient for each situation.
Best Practices for Sending and Storing Receipts
Ensure that receipts are sent in a clear, concise format that includes all relevant details: transaction date, items purchased, total cost, and payment method. Use a standard template to avoid missing key information and maintain consistency.
Sending Receipts
- Send receipts immediately after the transaction, ideally within 24 hours.
- Use secure methods like encrypted emails or trusted platforms to avoid data breaches.
- Provide an option for customers to choose between digital or paper receipts based on their preference.
- Include a clear subject line in emails for easy identification, e.g., “Your Receipt from [Store Name].”
Storing Receipts
- Store digital receipts in a cloud-based system with regular backups to ensure accessibility and security.
- For paper receipts, keep them in labeled folders or binders, organized by transaction type or date for quick retrieval.
- Implement a consistent naming system for digital files, e.g., “[Customer Name]_[Transaction Date].pdf.”
- Ensure that the storage system complies with relevant data protection regulations to safeguard sensitive customer information.


