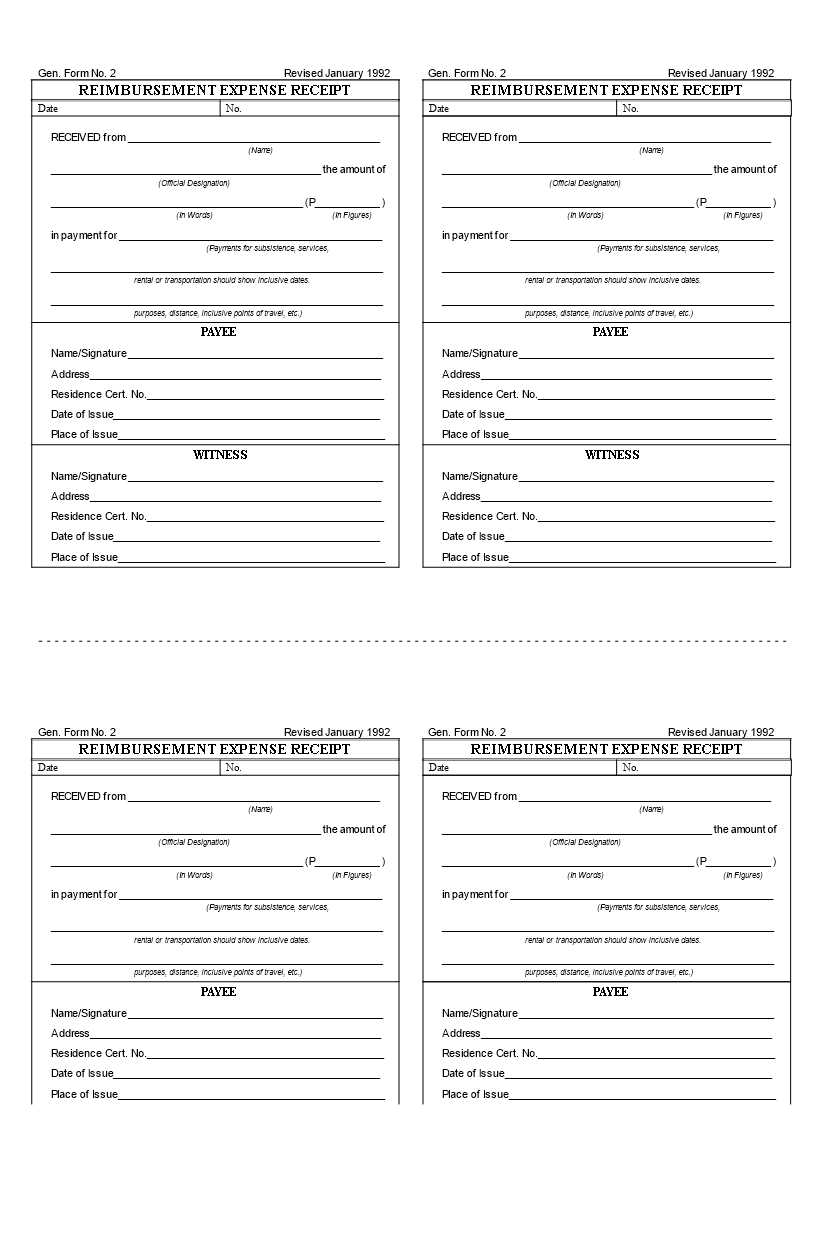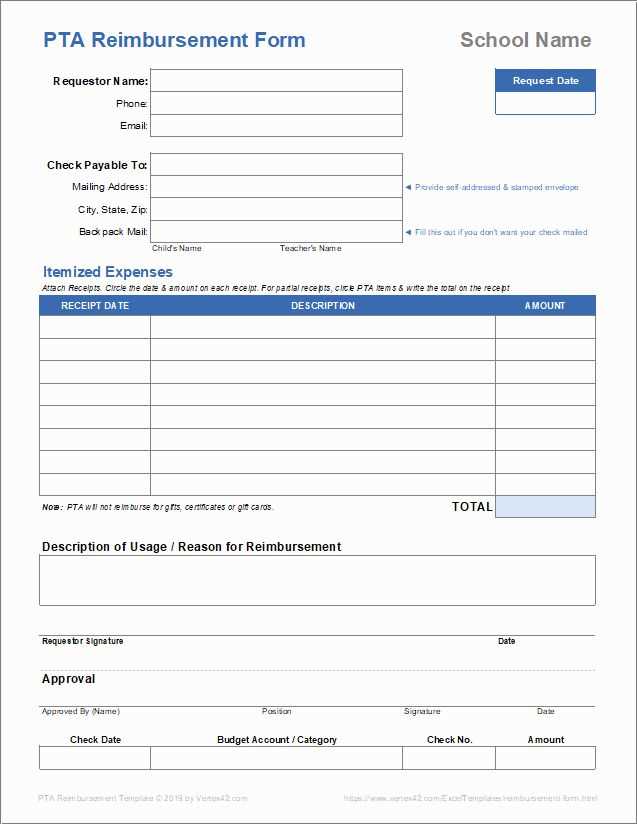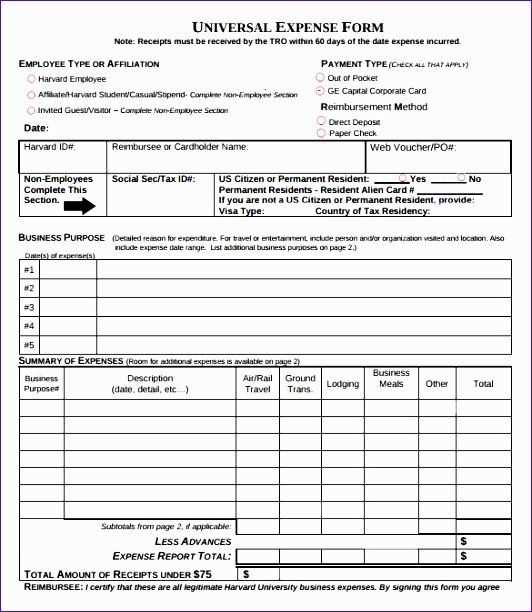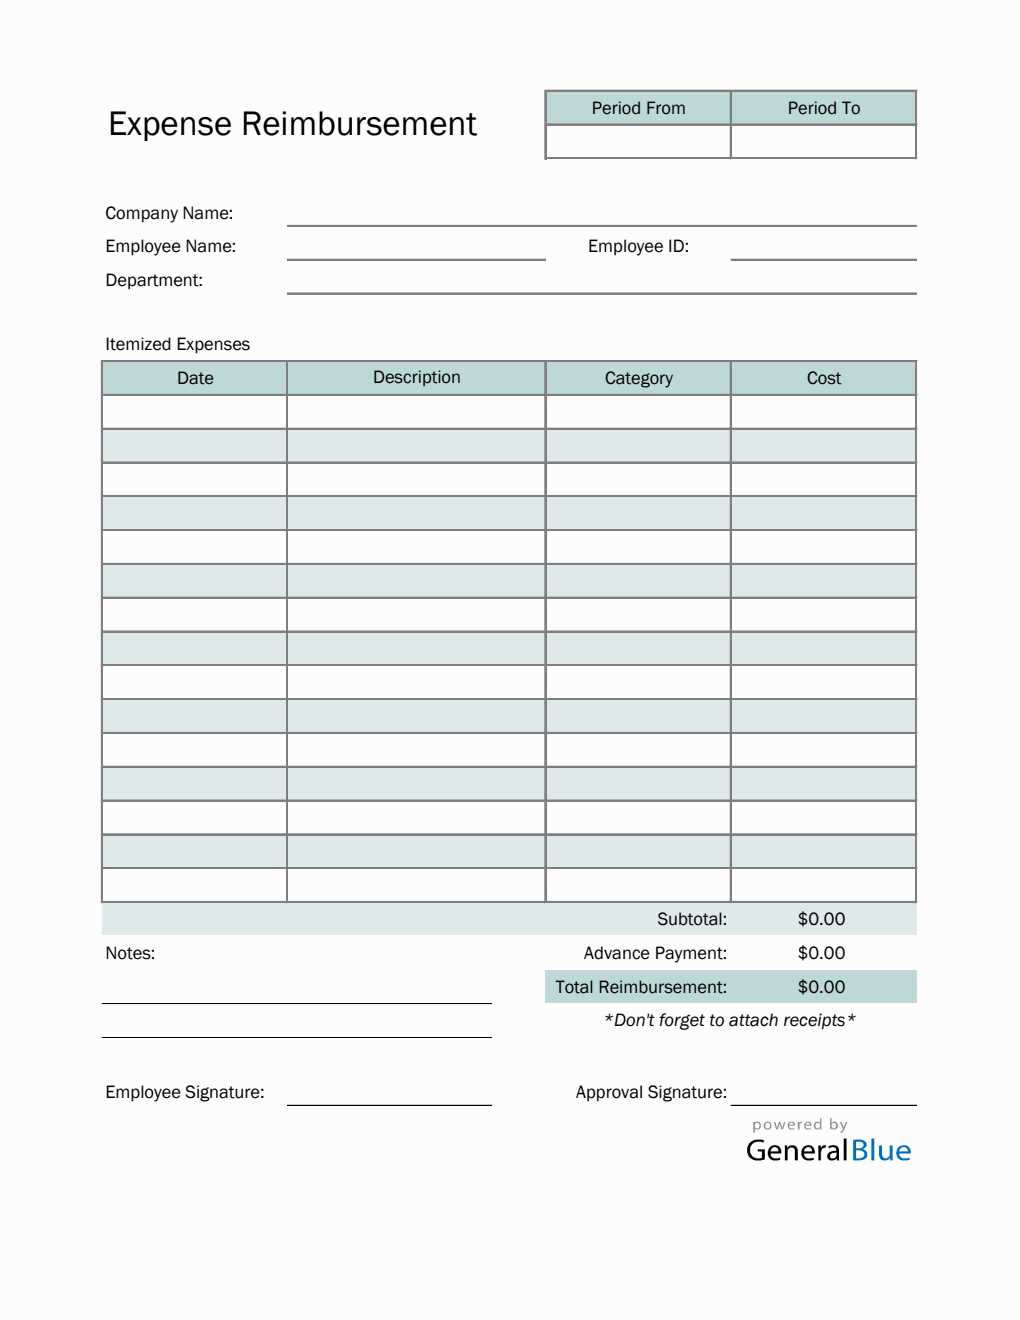
For a clear and organized way to manage reimbursement expenses, use a detailed receipt template. The template should include the date, amount, purpose, and the name of the individual or department requesting the reimbursement. A well-structured template ensures that all necessary information is captured accurately for smooth processing and approval.
Include sections for itemized costs, with each expense labeled clearly. This can help avoid confusion and delays when submitting receipts for reimbursement. Make sure to provide categories for travel, meals, supplies, and any other relevant expenses. An organized format allows for quick review and compliance with company policies.
Don’t forget to include space for the approval signatures or notes from the person verifying the expenses. This step is critical for ensuring accountability. A complete receipt template saves time for both the employee and the finance team, making it easier to track and verify claims.
Reimbursement Expense Receipt Template
To create a reimbursement expense receipt template, focus on clear, structured information that simplifies the reimbursement process. The template should include the following key components:
1. Header Section
The top of the receipt should have the title “Reimbursement Expense Receipt” along with the date of issue. This section should also include the name of the employee and the department or team they belong to.
2. Itemized List of Expenses

Each expense should be listed separately. Include columns for the date, description of the expense, the category (e.g., travel, office supplies), amount, and the payment method used. For clarity, ensure all amounts are in the same currency.
3. Total Reimbursement Amount
The bottom of the receipt should calculate the total reimbursement amount. This total should be clearly highlighted for easy identification. You can also provide a space for a manager’s approval and signature to confirm the expenses.
With this straightforward structure, you ensure all necessary information is captured, making the reimbursement process quicker and more accurate.
How to Structure the Header of a Reimbursement Receipt
The header of a reimbursement receipt should clearly identify the document as an official request for reimbursement. It sets the tone for the rest of the receipt, ensuring both the recipient and the payer can quickly verify the purpose of the document. A well-structured header includes key details, such as the company name, receipt number, date, and the person or department requesting reimbursement.
Key Elements to Include
Make sure the header contains the following components:
| Element | Description |
|---|---|
| Company/Organization Name | Clearly display the name of the company or organization issuing the receipt. This adds legitimacy to the document. |
| Receipt Number | A unique identifier for the receipt. It helps track and reference the document in the future. |
| Date | The date when the receipt was created or when the expenses were incurred. |
| Reimbursed Party | The name of the person or department receiving reimbursement. This ensures the payment is directed to the correct entity. |
Organizing the Information
Position the company name at the top, centered for visibility. Below, include the receipt number aligned to the left, followed by the date. The reimbursed party’s name should be placed beneath these details, aligned to the left or right based on your template style. Ensure that all information is legible and not cluttered.
What Information to Include in the Expense Details Section
List the exact date of the expense. This helps create a clear timeline of expenditures and aligns with accounting periods.
Include a detailed description of the expense. Be specific about what was purchased or the service that was provided. For example, instead of just stating “Office supplies,” specify “Ink cartridges for printer.” This reduces ambiguity when reviewing the expense later.
Specify the cost of each item or service. If the receipt includes multiple items, break down the costs by each one to avoid confusion and to ensure accuracy in reimbursement calculations.
If applicable, provide the vendor’s name and contact details. This can help verify the purchase, especially if any issues arise or additional clarification is needed.
Always include the payment method used. Whether it was a company credit card, personal funds, or another method, this ensures that the correct source of payment is recorded.
If the expense was reimbursed previously or is part of a larger project, include any reference numbers or project codes. This links the expense to specific accounts or projects for easier tracking.
Don’t forget to attach the original receipt image or a digital copy. This serves as proof of the transaction and avoids complications when the expense is reviewed.
Keep the format clear and easy to follow. Using a structured layout for each expense item (such as item, cost, date, payment method) will streamline the review process and prevent any missing details.
Choosing the Right Format for Date and Time Entries
Choose a consistent date and time format that aligns with your audience’s expectations and complies with legal or company standards. The most common formats include:
- MM/DD/YYYY – Typically used in the United States. Easy to read and common in business settings.
- DD/MM/YYYY – Used in most European countries. Avoids confusion in international contexts.
- YYYY-MM-DD – ISO 8601 format. Ideal for systems that require uniformity across multiple regions or software applications.
For time entries, use the 24-hour format (HH:MM) to avoid ambiguity, especially in professional environments. This format prevents confusion between AM and PM, particularly in international settings.
When combining date and time, ensure the layout is clear. A common format is:
- YYYY-MM-DD HH:MM – For clear, precise timestamps, especially in logs or databases.
- DD/MM/YYYY HH:MM – For countries that use the DD/MM/YYYY date format and prefer the 24-hour clock.
Always adapt the format to the target audience or industry, whether for internal records or client-facing documents. Consistency matters more than following a particular standard.
How to Add Itemized Expenses for Clear Reporting
Break down each expense clearly by listing individual items with their corresponding amounts. Include a brief description for each item, such as the purpose or reason for the expense, so there is no ambiguity in what was purchased or why. This ensures transparency in reporting and helps avoid confusion during reviews.
Include Date, Vendor, and Amount
For each expense, record the date of the transaction, the name of the vendor, and the exact amount spent. This information provides clarity and helps reconcile receipts with financial records. It also assists in verifying the authenticity of each claim.
Group Similar Expenses Together

If there are multiple items from the same category (e.g., office supplies, transportation), group them under a single heading but still list each expense individually. This makes it easier to understand the overall distribution of funds and simplifies the review process.
Understanding Tax Calculation and Its Role in Reimbursement Receipts
Tax calculations on reimbursement receipts are integral to ensuring proper financial documentation. Employers often reimburse employees for out-of-pocket expenses, and understanding how tax applies to these receipts is key for both parties. Sales tax on eligible items, such as travel expenses, meals, or supplies, must be included in the reimbursement. In some cases, businesses might need to account for value-added tax (VAT) or other region-specific taxes depending on the nature of the expense.
For reimbursement receipts to be accurate, itemized expenses should show the applicable tax amounts separately. This enables both the employee and employer to track reimbursed expenses while ensuring compliance with tax regulations. Ensure that any tax refund or charge is reflected clearly, as it can impact the overall cost and proper accounting practices.
In cases where the business operates internationally, tax considerations may vary based on local rules. Therefore, understanding the local tax rates and including them correctly on receipts is crucial for maintaining transparent financial records. Always check that taxes are calculated correctly to avoid any discrepancies that might lead to issues during audits or tax filings.
Design Tips for a Professional and User-Friendly Template
Prioritize clarity and simplicity in your design. Focus on creating a layout that presents information logically and is easy to navigate. Keep the visual elements minimal and well-spaced to avoid clutter.
1. Clear Sections and Labels

- Use bold headings and clear labels for each section, such as “Date,” “Amount,” and “Description.” This helps users quickly identify what information goes where.
- Provide ample space between fields to reduce confusion and allow for easy reading.
2. Consistent Formatting
- Use consistent font styles and sizes throughout the template. Stick to one font for headers and another for body text to create visual hierarchy.
- Align text and numbers neatly in columns. This creates a polished and uniform appearance, enhancing readability.
Incorporate a well-defined footer with contact information or instructions for reimbursement to avoid any potential misunderstandings. Keep the footer small and unobtrusive to maintain focus on the content.
3. Easy-to-Use Fields
- Design fields with adequate space for writing or typing. This makes it easier for users to input the required information.
- Include dropdown menus or checkboxes for common options to streamline data entry and reduce mistakes.
Avoid using overly complex tables or sections that might confuse users. Simplicity combined with clear directions will help ensure a smooth experience for anyone filling out the form.


