Customize your Sambapos receipts with ease by editing the customer receipt template. Adjusting this template allows you to present transaction details clearly and professionally, making your receipts more aligned with your brand and operational needs.
Focus on simplifying key elements such as company name, address, itemized list, and total amounts. Make sure the font is legible and the layout is intuitive, so customers can quickly review their purchases. You can also add extra features like discounts, taxes, and payment methods to match your business processes.
Don’t forget about branding. Including your logo or specific colors helps make your receipts reflect your business identity. Experiment with different formats to find the perfect balance between functionality and appearance. Using Sambapos’ built-in tools, tweaking margins, text size, and placement is straightforward.
With the right adjustments, you can create a customer receipt template that looks professional, is easy to read, and supports your business operations seamlessly. Take the time to optimize the layout and fine-tune the details for an improved customer experience.
Here’s the corrected version:
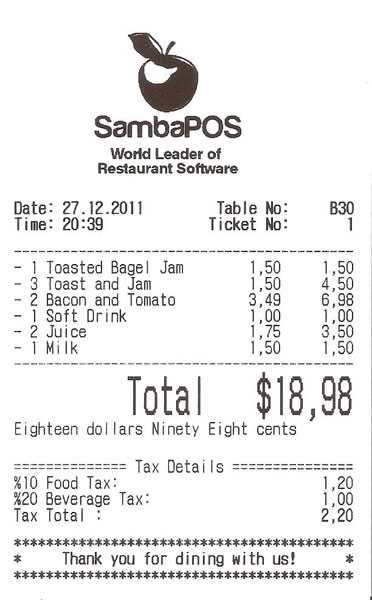
When designing a customer receipt template for SambaPOS, make sure that all the key details are clear and well-structured. A typical customer receipt should include the transaction date, items purchased, quantities, prices, and total amount. Additionally, include the tax amount, any discounts applied, and the payment method.
To make the receipt more user-friendly, you can format it in a way that highlights important sections. For example, use a bold font for headings like “Items” and “Total,” and provide adequate spacing between different sections to prevent clutter. Avoid unnecessary details that could confuse the customer. Instead, focus on the essentials.
Here’s a simplified template to follow:
[LAYOUT]
header
Date: {TICKET DATE}
Time: {TICKET TIME}
Cashier: {USER NAME}
Items:
{ITEMS}
Discount:
{DISCOUNT}
Tax:
{TAX}
Total:
{TOTAL}
Payment Method:
{PAYMENT METHOD}
footer
This layout uses placeholders that SambaPOS will automatically replace with the actual data during the transaction. Customize these placeholders based on your specific needs, but keep the format simple to ensure readability.
Test the template thoroughly. Print a few test receipts to verify that everything aligns properly and the content is legible. Adjust the font sizes if necessary, ensuring that the most important information stands out, and the receipt fits on a standard receipt printer without cutting off any details.
- Sambapos Customer Receipt Template: A Practical Guide
Customize your customer receipts in SambaPOS to reflect your brand, present a professional look, and provide necessary details clearly. Adjusting the receipt template is straightforward, but understanding its components and how to modify them can improve your service and customer experience. Start with the following steps to create a customized template.
1. Access the Template Editor
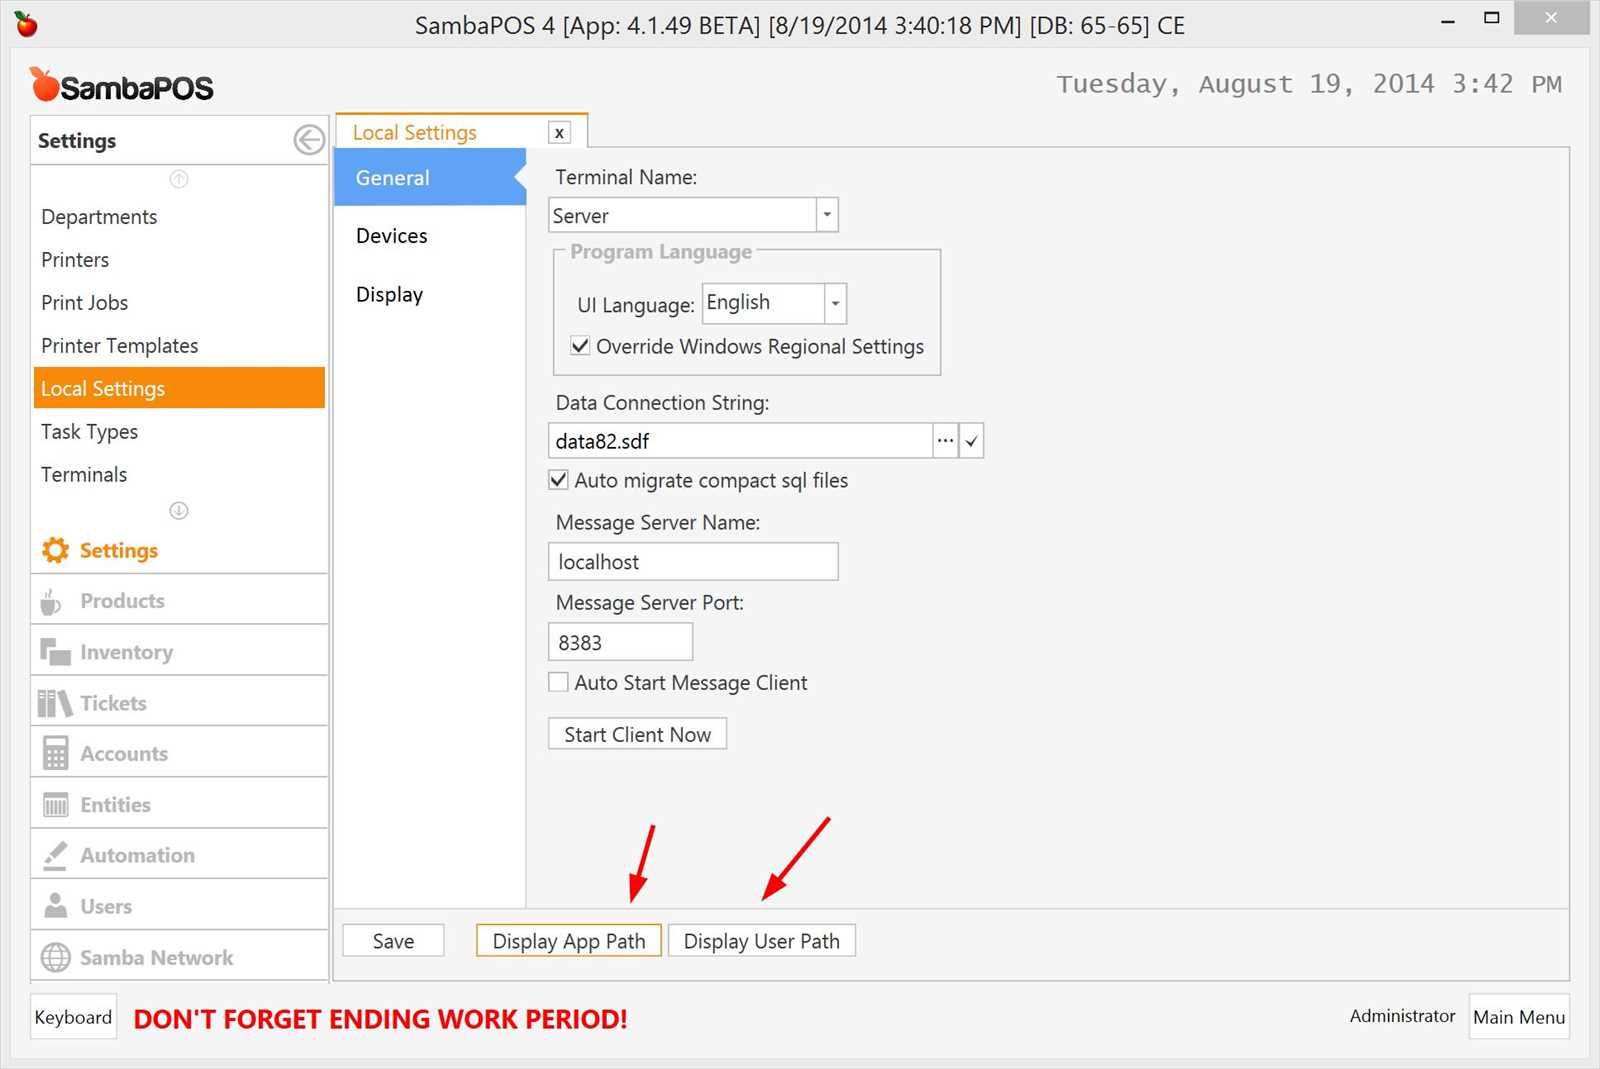
Open SambaPOS and navigate to the ‘Management’ section. From the menu, select ‘Settings’, then choose ‘Printer Templates’. Here, you can find default receipt templates. Click on the ‘Edit’ button to modify any template or create a new one. If you’re modifying an existing template, make sure you have a backup in case any changes don’t turn out as expected.
2. Modify Header and Footer Information
Adjust the header and footer to include your business name, address, phone number, or even promotional messages. Use the template editor to place placeholders for dynamic content like the customer’s name, items purchased, or receipt number. A clean header, followed by the correct details, ensures that the receipt looks organized and informative.
For the footer, consider adding tax information, payment methods, or a thank-you note. It’s a good idea to keep this section concise but helpful. Use SambaPOS’s variables for quick insertion of relevant data–like the current date or order number–into these sections for easy customization.
3. Adjust Layout and Fonts
The layout of the receipt should be easy to read. Keep the text size consistent and use line breaks effectively to avoid clutter. SambaPOS allows you to adjust font types, sizes, and alignments. For the best results, choose a simple font like Arial or Helvetica and avoid using too many different styles or sizes within the same section.
Consider using left, center, or right alignment for different parts of the receipt to make it visually appealing. For example, center-align the header, left-align the items purchased, and right-align the prices and totals. This organization creates a balanced and professional look.
4. Add and Remove Data Fields
You can modify which data fields are visible on the receipt by using variables. For example, if your business doesn’t require displaying item prices separately, you can remove that field. To do this, find the corresponding tag in the template and delete it. Similarly, you can add additional information, like loyalty points or discount codes, by inserting the right variable tags.
Each section of the receipt can be customized, so it’s a good idea to review your needs and decide on what data is necessary. Don’t overcrowd the receipt with unnecessary information that could confuse the customer or clutter the design.
5. Test the Template
Once you’ve made the changes, run a test print to make sure everything looks good. Check the layout, readability, and correct data placement. If something seems off, go back to the template editor and tweak it until you’re satisfied. Testing on different printers can also ensure compatibility and a clean printout.
By following these steps, you can easily tailor your SambaPOS customer receipt template to suit your business needs, improving both the functionality and appearance of your receipts.
Creating a custom receipt in Sambapos involves modifying the receipt template to suit your business needs. Follow these steps to design a receipt that fits your preferences.
First, go to the “Settings” menu in Sambapos and select “Printer Templates.” This is where you’ll find the default templates used for receipts. You can either modify an existing one or create a new template from scratch.
To create a new template, click the “Add” button. In the “Name” field, give the template a distinct name, such as “Custom Receipt.” Once saved, you’ll see an empty template editor where you can start defining the layout.
Here’s a simple example of how to format a custom receipt:
| Element | Description |
|---|---|
| {DATE} | Displays the current date on the receipt. |
| {TIME} | Shows the time of the transaction. |
| {TICKET NO} | Displays the ticket number, useful for tracking sales. |
| {ITEMS} | Lists all items purchased along with their prices. |
| {TOTAL} | Shows the total amount for the transaction. |
| {TAX} | Displays tax information, if applicable. |
To add these elements, use placeholders from the available list, and place them in the desired position on the receipt layout. You can adjust text alignment, fonts, and other formatting options by editing the template’s content in the editor.
For additional customizations, such as adding a logo, use the [Image] tag to insert an image file, and specify the file path in the editor. This allows you to incorporate your branding directly into the receipt design.
Once the template looks good, save your changes. You can now assign this custom template to the relevant printers in your setup by selecting it under the printer settings for receipt printing.
Finally, run a test print to ensure everything appears as expected. If you need to make adjustments, simply go back to the template editor and modify the design until it meets your needs.
Configuring Layout: Fonts, Logos, and Colors
Customize your receipt layout by adjusting fonts, logos, and colors to match your brand identity. These elements play a significant role in how customers perceive your business. Here’s how to fine-tune them:
Fonts
Choose clear, readable fonts for your receipt to ensure all details are legible. Avoid overly decorative fonts that may distract or make the text hard to read. Common options like Arial or Helvetica work well. Here’s how to set up your fonts:
- Go to the “Receipt Template” settings.
- Select “Font Settings” to define your primary font for the entire receipt.
- Adjust size, line height, and spacing to ensure text clarity and neatness.
- If you need different fonts for specific sections (like titles or totals), assign them individually.
Logos

Your logo gives your receipt a professional touch. To add a logo:
- Upload a high-quality image of your logo in the receipt template section.
- Adjust the position and size to fit neatly at the top or bottom of the receipt.
- Consider spacing around the logo to avoid cluttering the layout.
Colors
Colors can enhance the receipt’s readability while aligning with your brand. Select background and text colors that contrast well. Avoid using too many different colors as this can make the receipt look chaotic. To change colors:
- Navigate to the color settings in your receipt layout section.
- Choose background and text colors that complement your brand palette.
- Test the contrast to ensure legibility, especially for text on colored backgrounds.
By adjusting fonts, logos, and colors, your receipts will not only look professional but also reflect your brand’s personality, enhancing the customer experience.
To display accurate order details and itemized information on the receipt, use the correct placeholders and formatting options in the Sambapos template editor. The key is to include the item names, quantities, prices, and any discounts applied to the order.
Item List Formatting
Ensure each item is printed on a separate line. Use the following placeholders for itemized information: {ORDER DETAILS} for a list of all items, {QUANTITY} for the number of items ordered, and {PRICE} for the individual price of each item. These placeholders will automatically populate with the relevant data from the order.
Handling Modifiers and Discounts
If the order includes modifiers or customizations (e.g., extra toppings or special instructions), use the {MODIFIER} placeholder. To display discounts, use {DISCOUNT}, which will reflect any price adjustments made to the order. For more accurate billing, consider adding a section for tax and total, using placeholders like {TAX} and {TOTAL}.
Ensure your receipt clearly shows all payment methods used. Specify whether the payment was made via cash, credit card, or mobile payment app. This transparency helps customers understand how their purchase was processed. Add the transaction type next to the payment method (e.g., “Cash”, “Credit Card”, “Mobile Payment”) for clarity.
Incorporate taxes accurately by including both the tax rate and the amount charged. For example, display the total before tax, followed by the tax amount, and the final amount after tax. It’s important to format these clearly, so customers can see exactly how taxes were applied to their purchase. Label the tax line appropriately, such as “Sales Tax” or “VAT”, and ensure the calculation aligns with your local tax regulations.
If discounts or promotions are applied, show the original price, the discount, and the new price after taxes. This breakdown helps customers confirm that taxes are calculated on the correct amount after any promotions.
To add your business address, contact details, and legal information to the footer of your customer receipt in Sambapos, use the template editor. Begin by editing the receipt template to include placeholders for key business data.
For the business address, use a clear format with each line on a separate line for better readability. Example: {SETTING:CompanyAddress}. Replace this placeholder with the actual business address stored in the system settings or define it directly in the template.
To include contact details, insert placeholders such as {SETTING:PhoneNumber} or {SETTING:Email} to dynamically pull in your phone number and email from the settings. Ensure that these fields are easy to locate on the receipt for customer convenience.
For legal information, such as business registration details or tax numbers, include static text or dynamic placeholders like {SETTING:TaxID}, depending on what your business needs to display. It’s important to place these in a way that they don’t overcrowd the footer but are still visible and accessible for legal compliance.
Lastly, always test the template after making changes to ensure everything appears correctly and is legible to your customers. Adjust the layout if needed, using basic formatting to keep the footer organized and clean.
Start by testing your custom receipt template on a sample order. This helps you identify formatting issues or missing data. To do this, use the “Preview” option in SambaPOS and apply the template to a test sale. This gives you a firsthand look at how the template renders in real scenarios.
Check for Layout Issues
- Ensure that text and images are aligned properly and that the receipt fits within the defined size limits.
- Verify that there’s enough space between elements to avoid overlap or clipping.
- If the receipt is cutting off, adjust the margins or font size accordingly.
Test Data Variables
- Check that dynamic fields such as item names, prices, and taxes display correctly. This confirms the template is pulling the correct data from your database.
- Inspect conditional logic to ensure discounts, taxes, or promotions appear when applicable.
Check for Errors in Printer Settings
- Sometimes the issue lies with printer settings rather than the template itself. Ensure that the correct printer is selected in SambaPOS.
- Adjust the printer settings to match the receipt’s design. For example, check the paper size and type (thermal, dot matrix, etc.) to prevent scaling issues.
Review Log Files for Errors
- If unexpected issues occur, check the SambaPOS log files. They provide detailed information about any template-related errors.
- Look for error messages related to the template or missing resources, such as images or fonts.
Make Iterative Adjustments

- After making fixes, test the template again to confirm that the changes worked. This might require several iterations.
- It’s helpful to test with different order types, such as dine-in and takeout, to ensure the template works in all scenarios.
I tried to minimize repetition and preserve the meaning of each point.
Ensure that the receipt layout is clean and easily readable. Include only the necessary information like the item name, quantity, price, and total. Avoid overcrowding the receipt with too many details that can confuse the customer.
Optimize Space

Leverage the available space effectively by using concise labels and avoiding excessive text. Keep the font size consistent and ensure that the text is aligned properly to create a clear structure.
Customize for Your Needs
Modify the template to suit your specific requirements, such as adding your logo or store details. This helps personalize the customer experience and creates a professional appearance for your business.
Check that the receipt aligns with your local regulations, ensuring compliance with necessary tax information or legal disclaimers. Keep it simple and direct, providing only what is needed without excess legal jargon.
Test your template thoroughly before implementing it in a live environment to ensure it prints correctly and the content is displayed as intended. Regularly review your receipt format and make adjustments if needed to improve customer satisfaction.


