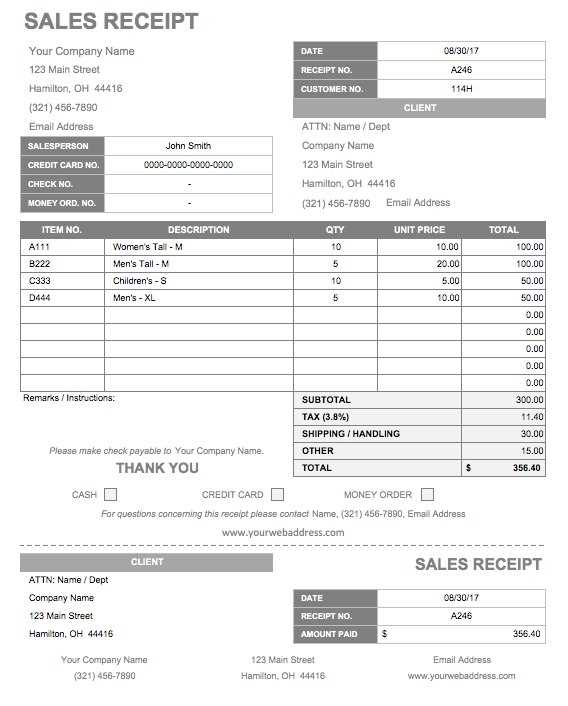
Creating a receipt template saves time and ensures consistency across transactions. Follow this structure for a professional and clear receipt format:
Receipt Components
- Business Information: Include the business name, address, phone number, and email. This is vital for identification and follow-up inquiries.
- Transaction Details: List the date of the transaction and receipt number for tracking purposes.
- Itemized List: Clearly state each product or service provided. Include the quantity, unit price, and total amount for each item.
- Subtotal: Show the subtotal before taxes.
- Tax Information: Mention the applicable sales tax rate and the total tax amount.
- Total Amount: Display the final amount after taxes have been added.
- Payment Method: Indicate how the payment was made (credit card, cash, etc.)
- Thank You Note: A short note of appreciation for the customer’s business can enhance the experience.
Receipt Template Example
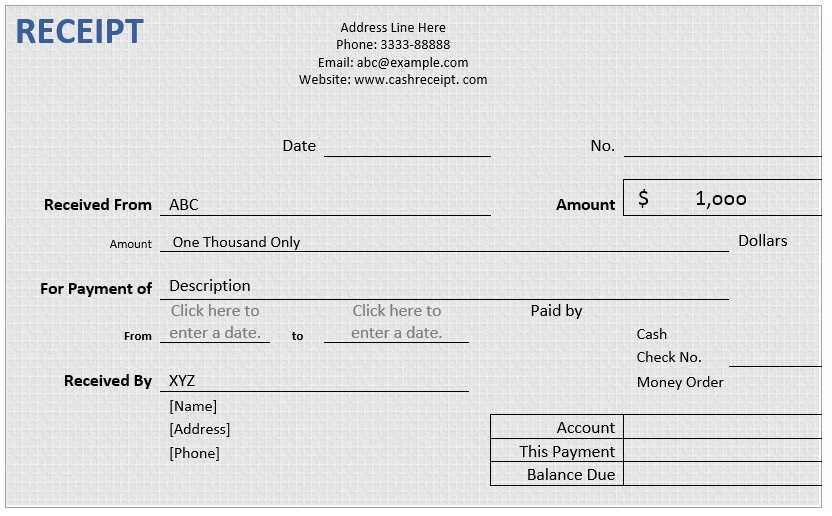
Here’s an example format:
Business Name: [Your Business Name]
Address: [Your Business Address]
Phone: [Your Phone Number]
Email: [Your Email Address]
Receipt #: [Receipt Number]
Date: [Date of Transaction]
Items:
1. [Item Name] - [Quantity] @ [Unit Price] = [Total Price]
2. [Item Name] - [Quantity] @ [Unit Price] = [Total Price]
Subtotal: [Subtotal Amount]
Tax (X%): [Tax Amount]
Total: [Total Amount]
Payment Method: [Cash/Card]
Thank you for your business!
Customizing Your Template
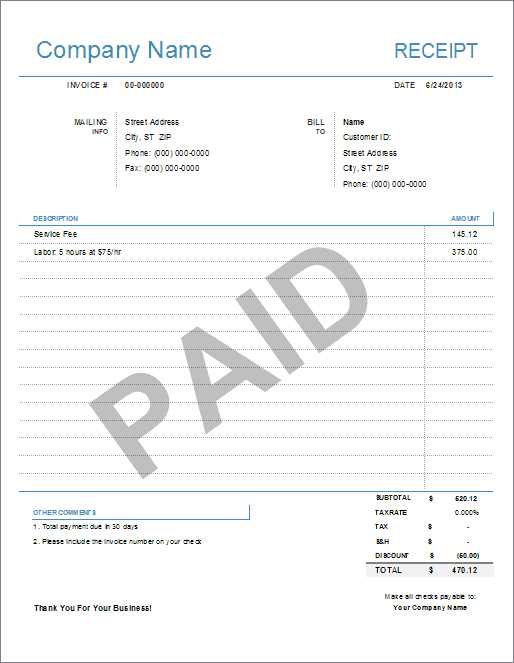
Adjust the template to fit your specific needs. For example, if your business requires additional details like shipping or order numbers, include those sections. Be sure to format everything clearly to avoid confusion.
Template for Receipt
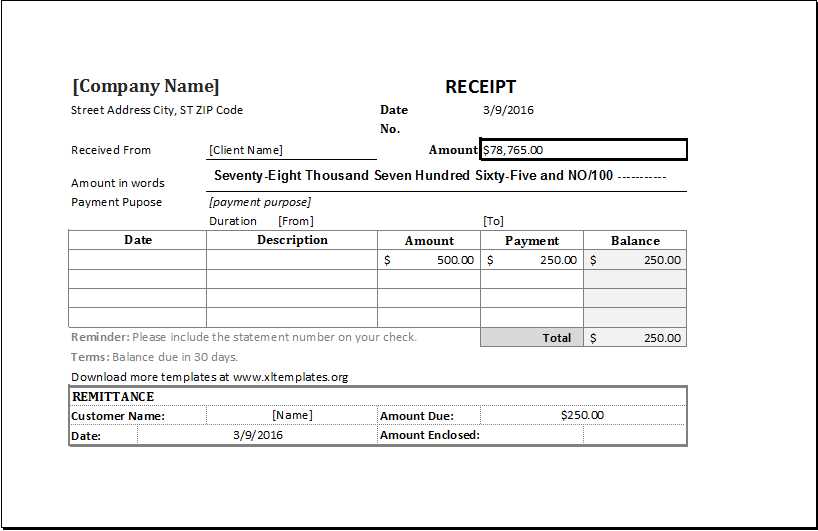
Creating a receipt template involves clearly outlining transaction details while maintaining a professional layout. Begin by structuring the document with clear sections for the seller’s information, buyer’s information, items or services purchased, total amount, and payment method. A clean and consistent design makes it easier for both the seller and the buyer to understand the transaction at a glance.
How to Create a Basic Receipt Template
Start with a header that includes your business name and contact details. Follow it with the receipt number and date of the transaction. In the body, list the items purchased, including quantities, unit prices, and total prices. Conclude with the grand total, specifying any taxes or discounts applied. Include payment method information, whether the transaction was made via cash, credit, or debit card.
Important Information to Include in a Receipt Template
Ensure the receipt reflects accurate item descriptions and prices. It’s vital to include tax rates or additional charges that might apply, such as shipping fees. Include a clear breakdown of the total amount, and if applicable, mention payment methods or outstanding balances. For returns or exchanges, specify any policies that may apply. This information protects both the business and the customer.
When creating a receipt, remember that clarity and readability are key. Avoid clutter and unnecessary information, focusing on what is necessary for record-keeping and proof of transaction.
Personalizing Your Receipt Template for Various Business Needs
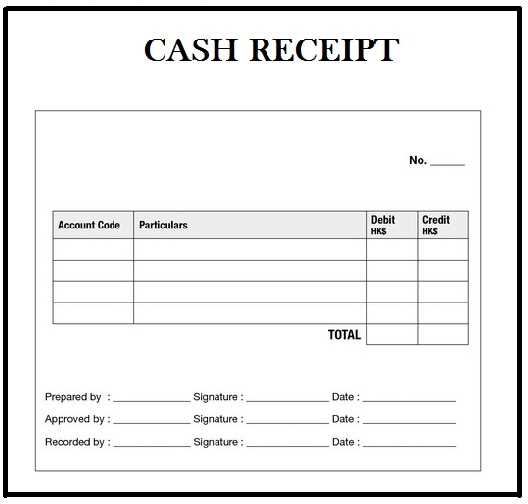
Adapt your template depending on the nature of your business. For a retail store, include a section for product codes, sizes, or colors. Service-based businesses might want to highlight the hours worked or the specific service rendered. Adding a business logo or specific branding elements helps personalize the receipt and create a consistent customer experience. Ensure your receipt template suits the industry standards and adds to your brand’s credibility.


