Creating a professional receipt template for your repair shop helps streamline business operations and ensures clear communication with customers. A well-structured receipt reflects the services provided, keeping both parties on the same page regarding costs and work completed.
Include basic information: Always list the shop’s name, address, phone number, and email. Make sure to include the date of service and the customer’s name for accurate record-keeping. Clearly state the repair service performed, itemized with pricing for each service or part replaced.
Highlight payment details: Specify the total amount due, including taxes, and clearly mark any discounts or special pricing. A breakdown of payment methods such as cash, credit card, or insurance should also be included. This makes it easy for both you and your customer to track payments and agreements.
Provide space for additional notes: If there are any warranties, follow-up appointments, or special instructions, make sure to leave room to jot down this information. This ensures that customers have all necessary details to refer back to later.
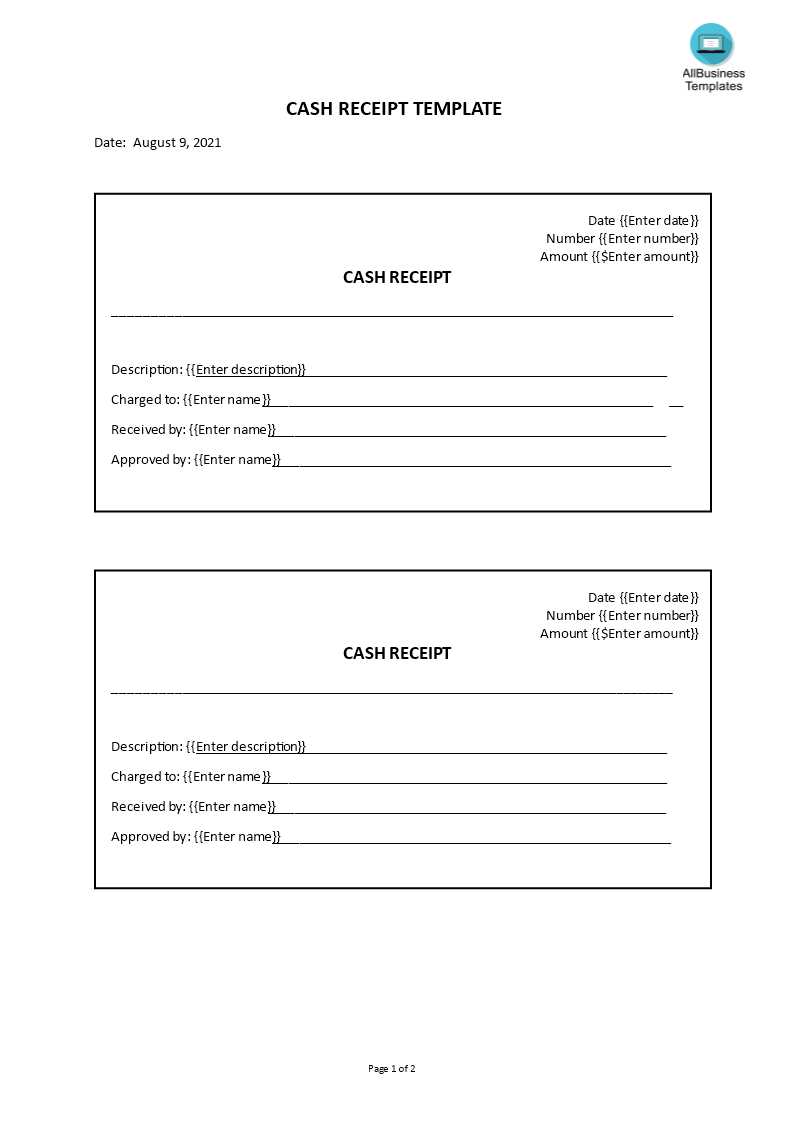
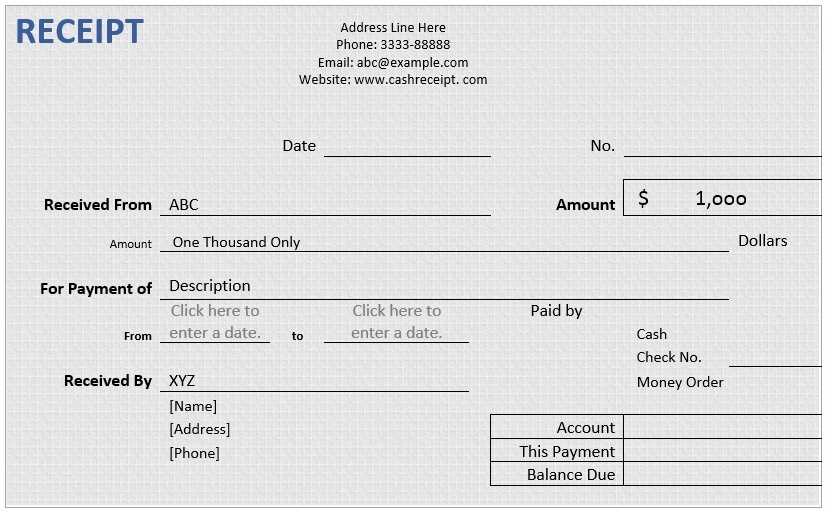
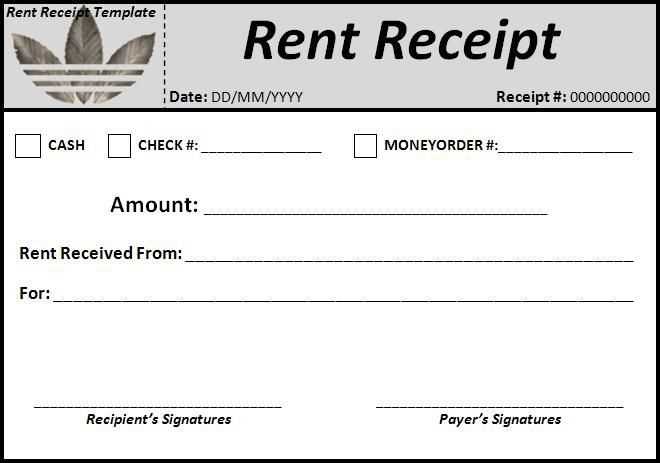
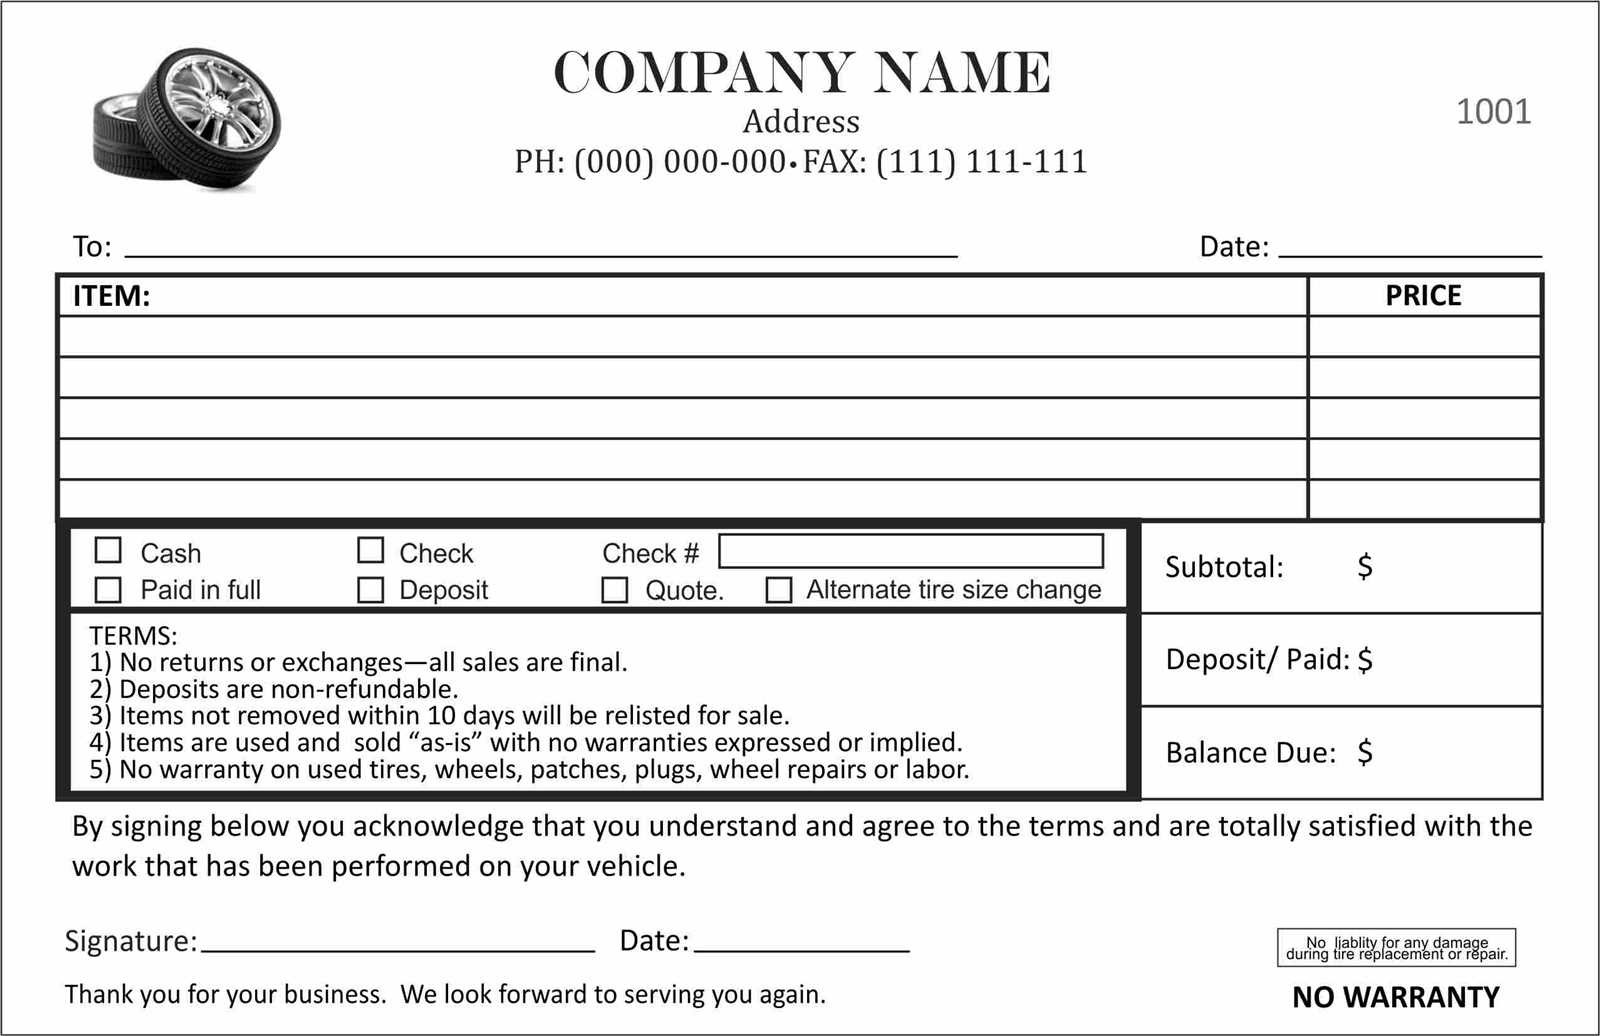
Template Receipt for Repair Shop
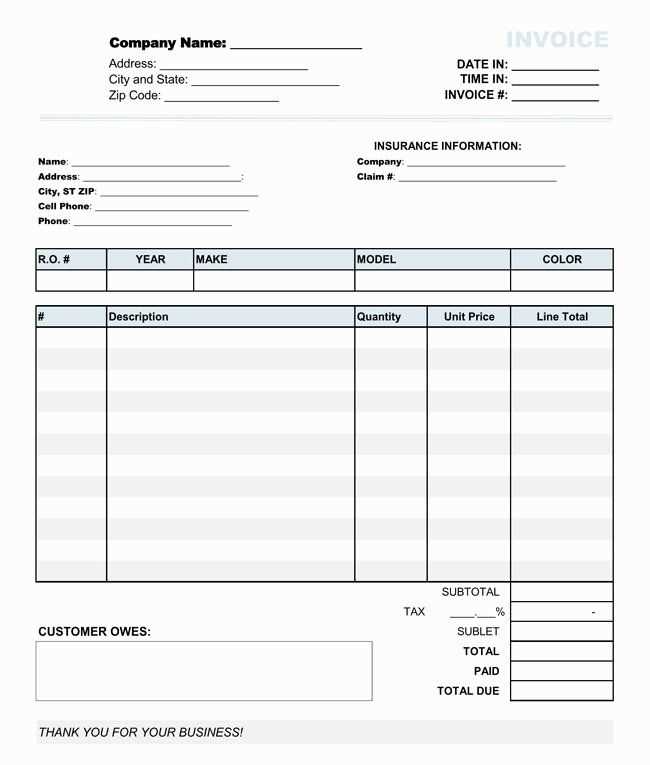
To create a clear and reliable receipt for your repair shop, focus on essential details: customer information, repair items, pricing, and payment status. Ensure the format is easy to read and consistent with your brand identity.
Start with a header that includes the shop’s name, address, and contact information. This ensures customers know where the service took place. Below that, include a section for the customer’s details, such as name, phone number, and email, to confirm who the receipt belongs to.
Next, list the items or services being repaired. Be specific about the work done, including part numbers, labor charges, and any additional services. This transparency helps prevent misunderstandings later.
Make sure to show the total cost for each item or service, and calculate a clear subtotal. After this, add any applicable taxes, and provide the grand total. Include payment details, such as the method used and any outstanding balance.
Include a footer with a return policy or warranty information, making it easy for customers to know what to expect after receiving their repairs.
Having a clear template reduces errors and ensures customers have all the necessary information in one document. A well-organized receipt fosters trust and keeps your shop’s operations smooth.
Creating a Clear Breakdown of Services and Charges
List each service separately with a clear description of what’s included. Avoid ambiguity by specifying the exact task or repair, such as “Engine diagnostics” or “Brake pad replacement,” rather than vague terms like “Check-up” or “Maintenance.”
Detail each charge. Include both labor and parts separately. For example, list labor at an hourly rate along with the number of hours worked. Break down parts costs with itemized pricing for each component used. Customers should easily understand where their money is going.
Be transparent with fees. If there are additional charges like disposal fees, diagnostic fees, or environmental charges, state them upfront. This prevents surprises when the bill is presented and builds trust.
Use clear formatting. Make sure the list is easy to read by using bullet points or a table format. Group similar services, such as labor or parts, together, and label each line clearly. This allows clients to see exactly what they’re paying for.
Offer itemized estimates for major repairs, so the customer can approve each step before proceeding. If the situation changes during the repair, update the estimate and notify the customer right away.
Incorporating Warranty Information and Terms
Clearly outline the warranty coverage on repair receipts. Specify the duration of the warranty, including start and end dates, and the type of repairs or parts covered. Make sure customers understand whether labor is included or if additional charges apply.
Detailing Warranty Coverage
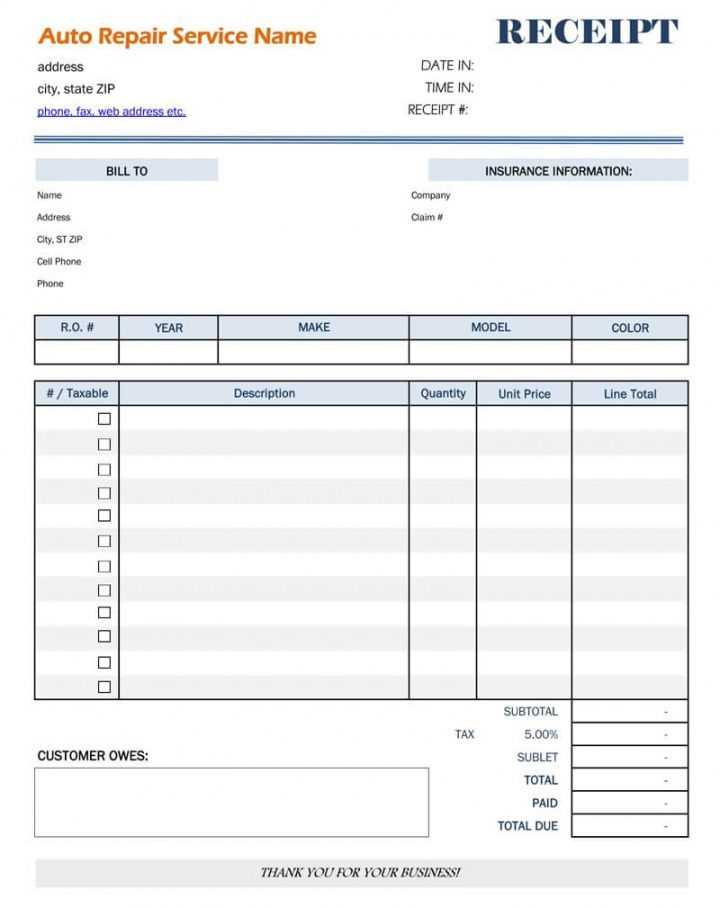
Include the specific repairs or parts that are under warranty. For instance, state if the warranty applies only to labor or also includes parts. Clarify if there are any exclusions, such as damage from misuse or improper handling. A well-defined list of covered services builds customer trust and avoids confusion later.
Terms of Warranty Use
State any requirements for warranty claims, such as proof of receipt or following particular care instructions. Note the process for requesting warranty service and the timeframe in which customers must report issues. This section should also mention if the warranty is transferable or limited to the original purchaser.
Designing a Professional and Readable Layout
A clear and organized layout is key to creating a professional receipt template. Prioritize readability and efficiency in design, ensuring that each element is easy to understand at a glance.
1. Use Clear Fonts and Sizing
Select legible fonts with appropriate sizing. Use one primary font for body text and a secondary font for headers. Avoid decorative fonts that can hinder readability. Font size should be large enough for easy reading, typically between 10-12pt for body text and 14-18pt for headings.
2. Keep Information Structured
Organize details in a logical order. Start with business information (name, address, contact), followed by customer details, service description, pricing, and any applicable taxes. Use bullet points or tables to separate information clearly.
- Business Information: Place at the top with your logo for immediate recognition.
- Customer Information: Include name, address, and contact for easy reference.
- Services and Pricing: List items and prices clearly in a tabular format.
- Total and Taxes: Display totals prominently at the bottom to avoid confusion.
3. Add White Space
Whitespace reduces clutter, making your receipt easier to read. Keep margins consistent and avoid cramming too much information into a small space. Ensure there is enough room between sections to guide the eye naturally through the document.
4. Consistent Alignment
Align text and numbers consistently. For example, keep all prices right-aligned for uniformity. This simple change enhances the structure and makes scanning the document faster.
5. Use Dividers for Separation
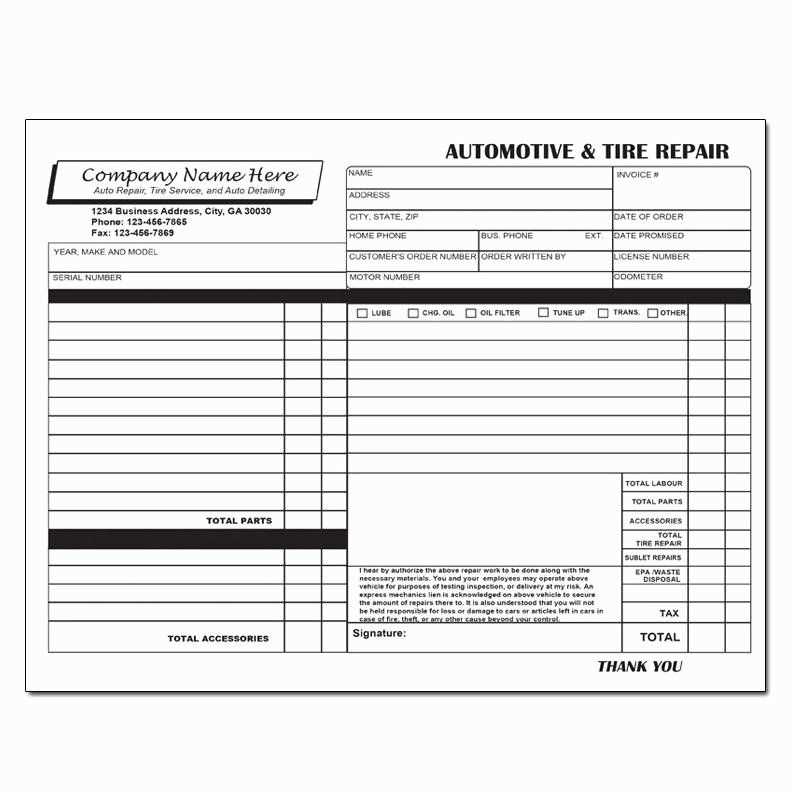
Horizontal lines or subtle borders can be used to separate different sections of the receipt, like business info, services, and total charges. This adds clarity and keeps the layout visually organized.
