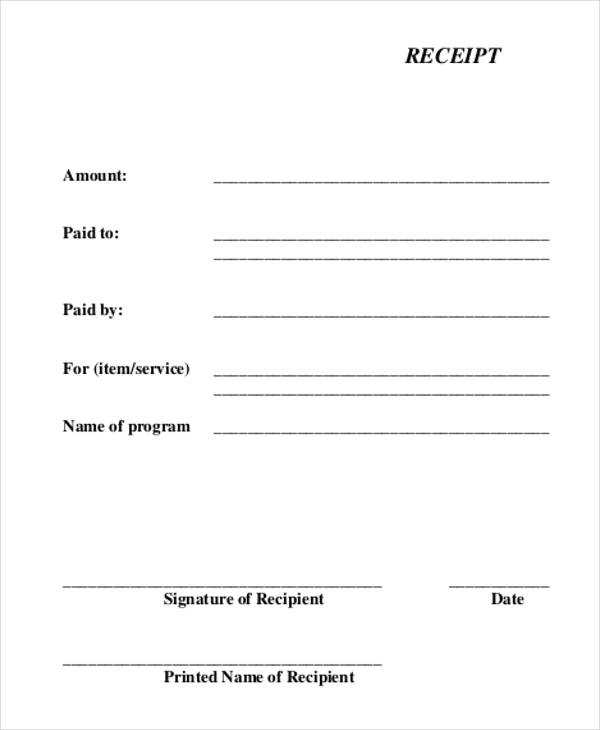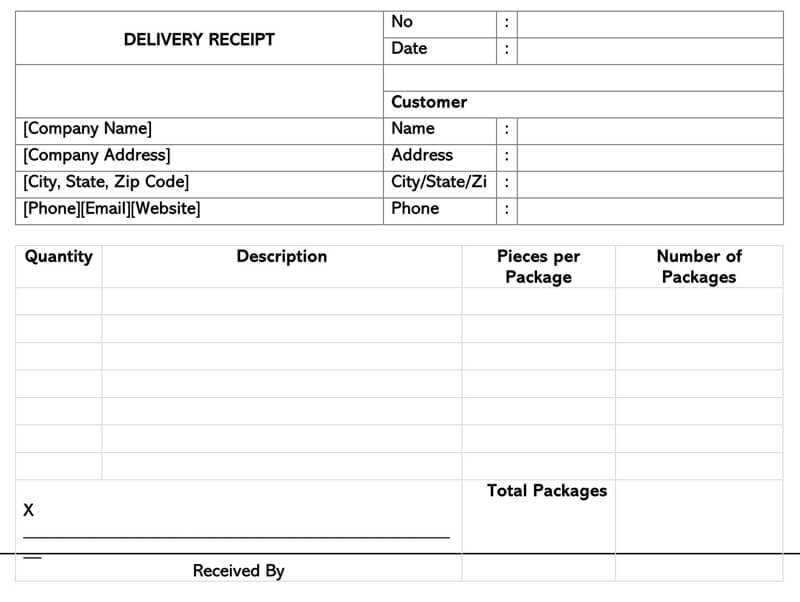
To create an unloading receipt, focus on clarity and accuracy. Use a template that includes fields for the item description, quantity, date, and location. Each section should be clearly labeled to avoid confusion. Make sure to include spaces for both the buyer and seller’s details, ensuring that both parties have a record of the transaction.
Item Description: Provide a concise yet detailed description of the unloaded goods. Include the model number, serial number, or any other identifiers to ensure that the items are clearly recognized. The description should match the packing list or invoice to prevent discrepancies.
Quantity: Be specific about the quantity of goods unloaded. If partial shipments are involved, make sure to note the exact amount received in the current delivery. This will help in tracking and reconciling future deliveries.
Date and Location: Always include the exact date and location of unloading. This not only serves as a reference for the transaction but also helps in tracking the delivery timeline for inventory purposes. Including the warehouse or unloading site ensures that there is no confusion about where the goods were received.
For accuracy, the unloading receipt template should also feature spaces for signatures from both parties. This confirms that the transaction was completed as per the agreed terms.
Unloading Receipt Template

Use a clear and concise layout for an unloading receipt template. Begin by including the company name, address, and contact details at the top. Follow this with the receipt number, date of unloading, and the name of the person receiving the goods.
Next, list the items unloaded, with columns for item description, quantity, and condition. Ensure that each item is clearly identified, and note any discrepancies, damage, or missing goods. This section should be easy to read, with enough space to avoid clutter.
Include a section for the signature of the person receiving the goods, along with a space for the sender’s signature, confirming that both parties agree on the delivered items. This helps protect against disputes later on.
Finally, add a footer with any additional instructions or terms that apply, such as return policies or warranty details. Keep it simple and to the point to avoid overwhelming the reader.
Creating a Custom Template for Unloading Receipts
To create a custom unloading receipt template, follow these straightforward steps:
- Define the required fields: Identify the specific information needed on the receipt. Common fields include date, item description, quantity, and total amount. Tailor this based on your business or inventory needs.
- Choose a format: Decide whether you want the template in a table format, list, or a more detailed layout. A table format is often the easiest for clear data presentation.
- Use clear labeling: Ensure that each field is labeled properly so that the data can be easily understood. For example, use “Item Description” instead of just “Description” for clarity.
- Incorporate a footer: Include a footer with company details, such as name, address, contact info, and any necessary legal information. This adds professionalism and ensures compliance with record-keeping practices.
- Consider automation: If the receipt will be generated frequently, consider automating data entry where possible. This will reduce human error and save time.
- Make it printable: Ensure that the template is optimized for printing. Choose a layout that fits standard paper sizes and that doesn’t crowd the content.
- Test the template: Before finalizing, run test receipts to check if the template meets your needs. Ensure that the fields align correctly and the printed version looks clean and organized.
By following these guidelines, you’ll create a functional and professional unloading receipt template tailored to your specific requirements.
Designing Fields for Item Details and Quantity Tracking
Design item detail fields with clear labels and consistent input formats to ensure quick understanding. Use separate fields for product name, description, and SKU. Keep these sections simple and straightforward, avoiding unnecessary complexity. For quantity tracking, use numeric fields with validation to restrict input to valid numbers, ensuring the system captures only correct data.
Item Detail Fields

For each item, provide a distinct field for the name, description, and SKU. Avoid combining these into one field, as it could create confusion. The name should be concise but descriptive enough to be recognized easily. The description can provide additional context like size, color, or any other specific attributes. SKU should be unique and used to link the item across other systems like inventory management.
Quantity Fields

For quantity tracking, use a field that accepts only whole numbers. If dealing with partial units, allow decimals but limit the number of digits to prevent inaccurate entries. Include a mechanism for updating stock as items are unloaded, and ensure that changes are reflected in real time. Implement checks to flag any discrepancies between the recorded quantity and the expected quantity.
Integrating Template with Inventory Management Software
Connect your unloading receipt template directly with inventory management software to streamline stock tracking and reduce manual errors. This integration allows for seamless data transfer between systems, eliminating the need for double data entry and speeding up processes.
Automation of Stock Updates

Once integrated, unloading receipts automatically update stock levels in real time. When an item is unloaded and logged in the template, the inventory software reflects the change instantly. This ensures accurate, up-to-date inventory data without extra steps.
Customizing Fields for Compatibility
Ensure that the fields in your unloading receipt template match those used by your inventory management software. Customizable fields, such as product names, quantities, and batch numbers, allow the template to fit seamlessly into your system. Use integration tools or APIs to link both systems and maintain synchronization.
This setup reduces administrative workload and provides better oversight of stock movements, ensuring fewer discrepancies and quicker response times in stock management.


