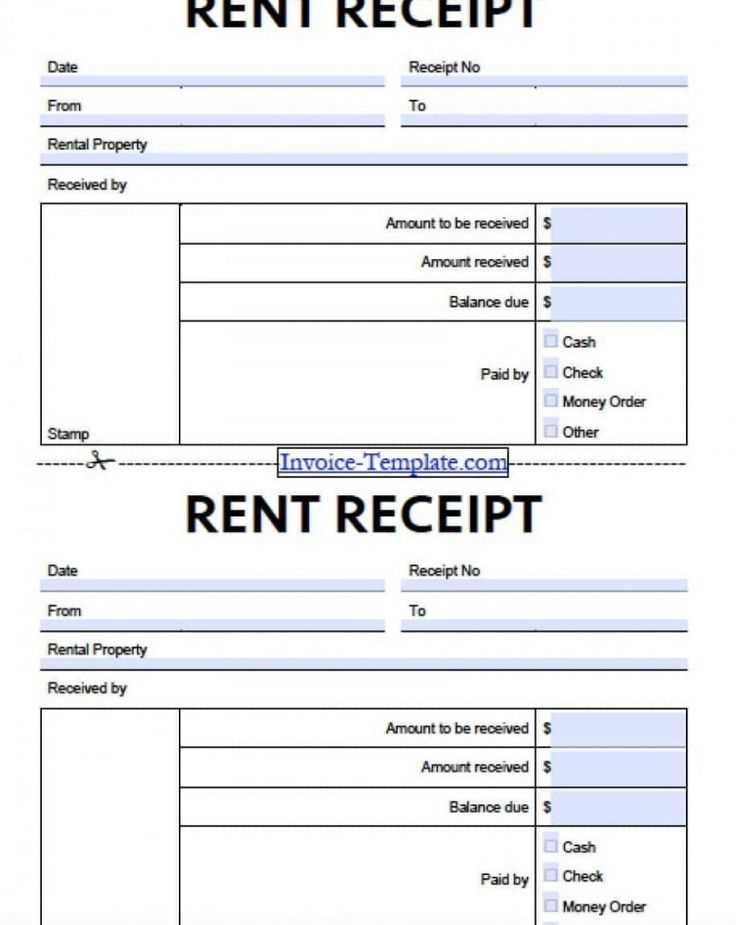
To create a clear and professional warranty receipt, start with including essential details like the product description, warranty period, and the customer’s information. Make sure to clearly state the terms of the warranty coverage, highlighting any limitations or exclusions that apply. This helps avoid confusion in the future.
Include the following key elements in the template:
- Product Details: Clearly describe the product, including its model number and purchase date.
- Warranty Period: Specify the start and end dates of the warranty coverage.
- Terms of Service: Outline what is covered under the warranty and what is not. Include any conditions or requirements for service claims.
- Customer Information: Ensure the customer’s name, address, and contact details are listed correctly.
- Authorized Signature: Add space for the company’s representative signature, confirming the receipt of the warranty.
By being specific about these details, you ensure both parties are on the same page regarding warranty claims, minimizing misunderstandings. Keep the language clear and straightforward to provide the best possible experience for your customers.
Warranty Receipt Template: A Complete Guide
Creating a warranty receipt template requires clarity and structure to ensure both the consumer and the company have a clear understanding of the terms. Start by including essential fields such as the product name, serial number, date of purchase, and a description of the warranty period. This provides a clear record of the item’s warranty status from the moment of purchase.
Key Elements to Include
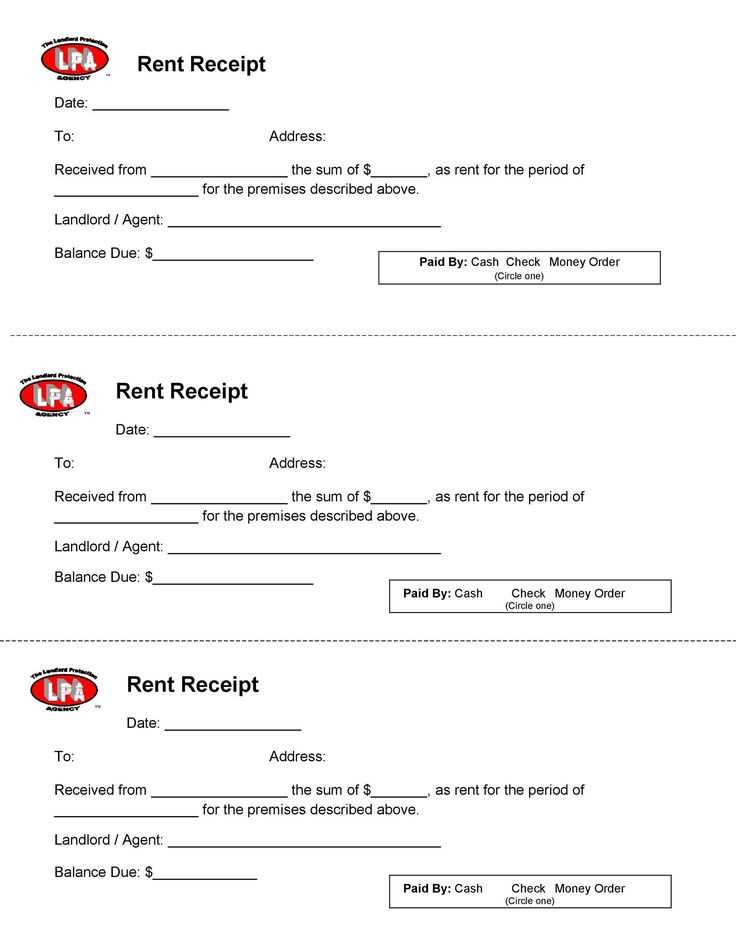
The template should feature these key sections:
- Product Information: Ensure the product name, model, and serial number are prominently displayed.
- Warranty Coverage: Clearly state what is covered under the warranty, including repairs, replacements, and conditions.
- Start and End Dates: Indicate the exact period the warranty covers, including any special conditions for extension.
- Customer Details: Record the customer’s name, address, and contact information.
- Retailer Details: Include the retailer’s name, contact information, and location where the product was purchased.
- Warranty Terms: Outline any exclusions, such as damages from misuse or non-compliance with maintenance guidelines.
Template Design Considerations
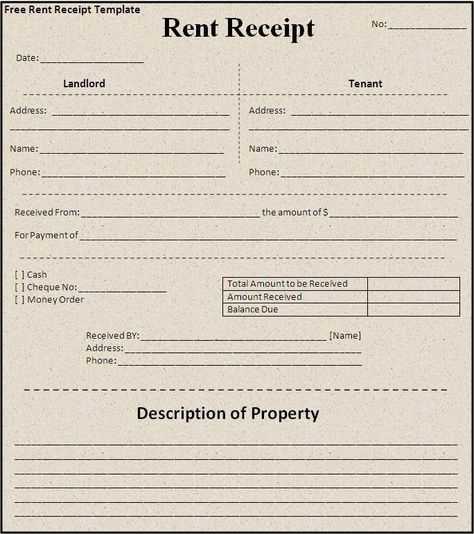
Keep the design simple and easy to read. Use clear fonts and avoid clutter. A clean, structured layout ensures important information stands out. Tables can be helpful for organizing warranty terms, dates, and conditions clearly. A table layout would look something like this:
| Field | Details |
|---|---|
| Product Name | Example Product |
| Serial Number | 1234567890 |
| Warranty Period | 1 Year |
| Start Date | 01/01/2025 |
| End Date | 01/01/2026 |
| Retailer Information | ABC Electronics |
Clear and Concise Language
Be specific in your language. Avoid vague terms and ensure all conditions are clearly explained. For example, instead of saying “minor damages”, specify “scratches or dents caused by accidental impact”. This helps eliminate confusion and prevents disputes when the warranty is invoked.
Legal Considerations
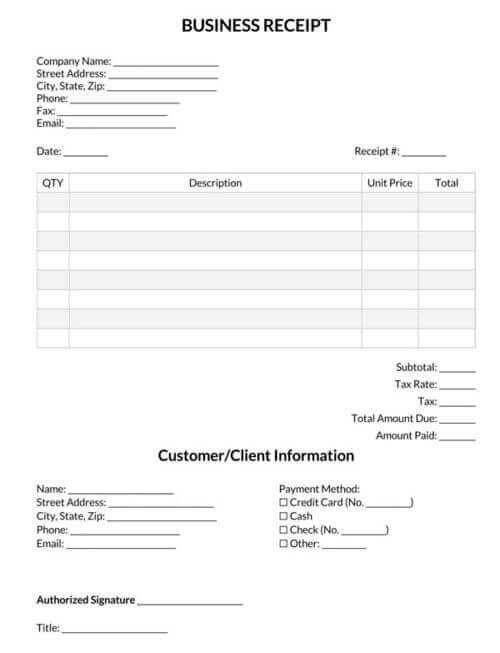
Ensure that the template includes legal language that complies with consumer protection laws. For instance, the terms of service should be linked to the company’s official website for any updates to the warranty. Include disclaimers for items that are excluded from the warranty, such as accessories or consumables.
Storage and Access
Make it easy for customers to store and access their warranty receipts. Provide an option to store digital copies, and recommend that they keep a printed version in a safe place. This ensures they can easily retrieve the warranty details when needed.
How to Format a Warranty Receipt
Begin by including the warranty provider’s full name and contact information. This provides clarity about who is offering the warranty and how the customer can reach them if needed.
Key Information to Include
- Product Description: Specify the product covered by the warranty. Include details like model number, brand, and purchase date.
- Warranty Period: Clearly state the duration of the warranty and any specific terms regarding coverage or exclusions.
- Customer Details: List the buyer’s name, address, and contact details to ensure proper identification.
- Claim Process: Outline the steps the customer must take to file a warranty claim, including any documentation required.
- Terms and Conditions: Provide clear guidelines on what is covered, such as repairs or replacements, and what isn’t, like accidental damage.
Format Tips
- Use a clear and simple font for readability. Avoid complex language or jargon that could confuse the reader.
- Ensure the document is well-organized with sections clearly labeled.
- Highlight important points, such as the warranty period or exclusions, with bold text for easy reference.
Key Information to Include in a Warranty Receipt
Make sure to include the following details in your warranty receipt for clarity and effectiveness:
Product Information
Clearly state the product’s name, model number, and serial number. This helps identify the item and prevents any confusion in the future. Include the purchase date and a description of the product if necessary.
Warranty Terms
List the warranty duration, start and end dates. Include specific conditions, like coverage for parts and labor, or exclusions such as accidental damage. Outline what is covered and what is not to avoid misunderstandings.
Provide contact details for customer support or warranty claims, including phone numbers, email, or a website link. This makes it easy for the customer to follow up.
Customizing Your Warranty Template
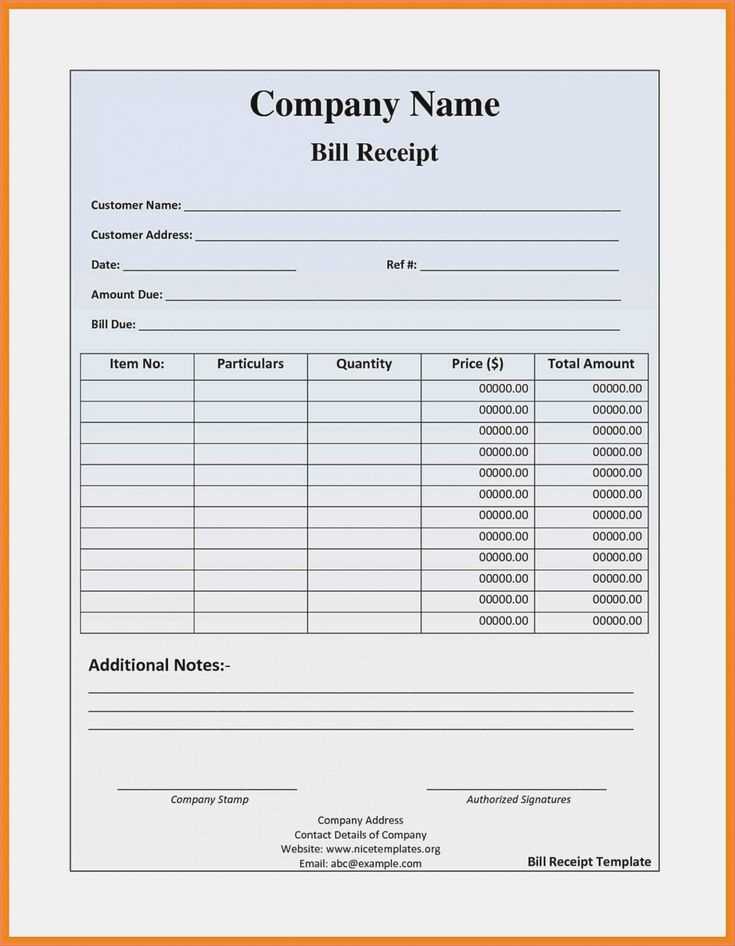
To create a warranty receipt that suits your needs, focus on adding key elements that make the document clear and functional. Begin by including the following details:
- Product Information: List the product name, model number, and any serial numbers for easy identification.
- Purchase Date: Include the exact date of purchase to confirm the start of the warranty period.
- Warranty Duration: Specify how long the warranty lasts, such as one year, two years, etc.
- Terms and Conditions: Clearly outline what is covered under the warranty and any exclusions.
- Contact Details: Provide customer service contact info in case the customer needs assistance with their claim.
Ensure the layout is simple and readable. Use bullet points or numbered lists for sections like terms and conditions to make it easy to skim. If necessary, adjust the language to match your brand’s tone, whether it’s formal, casual, or something else. Tailor the receipt to reflect your company’s specific policies, including any additional services or repair options offered.
Lastly, always review the template for clarity and accuracy before using it. A well-crafted warranty receipt reduces confusion and helps maintain customer satisfaction.
Common Mistakes to Avoid in Warranty Receipt Creation
One of the most common mistakes in creating warranty receipts is failing to include clear and concise product information. Make sure to detail the product model, serial number, and purchase date to avoid confusion later. This helps ensure that both parties have a clear understanding of the terms and scope of the warranty.
Incorrect Warranty Period and Terms
Another issue often arises when the warranty period is incorrectly specified. Always double-check the dates and ensure the warranty period is aligned with the actual product coverage. Failing to mention specific exclusions or conditions, such as non-transferability, can also cause confusion. Include precise terms to prevent future misunderstandings.
Lack of Contact Information
Omitting important contact details is another frequent error. Include a phone number, email address, or any relevant customer support contact information on the receipt. This will make it easier for the customer to reach out for any warranty claims or inquiries, which can help reduce frustration in case issues arise.
Issuing a Warranty Receipt for Digital Products
To issue a warranty receipt for digital products, include the product’s model number, purchase date, and serial number. This provides proof of ownership and confirms the warranty period. Clearly state the terms of the warranty, such as coverage for repairs, defects, and the duration of validity. If there are any exclusions or conditions, make sure to list them so the customer understands what is covered and what is not.
Ensure that the warranty receipt is signed by both the seller and the buyer to confirm that both parties agree to the terms. Provide a contact number or email address for warranty service inquiries, and include the retailer’s return policy for clarity. Digital products often require specific handling during the return process, so include any guidelines for shipping or returning defective items.
Lastly, store a copy of the warranty receipt electronically in your system for easy retrieval. This helps both you and the customer track warranty claims and ensure smooth service when needed.
Legal Aspects of Using a Warranty Receipt Template
Ensure your warranty receipt template includes all necessary legal components to avoid future disputes. Clearly state the warranty’s terms, such as its duration, coverage, and any limitations. Include both the seller’s and buyer’s information to confirm the transaction. Specify whether the warranty is transferable or tied to the original purchaser. Clearly outline the procedures for returns, repairs, or exchanges to prevent misunderstandings.
To protect your business, include disclaimers that define the scope of liability and any conditions that might void the warranty. Specify the governing law and jurisdiction to handle any legal disputes. It’s also wise to provide details on how claims can be made, including required documentation or proof of purchase. Ensure the receipt template complies with local consumer protection laws, as these can vary by region.
Additionally, avoid including overly broad or vague language that could lead to ambiguity. For example, terms like “lifetime warranty” should be defined precisely to prevent misinterpretation. It’s best to consult with a legal expert to verify that your warranty receipt template adheres to all applicable regulations, minimizing legal risks.


