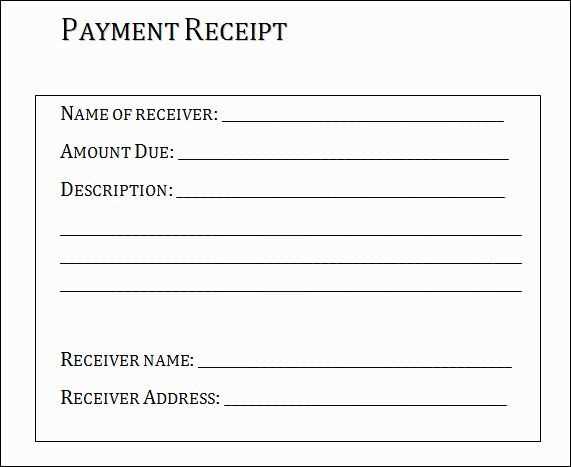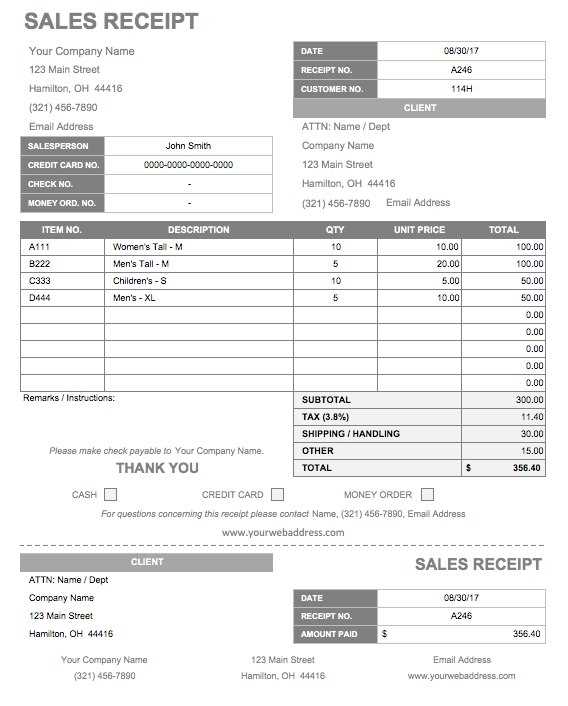
To create a clear and professional payment receipt, begin by including key details such as the payer’s name, the amount paid, and the date of payment. This basic format helps maintain transparency in financial transactions.
Next, make sure to include the method of payment (e.g., cash, credit card, bank transfer) and any relevant invoice or transaction number. This information can be used for future reference and to ensure accuracy in record-keeping.
Finally, finish the receipt with a brief thank-you note or acknowledgment, confirming the payment has been received. This adds a personal touch and closes the transaction on a positive note. A simple, clear layout ensures the receipt is both functional and easy to understand.
Here are the corrected lines:
Ensure that each field in your payment receipt is clearly labeled, such as “Date of Payment,” “Amount Paid,” and “Payment Method.” This will provide clarity for both parties involved.
Include a unique transaction ID or receipt number. This will make tracking and referencing payments easier.
Be specific with the payment method used. Instead of a generic term like “Paid,” specify whether it was “Paid by Credit Card,” “Paid via PayPal,” or another method.
Don’t forget to clearly state the purpose of the payment in the description section. For example, “Payment for Consulting Services” or “Rent Payment for January 2025” will make the receipt more understandable.
Always include your business name, address, and contact details in case the recipient needs to reach out for any reason.
Make sure the total amount is easily visible. Consider formatting it in bold or with a larger font size to ensure it stands out.
- Basic Simple Payment Receipt Template
For a clean and straightforward payment receipt template, ensure it includes the following key details:
| Field | Description |
|---|---|
| Date | Include the exact date of payment. |
| Receipt Number | Assign a unique receipt number for tracking purposes. |
| Payee Name | List the full name of the person or business receiving the payment. |
| Payer Name | Include the name of the individual or business making the payment. |
| Amount Paid | Clearly state the amount paid in both numbers and words. |
| Payment Method | Specify the method of payment, such as cash, check, or credit card. |
| Purpose | Briefly describe what the payment is for (e.g., service rendered, product purchase). |
Keep the layout minimal and avoid clutter. This format ensures all necessary information is captured, while remaining simple to understand and use.
Create a clear and simple template for small transactions by focusing on the necessary details. Begin by including the date of the transaction and the amount paid. These two pieces of information provide immediate clarity on the payment’s timing and value.
Next, include the payer’s name and the payee’s details (such as business name or individual name). This adds transparency to the transaction and prevents any confusion later on.
Include a description of the goods or services provided. Keep it short and clear–mention what was purchased, and if applicable, include quantities or other specifics to avoid ambiguity.
For small transactions, it’s best to avoid excessive information. Just a transaction ID or reference number will suffice to identify the payment for future reference. This is especially helpful for tracking multiple transactions over time.
Finally, add a thank you note or a polite statement. This adds a personal touch and reinforces good customer relationships, even for simple transactions.
By following these steps, your receipt template will be functional, professional, and user-friendly for small transactions.
A payment receipt should be clear and informative. Include the following key details for clarity:
- Receipt Number – Assign a unique number to each receipt for easy tracking.
- Date of Payment – Clearly state the date when the payment was made.
- Seller’s Information – Include the seller’s name, address, and contact details.
- Buyer’s Information – Include the buyer’s name and contact information for reference.
- Payment Amount – State the exact amount paid, with any applicable tax or discount noted.
- Method of Payment – Specify whether the payment was made by cash, credit card, check, or another method.
- Transaction Reference – If applicable, provide a reference number for the transaction for easier tracking.
- Product/Service Description – Include a brief description of the goods or services provided.
- Terms or Notes – Any important notes or conditions related to the payment, such as warranties or return policies.
Why These Elements Matter
Each of these details provides transparency, helping both parties confirm the transaction. It also serves as a helpful reference for any future inquiries.
How to Format Your Payment Receipt
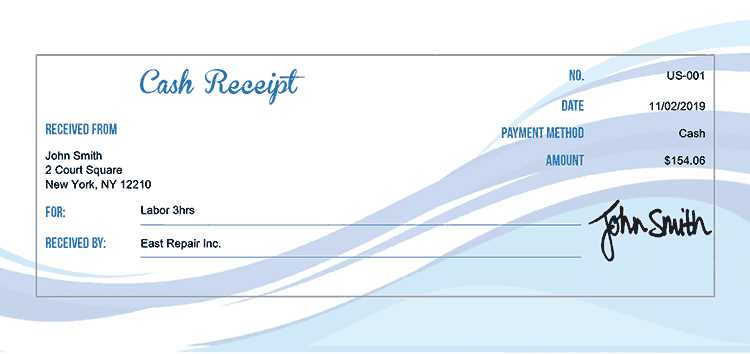
Use a simple layout with clearly labeled sections to make it easy for both parties to understand. Keep everything well-organized for quick access and avoid any confusion.
To tailor your receipt template based on payment method, include specific details that match each transaction type. For cash payments, simply list the amount paid and specify that it was paid in cash. For credit or debit card transactions, add the last four digits of the card number and mention the card type. If using an online payment method like PayPal, include the transaction ID and payment platform name for clarity.
Cash Payments
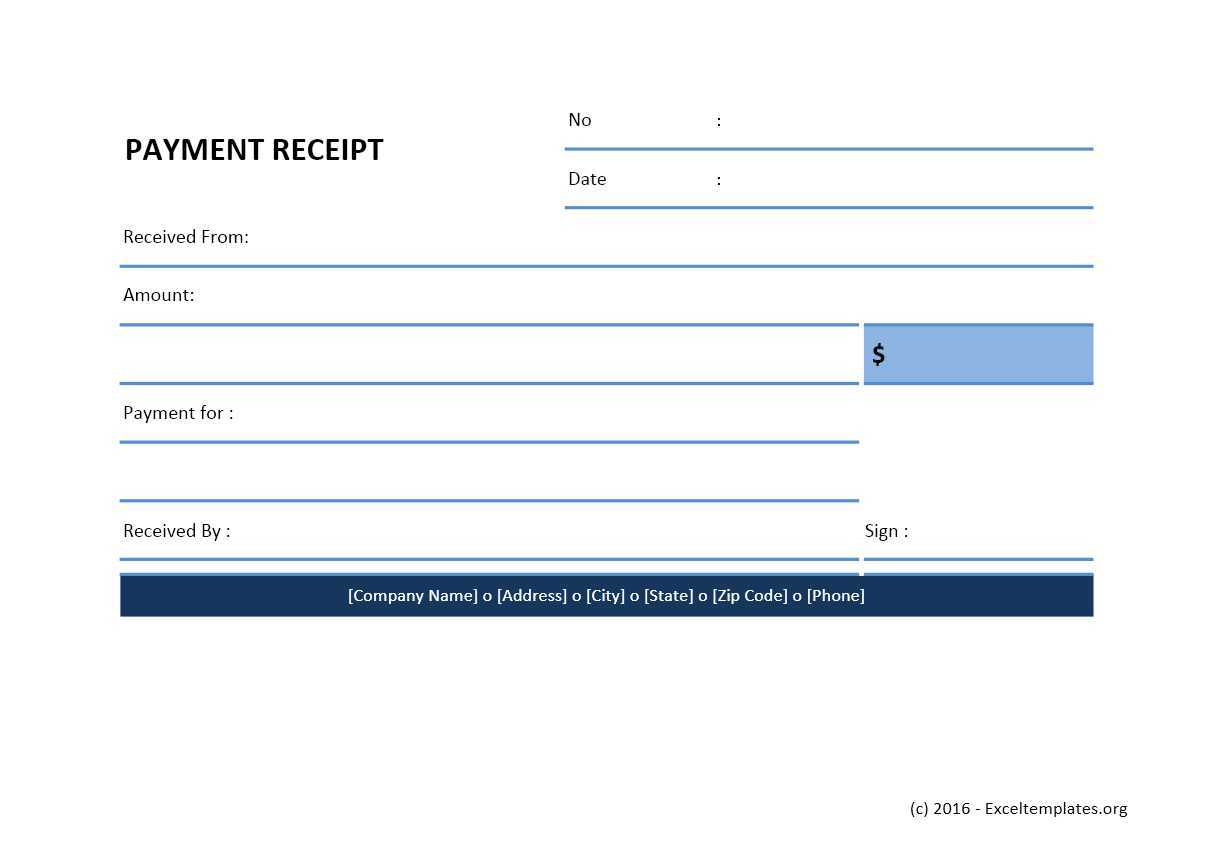
For cash transactions, ensure that the receipt shows a clear “Paid in Cash” label along with the exact amount. This helps avoid confusion and gives customers a quick reference for their records.
Credit and Debit Cards
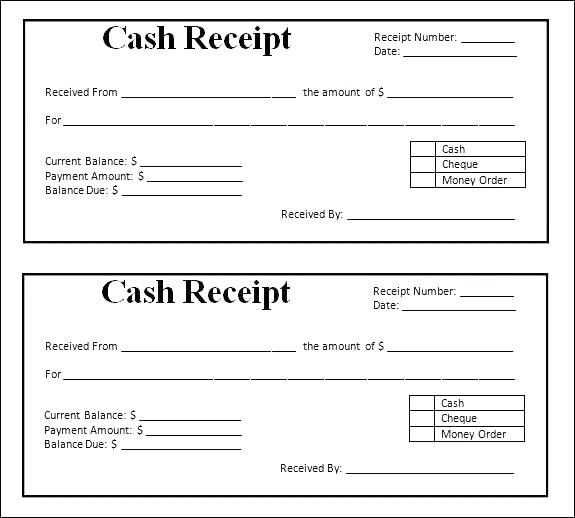
For card payments, provide the last four digits of the card number, card type (Visa, MasterCard, etc.), and the approval code. This adds transparency and confirms that the payment was processed successfully.
By adjusting the details you display, each payment method will be clearly represented, making your receipt template more versatile and user-friendly.
Keep your payment receipt template clear and straightforward. Focus on key elements: the recipient’s name, payment amount, date, and description of the transaction. These components should be easy to spot and well-organized, so both parties can understand the details without confusion.
Key Components
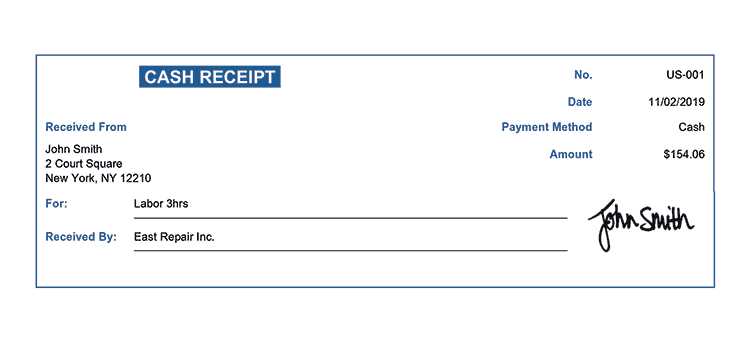
Start with a header that clearly states “Payment Receipt.” Below this, include the payer’s and payee’s details. Add a unique receipt number for reference. Ensure the payment method (e.g., cash, credit card, bank transfer) is noted, as this helps track payment histories.
Formatting Tips
For clarity, use bold text for headings and ensure the font size is readable. Avoid overcrowding the receipt with unnecessary information, focusing only on the core details needed for confirmation. A well-spaced layout enhances readability and professionalism.


