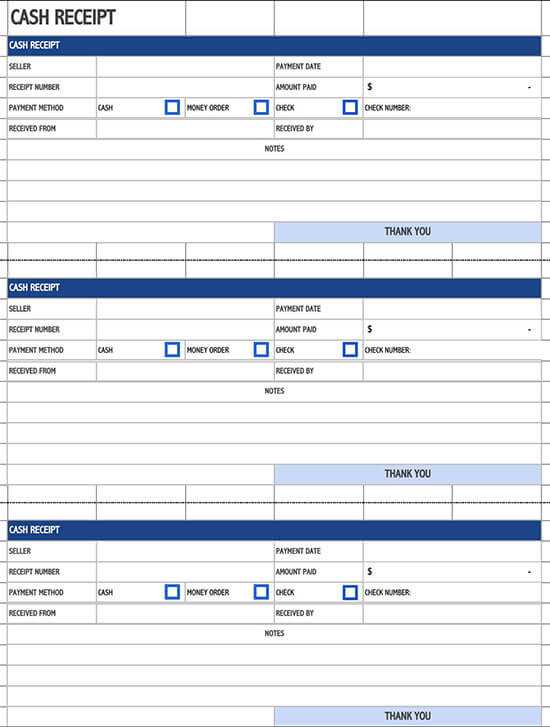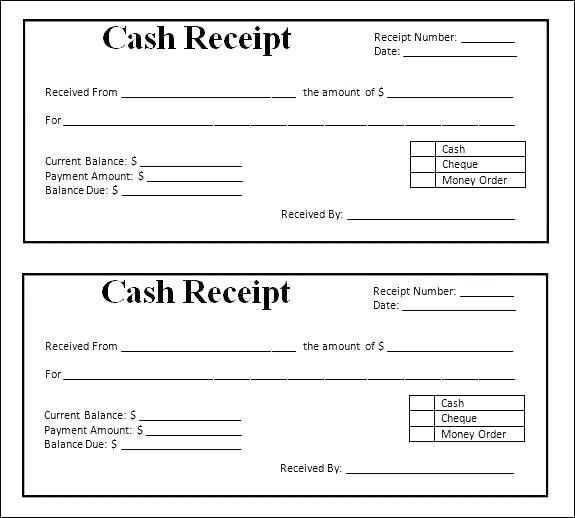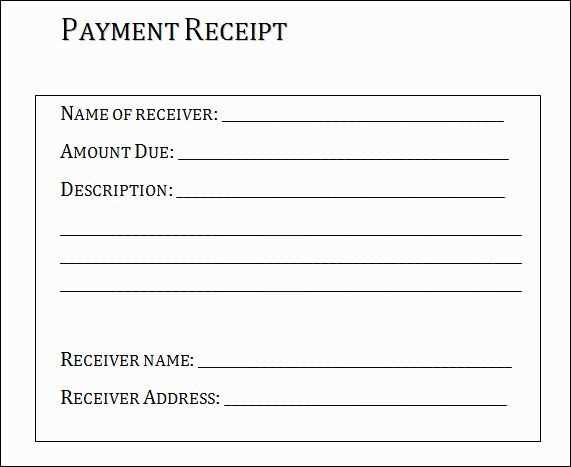
To customize your payment receipt template in QuickBooks, navigate to the “Lists” menu, then select “Templates.” This is where you can modify your receipts according to your business’s preferences.
Once you are in the Templates section, locate the “Payment Receipt” template. Select it and click on the “Edit” button to open the template editor. Here, you can change the layout, add your logo, and adjust the fields that appear on the receipt, such as customer name, payment details, and terms.
For a more tailored appearance, use the “Customize” option to adjust fonts, colors, and the positioning of each element. You can also add custom text or disclaimers to make your receipts more personalized.
After editing, make sure to save your changes by clicking “OK” and then test your new template by creating a sample receipt to ensure everything appears as intended.
Edit the Payment Receipt Template in QuickBooks

To modify the payment receipt template in QuickBooks, go to the “Gear” icon at the top right of your dashboard and select “Custom Form Styles.” From there, click on “New Style” and choose “Sales Receipt.” This allows you to create or edit the template used for payment receipts.
Customize the Layout
Once in the editor, you can adjust the layout by selecting the “Content” tab. Here, you can move, add, or remove sections such as the company logo, customer information, or payment details. Drag the sections into the desired positions to tailor the receipt according to your business needs.
Modify Text and Fonts
To update the text, click on the section you want to change. You can edit titles, labels, and payment terms directly in the text fields. The “Design” tab allows you to adjust fonts, colors, and other formatting options to align with your branding. Don’t forget to save your changes once you’re happy with the new look.
Customizing the Payment Receipt Header in QuickBooks
To customize the payment receipt header in QuickBooks, begin by navigating to the “Sales” section from the main menu. From there, select “Sales Forms” and choose “Payment Receipt.” This will bring up the default template used for your receipts.
Editing the Header Information

Click on the “Customize” button located at the bottom of the screen. Then, select “Edit Current” to modify the template. You can now adjust the header fields to better suit your business needs. For instance, you can change the company name, address, or add a logo for brand consistency. To modify the logo, click on the “Add Logo” option and upload the file of your choice.
Adjusting the Layout and Font
If you want to adjust the appearance of your header, you can change the font style, size, and alignment. QuickBooks offers a selection of fonts for both text and company details. Experiment with these settings until you find the look that matches your branding. The header layout can also be modified by selecting “Layout Designer,” where you can drag and drop different elements like your business name, contact details, and payment method icons to reposition them as needed.
Adding or Modifying Line Items on Payment Receipts
To modify or add line items to a payment receipt, open the relevant payment receipt within QuickBooks. Once the payment receipt is open, locate the section where line items are listed. Click the “Edit” button next to any existing item to make changes or select “Add new item” to insert a new line.
Editing an Existing Line Item
Select the line item you want to edit. You can modify the quantity, description, or price directly in the fields provided. Once changes are made, QuickBooks automatically updates the total amount of the receipt. Don’t forget to save the changes once you’re done.
Adding a New Line Item
Click “Add new item” at the bottom of the item list. A new row will appear, where you can enter the details of the new product or service. Make sure to provide the correct description, quantity, rate, and account associated with the item. After entering the information, click “Save” to add it to the receipt.
Adjusting Footer Information and Legal Text on Receipts
To modify the footer and legal text in your QuickBooks receipt template, follow these steps:
Step 1: Access the Template Editor
Open QuickBooks and go to the “Sales” tab. Select “Invoices” and then click on the “Customize” button. Choose “Edit Current Template” to access the layout editor.
Step 2: Locate Footer Section
Scroll down to the footer area. This is where you can adjust the details shown at the bottom of the receipt, such as business contact info, payment terms, or legal disclaimers.
Step 3: Modify Footer Information
- Click on the footer section to make changes.
- Edit the text or add new fields like tax information, payment instructions, or promotional offers.
- Use the available fields to input your business details, such as address, phone number, and website.
Step 4: Add Legal Text

To include any legal disclaimers or terms of service, add a text box in the footer. Enter relevant legal information, such as refund policies or service terms, ensuring they align with your local regulations.
Step 5: Save Changes
After making the necessary adjustments, click “Save.” Your customizations will apply to all future receipts generated from this template.


