Creating a payment receipt can be quick and straightforward with the right Excel template. It helps you track transactions, maintain clear records, and ensure both you and the payer have all the necessary details at hand.
With this template, you can easily input payment amounts, dates, payer information, and method of payment. It simplifies your accounting and eliminates errors that can occur with manual receipts.
The flexibility of an Excel template allows you to customize fields like tax, discounts, or additional charges to suit different types of payments. You can also save the receipt as a PDF for easy sharing and record-keeping.
Save time, reduce mistakes, and stay organized with a payment receipt template that fits your needs. The added bonus? You can reuse and adapt it for multiple transactions, creating a seamless process for every payment you handle.
Payment Receipt Excel Template Guide
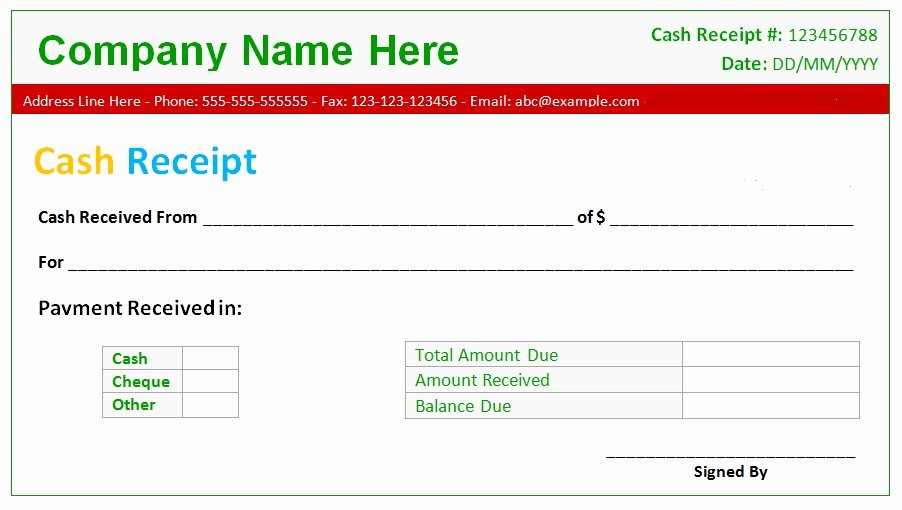
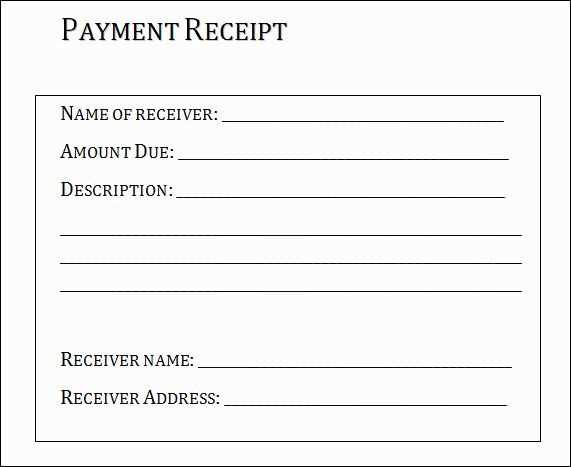
Use a simple Excel template for payment receipts to create clear, accurate records of transactions. Begin by setting up the basic structure with fields for the payer’s name, date of payment, amount, payment method, and receipt number.
The first column should list the payer’s details, including their full name and contact information. This helps you keep track of each transaction for reference and follow-up if needed. Next, label the second column for the date, ensuring it’s formatted to display the date properly for future sorting or tracking.
For the amount, use the third column. Format the cell to display the currency correctly, and be consistent with decimal places to avoid confusion. A formula can be added here to automatically calculate totals if you’re summarizing multiple transactions. The fourth column can be used for the payment method, where you can specify cash, check, credit card, etc.
The receipt number is important for record-keeping. Create a system for generating unique numbers, whether manually or using an Excel formula. This will prevent duplicates and ensure each receipt is easily traceable. Optionally, add a column for notes to capture additional details like payment references or product/service details.
Consider adding a summary section at the bottom to calculate total payments received over a certain period. This can be done using a simple sum formula, allowing you to track payment activity without manually counting entries.
For an organized and professional look, use borders around the data fields and a clean font. Make sure the template is easy to update and save, allowing you to reuse it as often as needed. Regularly back up your files to prevent data loss.
How to Design a Payment Receipt Template in Excel

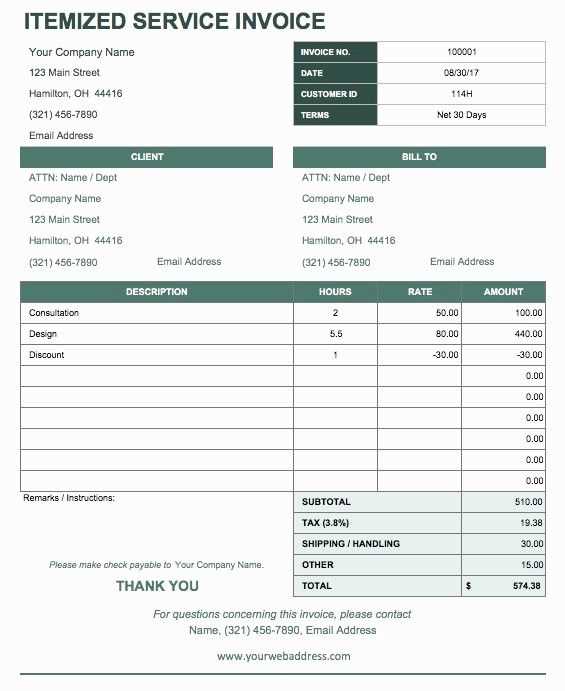
Begin by creating a clean, simple layout. Organize the template into clear sections: header, payment details, and footer. Use gridlines to separate the sections and keep the design uncluttered.
In the header, include your company name, logo (if available), and contact information. This will make your receipts look more professional. Add a unique receipt number and date fields to keep track of payments.
Next, set up columns for the payer’s information: name, address, phone number, and email. These fields should be easy to fill out and placed in a logical order.
For the payment details, create columns for the item or service provided, quantity, unit price, and total cost. Use formulas to calculate totals automatically. Add another section for taxes and any discounts applied, along with the final amount due. This will ensure accuracy and consistency.
Finally, include a footer with payment methods accepted (cash, card, bank transfer) and any relevant terms or conditions. This is also a good place to thank the customer or add a note for future reference.
Use cell formatting to highlight key information like totals and dates. Bold or change the font color for these items to make them stand out.
Save the template and use it as a base for future receipts. Excel allows you to modify the template easily, so you can adjust it as needed without starting from scratch.
Customizing Columns and Fields for Different Payment Types
Adjust the columns in your payment receipt template based on the payment method used to ensure clarity and consistency. Each payment type–whether cash, credit card, or bank transfer–requires specific information to be recorded.
For Cash Payments
Include columns for the exact amount paid, change given, and the name of the cashier or recipient. This helps track the transaction and confirms that the payment was made in full without discrepancies. A “Payment Method” column can specify “Cash” to differentiate it from other types.
For Credit Card Payments
Set up fields for the card type (Visa, MasterCard, etc.), the last four digits of the card number, and the transaction authorization code. You can also add a column for the processing fee if applicable. This makes it easy to verify and track card payments without storing sensitive card details.
For bank transfers, include the bank name, transaction reference number, and payment date. This ensures you have all the necessary details for reconciliation and audit purposes. Customizing your template this way ensures each payment type is documented clearly and reduces the chance of errors in financial tracking.
Automating Calculations and Adding Formulas for Accuracy
Use Excel formulas to eliminate manual errors and save time when creating a payment receipt template. Start by applying basic formulas for totals and taxes to ensure accuracy without needing constant updates.
1. Calculating Subtotals and Totals

- Use the SUM formula to add up individual item prices:
=SUM(B2:B10). - For subtotal, use a formula like
=B2*C2, where B2 is the quantity and C2 is the unit price. - To calculate the grand total, use
=SUM(D2:D10), where D2:D10 represents all subtotal values.
2. Adding Tax and Discounts
- For tax, use
=D2*TaxRate, where D2 is the subtotal and TaxRate is a percentage. - To apply discounts, subtract the discount amount from the subtotal using
=D2-Discount.
3. Using Conditional Formatting for Errors
- Set conditional formatting to highlight discrepancies, like if a total exceeds a certain value or if an invoice is incomplete.
- Go to “Conditional Formatting” in the Home tab and set rules based on cell values (e.g., flagging negative values or missing information).
4. Automating Date and Invoice Numbers
- To automatically insert the current date, use
=TODAY()in a cell. - For generating invoice numbers, you can use
=TEXT(ROW(A2),"0000"), which will give each row a unique sequential number.
By incorporating these formulas, you minimize human error and ensure the payment receipt remains accurate and up-to-date without manual adjustments.


