A well-structured payment receipt template in Excel can significantly simplify tracking transactions and ensuring accuracy. It helps create clear documentation for both businesses and customers, reducing confusion during financial exchanges. You can easily customize these templates to fit the specifics of your transactions, whether you’re managing payments for services, goods, or rent.
The main advantage of using Excel for a payment receipt is its versatility. You can tailor the layout to include key information such as payer and payee details, payment date, amount received, and payment method. It also allows you to calculate totals or taxes automatically by utilizing formulas, reducing the chance of manual errors.
Excel’s simple tools let you format the receipt in a way that looks professional and clean, with options for adding logos or business names. This ensures your receipts align with your business’s branding while maintaining clarity. The receipt can also be easily saved, printed, or sent digitally, making it a practical solution for any payment documentation.
Payment Receipt Template Excel

A well-structured payment receipt template in Excel can save time and ensure consistency when issuing receipts. By using a template, you can quickly record the payment details and generate a professional document in a few steps.
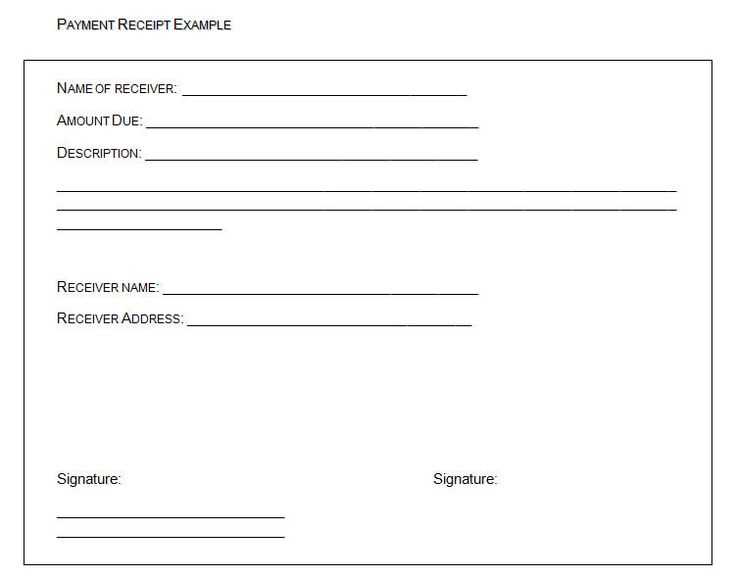
Key Components of a Payment Receipt Template
- Receipt Number: Assign a unique identifier for each receipt to easily track payments.
- Payment Date: Include the date the payment was made for accurate record-keeping.
- Amount Received: Clearly list the amount paid, including the currency.
- Payment Method: Specify whether the payment was made via cash, bank transfer, credit card, etc.
- Recipient Details: Include the name and contact information of the entity receiving the payment.
- Payee Details: Include the name and contact information of the person making the payment.
- Description of Payment: A brief note about what the payment was for (e.g., invoice number, service provided).
- Signature Field: Add a space for the receiver’s signature for added authenticity, if necessary.
How to Use the Template
- Open your Excel template and fill in the required details: date, amount, and payment method.
- Double-check the accuracy of the entered information, especially the payment amount and method.
- Customize the template to suit your business needs by adding company logos or additional fields.
- Save the file and print it for physical distribution or share it electronically with the payer.
Creating a Custom Payment Receipt Template in Excel
Begin by opening a new Excel sheet and setting up a clear structure. Divide the sheet into sections for easy readability, such as payer information, payment details, and terms.
Step 1: Setup the Header
Create a header section that includes the company name, logo (optional), address, and contact information. Ensure this area is easily distinguishable with bold or larger text. Add a title like “Payment Receipt” in a large font size to stand out.
Step 2: Define Payment Details

Label rows for key payment details such as transaction ID, date of payment, payer’s name, and the amount paid. Use separate rows or columns for each category to maintain organization. Include additional columns for payment method (e.g., credit card, cash, bank transfer) and any reference numbers.
To highlight the amount paid, use bold or different colored font. You can also format the amount cell to currency style for clarity.
Step 3: Add Footer and Terms
In the footer, provide a thank you note and any terms or conditions related to the payment, such as refund policies or service details. This section can be smaller than the header but should still be readable.
Finally, protect your template by locking the header and footer sections. This prevents accidental editing while leaving the rest of the template customizable for future use.
Step 4: Save and Reuse
Once your template is ready, save it as a reusable template file (.xltx). This ensures you can access it easily whenever you need to issue a new receipt.
How to Add Payment Details and Customize Fields in the Template

To include payment details, locate the section where the amount and payment method should be displayed. Add fields such as “Payment Method,” “Amount Paid,” and “Transaction ID” for clear tracking. You can use Excel’s built-in cells to create placeholders for this data.
Customizing Fields
To customize, click on the cell where you want the data, then right-click and select “Format Cells.” You can adjust text alignment, font size, and color for easy readability. Add custom fields like “Payment Date” or “Received By” as necessary, and resize columns to accommodate longer values.
Automating Calculations
If you want totals or automatic calculations, use Excel’s formula functions like SUM for total payments. For example, in the cell below the “Amount Paid” column, you can input the formula =SUM(C2:C10) to calculate the total payment received from rows 2 to 10.
Using Excel Formulas to Automate Total Calculations and Tax Calculations
Use the SUM function to automatically calculate the total amount of items in a payment receipt template. For example, if your item amounts are listed in cells B2 to B10, simply enter =SUM(B2:B10) in the desired cell to sum them. This will automatically update the total if any values change in the listed cells.
For tax calculations, Excel can quickly apply tax rates. Suppose the tax rate is 15%. In a new cell, multiply the total amount by the tax rate, using a formula like =SUM(B2:B10)*0.15. This will calculate the tax amount based on the total of items in the range B2:B10.
If you need to calculate the grand total including tax, you can combine the previous formulas. Use =SUM(B2:B10)*(1+0.15) to add both the subtotal and tax together, giving you the final amount that includes tax.
For more flexibility, consider using absolute references for the tax rate. If the tax rate is in a separate cell, say D1, adjust the formula to =SUM(B2:B10)*(1+D1). This way, if the tax rate changes, it will update automatically without altering the formula.