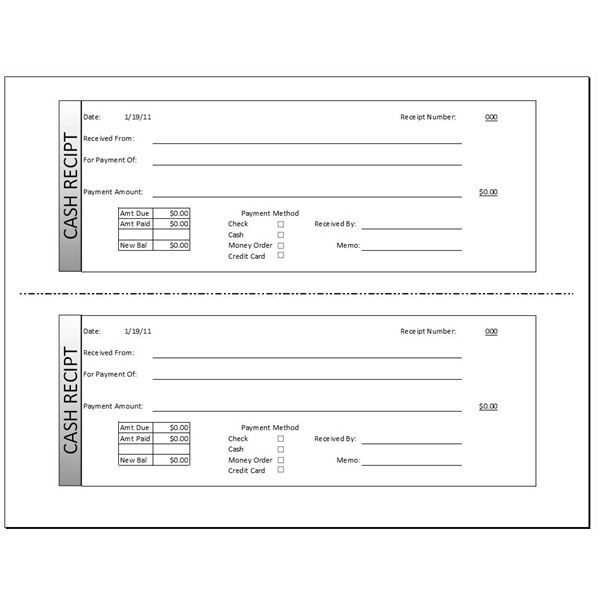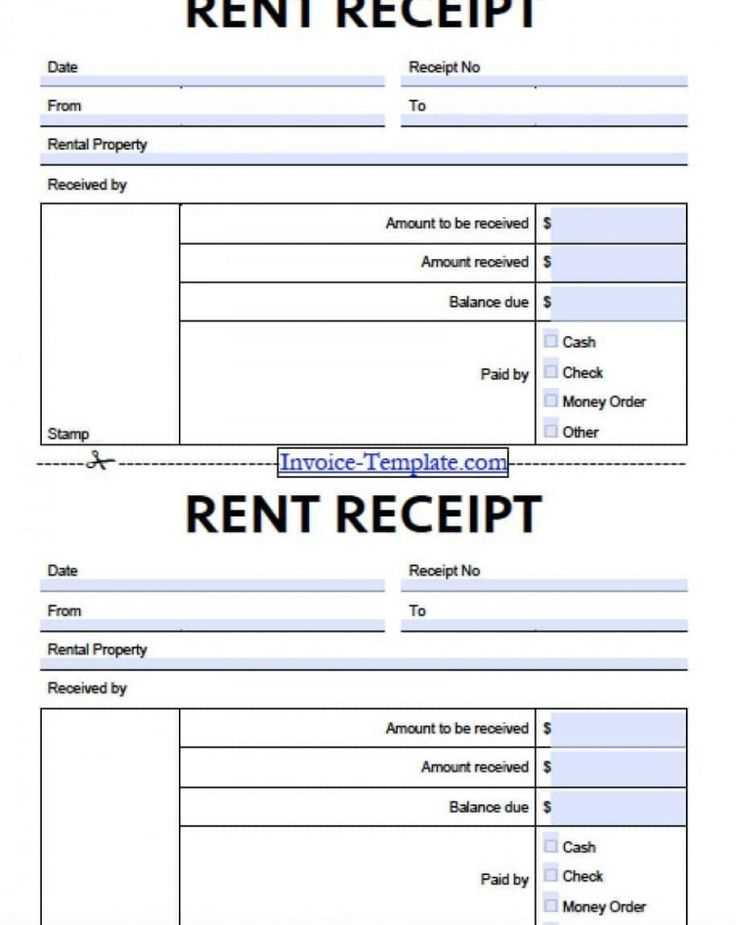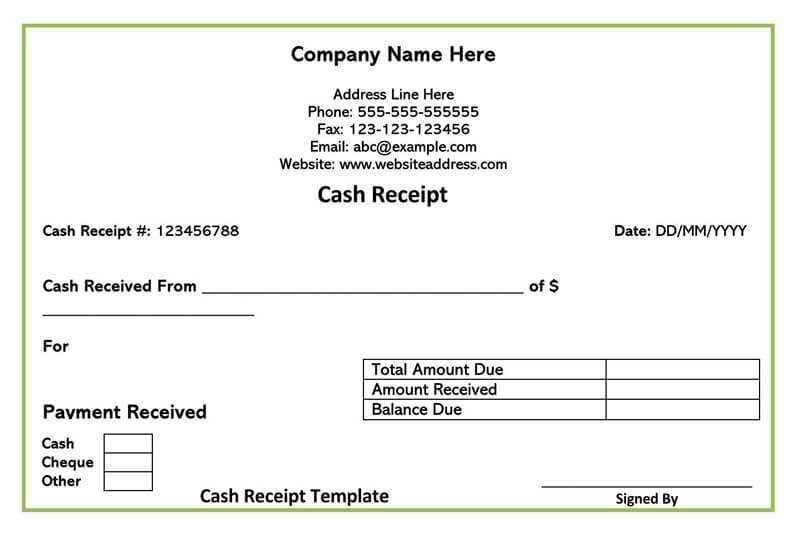
Fillable payment receipt templates offer a quick, hassle-free solution to document financial transactions. Simply download a template that fits your needs, input transaction details, and personalize the format. This eliminates the need for manual record-keeping and ensures accuracy in documenting payments.
The key to using a fillable template effectively is understanding the required fields. Ensure that you fill out essential information such as payer’s name, amount paid, payment method, and date of payment. Custom fields for your specific needs can also be added, allowing flexibility while keeping records organized.
Once you complete the template, save it in a secure location for future reference or send it directly to the recipient. With a fillable format, you can quickly generate receipts anytime, saving both time and effort. This method is perfect for freelancers, small businesses, or anyone needing an easy way to manage payment records.
How to Customize a Fillable Template
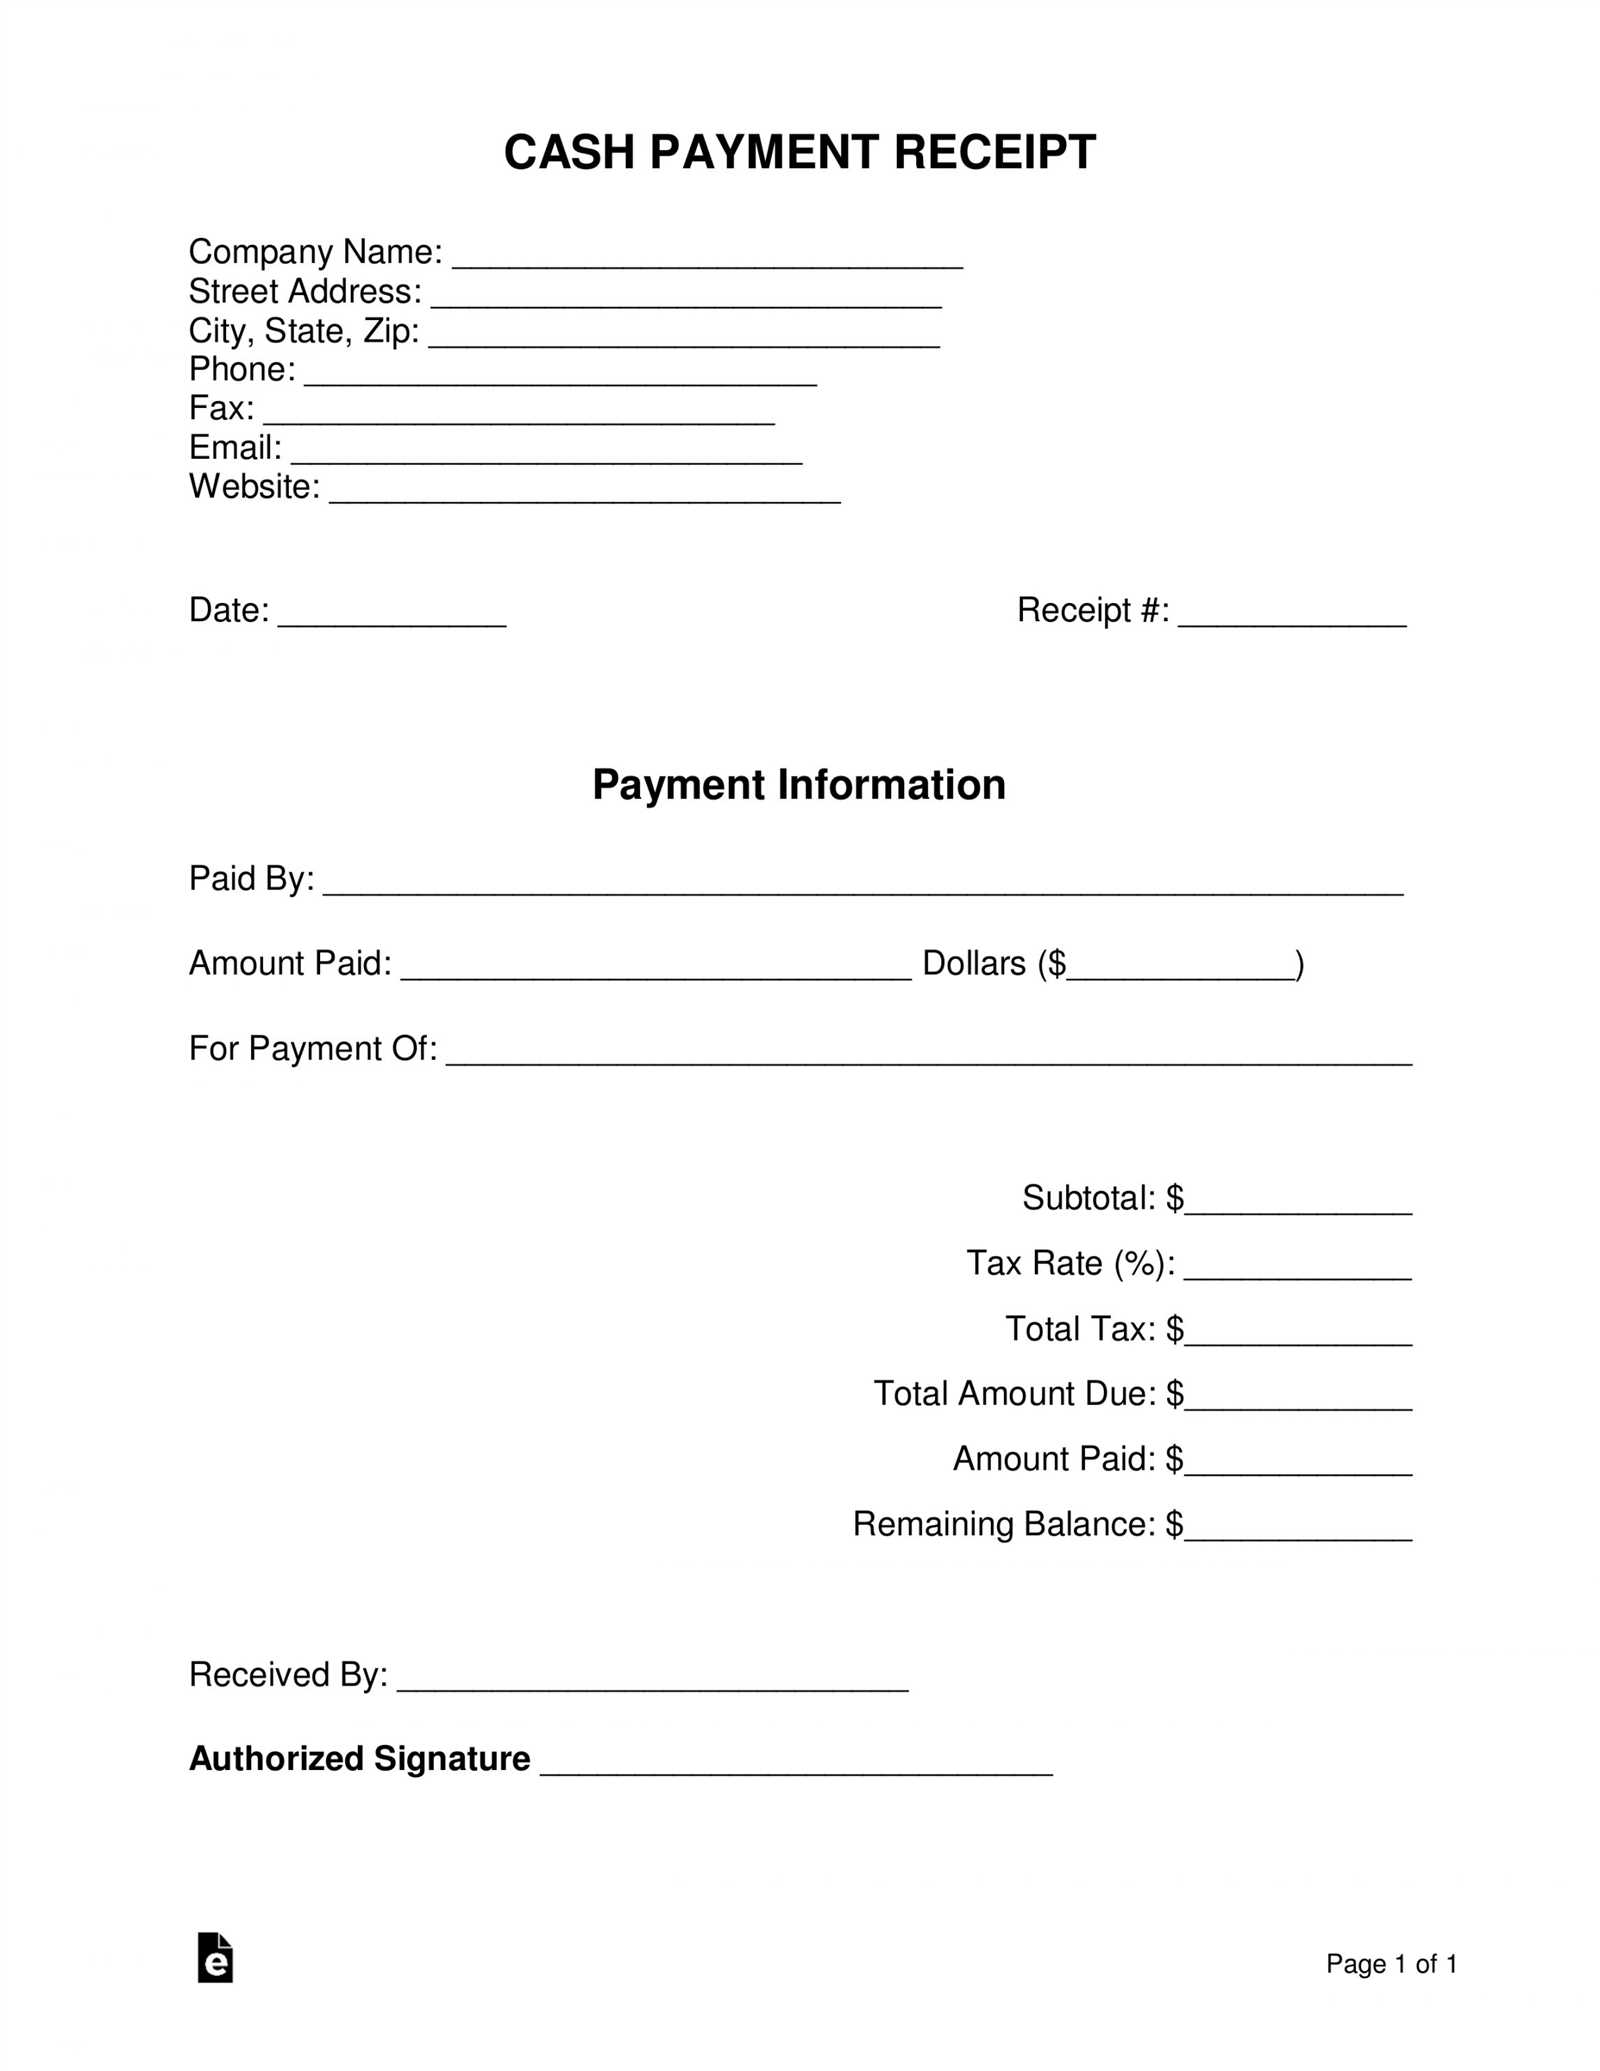
Modify a fillable template by adjusting fields, fonts, and layout to meet your needs. Focus on clarity and consistency to ensure ease of use for the recipient.
Change Field Labels and Format
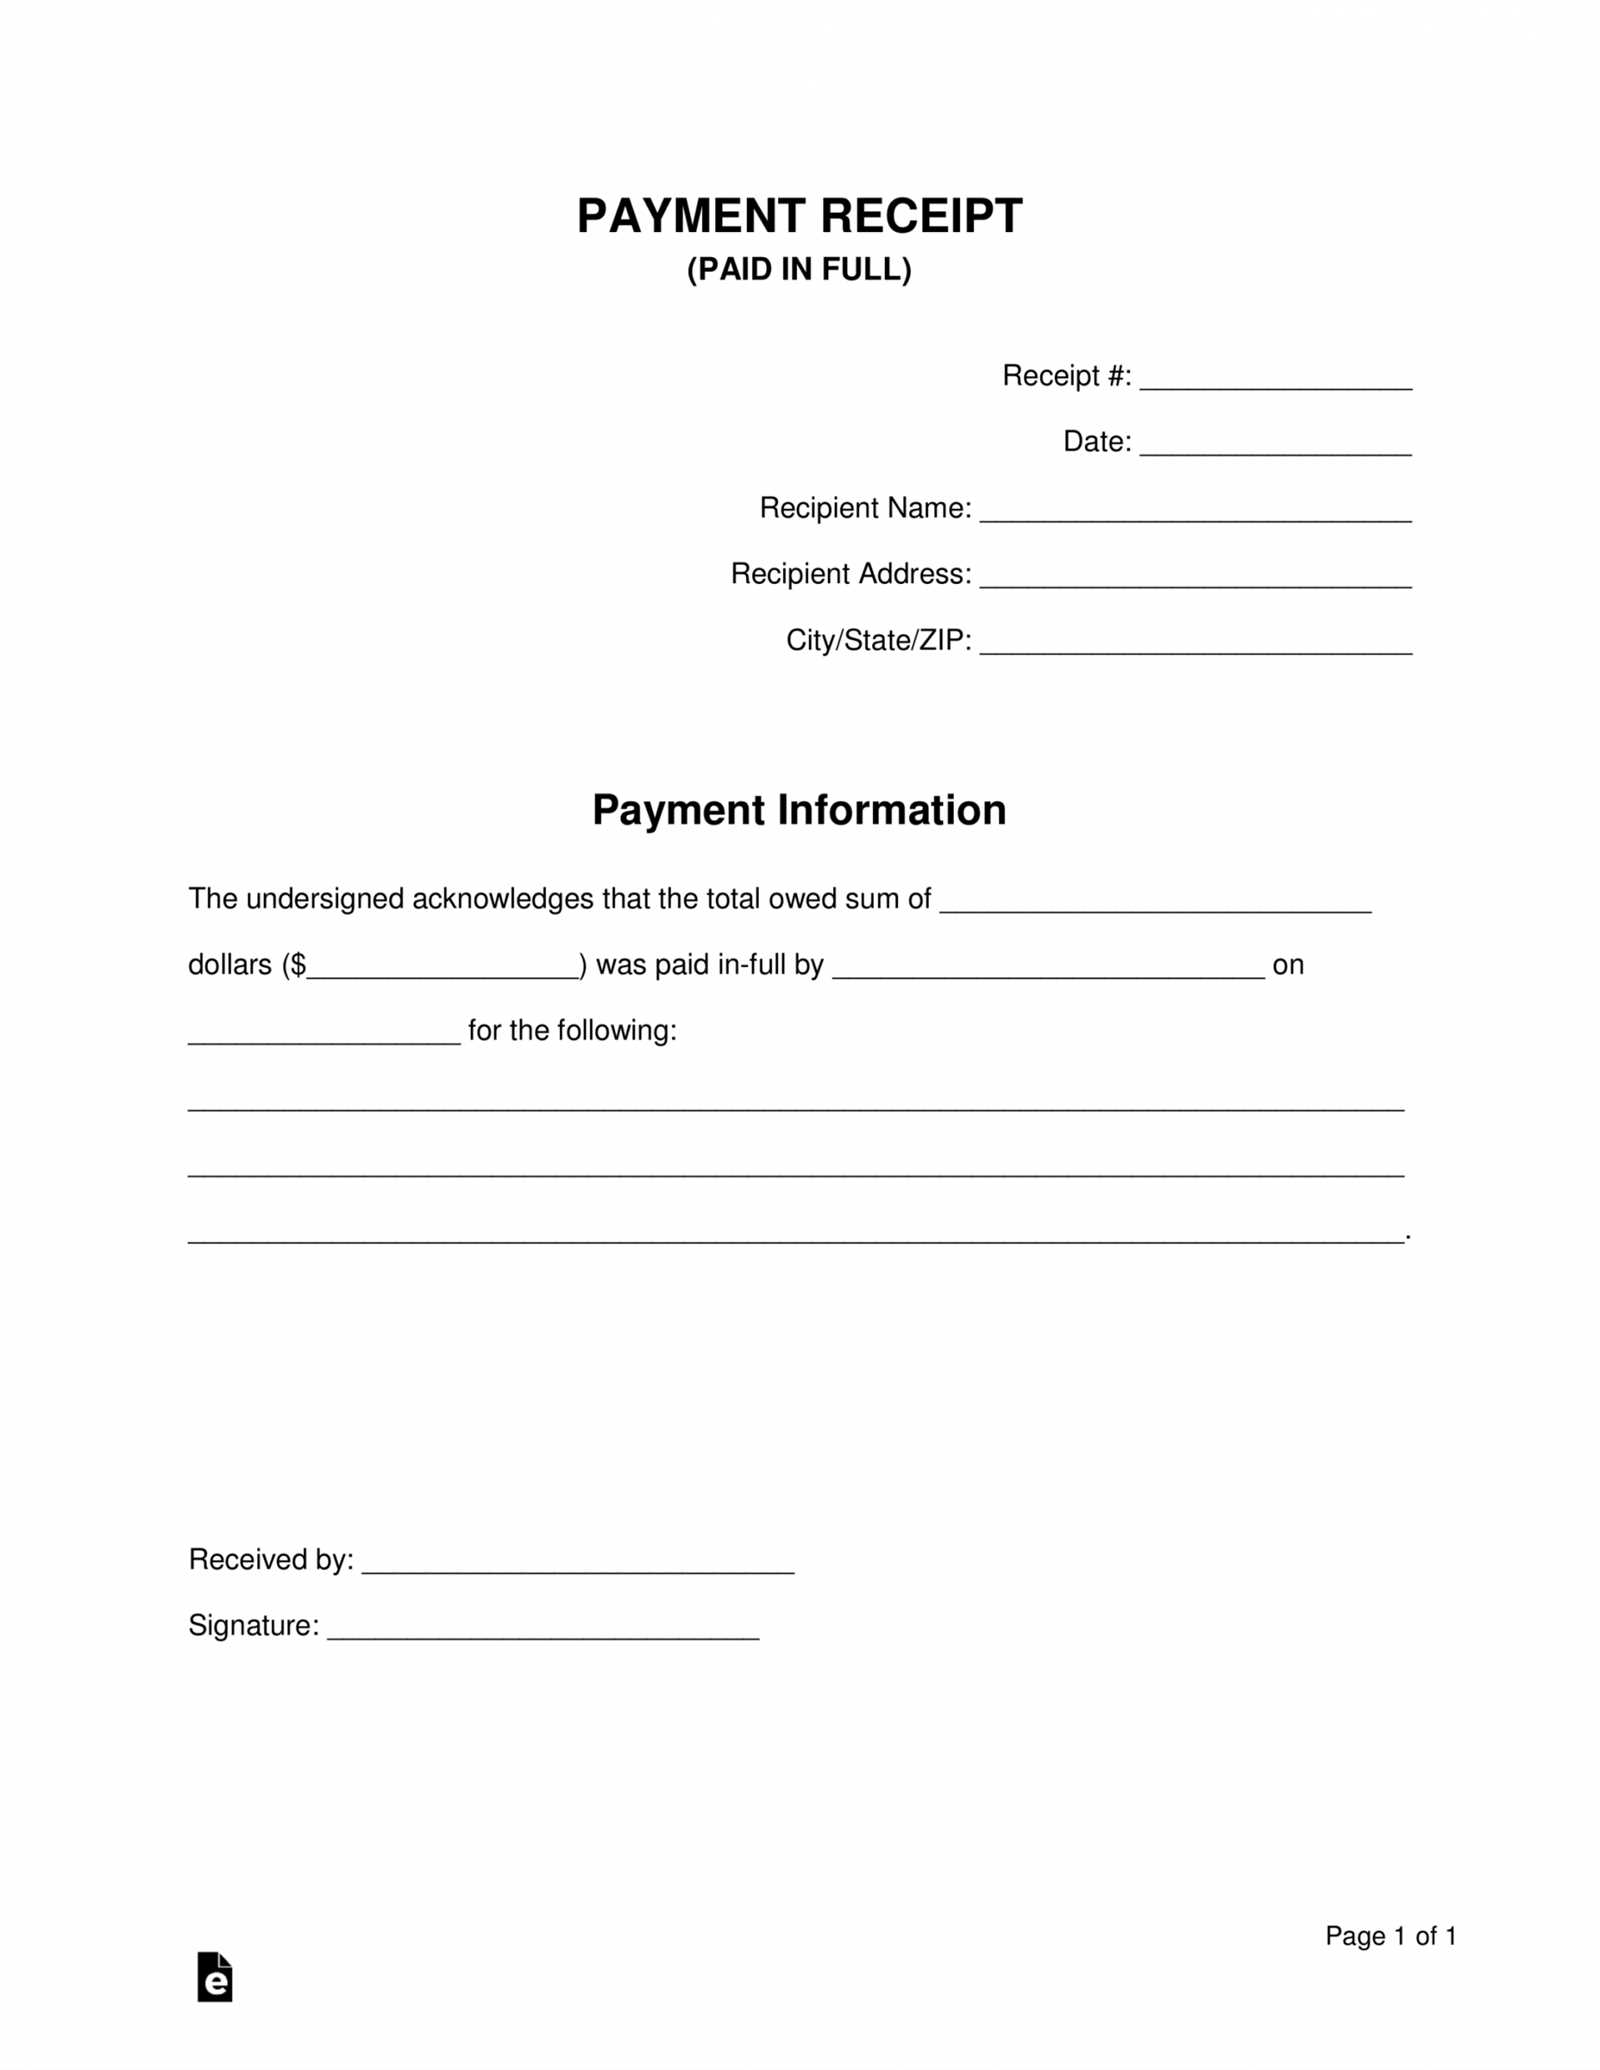
Begin by updating field labels to reflect the exact information you need. For example, change “Name” to “Full Name” if more detailed data is required. Avoid overly complex terms. Next, adjust the input fields’ format, such as setting a date field to ensure the proper format (MM/DD/YYYY). This reduces user errors and improves data collection accuracy.
Adjust Layout and Design
Rearrange sections to suit your workflow. Move less important fields to the bottom or group related fields together. Modify font sizes to enhance readability and ensure a clean, professional appearance. Ensure there’s enough space between fields for a smooth experience when filling out the form. The more intuitive the layout, the better the user interaction will be.
Choosing the Right Format for Your Receipt
Pick a receipt format that suits the transaction type and customer preferences. For simple sales, a basic template works fine, but for more complex transactions, such as services or higher-value items, a detailed format is necessary to cover all the required information.
Consider Your Needs
If you’re handling physical goods, include fields for the item description, quantity, and price. For services, highlight the type of service provided, the time spent, and any applicable fees. Adding a section for taxes is critical if your business is tax-exempt or subject to specific rates.
Think About Customization
Many receipt templates allow for branding with logos and business contact details. Customizing your template adds a professional touch and helps ensure your customer can contact you easily if they need to follow up. Choose a template that offers these features without overwhelming the receipt’s clarity.
Key Information to Include in a Payment Receipt
Make sure your payment receipt includes the following details to ensure it is clear and complete:
1. Payment Date
Clearly state the date of payment. This helps both parties track the transaction’s timing and is important for accounting purposes.
2. Payment Amount
Include the exact amount paid, with the currency symbol or code. If the payment includes taxes or additional fees, break down the total into separate line items.
3. Payer and Payee Information
List the names of both the payer and the payee. Include addresses or other identifiers (such as email or phone number) for reference.
4. Payment Method
Specify how the payment was made (e.g., credit card, bank transfer, cash, or check). If relevant, include transaction numbers or other references that clarify the method used.
5. Description of Goods or Services
Provide a brief description of the items or services paid for. This can include quantities, unit prices, and any relevant details about the transaction.
6. Receipt Number
Assign a unique receipt number to each transaction. This helps in tracking and organizing payments efficiently.
7. Signature (Optional)
If needed, include a place for signatures. This can help confirm the transaction, especially in cases where a physical receipt is involved.
| Information | Details |
|---|---|
| Payment Date | MM/DD/YYYY |
| Payment Amount | $100.00 |
| Payer | John Doe |
| Payee | Jane Smith |
| Payment Method | Credit Card |
| Description | Consulting Services |
| Receipt Number | 12345 |
| Signature | _________ |
Best Tools for Creating Fillable Receipts
To create fillable receipts, use tools that allow customization and ease of use. Here are some of the best options:
1. Adobe Acrobat Pro DC
Adobe Acrobat Pro DC offers a powerful platform for creating fillable receipt templates. With its form field recognition and PDF editing capabilities, you can easily convert static forms into interactive PDFs. Users can add text fields, checkboxes, and dropdown menus, providing flexibility for a variety of use cases.
2. JotForm
JotForm is an intuitive online form builder that lets you create fillable receipts quickly. Its drag-and-drop interface simplifies the process, and you can integrate payment options directly into the receipt. The platform also supports PDF generation, allowing you to download and send fillable receipts effortlessly.
3. PandaDoc
PandaDoc specializes in document automation and offers easy-to-use templates for creating customizable receipts. You can add form fields, signature blocks, and even set up automatic reminders for payments. It’s ideal for businesses looking to streamline their invoicing and receipt processes.
4. Google Forms with PDF Conversion
If you’re looking for a free option, Google Forms can be used to collect the necessary receipt information. After filling out the form, you can integrate it with a PDF converter tool like Zapier to generate a fillable receipt automatically. While it’s not as robust as other options, it’s a great choice for simple receipt creation.
5. Formstack
Formstack offers a comprehensive form-building platform with advanced features like conditional logic and secure payment integrations. It’s especially useful for businesses that need detailed, customizable receipts that require a high level of functionality.
Each of these tools brings unique features to the table, so consider your specific needs and choose accordingly. Whether you need complex customization, a simple drag-and-drop interface, or seamless integration with payment systems, these tools have you covered.
Common Mistakes to Avoid While Filling Receipts
Accurate information is key when filling out payment receipts. Avoid these common errors to ensure your receipts are clear and reliable.
- Incorrect Date Entries: Double-check the date of payment. Using the wrong date can lead to confusion, especially when reconciling accounts later.
- Missing Details: Always include all necessary details such as the payer’s name, amount, and purpose of payment. Omitting these can cause discrepancies and affect record-keeping.
- Failing to Specify Payment Method: Make sure to indicate how the payment was made (cash, check, card, etc.). Not doing so could lead to misunderstandings about how the transaction was processed.
- Illegible Handwriting: If you’re manually filling out the receipt, ensure your handwriting is legible. Poor legibility can make it hard for the recipient to read or verify the information.
- Incorrect Amount: Always verify the amount before finalizing the receipt. Simple mistakes in numbers can lead to serious issues for both parties.
- Inconsistent Formatting: Use a consistent format for clarity. Randomly changing formats can make the receipt difficult to understand and look unprofessional.
- Not Signing the Receipt: A signature confirms the transaction. Forgetting to sign can make the receipt incomplete and less trustworthy.
By avoiding these common mistakes, you ensure your receipts are both accurate and trustworthy for record-keeping purposes.
Saving and Sharing Your Payment Receipt
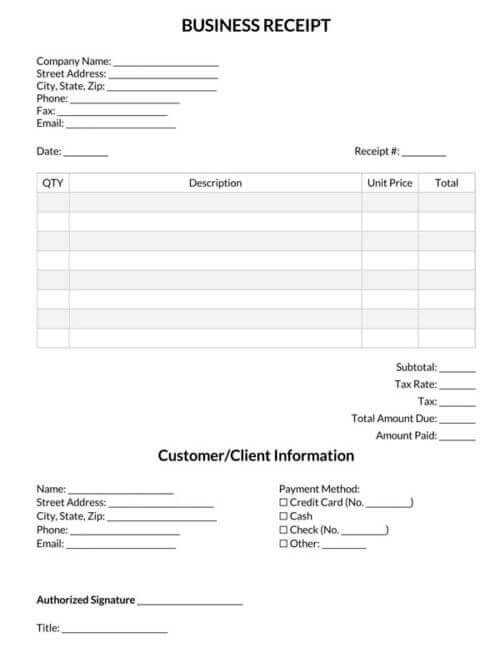
To save your payment receipt, choose a format that suits your needs, such as PDF or JPEG. Most payment receipt templates come with the option to save directly to your device. If you’re using a fillable template, make sure to click “Save” after entering the required details.
For sharing, consider the recipient’s preferred method. Emailing a PDF file is the most common way, but if needed, you can also share through cloud storage links like Google Drive or Dropbox. Ensure that the file is properly named to avoid confusion.
Use password protection if the receipt contains sensitive information. Some PDF editors allow you to add this feature for an extra layer of security before sending. Be mindful of how you share it to avoid unauthorized access.
If you need to print the receipt, double-check that the layout is correct. A well-formatted receipt looks more professional and avoids errors when presented physically.
