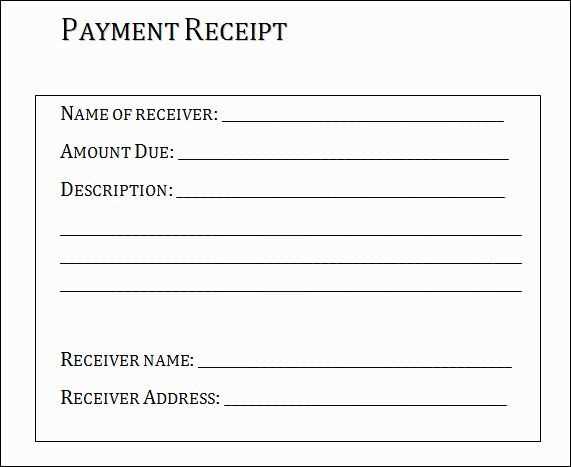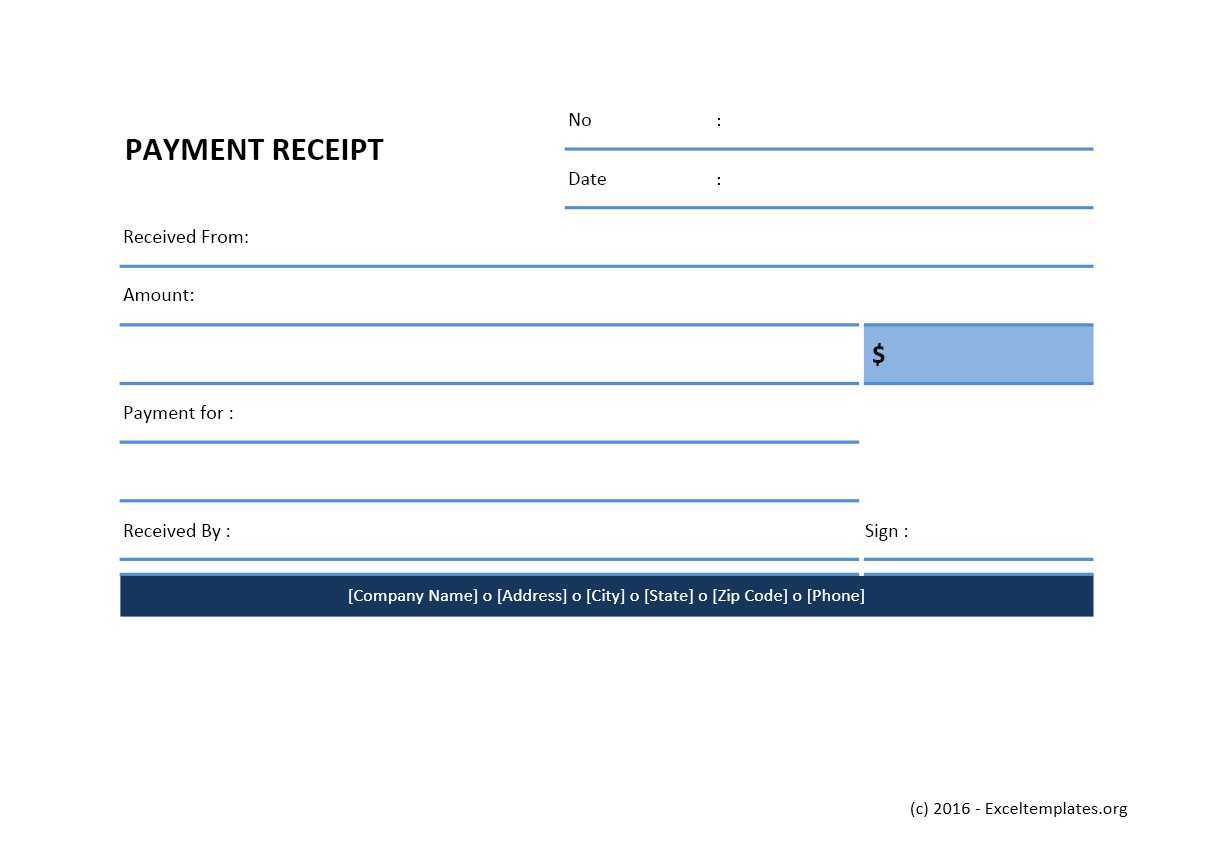
When creating a payment receipt, ensure it includes clear details such as the amount, date, payer, and recipient information. This helps maintain transparency and trust between parties. A well-structured template can save time and ensure all necessary data is captured correctly.
The layout should be simple yet informative. Use a header for easy identification, followed by sections for the payer’s details, transaction information, and payment method. Don’t forget to include a section for signatures if required.
By customizing the template to fit the nature of the transaction, you ensure it meets both your needs and those of the customer. A standardized format prevents errors and facilitates quick processing for future transactions.
Payment Receipts Template Guide
Design a payment receipt template with clarity. Begin by including the business or service name at the top, followed by contact information such as phone number and email. This makes the receipt easily identifiable.
Next, place the date of payment and receipt number. This helps with organization and future reference. Clearly state the method of payment used, whether it’s cash, credit, or another option.
Break down the payment details into sections: itemized list of products or services purchased, quantities, prices, and any discounts. This transparency helps avoid confusion.
Don’t forget to add the total amount paid, along with applicable taxes and fees, if any. It’s also helpful to mention the payment due date or terms for future reference.
Conclude with the signature of the person receiving payment, if applicable, and a thank-you note. This simple gesture adds professionalism and courtesy to the document.
How to Customize Payment Receipt Templates
Adjust the layout of your payment receipt template to match your brand by incorporating your logo and using your company’s color scheme. Start by selecting the fields you want to include, such as customer name, payment amount, date, and transaction ID. Ensure these fields are easy to read and well-organized.
Choosing the Right Information to Include
Decide what details are necessary for each transaction. Common information includes the payment method, any applicable taxes, and itemized charges. Add a unique receipt number for tracking purposes. Avoid overcrowding the template with unnecessary fields; focus on the essentials that make your receipt clear and concise.
Personalizing with Branding
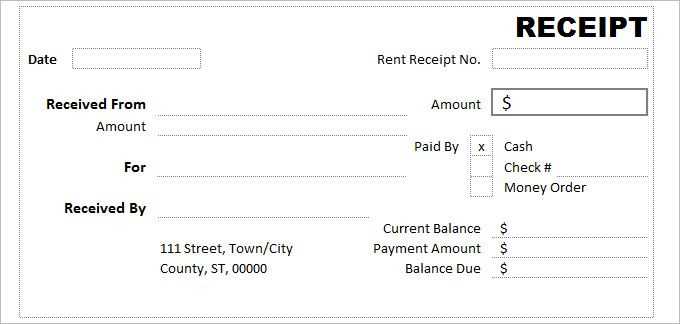
To make the receipt align with your business’s identity, adjust fonts, colors, and the placement of your logo. Keep the design clean and professional, ensuring the information is accessible without distraction. Adding a small message or customer thank-you note can enhance the customer experience without overwhelming the document.
Choosing the Right Template for Your Business Type
Opt for a payment receipt template that matches your business operations. For retail businesses, use a template that clearly shows product details, tax information, and discounts. Service providers should focus on templates that allow for detailed descriptions of the services rendered and payment terms.
Retail Business Templates
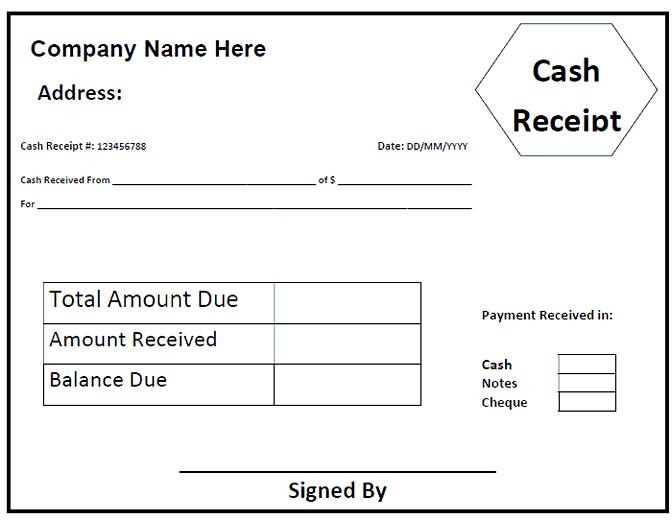
Retail businesses require templates that include space for items purchased, unit prices, quantities, and applicable taxes. A clean, straightforward layout with product information and total cost is key. Include a section for the payment method and transaction reference to ensure easy tracking.
Service Business Templates
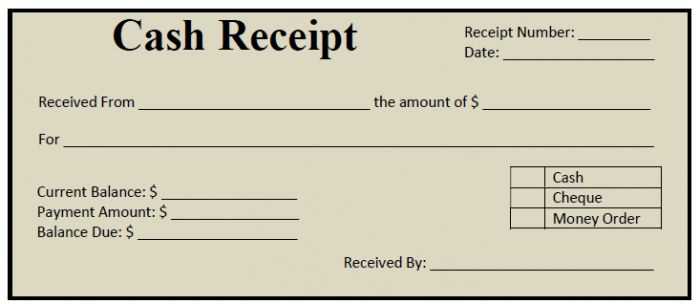
For service-based businesses, choose templates that can display hourly rates, service descriptions, and additional charges. Include fields for payment terms, such as due dates or late fees, to ensure clarity in your financial agreements with clients.
Incorporating Legal Information in Receipts
Include the required legal information in receipts to ensure compliance with local regulations. Here’s what you need to know:
- Tax Identification Number (TIN): Make sure to display the business’s TIN or VAT number for tax purposes. This is crucial for businesses subject to tax collection or those offering tax exemptions.
- Refund Policy: State your business’s refund policy clearly on the receipt. This prevents confusion and sets customer expectations about returns and exchanges.
- Terms of Service: Include a brief mention of your terms of service, especially if there are specific conditions tied to the sale, such as warranties or limitations on liability.
- Compliance Statements: If required by law, add specific compliance statements, such as environmental fees, or statements required for consumer protection laws in your jurisdiction.
- Legal Disclaimers: If applicable, include disclaimers related to the sale of certain products or services, such as age restrictions for alcohol or tobacco products.
Review local laws regularly to ensure all necessary legal information is incorporated on your receipts. This protects your business and provides transparency to your customers.
Adding Payment Methods and Transaction IDs
Include the payment method type clearly in your receipt. This allows both the business and the customer to identify how the transaction was processed. Common options include credit/debit cards, PayPal, and bank transfers. Specify the payment platform or card type for transparency.
Steps to Add Payment Methods:
- For card payments, list the last four digits of the card number for verification.
- For online transactions, indicate the payment platform used (e.g., PayPal, Stripe).
- If the payment was made via bank transfer, provide the bank name and transaction reference.
Including Transaction IDs:
Every payment should have a unique transaction ID. This ID is crucial for tracking, refunds, or dispute resolution. Record the transaction number assigned by the payment processor or banking system. Ensure the ID is included in the receipt for easy reference.
- For card payments, include the authorization code or transaction reference from the payment gateway.
- For online services like PayPal, include the transaction ID provided by the service.
- For bank transfers, list the reference number given by the bank.
Automating Receipt Generation for Clients
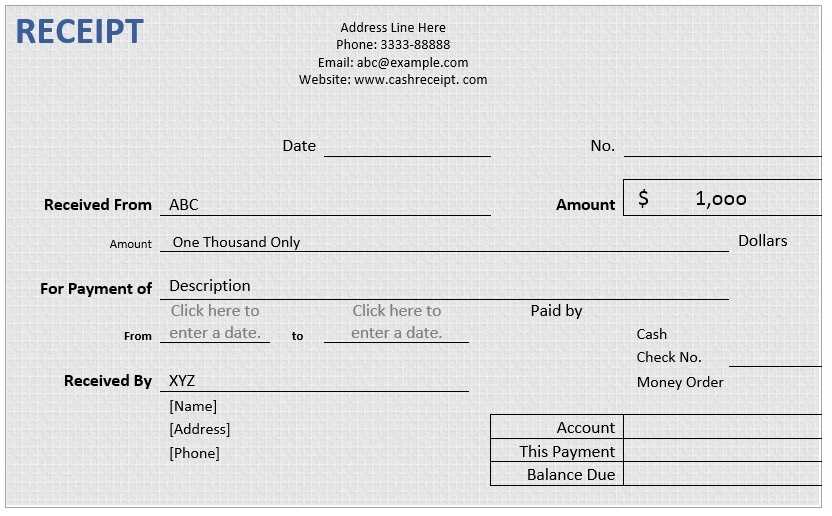
Integrating automation into receipt generation saves time and ensures accuracy. Implement a system that generates receipts immediately after a transaction, reducing manual errors and delays. Leverage templates to standardize the process, ensuring consistency across all receipts.
Choose software that allows for automatic data entry. For example, link your payment system with your receipt generation tool so details like amounts, date, and transaction ID are auto-filled. This eliminates the need to manually input these details each time.
| Feature | Benefit |
|---|---|
| Automatic Data Entry | Prevents errors and saves time. |
| Customizable Templates | Ensures consistency in receipt format. |
| Email Integration | Instant receipt delivery to clients. |
Additionally, consider incorporating email integration to automatically send receipts to clients as soon as the transaction is completed. This minimizes the need for clients to request receipts later, enhancing their experience.
Make sure to store receipts securely. Many systems offer cloud-based storage, making it easier to access past transactions for both clients and businesses.
Common Mistakes to Avoid When Creating Receipts
Double-check the accuracy of the transaction details. Incorrect amounts or missing information can lead to confusion or disputes. Always ensure the correct total, taxes, and payment method are clearly stated.
Don’t forget to include your business details. If your contact information is missing, customers may struggle to reach you for clarifications or returns.
Use readable fonts and clear formatting. A cluttered receipt is hard to interpret, making it difficult for the customer to review important details quickly.
Ensure your receipts have unique identifiers. A lack of serial numbers or transaction IDs may create issues with tracking or referencing specific payments.
Avoid vague descriptions of purchased items. Be specific about products or services to prevent misunderstandings regarding what was paid for.
Don’t leave out any necessary legal information, such as refund policies or tax identification numbers. These details are often legally required and protect both parties.
Always proofread before printing. Small errors like misspellings or miscalculations can reduce the professionalism of your receipts and may create trust issues.


