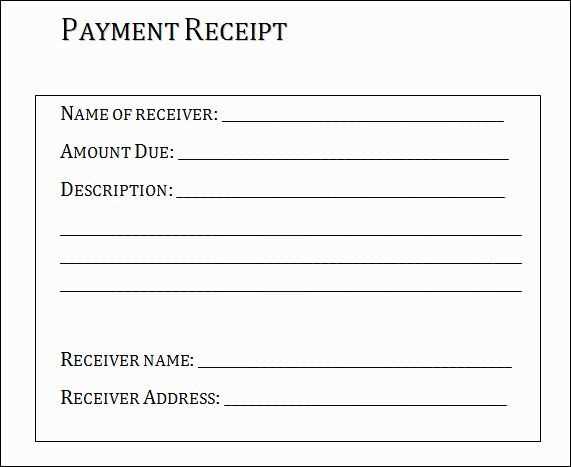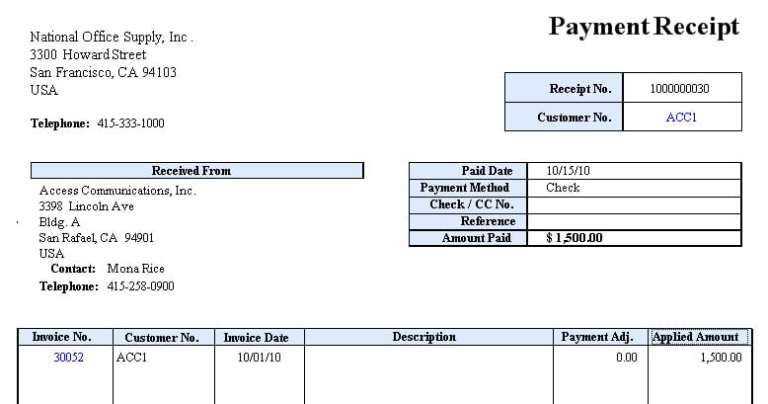
Create a Simple and Functional Template
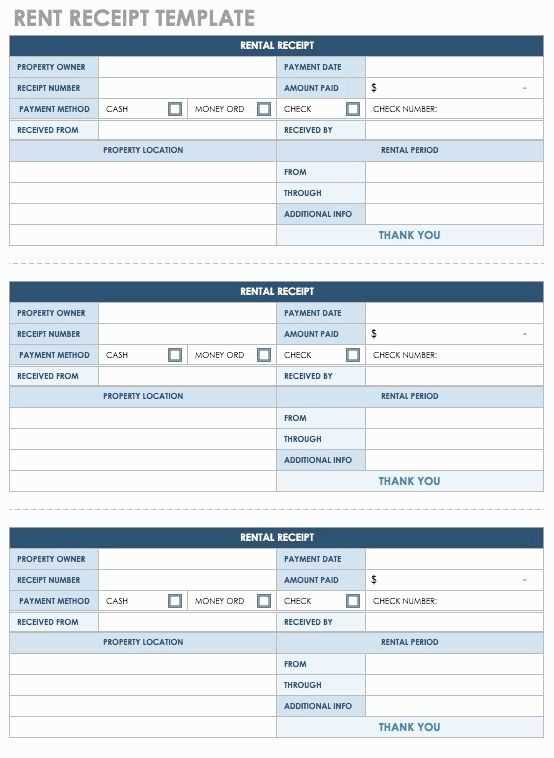
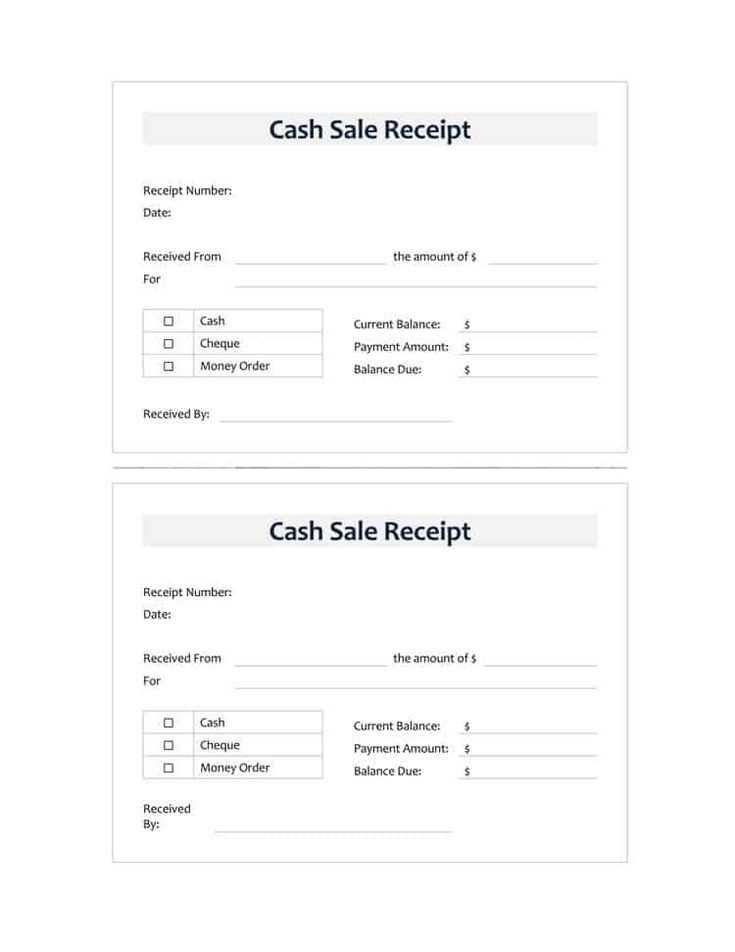
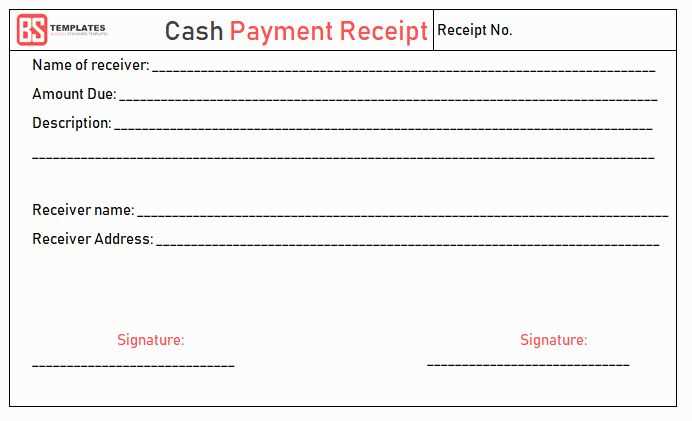
To design a payment receipt template in Excel, start by organizing the key details. Use rows and columns to structure the information clearly. Include the following:
- Receipt Number: Assign a unique identifier for tracking.
- Date: Record the transaction date.
- Payee Information: Include name and contact details.
- Payer Information: List the name of the individual or company making the payment.
- Payment Details: Specify the amount, payment method, and a brief description of the transaction.
Designing the Layout
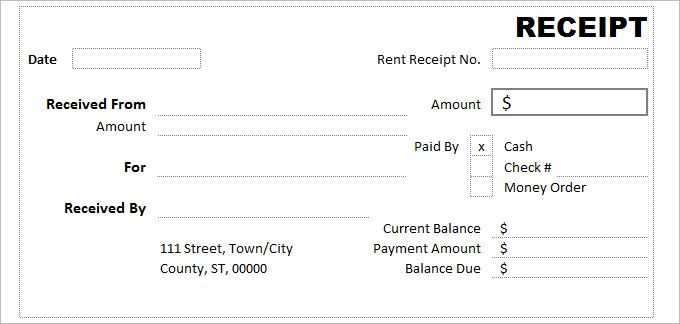
Use Excel’s formatting tools to make the template user-friendly. Adjust column widths, center-align headers, and use bold text for labels like “Total Amount Paid” or “Receipt Number” to improve readability. Add borders around cells to create distinct sections for each data category.
Automate Calculations and Dates
Incorporate Excel formulas to save time:
- Use =TODAY() to auto-fill the current date.
- Apply =SUM() for automatic total calculations, especially for receipts involving multiple items.
This ensures accuracy and reduces manual input errors.
Save and Reuse
Save the file as a template by selecting Save As and choosing Excel Template (*.xltx). This allows you to reuse the structure for future transactions without overwriting previous records. For better compatibility, export the completed receipt as a PDF before sharing it with clients.
Receipt of Payment Template in Excel
How to Structure a Receipt in Excel
Key Fields to Include in Your Template
Tips for Clear and Professional Formatting
Automating Calculations in the Template
Customizing for Business Branding
Exporting and Printing for Use
Key Fields to Include in Your Template: Ensure your receipt contains essential fields like the payer’s and payee’s details, receipt number, payment date, item description, quantity, price per unit, total amount, tax information, and payment method. Place these fields in a logical order to make it easy for the recipient to understand.
Tips for Clear and Professional Formatting: Use a clean, readable font such as Arial or Calibri, and align text consistently. Add subtle borders to separate sections, and highlight totals using bold formatting. Utilize light shading or background colors to differentiate headings from data fields without overwhelming the reader.
Automating Calculations in the Template: Incorporate formulas to calculate subtotals, taxes, and grand totals automatically. For example, use =SUM() for totals and =A1*B1 to multiply quantity by price. This reduces manual input errors and saves time during receipt creation.
Customizing for Business Branding: Add your company logo and contact information at the top. Use your brand colors for headings or borders to maintain a consistent identity. If your business has a tagline, include it subtly to reinforce your branding.
Exporting and Printing for Use: Save the completed template in PDF format for secure sharing with clients. Use Excel’s print preview to ensure proper alignment and margins. Select “Fit to Page” in the print settings to avoid cutoff issues, and test on different devices before finalizing.


