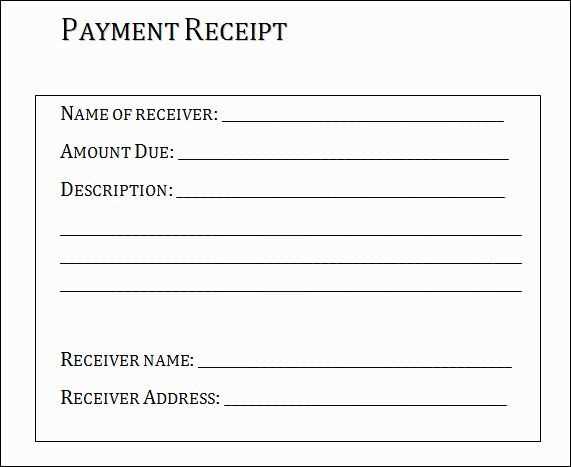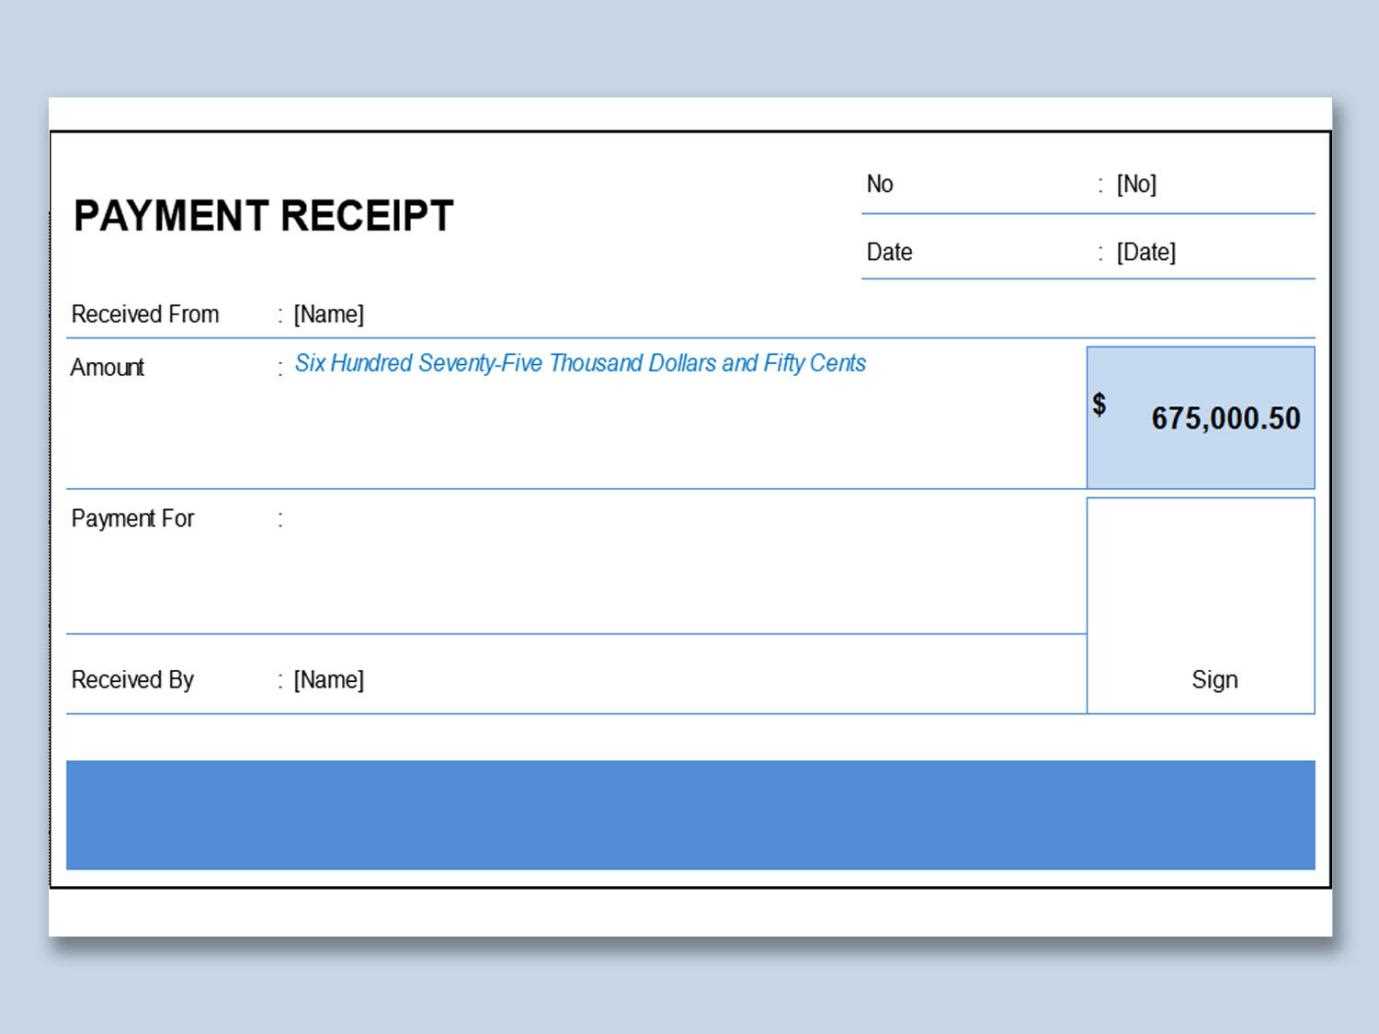
Use an Excel template for receipt of payment to streamline financial record-keeping and ensure accuracy. Excel’s flexibility makes it a great tool to create customized payment receipts that meet your business needs. With the right template, tracking payments becomes a quick and simple task, saving both time and effort.
A well-designed receipt template allows you to easily input payment details such as the payer’s name, date of payment, amount, and method of payment. Organizing these details in an Excel spreadsheet offers clear documentation and can be shared or printed with ease. This is especially helpful for businesses that need to generate multiple receipts regularly.
If you want to create or use an existing Excel receipt template, focus on customizing it for your specific payment types. Include fields like invoice numbers, payment due dates, and any other relevant information to keep your receipts clear and consistent. It’s also wise to incorporate formulas to automatically calculate totals, making sure there’s no room for error.
Once set up, you’ll find that Excel receipts not only help keep your business organized but also improve transparency with your clients. Make sure to save your template in a secure folder, and update it regularly to meet any new business or legal requirements.
Receipt of Payment Template Excel Guide
When creating a receipt of payment template in Excel, make sure to structure it for clarity and ease of use. Start by setting up basic fields like “Payment Date,” “Payer Name,” “Amount Paid,” and “Payment Method.” These are the core details that should appear in every receipt. You can then customize the template by adding fields for additional information like “Invoice Number” or “Service Provided,” depending on your business needs.
Formatting the Template
Use simple formatting to ensure the receipt is professional. Bold the headers and use borders to separate different sections. You can color-code the payment method section to visually differentiate between types of payments. Keep the font consistent and legible, such as Arial or Calibri at size 10 or 12. The clearer the template, the easier it will be for your clients to understand their payment details.
Calculating Totals Automatically
Excel’s built-in functions can help you calculate totals. Use the SUM function to automatically total the amount paid across multiple receipts or transactions. If you’re including tax or discounts, apply formulas for these as well. For example, use the formula “=A2*(1+TaxRate)” where A2 is the price and TaxRate is the applicable rate. This reduces the chance of manual errors and streamlines your process.
How to Create a Customizable Receipt Template in Excel
Begin by opening Excel and selecting a blank workbook. The first step is to define the layout of the receipt, which typically includes sections such as the seller’s details, buyer’s details, transaction date, a list of purchased items, prices, total amount, and payment method.
1. Set Up the Header
- In the first few rows, add the business name, logo (optional), address, and contact information.
- Use bold formatting and larger font sizes to make the header stand out.
2. Design the Receipt Body
- Reserve a section for the buyer’s details: name, address, and contact information.
- Include a date field to capture the transaction date, which can be auto-filled with Excel’s current date function by typing “=TODAY()”.
- Use a table format to list purchased items, quantities, individual prices, and total price per item. Columns can include item names, quantities, unit prices, and the total for each line.
- For dynamic rows, adjust the table to allow additional items if necessary.
3. Add Formulas for Calculations
- Use Excel formulas to calculate totals automatically. For example, in the “Total” column, multiply quantity by unit price using the formula “=B2*C2”.
- Calculate the subtotal by summing up the total column with the formula “=SUM(D2:D10)”, adjusting the range as needed.
- If applicable, include tax or discount calculations using formulas. For instance, tax can be calculated with “=Subtotal*TaxRate”.
4. Customize for Specific Use Cases
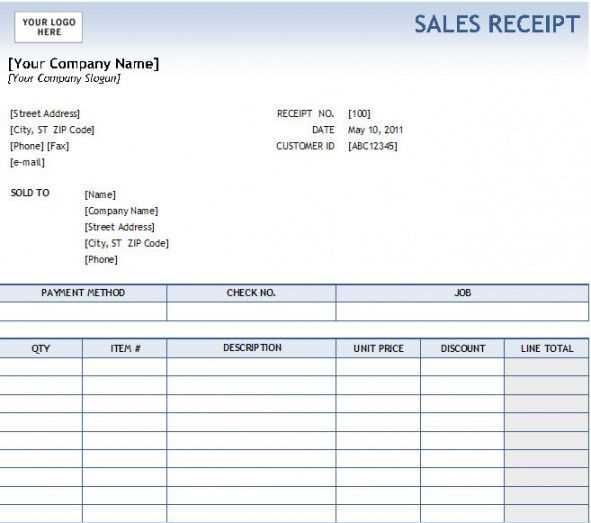
- Add a payment method field to track how the payment was made (cash, credit card, etc.).
- Leave space for any notes or special instructions that might be relevant to the transaction.
- Customize the receipt for different currencies or regions by changing the currency format and language preferences in Excel.
5. Save as a Template
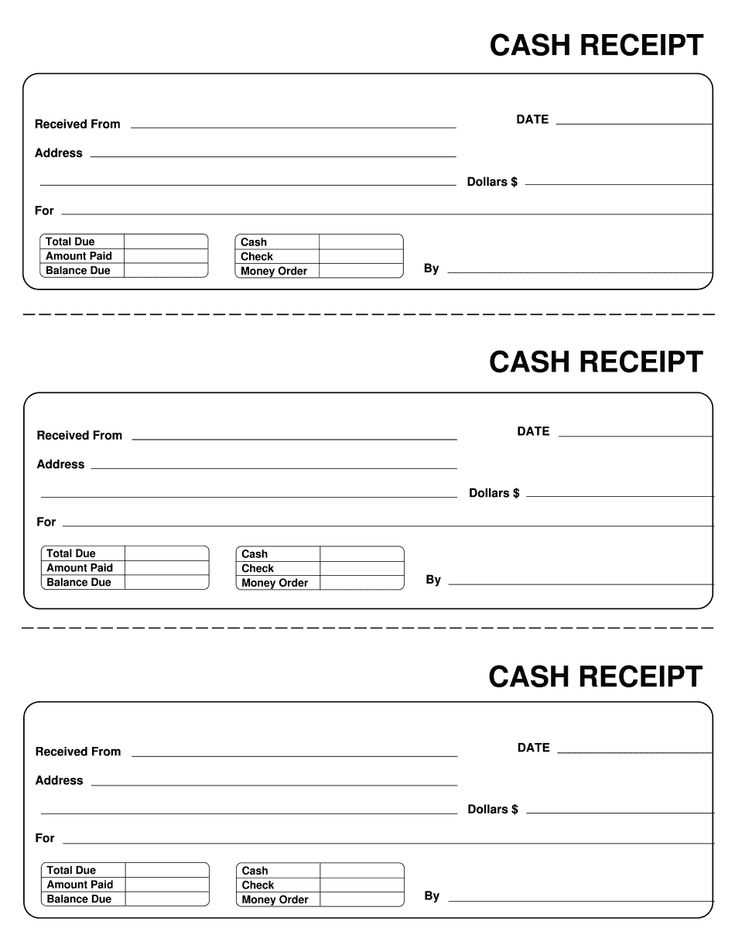
- Once the design is complete, save the file as a template. Go to “File” > “Save As” and select “Excel Template (.xltx)” to preserve the layout for future use.
- You can now use this template for any new receipts by opening it and replacing the relevant information.
By following these steps, you can create a flexible and reusable receipt template in Excel tailored to your needs. Adjust the layout, formulas, and sections as necessary to fit different transactions or business models.
Setting Up Formulas for Automatic Calculations in Payment Receipts
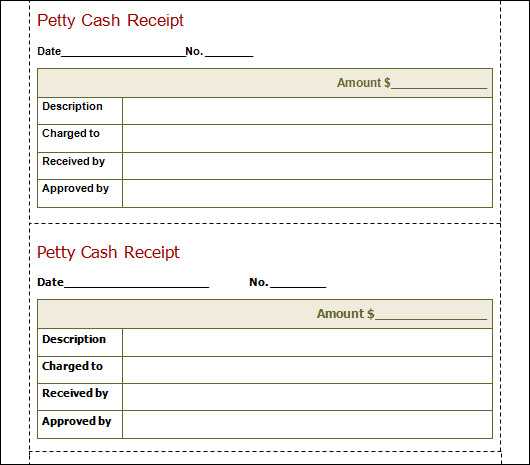
Use Excel formulas to automate calculations in your payment receipt template and reduce manual errors. Start with basic arithmetic functions, such as addition and subtraction, to calculate totals and balances. For example, to calculate the total payment, use the SUM formula to add all item costs in a row or column.
To calculate tax, you can multiply the subtotal by the tax rate. Enter the formula as =Subtotal*TaxRate, where Subtotal is the cell containing the total amount before tax, and TaxRate is the percentage of tax applicable. This can be adjusted to reflect varying tax rates based on region or product type.
For payments with discounts, apply the formula =Subtotal – Discount, where Discount is the specific amount or percentage to be deducted. You can automate percentage-based discounts by using the formula =Subtotal * (1 – DiscountRate), where DiscountRate is the discount percentage as a decimal.
To ensure balance calculations, subtract the amount paid from the total due. The formula =TotalDue – AmountPaid will provide you with the outstanding balance. If the payment amount exceeds the total, use an IF function to highlight any overpayment. For example, =IF(AmountPaid > TotalDue, AmountPaid – TotalDue, 0) will display any excess amount.
For recurring invoices or payments, use the multiplication formula. For instance, =UnitPrice * Quantity will calculate the price for multiple items purchased. You can also add a formula to apply different rates for different quantities, such as =IF(Quantity > 10, UnitPrice * 0.9, UnitPrice), which applies a 10% discount for orders over 10 items.
Using Excel’s built-in functions like SUM, IF, and multiplication will save time and minimize errors in your receipt generation process. Customize each formula to fit your specific payment structure, whether dealing with taxes, discounts, or varying rates.
How to Organize and Save Multiple Payment Receipts for Easy Access
Create a clear folder structure on your computer or cloud storage. Organize folders by categories such as “Invoices,” “Payments,” or by month and year. This will make locating specific receipts faster.
Name your files logically, using the date and description of the payment. For example, “Payment_2025-02-11_Invoice1234.xlsx” provides both the date and a reference to the invoice.
Use consistent naming conventions for all receipts. This minimizes confusion and speeds up search times later. Stick to formats that are easy to understand and follow.
Group similar receipts in one folder. If possible, include keywords in the file name that describe the payment type or client, like “Online_Purchase” or “Client_X_Payment.” This allows you to filter receipts based on relevant criteria quickly.
Backup your receipts regularly. Use external drives or cloud services to avoid losing your data. Syncing files automatically ensures you won’t forget to store important receipts after a payment.
Leverage Excel or other spreadsheet tools to track all payments. Keep columns for payment dates, amounts, and descriptions. This gives you a snapshot of your transactions and complements the organized storage system.
For recurring payments, set up templates or presets. This saves time when you’re recording payments of a similar nature and ensures uniformity across your files.
Review your receipts periodically and delete unnecessary ones to keep your system clean and manageable. This keeps your folders up-to-date and prevents clutter from accumulating over time.


