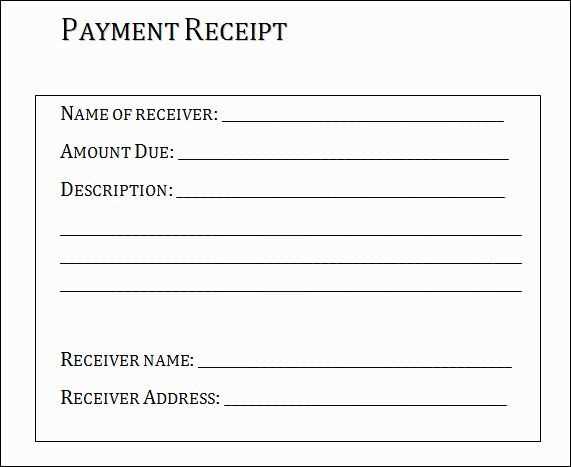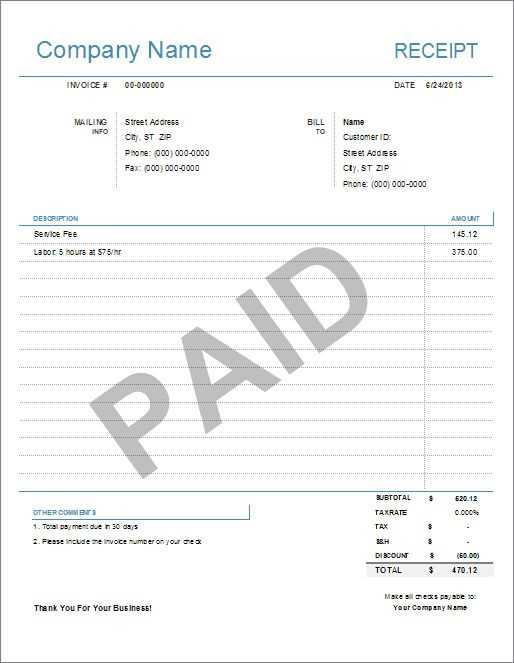
To create a clear and concise payment receipt, follow this template to ensure all necessary details are included. A receipt must clearly identify both the payer and the recipient, the amount paid, and the purpose of the transaction.
Start by listing the name of the payer and the recipient. Include their full addresses and contact details to avoid confusion. Add a unique reference number or transaction ID to track the payment easily. Ensure the date of the transaction is clearly stated.
The payment amount should be mentioned in both numeric and written form to prevent any errors. Specify the currency and include a breakdown if applicable, such as tax or service fees. If the payment covers multiple items, list each item with its corresponding cost.
Finally, make sure to include a clear statement indicating that the payment has been received in full, and if applicable, include the method of payment, such as credit card, cash, or bank transfer. This simple format will guarantee transparency and prevent misunderstandings.
Key Elements to Include in a Payment Receipt Template
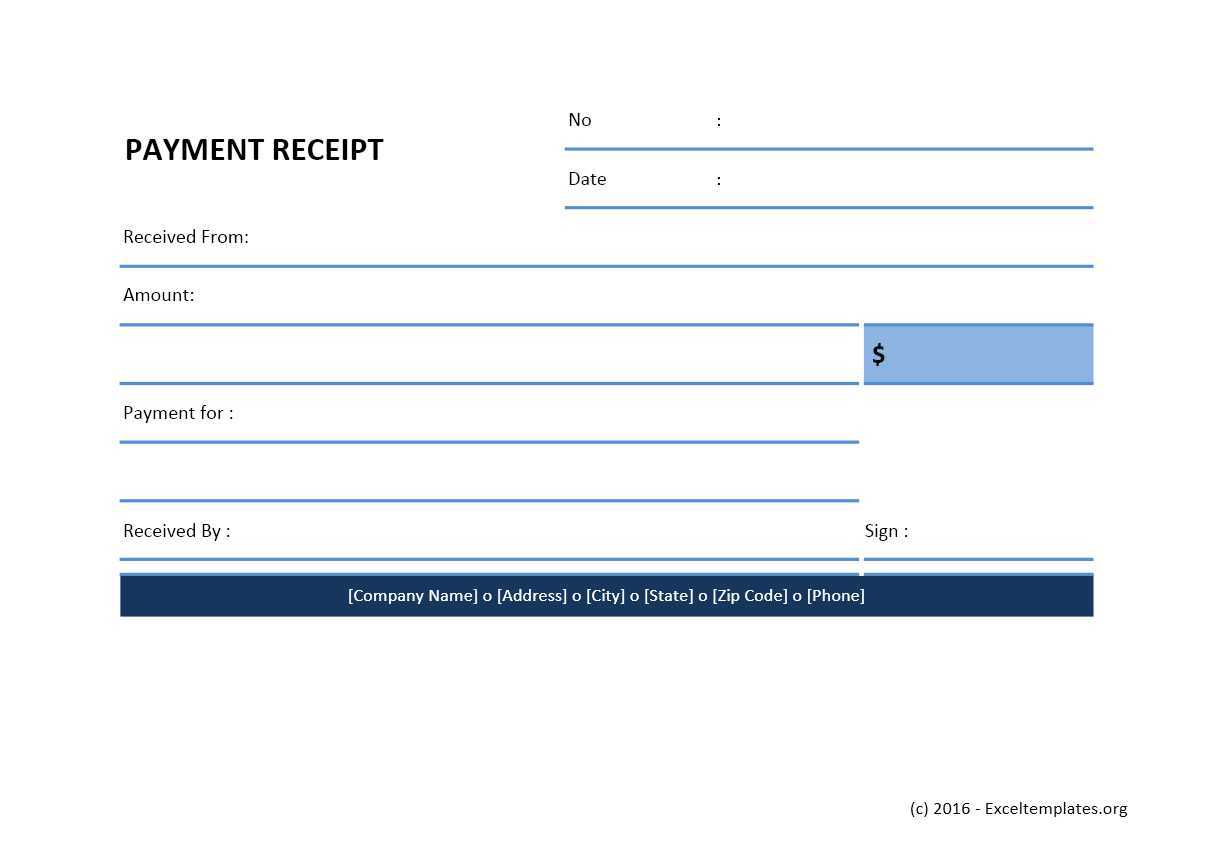
A payment receipt template should provide all necessary details clearly and concisely. Each of the following elements is important for creating a reliable and easily understandable document:
- Receipt Title: Clearly label the document as a “Receipt” to avoid confusion.
- Date of Payment: Include the exact date the payment was made to ensure accurate records.
- Payment Amount: Specify the exact amount received, including the currency type.
- Payment Method: Mention whether the payment was made by cash, credit card, bank transfer, or other methods.
- Sender Information: Include the name and contact details of the person or organization making the payment.
- Receiver Information: Clearly state the recipient’s name or business details.
- Invoice or Reference Number: If the payment is linked to an invoice, include its number for cross-reference.
- Transaction Description: Provide a brief explanation of the payment’s purpose (e.g., services rendered, goods purchased).
- Signature (Optional): If necessary, include a space for the authorized person’s signature to confirm the payment.
These elements are key for maintaining transparency and accuracy in financial documentation.
Common Formatting Practices for Payment Receipt Templates
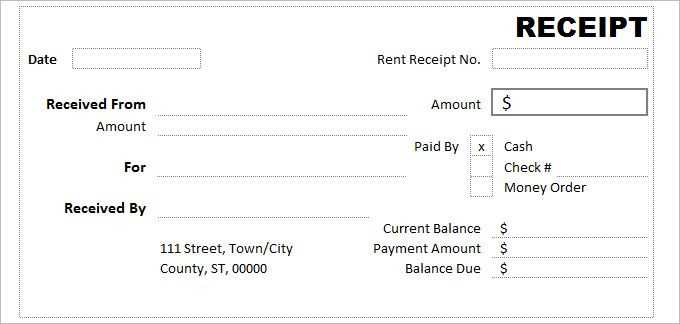
Ensure clear distinction between the header and the body of the receipt. Place the business name and contact details at the top, followed by the date of the transaction. Keep this section concise to ensure quick recognition of the issuer.
Use a table format for itemized breakdowns of the purchased goods or services. Each row should include columns for the description, quantity, unit price, and total cost. This allows easy reading and verification of charges.
Highlight the total amount paid in bold or with a larger font size at the bottom of the receipt. This draws attention to the final figure without cluttering the rest of the information.
Include a payment method section right after the item breakdown. This section should specify how the payment was made (e.g., credit card, cash, bank transfer) and any transaction reference number, ensuring transparency for both parties.
Ensure the font used is clean and readable. Stick with standard fonts like Arial or Times New Roman in a size between 10pt and 12pt. Avoid decorative fonts that might confuse the reader.
Keep alignment consistent. Information such as totals and payment details should be aligned to the right, while the description and itemization should be aligned to the left. This helps create a visually organized structure.
Incorporate white space between sections. This enhances readability and ensures the template doesn’t feel crowded, giving users a clear flow of information.
Finally, avoid cluttering the template with unnecessary graphics or overly complicated borders. The focus should remain on the transaction details, ensuring they are both accessible and easily understood.
Legal Considerations When Using a Payment Receipt Template
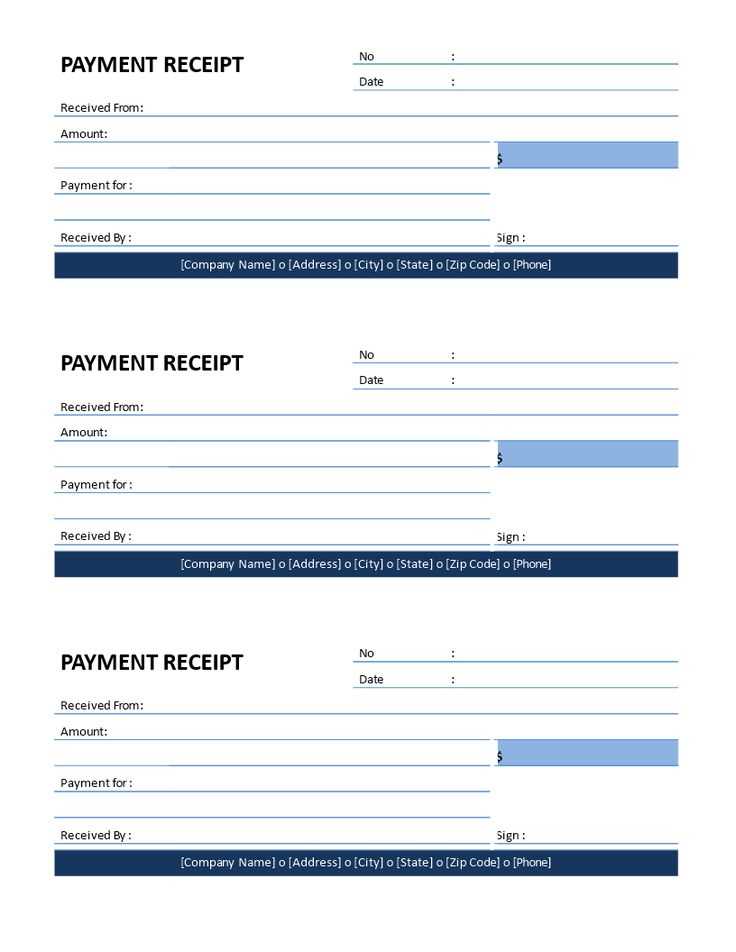
Ensure that the payment receipt template includes accurate and clear information such as the name of the payer, the payee, the date, the amount paid, and a description of the transaction. This helps avoid disputes and protects both parties legally. Be mindful of local regulations regarding what constitutes a legally binding receipt, as certain jurisdictions may require additional details like tax information or specific language on the receipt.
Use precise language to describe the nature of the payment, as vague or misleading terms could cause confusion. For example, if the payment is for a deposit or installment, specify that clearly. Failing to do so could create challenges in the event of a refund request or dispute.
Incorporate a disclaimer if necessary, outlining terms like “non-refundable” or “final payment,” especially if the payment involves goods or services that are non-returnable. Be aware that such disclaimers must align with local consumer protection laws, which may limit the scope of what can be legally excluded.
Store all receipts securely, as they serve as legal proof of payment. In the case of a dispute, both parties will rely on these records. Consider implementing an electronic record-keeping system to ensure that receipts are easily accessible and protected from tampering or loss.
Finally, verify that the template complies with any specific industry standards or regulations that may apply to your business. For instance, certain industries may have requirements about the inclusion of VAT numbers or specific information related to tax reporting. Regularly review and update the template to maintain compliance with evolving laws and best practices.


