Why Use a Photography Receipt Template
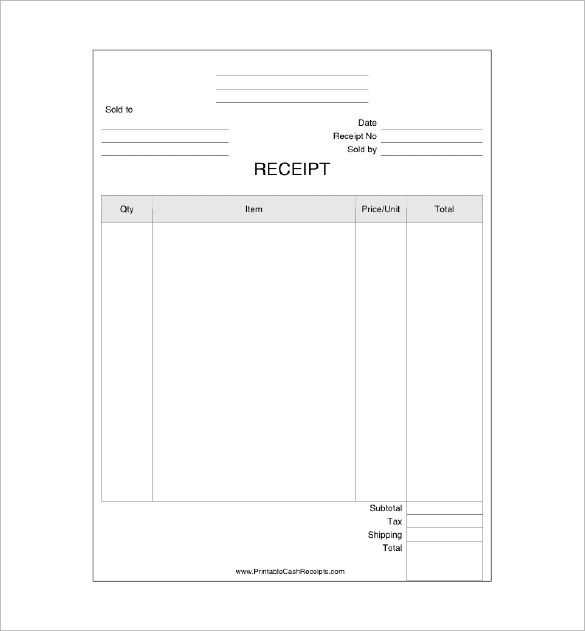
Using a photography receipt template in PDF format simplifies your business transactions. It ensures that your clients receive a clear record of their purchase, and it makes your accounting process more organized. A standardized template helps you maintain consistency across all transactions while also saving time. With the right details in place, you can focus on your photography work instead of worrying about creating receipts from scratch.
What to Include in Your Template
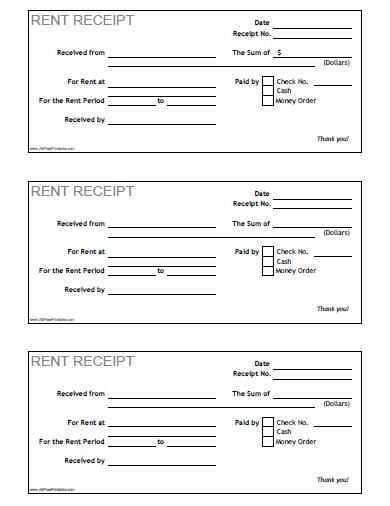
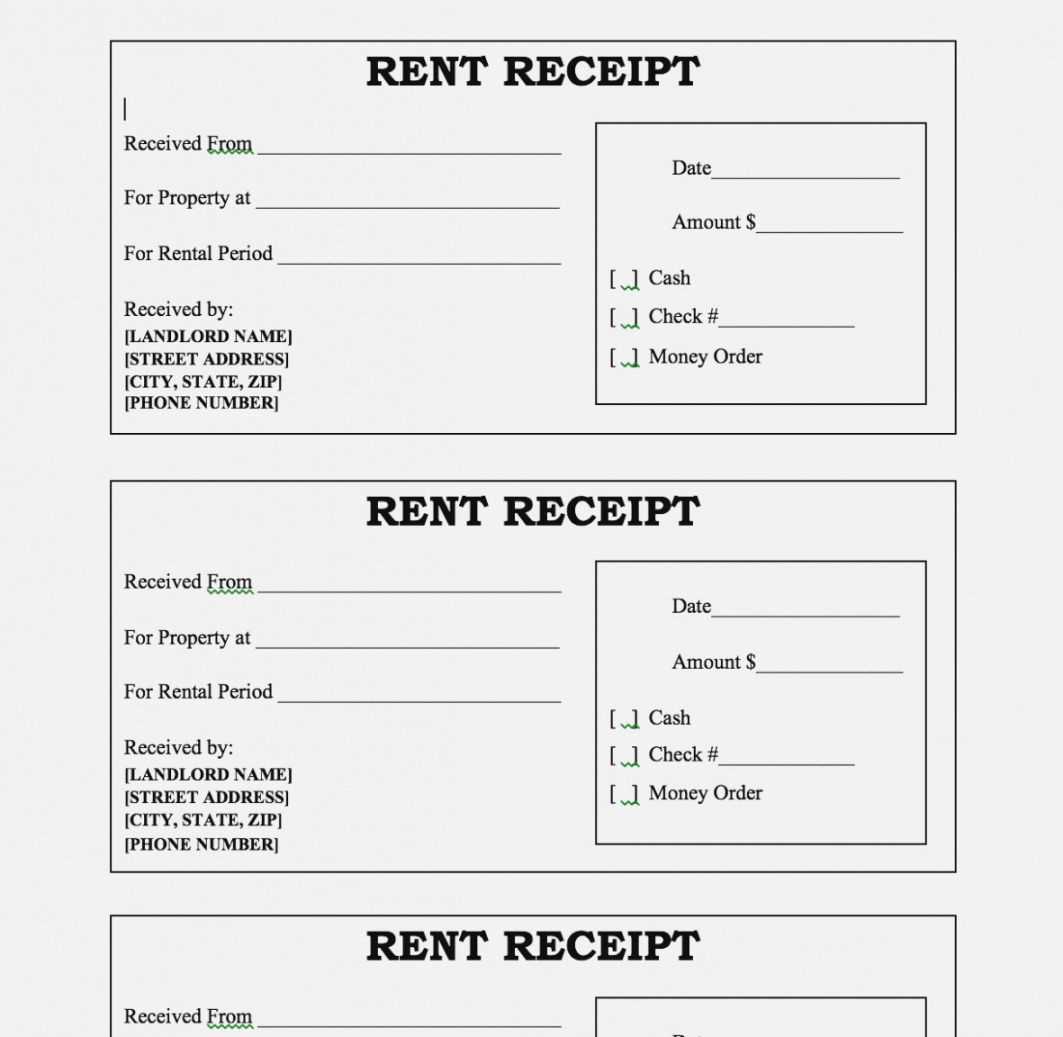
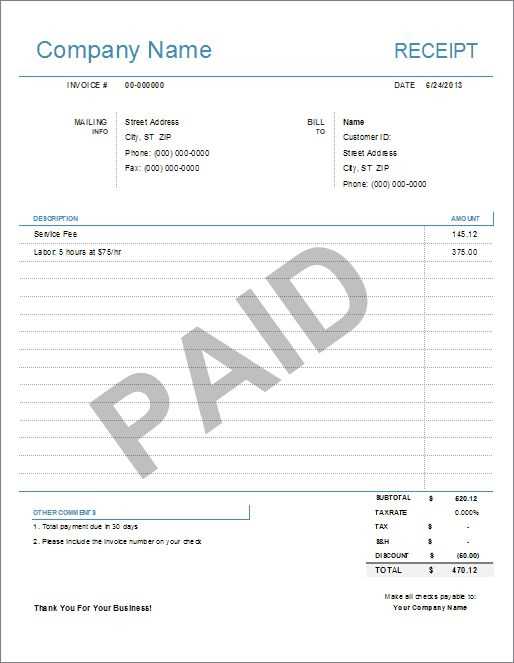
- Photographer’s Name and Contact Details: Make sure to include your full name, business name (if applicable), phone number, and email address.
- Client Information: Provide the client’s full name and contact details. This helps personalize the receipt and keeps track of your customers.
- Invoice Number: This unique identifier helps you track the payment history and organize your records.
- Event or Session Details: Clearly state the type of photography session (wedding, portrait, corporate, etc.) and the date it occurred.
- Payment Breakdown: Include itemized costs (such as session fees, prints, digital images, etc.), taxes, and the total amount due or paid.
- Payment Method: Specify how the client paid (e.g., cash, credit card, bank transfer).
- Terms and Conditions: Any terms regarding deposits, refunds, or cancellations should be included for clarity.
- Signature (optional): A signature line adds formality, especially when dealing with large transactions.
Benefits of Using PDF Format
Choosing PDF for your receipt template offers several advantages. First, PDF files are universally accessible and can be easily opened on any device. Second, PDFs maintain their formatting across different platforms, ensuring your receipt looks professional every time it’s viewed. Lastly, PDFs are secure; they can’t easily be altered, giving you peace of mind regarding your financial documentation.
Where to Find a Photography Receipt Template
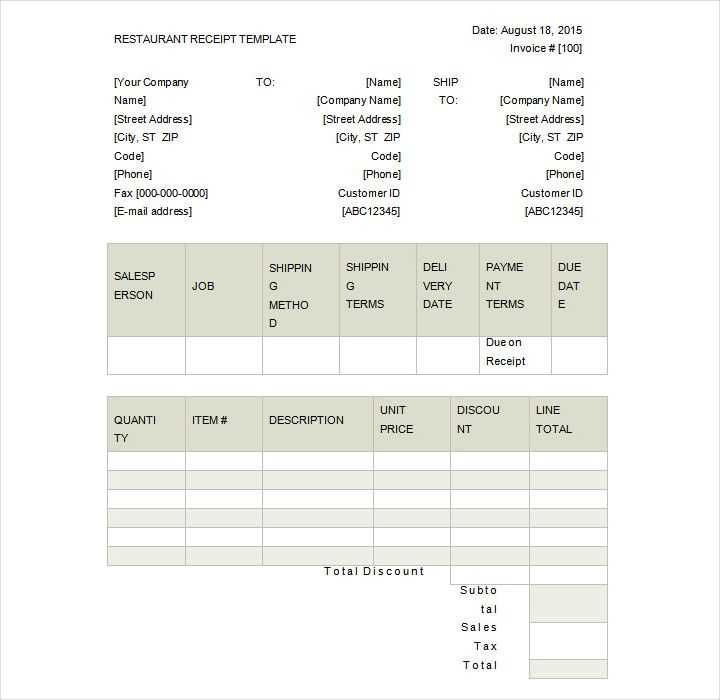
There are many free and paid photography receipt templates available online. Websites like Canva, Adobe Spark, and even Microsoft Word offer customizable templates that allow you to adjust the details to fit your business. Make sure the template is compatible with your invoicing and accounting system, as this will help streamline your workflow.
Creating Your Custom Template
If you want full control, consider creating your own template using a PDF editor or word processor. Customize it to reflect your brand’s style by adding your logo, adjusting fonts, and tweaking the layout. Once complete, save the template as a PDF for easy use in future transactions.
Whether you choose a pre-made or custom template, using a photography receipt template PDF will keep your business organized and ensure that both you and your clients have a clear, professional record of every transaction.
Photography Receipt Template PDF
Key Elements to Include in a Photographer’s Receipt
Customizing a Billing Receipt for Different Services
How to Ensure Legal Compliance in Photo Invoices
Best Software and Tools for Creating a Digital Receipt
Steps to Convert an Invoice into a PDF File
Storage and Organization Tips for Electronic Receipts
A well-crafted receipt is more than just proof of payment–it’s a professional document that reflects your business. Start by including key details: client name, service description, date of service, amount charged, and payment method. Adding a unique invoice number helps keep track of transactions, while your business name and contact information ensure clients know how to reach you. If tax is applied, make sure to list the percentage and the total amount for transparency.
Tailor your receipt to the services offered. A portrait session receipt might include different details than a wedding photography invoice. For instance, consider including package names or itemized services such as prints, digital files, or special editing. This allows clients to clearly see what they’re paying for and can reduce confusion later.
Ensure legal compliance by including specific information required by your country’s tax authorities. Some jurisdictions may require tax registration numbers or specific wording. Always check local regulations before finalizing your invoices to avoid potential issues with tax reporting.
For creating and customizing receipts, software like QuickBooks, FreshBooks, or Zoho Invoice offers user-friendly templates that can be modified for your needs. These platforms allow you to track payments, create professional receipts, and even send them directly to your clients. Alternatively, Microsoft Word or Google Docs provide customizable receipt templates if you prefer to work offline.
Once the receipt is ready, converting it into a PDF ensures that the format remains intact and looks professional. Most invoicing tools automatically generate a PDF, but if you’re working from a document file, you can simply use the “Save As” feature to select PDF as the format. This keeps your file accessible and secure.
Store digital receipts in an organized folder system. Label each file with the client’s name and the date of the service to make retrieval easier. Using cloud storage platforms like Google Drive or Dropbox ensures that your receipts are safely backed up and can be accessed from any device, helping you stay organized and ready for audits.
