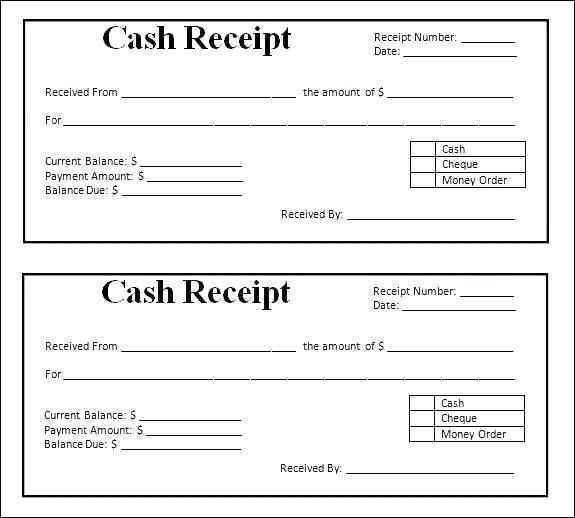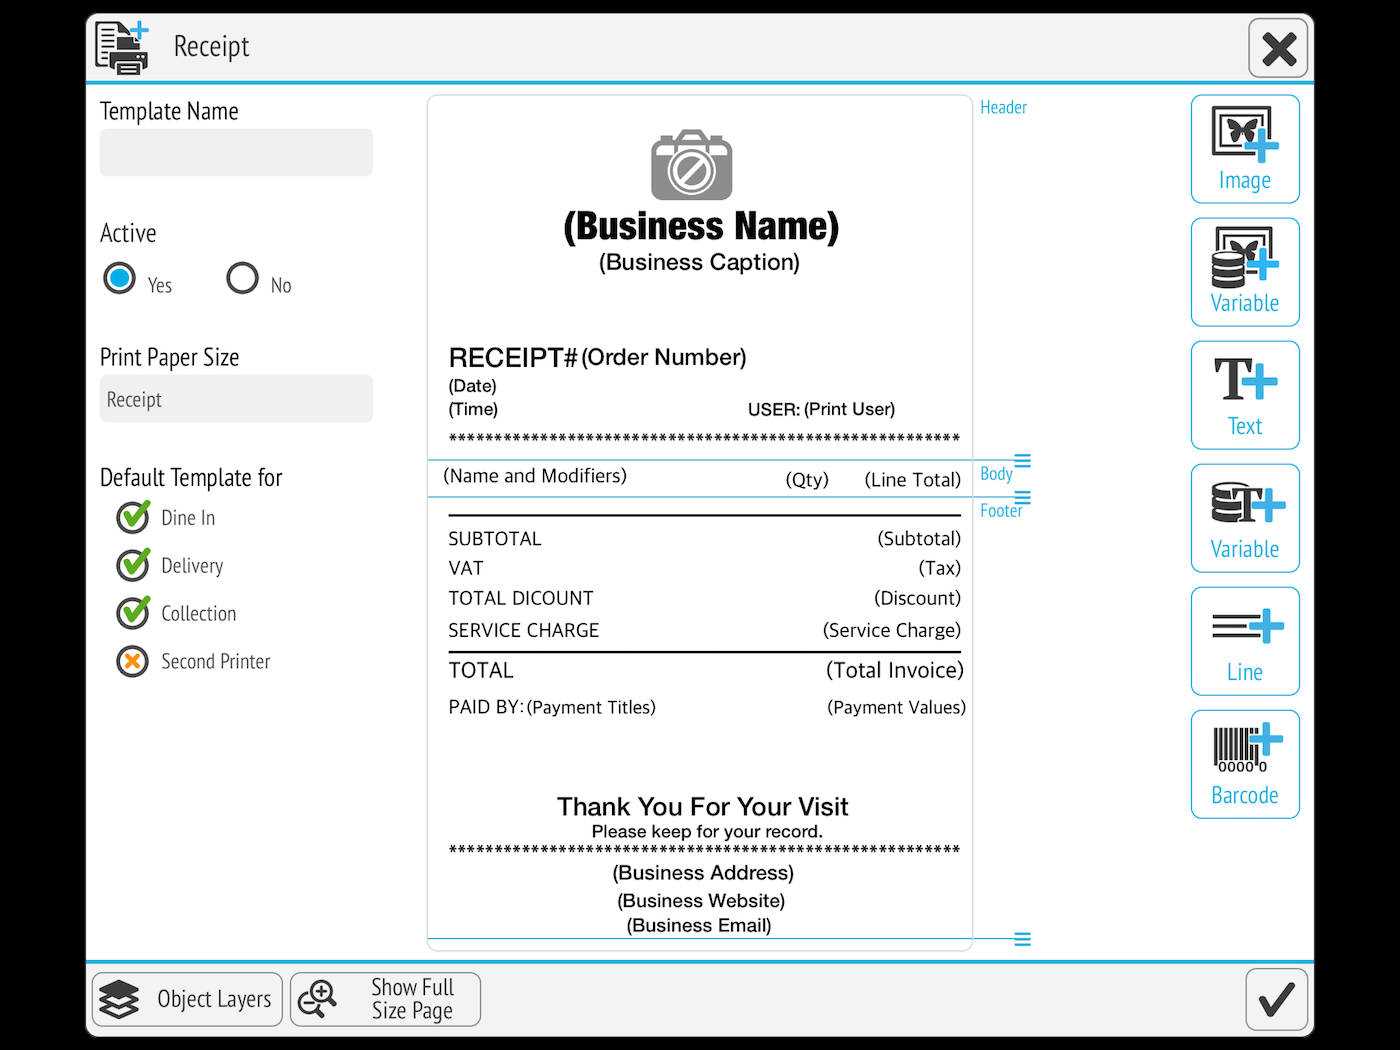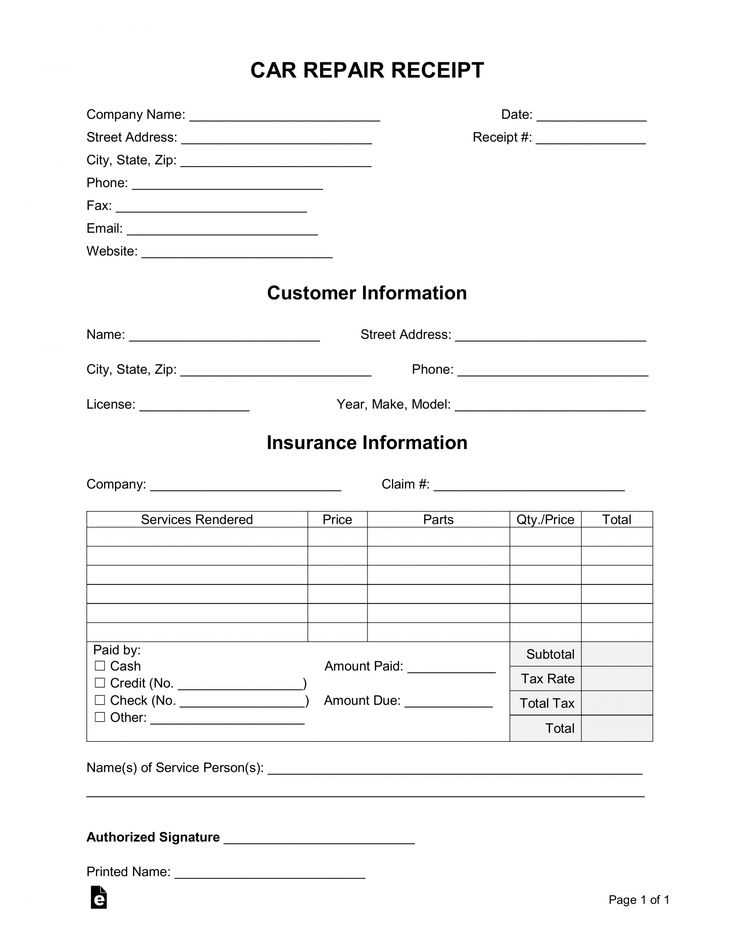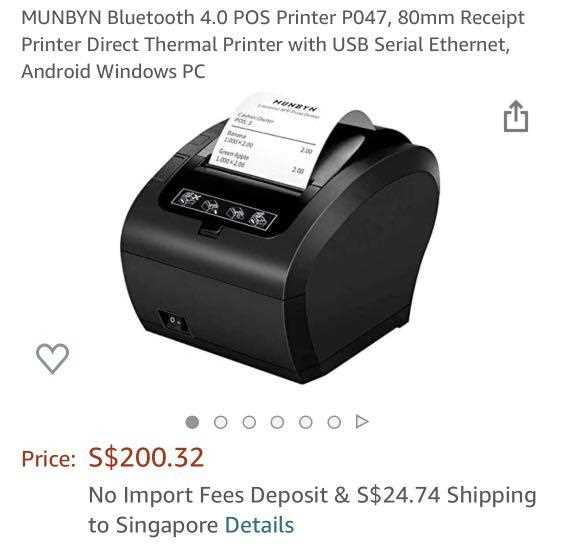
Creating a receipt template for an 80mm thermal printer is straightforward once you understand the key dimensions and formatting required. To ensure compatibility with most thermal printers, keep your design within a width of 80mm and a length that suits your content needs.
Consider the layout carefully: It’s crucial to define clear sections for different receipt elements like the header, items purchased, prices, taxes, and footer. Use a simple, readable font, and ensure there’s enough space between lines to avoid cramped text.
Tip: Include the store’s logo and contact information in the header for branding consistency. For the items list, format each row with columns for product names, quantities, and prices, ensuring that the total at the bottom is clearly displayed.
Don’t forget to include a footer with essential disclaimers or promotional messages. Make sure your template supports various data fields dynamically, so it adapts to different receipt lengths.
80mm Thermal Printer Receipt Template
To create a functional and clear receipt template for 80mm thermal printers, it’s crucial to focus on the following elements:
- Header: Include the company name, address, and contact information at the top. Keep it concise and legible.
- Transaction Details: List the date, time, and receipt number clearly. This helps in easy identification of the transaction.
- Itemized List: Display the purchased items or services with their names, quantities, and prices. Align this information neatly for clarity.
- Total Amount: Clearly highlight the total price, taxes, and any discounts applied. Ensure that the total stands out.
- Footer: Include payment methods, a thank you message, or return policy. Make this section visually distinct but not overwhelming.
Ensure the text size is appropriate for readability and the margins are correctly set to avoid clipping on the edges. Use proper line spacing to ensure the template remains clear and uncluttered.
For best results, format the template with a fixed-width font for uniform character spacing. This ensures the content is aligned properly across different devices.
Understanding the 80mm Paper Size for Receipt Printing
The 80mm paper size is a popular choice for receipt printing, offering a balance between readability and compactness. This size is commonly used in thermal printers, providing enough space to fit important transaction details without wasting paper. It’s typically used for point-of-sale systems, ticket printers, and other receipt-generating devices.
Many thermal printers are designed to support this size, making it easier for businesses to adopt and standardize their receipt printing process. The width of 80mm allows for a layout that can comfortably display items such as store logos, product names, prices, and taxes, all in a compact yet legible format.
When designing receipts for 80mm paper, consider the number of characters per line. Most thermal printers can handle between 40 to 50 characters per line, depending on the font size. This ensures that the text remains readable while fitting within the limits of the paper width. It’s crucial to use a font size that maximizes readability without overcrowding the page.
One advantage of the 80mm size is its versatility. Many printers allow you to adjust the margins and orientation of the print, enabling customization based on business needs. Whether it’s printing a simple receipt or a detailed invoice, 80mm paper can accommodate various layouts and design elements, providing flexibility for different types of businesses.
Choosing the Right Font for Clear and Readable Receipts
Pick a font that ensures legibility, even in low-light environments. Sans-serif fonts like Arial, Helvetica, and Tahoma are ideal for thermal receipts, as they are clean and easy to read without any extra strokes. Avoid overly decorative or serif fonts, which can make text harder to decipher, especially at smaller sizes.
The font size plays a significant role. Choose a size between 10pt and 12pt for optimal readability. Anything smaller can be difficult to read, while larger fonts may waste valuable space on your receipt. Test different font sizes to see which works best for the amount of information you need to include.
| Font Type | Best Use Case |
|---|---|
| Arial | Great for clear, simple receipts with minimal details. |
| Helvetica | Popular choice for professional receipts, offers great readability. |
| Tahoma | Clear and compact, ideal for receipts with limited space. |
| Courier | Fixed-width font for technical or itemized receipts. |
Consider adjusting letter spacing (tracking) slightly for better clarity. Tight spacing can make text harder to read, especially on small receipts. A slight increase in spacing will enhance legibility without taking up too much space.
Avoid using more than two different fonts on the same receipt. Too many fonts can clutter the design and make the text hard to follow. Stick to one font family for the majority of the text, and use bold or italics sparingly for emphasis.
Configuring Margins and Alignment for Accurate Printing
Set precise margins to prevent text from being cut off during printing. Typically, printers have a default margin that can be adjusted through the printer settings or within the receipt template itself. Ensure top, bottom, left, and right margins are set according to the paper size, with a minimum margin of 2-3mm to avoid clipping.
For alignment, define left, center, or right positioning of the text based on your receipt layout. A common practice is to center headings or logos while aligning text and prices to the left. Use consistent alignment throughout the template to maintain a clean and professional look.
For accurate alignment, make use of the printer’s driver settings. Test the alignment by printing a sample receipt and adjusting the position in small increments until everything fits properly on the paper without overlap or cutoff.
Consider using a fixed-width font for better control over spacing and alignment, especially for columns of numbers or text that require uniform width. This reduces the chance of misalignment between lines of text.
Incorporating Logos and Branding in Your Receipt Template
To integrate your logo and branding into a thermal receipt template, focus on simplicity and clarity. Place your logo at the top of the receipt, preferably aligned with the company name or contact details. Keep the size of the logo proportional to the receipt width–too large and it may crowd the space; too small and it might be overlooked.
Optimizing Logo Placement
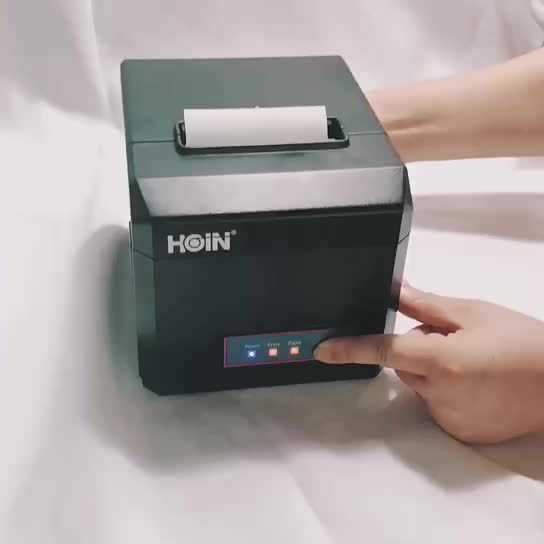
Position the logo at the top-left or center to ensure it’s immediately visible. Avoid overcrowding the area with excessive design elements, keeping the focus on the essential receipt information. If using a background image, ensure that it doesn’t interfere with the legibility of the text.
Using Brand Colors and Fonts
Choose a color scheme that reflects your brand identity while keeping readability in mind. Stick to one or two brand colors for accents, such as in the header or borders, to create a professional and cohesive design. Use brand-approved fonts, but ensure that they are easy to read on a thermal printer–avoid overly ornate fonts that may not print clearly.
Setting Up Barcode or QR Code Integration in Templates
To add barcode or QR code integration into your 80mm thermal printer receipt templates, you’ll first need to ensure your printer supports these formats. Most thermal printers offer support for barcodes and QR codes via specialized command sets or third-party software.
For barcodes, use the appropriate encoding format like Code 128, which is commonly supported by thermal printers. The key step is embedding the correct barcode generation commands into your template. Most printers have a specific syntax for barcode printing, often starting with a command to define the barcode type, followed by data encoding.
QR codes can be generated in a similar manner. You’ll need to use a code generator or direct printer commands to create the QR code. Ensure the QR code size fits within the printer’s printable area. Some printers offer built-in functions to generate QR codes directly using a specific command.
In your template, place the barcode or QR code at the appropriate location. Use spacing and alignment commands to avoid overlap with other receipt data. Be mindful of the print area limits of your thermal printer to prevent clipping.
Finally, test the integration to ensure the printed barcode or QR code scans correctly with your system. Adjust margins and sizes as needed to improve readability and ensure consistent performance across different devices and platforms.
Testing and Troubleshooting Common Template Issues
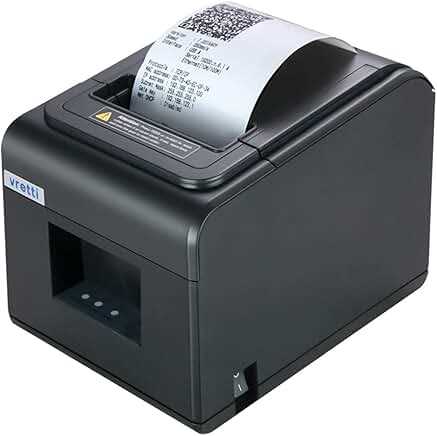
Check the printer’s connection and ensure the correct printer driver is installed. An incorrect or outdated driver can cause template formatting issues. Also, verify the printer’s settings match the template’s specifications (e.g., paper size, print width).
To test the template, print a sample receipt with a simple layout to isolate problems. This helps determine if the issue is with the template or the printer’s setup.
- Misalignment: If text or elements appear misaligned, adjust the margins in the template. Ensure your printer is set to the right paper size (80mm) and check if the printing area matches the template’s layout.
- Missing Elements: If logos, images, or other elements are not printing, confirm the image resolution is compatible with the printer. Use a supported file format (e.g., PNG or BMP) and ensure the image is not too large for the template.
- Text Clipping: If text is cut off at the edges, decrease font size or adjust the line spacing. This often occurs if the template is designed for a wider print area than the printer supports.
- Blurry Text or Images: Lower resolution settings can cause text and images to print poorly. Increase the resolution or choose a higher-quality template.
Keep the firmware of the thermal printer updated to avoid compatibility issues. Regularly check for updates from the printer’s manufacturer.
For consistent results, test templates with different receipt types (e.g., long and short receipts) to ensure compatibility across different scenarios.
