To create a functional and visually appealing receipt template using HTML and CSS, focus on clean, well-structured code that ensures both accuracy and ease of use. The key is designing a template that can easily adapt to various printing styles without losing essential details like item descriptions, prices, or totals. CSS will help you format the receipt for printing, ensuring it fits within specific dimensions while keeping everything aligned and readable.
Start by defining the layout with HTML, focusing on clear sections for the store name, items, and totals. Use <div> elements for each block of content. You’ll need to structure the content in a way that fits on a standard receipt size, which usually means limiting the width and managing margins effectively.
In the CSS part, make sure you’re using the @media print query. This will allow you to define styles that apply only when the document is printed, such as adjusting font sizes or hiding unnecessary elements. Using flexbox or grid can help ensure that your receipt content is properly aligned and easily scalable for printing.
Lastly, keep your design simple but efficient. Clear fonts, appropriate spacing, and consistent formatting will go a long way in improving the user experience and making the receipt easy to read. When done right, your HTML and CSS receipt template will provide both functional and aesthetic value for businesses or personal use.
HTML CSS Print Receipt Template
Create a simple and clean receipt template by structuring the HTML with key sections like store information, item details, total, and footer. Apply CSS to ensure it prints well on paper, with proper spacing and readable fonts.
HTML Structure
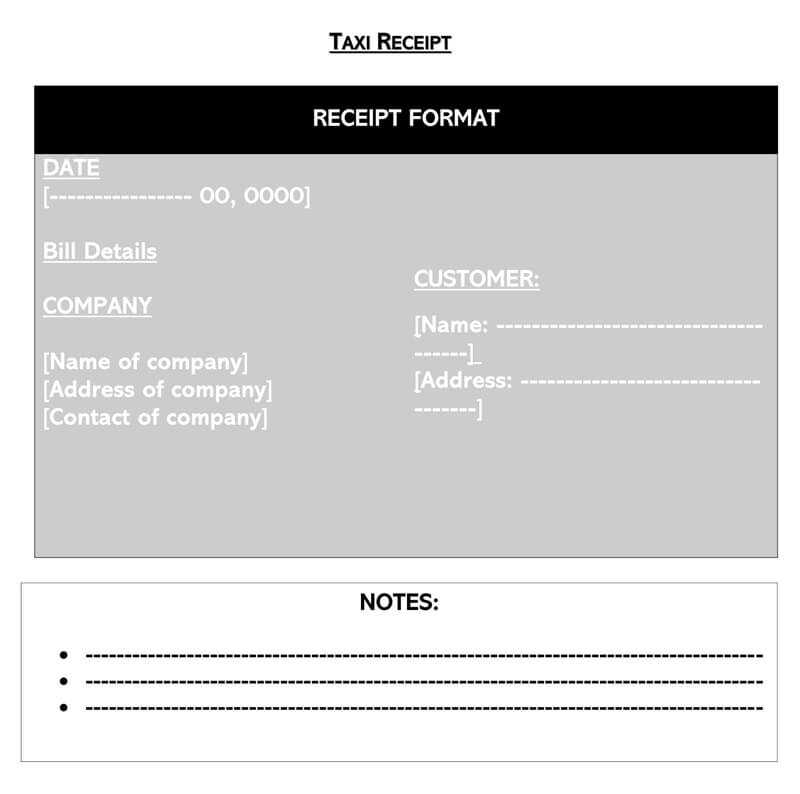
Divide the receipt into clear blocks: header, items list, total, and footer. Here’s an example:
Store Name
Store Address
Date: 2025-02-14
- Item 1 - $10
- Item 2 - $15
- Item 3 - $25
Total: $50
CSS Styling
For print-friendly formatting, use the @media print rule to apply specific styles. Adjust the layout for clarity and proper scaling when printed:
@media print {
.receipt {
width: 300px;
margin: 0 auto;
font-family: Arial, sans-serif;
}
.header, .items, .total, .footer {
margin-bottom: 10px;
}
.items ul {
list-style-type: none;
padding: 0;
}
.items li {
margin: 5px 0;
}
.total p {
font-weight: bold;
}
.footer {
font-size: 12px;
text-align: center;
}
}
By testing the print layout, you can fine-tune the width, margins, and font sizes for a neat and clear receipt. Adjust the spacing as needed to avoid cutting off content during printing.
How to Create a Basic Receipt Layout Using HTML and CSS
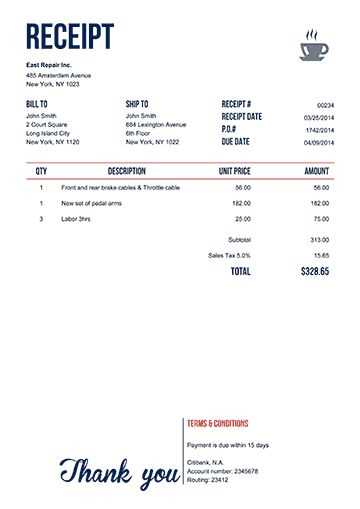
To design a simple receipt layout, structure the HTML with key elements such as store name, date, items list, and total amount. Start by creating a container div for the entire receipt, applying margins and padding for spacing. Use headings for the store name and date to make them stand out.
For the items, create a table with columns for item description, quantity, and price. Each item will be placed in a table row with a corresponding class for styling. Use border-collapse for a cleaner table design.
Here’s a basic HTML structure:
<div class="receipt">
<h1 class="store-name">Your Store</h1>
<p class="date">Date: 14-Feb-2025</p>
<table class="items">
<tr><td>Item 1</td><td>1</td><td>$10</td></tr>
<tr><td>Item 2</td><td>2</td><td>$15</td></tr>
</table>
<p class="total">Total: $40</p>
</div>
For CSS, set a max-width for the receipt container to limit its size. Add borders to the table rows and cells for clarity. Ensure proper alignment of text using text-align for headings and table content.
Here’s an example of CSS styling:
.receipt {
max-width: 300px;
padding: 20px;
margin: 0 auto;
border: 1px solid #000;
}
.store-name {
text-align: center;
font-size: 1.5em;
}
.date {
text-align: right;
font-size: 0.9em;
}
.items {
width: 100%;
border-collapse: collapse;
}
.items td {
padding: 8px;
border: 1px solid #ddd;
}
.total {
text-align: right;
font-weight: bold;
margin-top: 20px;
}
This layout ensures that your receipt is clean, readable, and functional. Modify the classes and add extra styling to match your design preferences.
How to Ensure Proper Printing with CSS Media Queries
Use the `@media print` query to target styles specifically for printing. Apply minimal styles to prevent unnecessary elements from appearing on the printed receipt. Remove background images and color styles that may waste ink by using:
@media print {
body {
background: none;
}
}
Hide elements that don’t need to be printed, like navigation bars or advertisements. For instance, apply:
@media print {
.no-print {
display: none;
}
}
Control page breaks for better layout by using `page-break-before`, `page-break-after`, and `page-break-inside`. For a clean separation between sections, you might add:
@media print {
.section {
page-break-after: always;
}
}
Ensure text is legible by adjusting font sizes and line heights. Consider using a simple font like Arial or Times New Roman for better readability:
@media print {
body {
font-family: Arial, sans-serif;
font-size: 12pt;
}
}
Test print styles regularly to verify that the printed result matches expectations, ensuring no elements are out of place or difficult to read.
How to Handle Dynamic Data and Item Lists in Receipts
Use JavaScript to dynamically generate and update item lists in receipts. By using loops, you can iterate through the list of items and display each one with its price, quantity, and total. This method makes the process scalable and flexible for different orders.
For example, create an array containing the items. Use JavaScript to loop through the array and create HTML elements dynamically for each item. Calculate totals by multiplying the item’s quantity by the price, then add the result to the subtotal.
For accurate formatting, structure the data using HTML tables or list elements. Tables work well for receipts as they align the item names, prices, and totals neatly. Ensure each row represents an item and display the subtotal, taxes, and final amount at the bottom.
To handle discounts or promotions, check for conditions in your code. When certain criteria are met, apply a discount and update the total accordingly. Make sure to display the discount line clearly in the receipt, showing both the amount and the percentage discount applied.
Lastly, format the final receipt layout to match the required printing style. Use CSS media queries to optimize the receipt design for printing, ensuring that it looks good on paper without unnecessary elements or breaks in the structure.
