Creating a receipt template for a thermal printer is a simple yet crucial step for ensuring that your business transactions are smooth and professional. Start with the most important elements: the business name, address, contact details, and transaction information. Make sure the text is clearly readable, keeping in mind that thermal printers typically have limited space and formatting options.
Customize the layout to match the specific needs of your business. For example, include fields for the item description, quantity, price, and total amount. Keep the design clean, as excess text or clutter can make the receipt harder to read. Add a clear section for payment details, such as the method of payment or the change given, to avoid confusion.
Consider the size of your paper roll when designing the template. Thermal printers often use small rolls of paper, so it’s vital to optimize the layout for the available space. Avoid long text blocks and ensure the text size is large enough to be legible but small enough to fit everything on one line.
Lastly, if your printer supports logos or images, you can add a company logo for branding purposes. Keep it small and ensure it doesn’t overcrowd the receipt. By focusing on clear and concise information, your receipt template will not only look professional but also be highly functional for everyday use.
Receipt Template for Thermal Printer
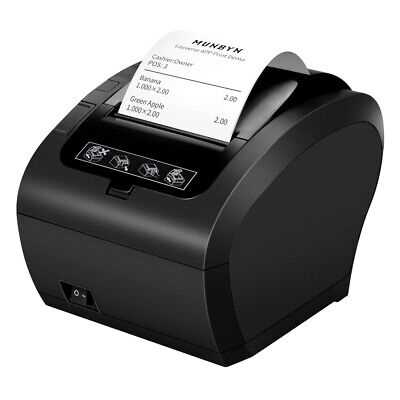
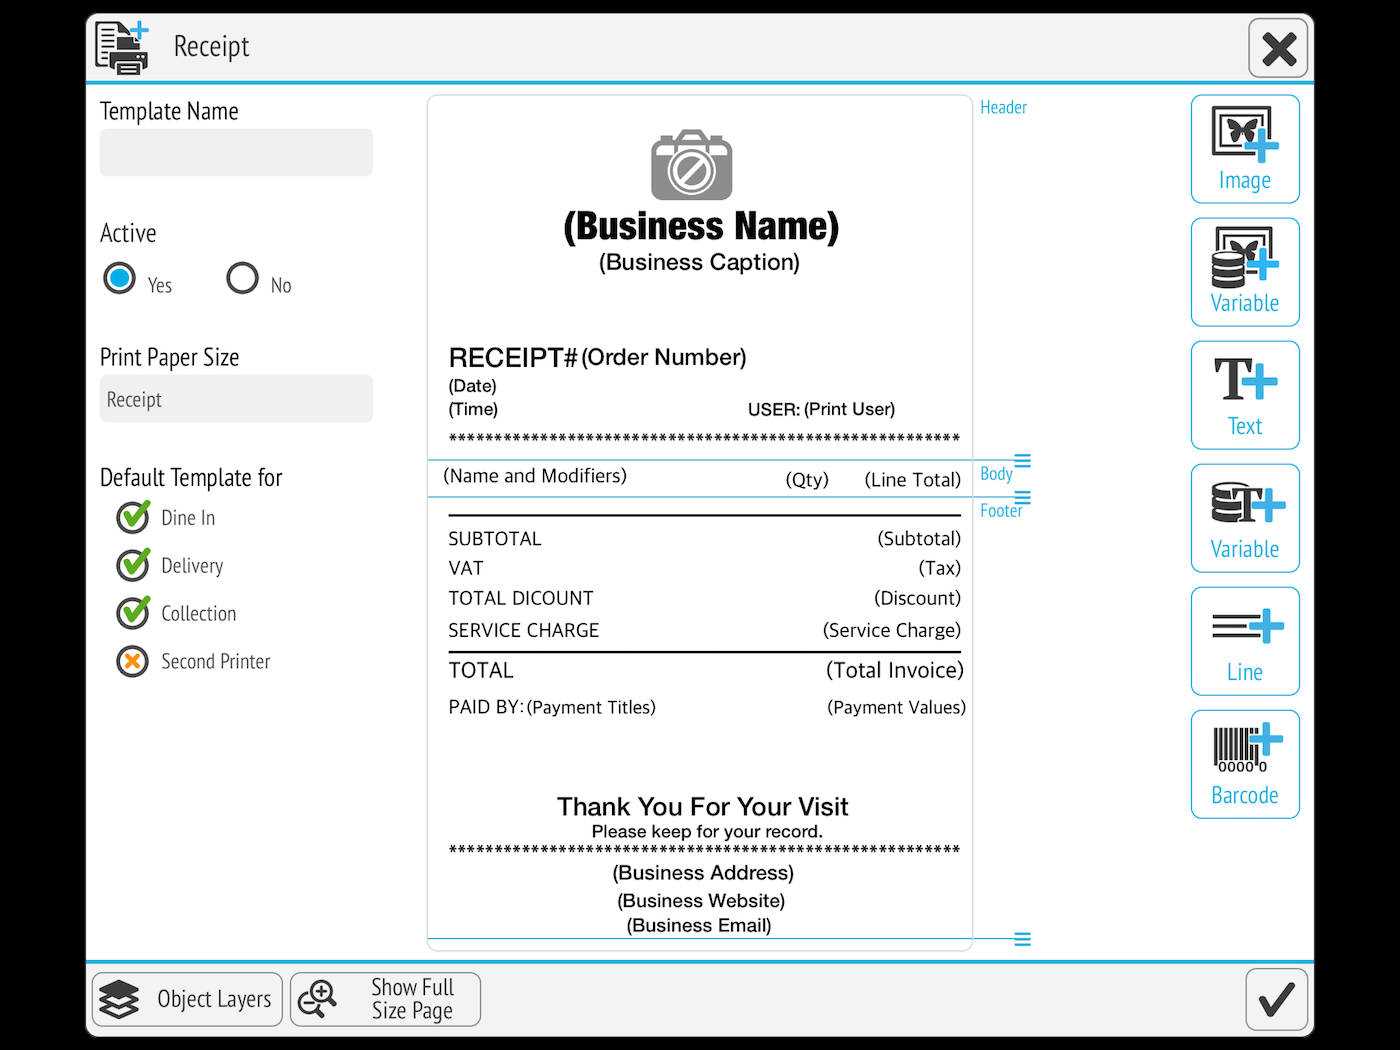
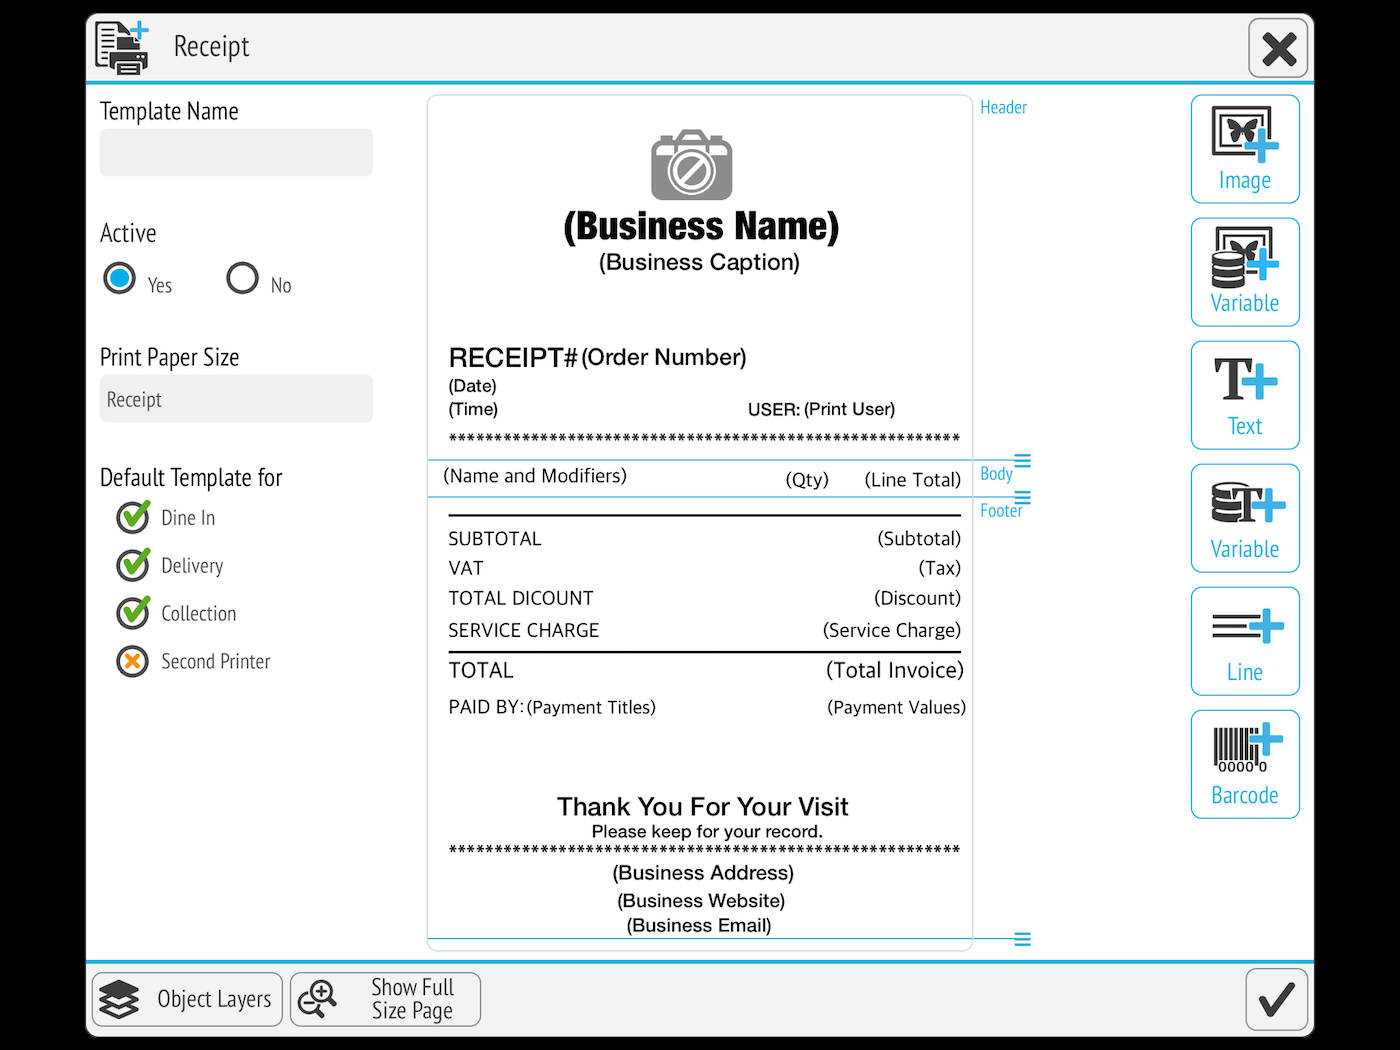
Design a receipt template with clear and concise information for efficient printing on thermal printers. Start by organizing the layout into sections: header, item details, totals, and footer. Keep text size readable, and use bold for important fields like “Total” or “Date” to enhance visibility. Avoid cluttering the template with unnecessary graphics or large fonts, as thermal printers are best suited for basic text output.
In the header, include your business name, logo, and contact details. Align these elements neatly to the left or center for a balanced appearance. For item details, list product names, quantities, and prices in a table format. Ensure each line has enough space to prevent the printer from cutting off text. Use a simple character set that’s compatible with most thermal printers, typically ASCII.
For the totals section, display the subtotal, any applicable taxes, and the final amount clearly. If the receipt includes discounts, list them separately to avoid confusion. For the footer, you can add a thank you note or return policy, but avoid adding too much text that could result in truncation.
Test the template on your thermal printer to check for alignment and text clarity. Adjust margins or font sizes as needed to ensure everything fits well and prints cleanly on the receipt paper.
Designing a Basic Receipt Template for Thermal Printers
Begin by ensuring the template fits within the limitations of your thermal printer, typically 80mm or 58mm wide paper. This determines the available space for your content. The most important elements to include are the store name, transaction details, and a total amount section. Keep the design simple to prevent excess printing time and avoid paper waste.
Formatting the Header
The header should feature your store’s name and contact information. Use a large, bold font for the store name to ensure it’s easy to read. Below, place a smaller section for contact details, such as the address or phone number. Align these elements to the center for a clean and professional look.
Organizing Transaction Details
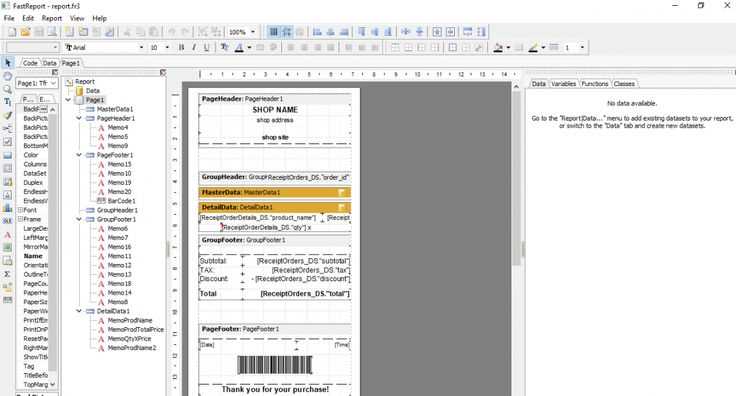
After the header, display the items purchased. Include columns for the item name, quantity, and price. Use simple symbols or dashes to separate the columns, keeping everything aligned for readability. A subtotal section should follow, summarizing the total cost before taxes and discounts. If applicable, include a tax section with the amount clearly visible.
Finally, include a space for the total amount and any payment information, such as the method of payment or change given. Leave extra space below to accommodate any potential loyalty card information or promotions, ensuring the receipt remains clear and uncluttered.
Customizing Templates for Specific Business Needs
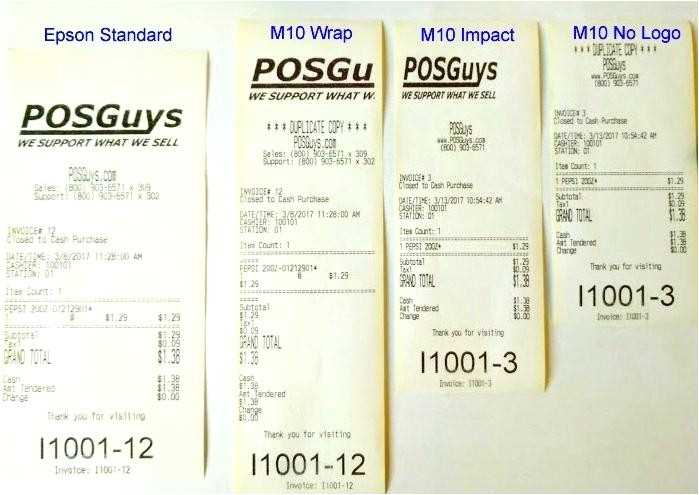
Focus on your business’s core requirements when adjusting receipt templates. Prioritize clear communication of essential details, such as product descriptions, prices, and any applicable discounts. Customize the layout to fit your brand’s style, using colors, fonts, and logos that match your identity.
For businesses offering promotions, incorporate dedicated fields for discount codes or special offers. If your business deals with a variety of products, consider adding categories or item grouping to simplify the receipt’s appearance while maintaining clarity.
- Logo Placement: Ensure your logo is prominent but not overpowering, typically positioned at the top or bottom of the receipt.
- Contact Details: Include business name, phone number, and website. This helps customers find you easily for inquiries or returns.
- Tax Information: Depending on your location, ensure that tax rates and totals are clearly displayed to comply with local regulations.
- Payment Methods: Include the method used for payment, whether it’s credit card, cash, or digital payment platforms.
For specific industries, tailor the template further. Retail businesses might want to include a loyalty points section, while service-oriented businesses can include additional fields like service time or technician names.
- Service Details: Service industries can add fields for appointment times, technician notes, or product/service warranty information.
- Itemized Bills: If you offer many options, break down costs by category for transparency and customer satisfaction.
Use template design tools or coding options in the thermal printer software to make these adjustments easily. Aim for simplicity to ensure the receipt is functional and quick to print, keeping your customers’ experience in mind.
Testing and Troubleshooting Thermal Printer Receipt Templates
Begin by printing a test receipt to check the template’s alignment. Ensure that all text and elements fit within the paper’s width and height. Adjust the margins and text size if needed. For any misalignment, review the code or settings controlling the layout and make necessary tweaks.
If the receipt prints blank or incomplete, verify that the template is correctly loaded into the printer’s memory. Ensure your thermal printer is connected properly and is set to the correct paper size. If you’re using custom fonts, check whether they are supported by the printer model and consider switching to built-in fonts if necessary.
For text issues, such as missing characters or garbled output, confirm the encoding used for the template. Thermal printers often rely on specific encodings like UTF-8. Make sure that your template’s encoding matches the printer’s requirements.
If printing is too faint or inconsistent, check the thermal paper type and ensure it’s compatible with your printer. The print head might also need cleaning. Build-up of residue can affect the print quality, so clean the print head with a soft, lint-free cloth.
In case of frequent paper jams, ensure the paper roll is loaded correctly and the printer’s paper path is clear of obstructions. Misfeeds can occur if the paper is not positioned properly or if there’s too much tension on the roll.
Lastly, update the printer’s firmware if possible. Manufacturers sometimes release updates that improve compatibility with templates and printing performance. Make sure you’re using the latest version available.
