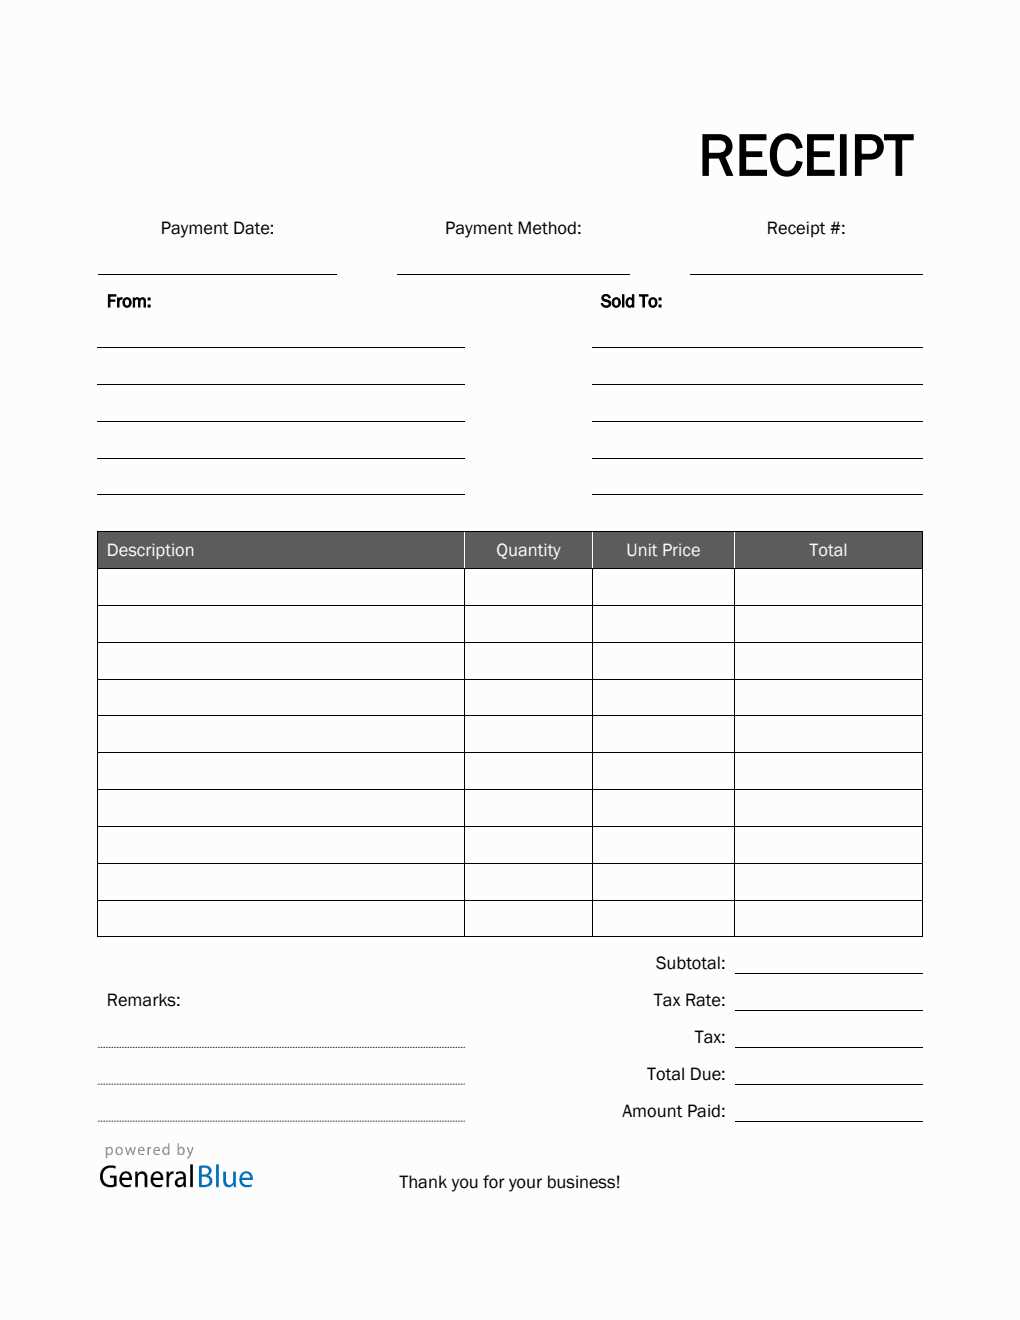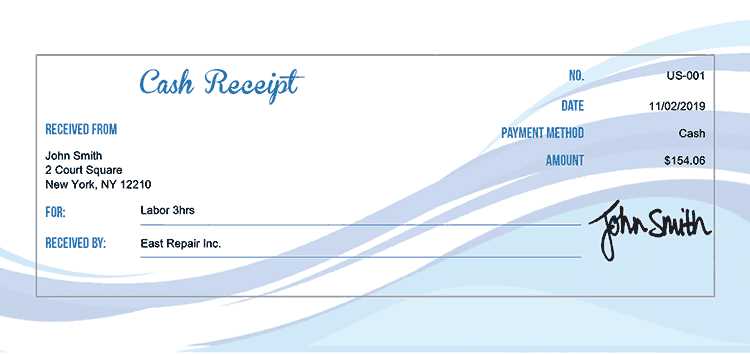
Use this simple and clean psychotherapy receipt template to easily provide clients with proof of their sessions. Customize the fields with details such as your practice name, client information, session dates, and fees. Ensure the receipt meets both client and tax requirements by clearly displaying the necessary information for reimbursement or insurance purposes.
This template helps maintain transparency and professionalism. You can print and hand the receipt directly to clients or save it as a PDF for electronic distribution. Including details such as the session type and any additional charges is straightforward, offering clarity to both you and the client.
Keep your practice organized by utilizing a ready-made template designed for quick adjustments. By offering this service, clients can easily track their expenses, ensuring they feel confident in their dealings with you. Adjust the layout as needed to fit your branding or specific legal requirements.
Printable Psychotherapy Receipt Template
To create a professional psychotherapy receipt, focus on the necessary details for both the client and the therapist. The receipt should include the therapist’s name, license number, contact information, the date of the session, and a clear description of the service provided, such as “psychotherapy session.” Include the amount charged and the payment method used. A line indicating whether the session was paid in full or partially covered by insurance is also important.
Key Elements to Include
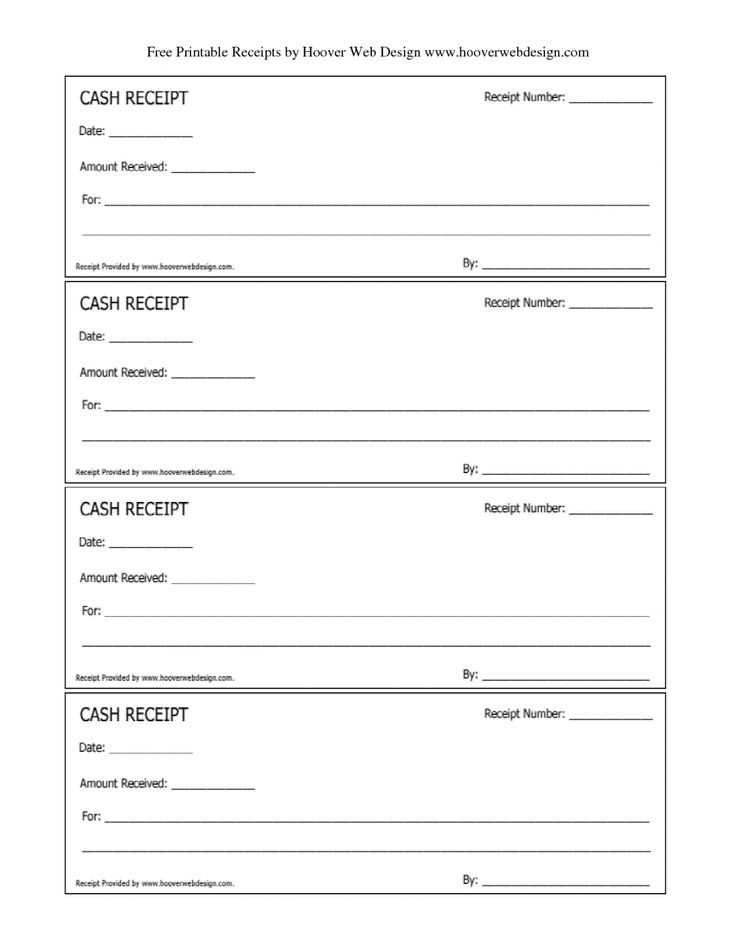
Ensure that each receipt has the following components:
- Therapist’s Full Name – Include both first and last name as listed on their professional license.
- License Number – Necessary for insurance claims and legal purposes.
- Session Date – The date the session took place.
- Description of Service – Clearly mention the type of therapy session (e.g., individual therapy, couples counseling).
- Amount Charged – Specify the amount due for the session.
- Payment Method – Indicate whether payment was made via cash, card, or insurance.
- Insurance Information – If applicable, note the amount covered by insurance and any outstanding balance.
Customization Tips
To tailor the template to your practice, add sections for recurring appointments or package pricing. You can also include a unique receipt number for better tracking. A space for therapist comments or additional notes can be useful for keeping a record of session-specific details or next steps. Ensure the font is clear and easy to read, with ample space between sections for clarity.
How to Customize Your Receipt for Therapy Sessions

Begin by including all the necessary client and session details. Include the client’s name, address, and the therapy session date. Make sure the type of therapy provided is clear, such as individual therapy, couples therapy, or group therapy.
Next, specify the session duration. Include the start and end time, as well as the total number of minutes or hours. This helps clarify billing, especially for therapists offering variable session lengths.
Billing Information
Include the session fee and any applicable taxes or discounts. If you offer sliding scale rates or insurance coverage, specify the rate or amount covered. Make sure the total due is clear and easy to identify at a glance.
Payment Methods
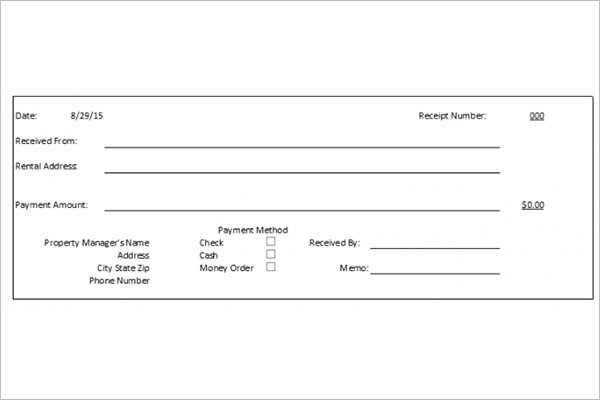
Clearly state the payment method accepted, whether it’s credit card, cash, check, or digital platforms. If you accept insurance, include the relevant insurance provider and claim details.
Finally, add a section for notes or follow-up instructions. This could include next session scheduling, cancellations, or additional resources for the client.
Legal Considerations When Creating Therapy Receipts
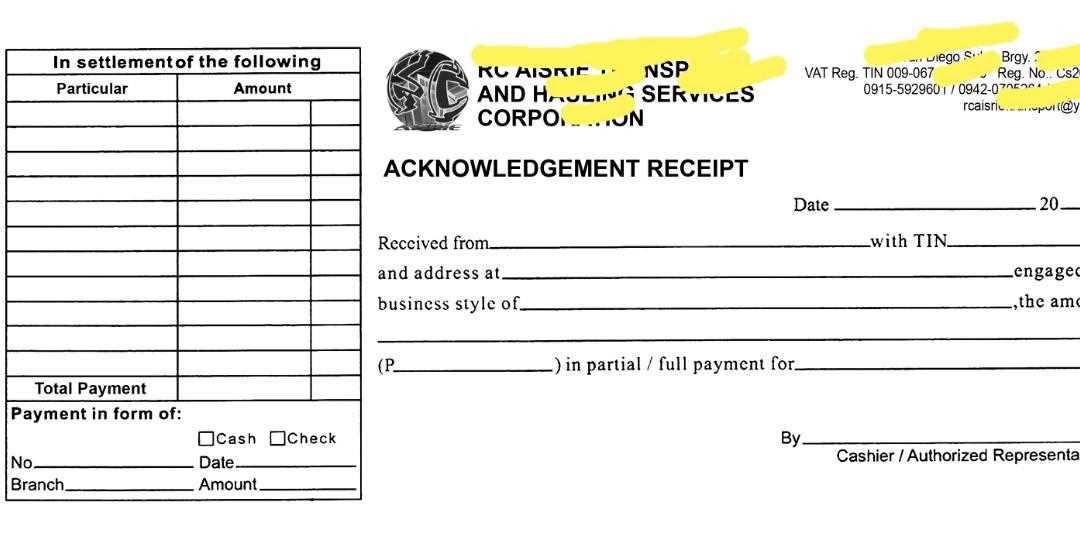
Ensure your therapy receipts meet all necessary legal requirements by including specific information, such as the therapist’s name, credentials, business address, and the date of service. A detailed breakdown of services provided, including the session type (e.g., individual, group) and duration, is also necessary. If applicable, include a description of the treatment or therapeutic technique used. Clients will need this level of detail for insurance claims and tax reporting.
Accurate Billing Information
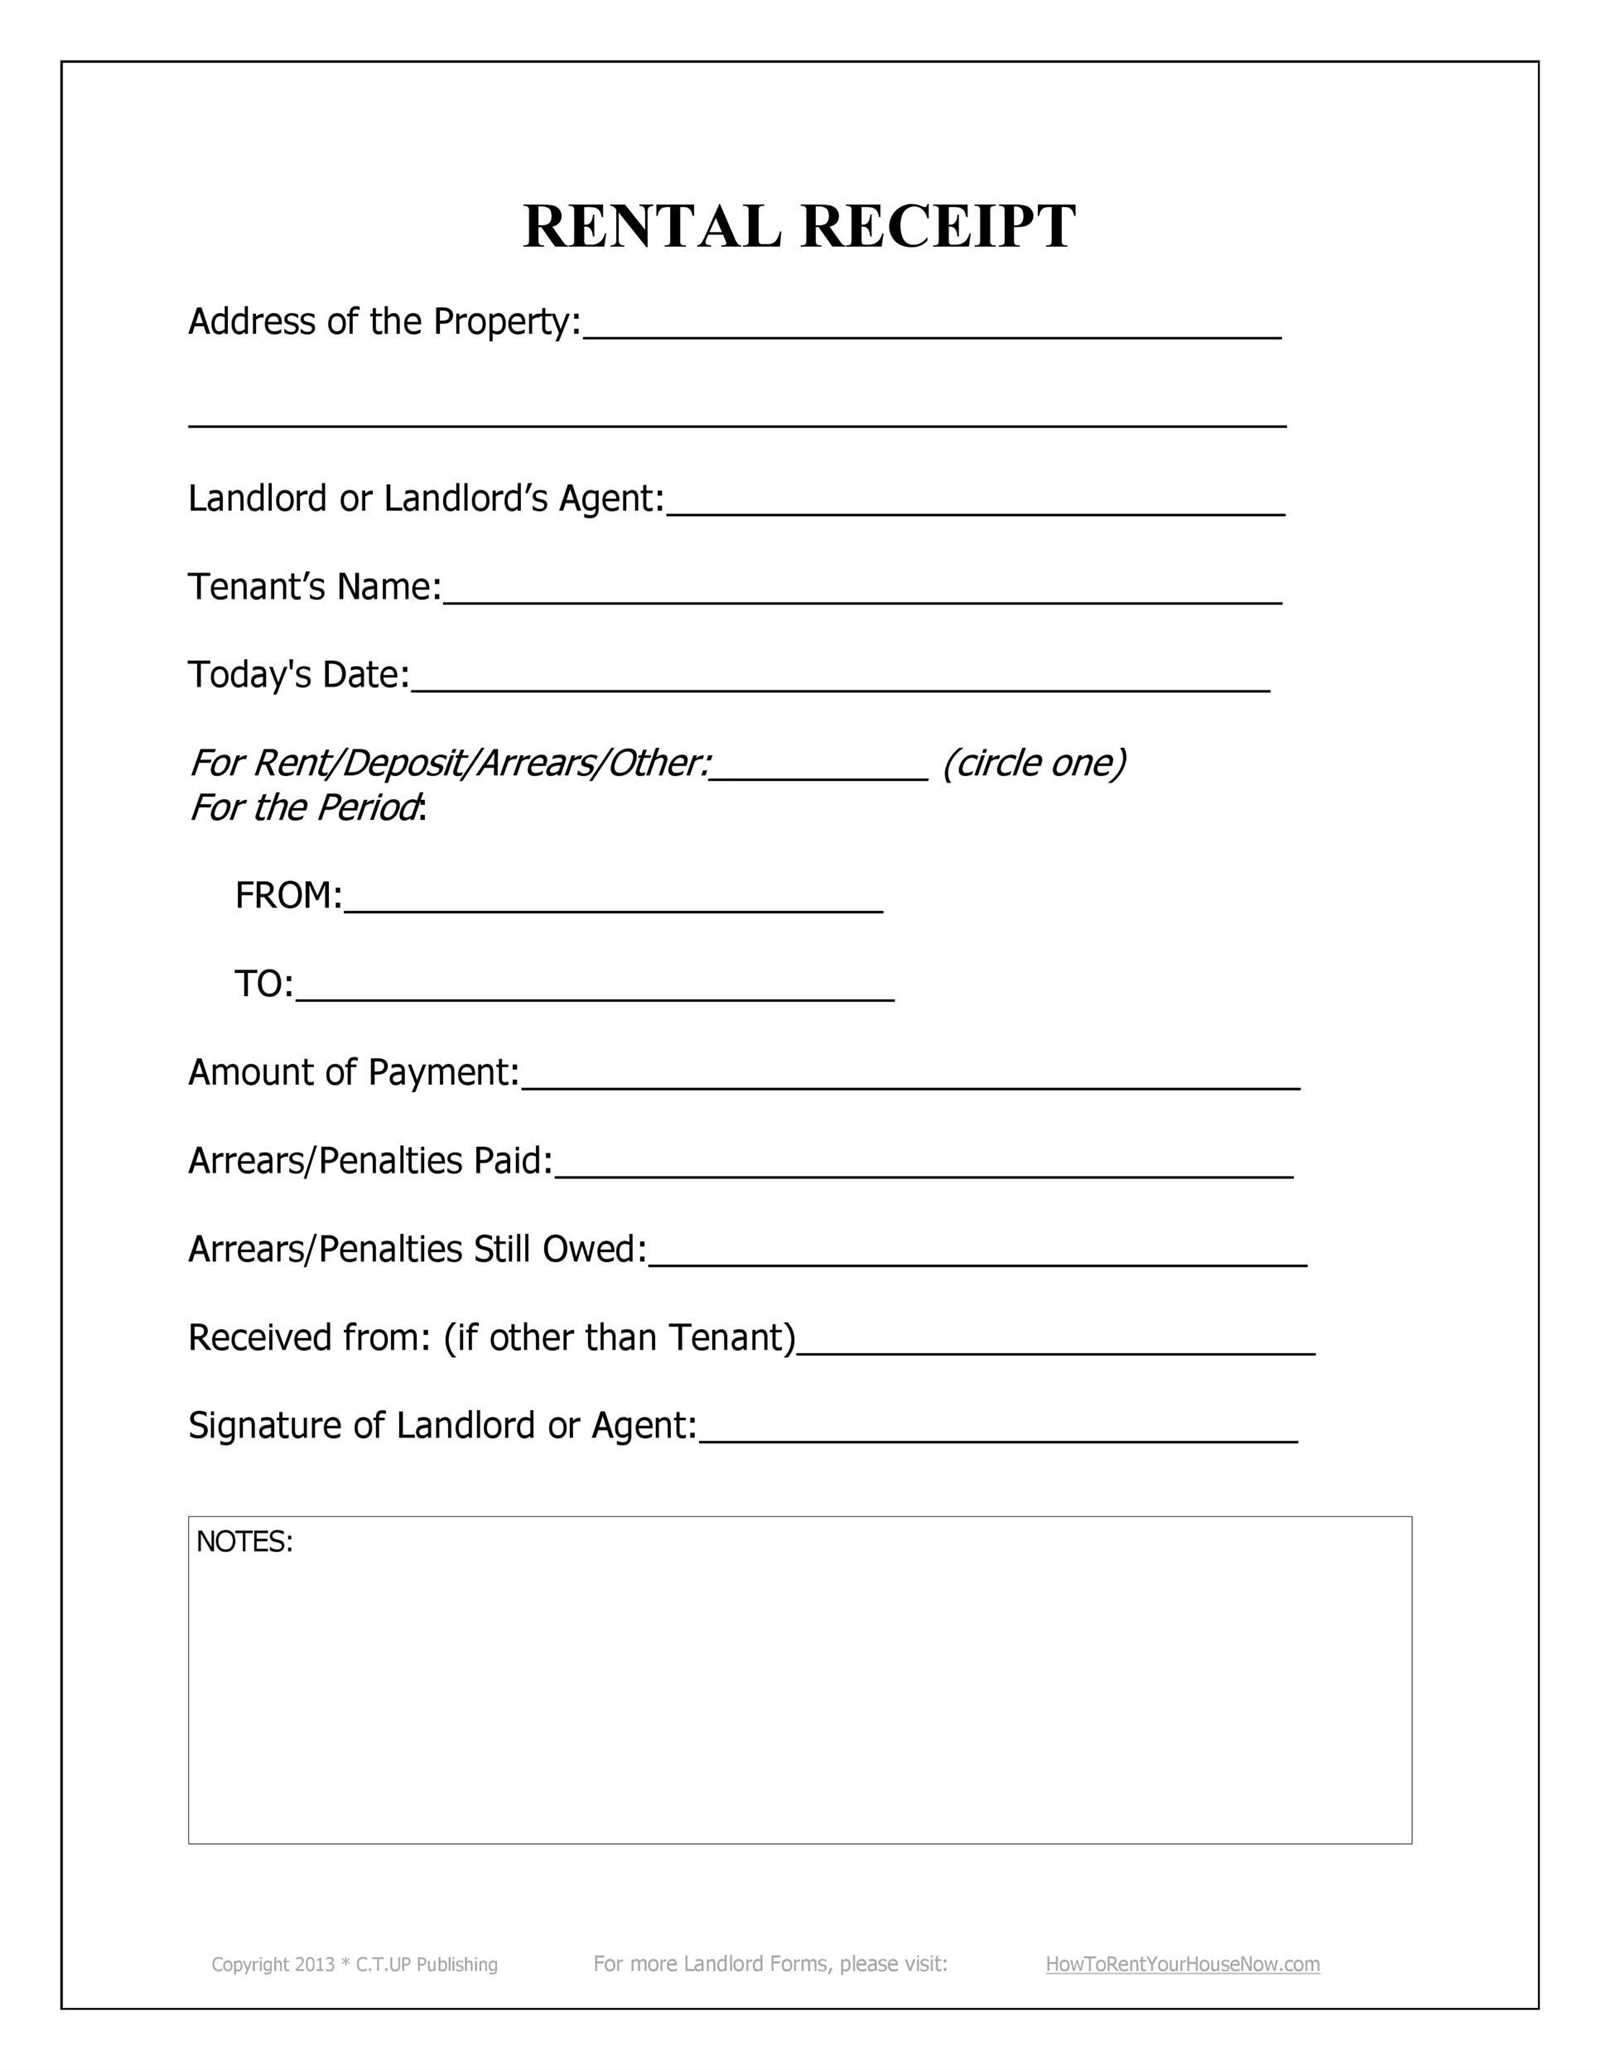
Be sure to clearly itemize all charges on the receipt. This includes the amount charged per session and any additional fees, such as late cancellation fees. Make sure the amounts match the rates stated in the agreement or contract with the client. Misleading or incomplete billing can lead to disputes or claims of fraud.
Confidentiality and Privacy
Protect your clients’ privacy by including only necessary personal information on receipts. Avoid displaying sensitive data that could violate confidentiality agreements or privacy laws, such as the nature of the mental health condition. The receipt should only include the minimum information required to comply with legal and insurance needs.
Finally, keep all receipts for your records. Retain them for the duration of time required by local or national regulations. This will protect you in the event of an audit or legal dispute regarding your services or billing practices.
Design Tips for an Organized and Professional Receipt
Maintain a clean layout with clearly defined sections. Ensure the most critical details, like client information, services provided, and amounts, stand out. Group related elements together to create an intuitive flow for the reader.
- Prioritize legibility: Use a simple, readable font. Avoid overly decorative fonts that can make the receipt harder to read. Stick to standard font sizes (around 10–12 pt) for the body and slightly larger for headings.
- Keep spacing consistent: Adequate white space between sections prevents clutter and improves readability. Ensure the text is not crowded and there’s enough room between each line or block of information.
- Use a logical structure: Arrange elements like the business name, contact details, receipt number, and transaction details in a clear sequence. Begin with the most important information at the top, like the therapist’s name and business details, followed by the client’s name, session details, and the total payment.
- Include relevant payment information: Clearly display the payment method, transaction ID, and any additional relevant notes, such as discounts, taxes, or payment plan details, if applicable.
- Design for print: Ensure the receipt fits within a standard size for easy printing. Avoid long, cluttered rows of text. Use proper margins and ensure the font size is readable when printed on various paper sizes.
- Provide a professional touch: Incorporate your logo and branding subtly, ensuring it doesn’t overpower the important receipt details. A small logo in the header area can add a touch of professionalism without distracting from the content.

