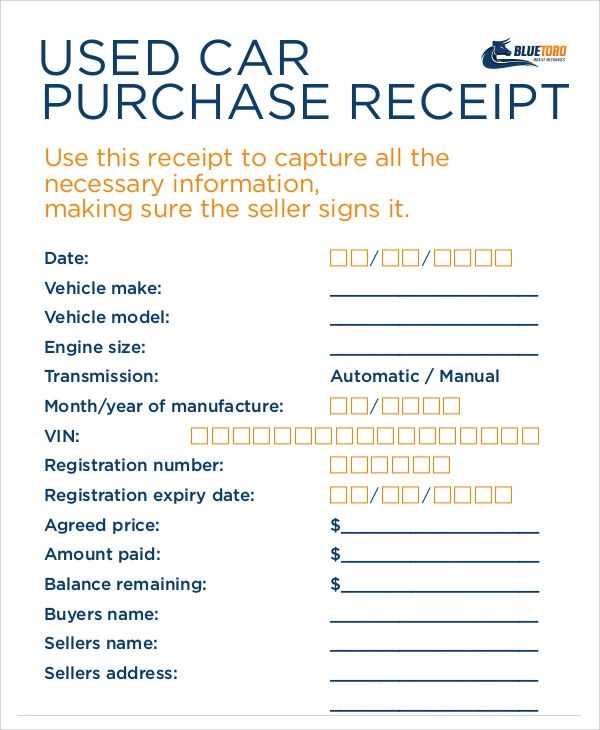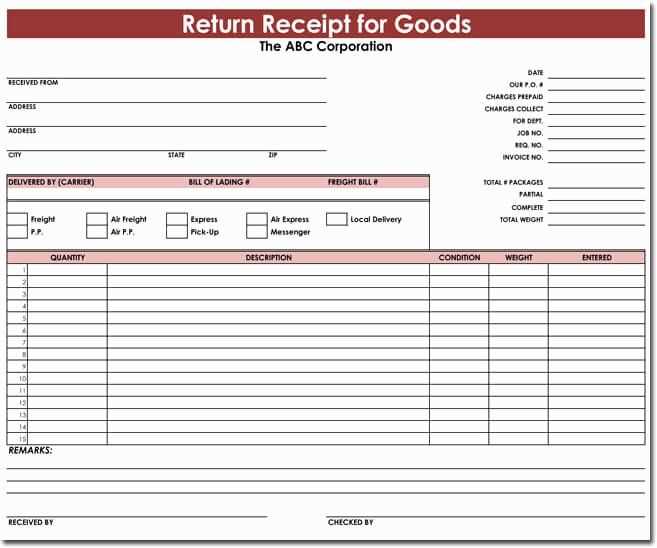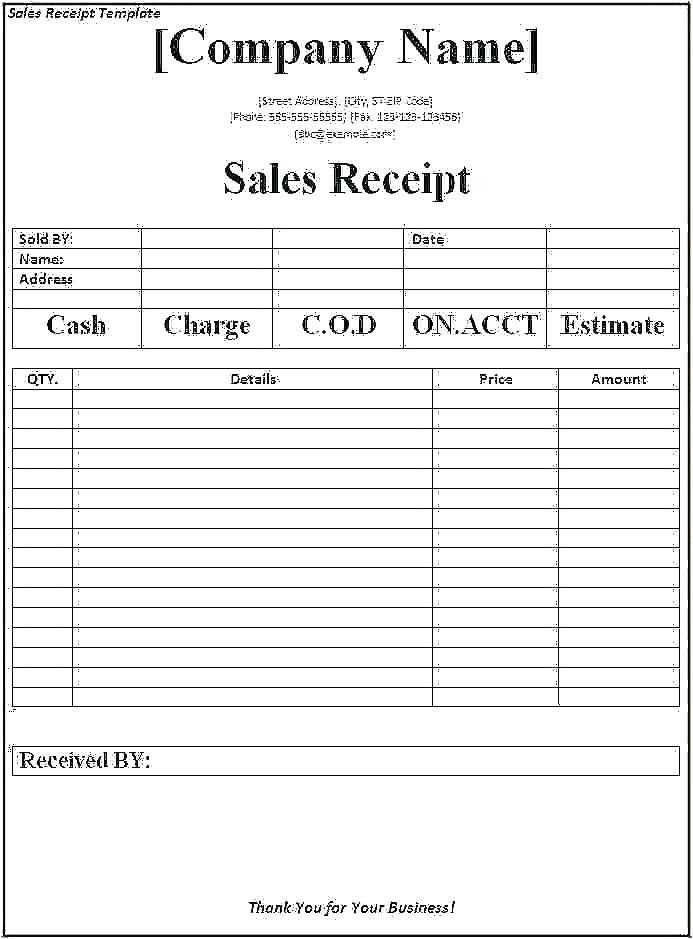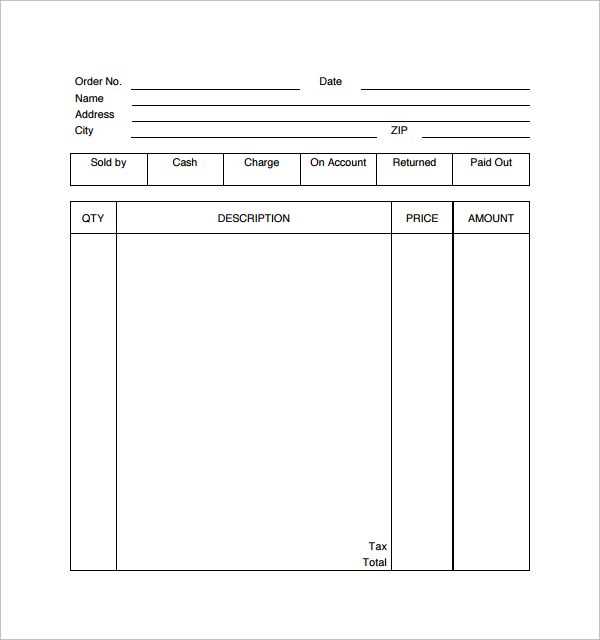
When creating a store purchase receipt template, focus on clarity and simplicity. Ensure it includes the key details: store name, address, and contact information at the top. Make the itemized list easy to read, highlighting product names, quantities, prices, and any applicable taxes. Keep the total amount clear and prominently displayed.
Include a date and time of purchase to help both the customer and store with future reference. This is particularly useful in case of returns or exchanges. Consider adding a unique receipt number for better organization and tracking.
For smoother processing, include payment method information, such as credit card or cash. If discounts or promotions apply, make sure they are visible, along with the adjusted total. Including a section for the customer’s signature can also be a helpful touch for certain transactions.
Lastly, ensure that the template is compatible with your store’s point-of-sale system for seamless integration and printing. A clean, professional layout adds credibility and improves customer satisfaction.
Template for a Store Purchase Receipt
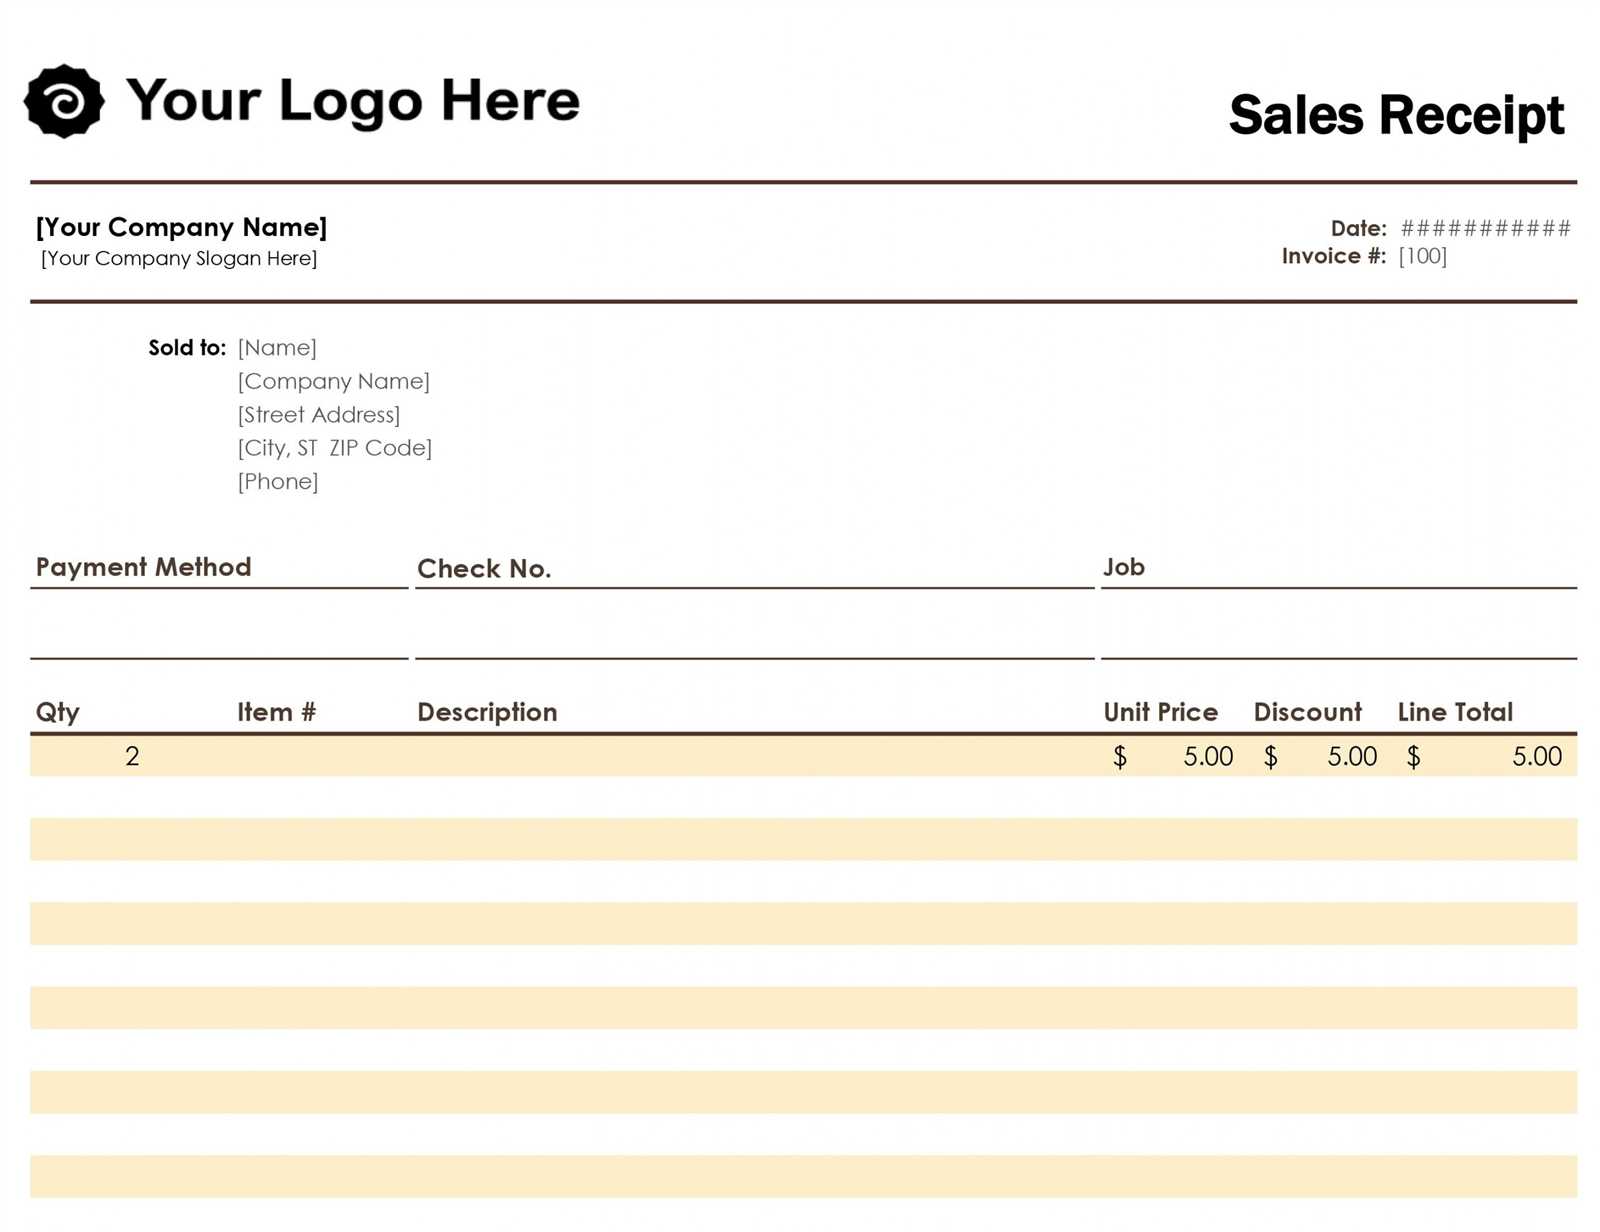
A store purchase receipt should include specific details to ensure clear documentation of the transaction. Here’s a straightforward template that can be adapted to different types of stores.
- Store Name and Contact Information: At the top of the receipt, include the name of the store, address, phone number, and email if applicable. This helps the customer reach out with any inquiries.
- Transaction Date and Time: Clearly display the date and time of the purchase. This is important for both the customer and store for future reference.
- Receipt Number: A unique receipt number should be assigned to each transaction for easy tracking and returns. This number should be easily visible and distinct.
- Itemized List of Purchases: Include a detailed list of all items purchased, including:
- Item name
- Quantity
- Unit price
- Total price for each item
- Subtotal: After listing all items, calculate the subtotal before taxes.
- Taxes: Clearly indicate the applicable taxes, including any sales tax or VAT. Specify the tax rate, and ensure the total tax amount is visible.
- Total Amount: Display the total amount due, including both the subtotal and taxes. This should be highlighted and easy to spot.
- Payment Method: Specify how the customer paid (e.g., cash, credit card, mobile payment) and include any reference number or authorization code for card payments.
- Return/Exchange Policy: Include a brief statement about the store’s return or exchange policy, especially if there are any time limits or conditions.
This structure allows customers to easily review their purchases while providing stores with organized records for their bookkeeping and customer service purposes.
How to Include Required Information on a Receipt
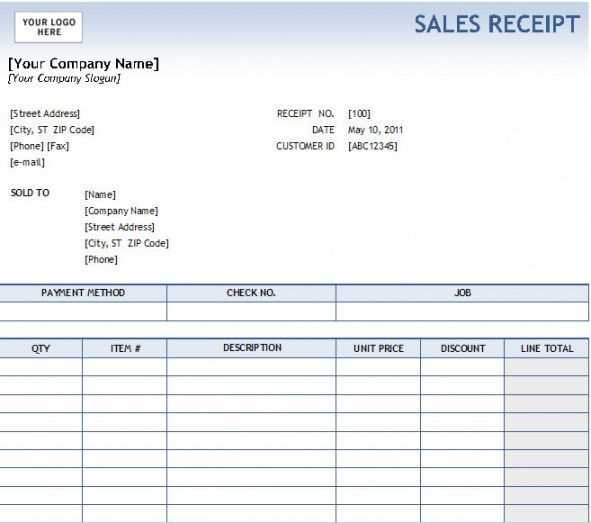
Provide clear details that customers expect. Start by including the store’s name, address, and contact information. This ensures customers can easily reach out if needed. Add the receipt date and time, as it helps track the transaction period and can serve as proof for returns or warranty claims.
Product and Payment Details
List the products or services purchased, including quantities and individual prices. Include any discounts applied and the total amount paid. If applicable, add tax information, clearly showing the amount of tax charged. This ensures transparency in how the final price is calculated.
Transaction Reference
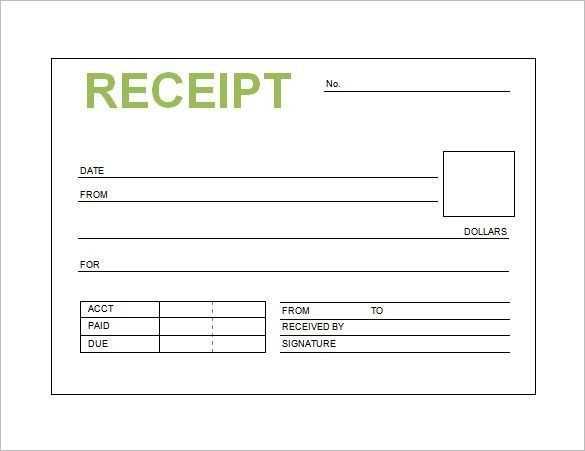
Assign a unique transaction number or receipt ID. This helps both you and the customer reference the purchase easily if there are follow-up questions or issues. Make sure the payment method is specified, whether it’s cash, card, or another method, for clear documentation.
Designing a Clear Layout for Customer Understanding
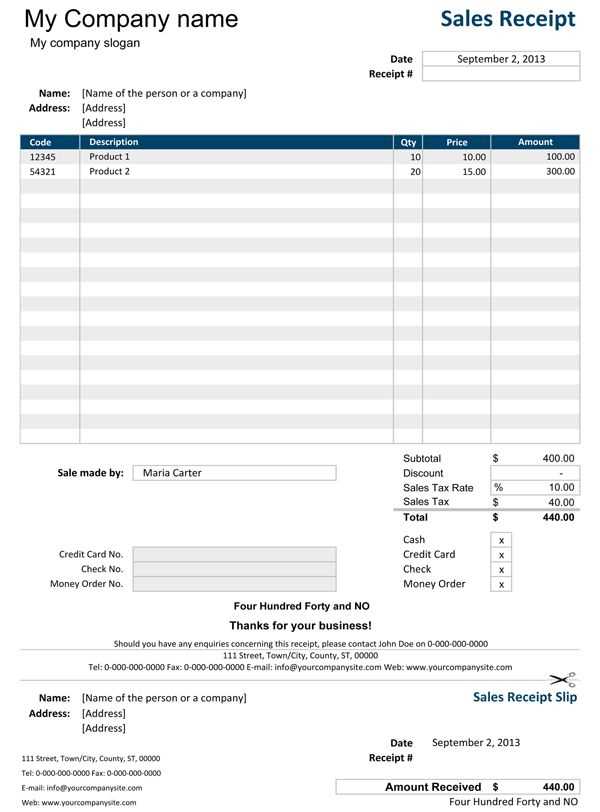
Prioritize clarity by organizing the receipt into logical sections. Begin with the store’s name, contact information, and a clear transaction date at the top. This helps customers quickly locate essential details. Group similar information together, such as itemized purchases, prices, taxes, and total cost. Consider using bold fonts for key sections to make them stand out. This visual hierarchy improves readability, especially when scanning the receipt quickly.
Use clear and legible fonts for all text. Avoid cluttering the layout with excessive details or overly complex formatting. A clean, minimalist design ensures that all information is easily accessible. Make sure to include a breakdown of the transaction, such as discounts or loyalty points, to provide transparency in the purchase process.
Leave space between different sections to avoid a cramped look. This makes the document feel less overwhelming and ensures that each section is distinct. For example, add space between the item list and payment summary, and between the total price and tax details.
Clearly label each part of the receipt. Labels like “Item,” “Price,” “Tax,” and “Total” guide the customer through the document step by step. The clearer the labels, the quicker the customer will understand the breakdown of their purchase.
For digital receipts, ensure compatibility with mobile devices. Use responsive design to adjust the layout, keeping everything easy to read on smaller screens. This consideration is increasingly important as more people rely on smartphones for their transactions.
End the receipt with a customer service section, including a phone number, website, and return policy. This not only provides helpful information but also reassures the customer that assistance is easily accessible if needed.
Legal and Tax Considerations for Receipt Templates
Ensure your receipt template complies with local tax regulations by including key details such as the business name, address, tax identification number, and applicable tax rates. These elements are often required to provide proof of tax collection for the business and its customers.
When designing a receipt template, clearly indicate the total amount paid, including taxes. Depending on the jurisdiction, the tax rate and its breakdown (e.g., sales tax, VAT) must be clearly displayed. This helps businesses demonstrate that they have properly collected and remitted taxes.
If you operate in multiple regions, consider adjusting the template to reflect different tax rates and formats, as tax laws can vary. For example, a receipt in one state might require a specific tax code to be displayed, while another might demand a different set of details.
Businesses should also consider providing customers with a method to request receipts electronically, in addition to paper, to meet digital record-keeping requirements. This is especially important for tax audits or disputes.
Finally, regularly review and update receipt templates to align with any changes in tax laws or other legal requirements. Failure to maintain an accurate and compliant receipt can lead to issues with tax authorities or complications for your customers in managing their financial records.
