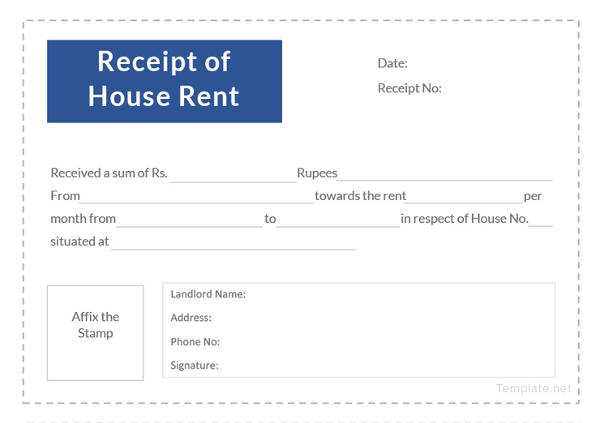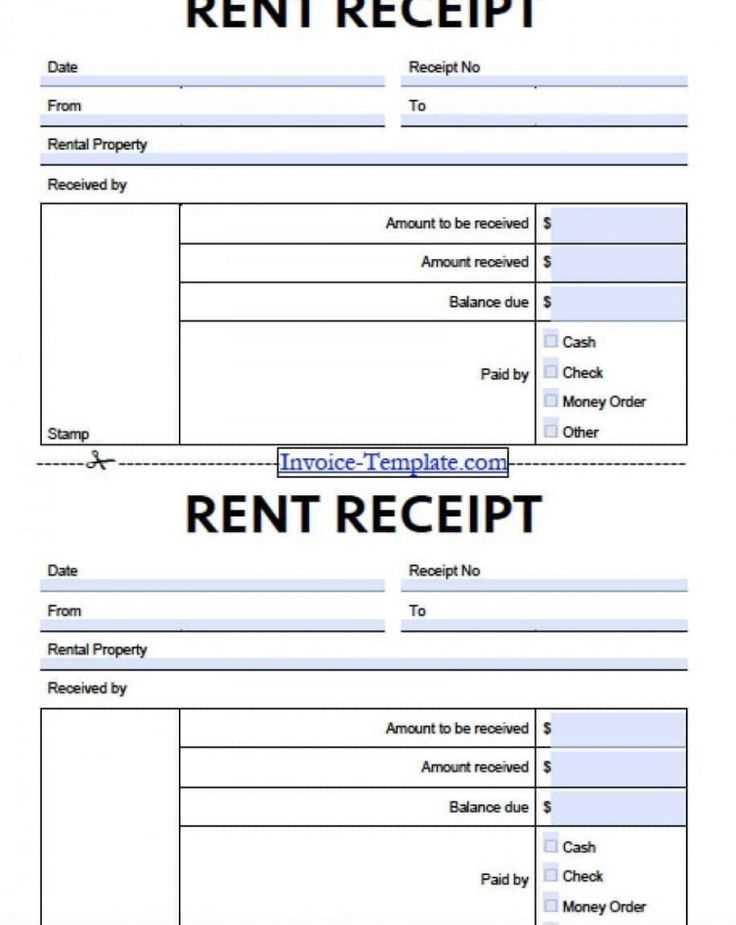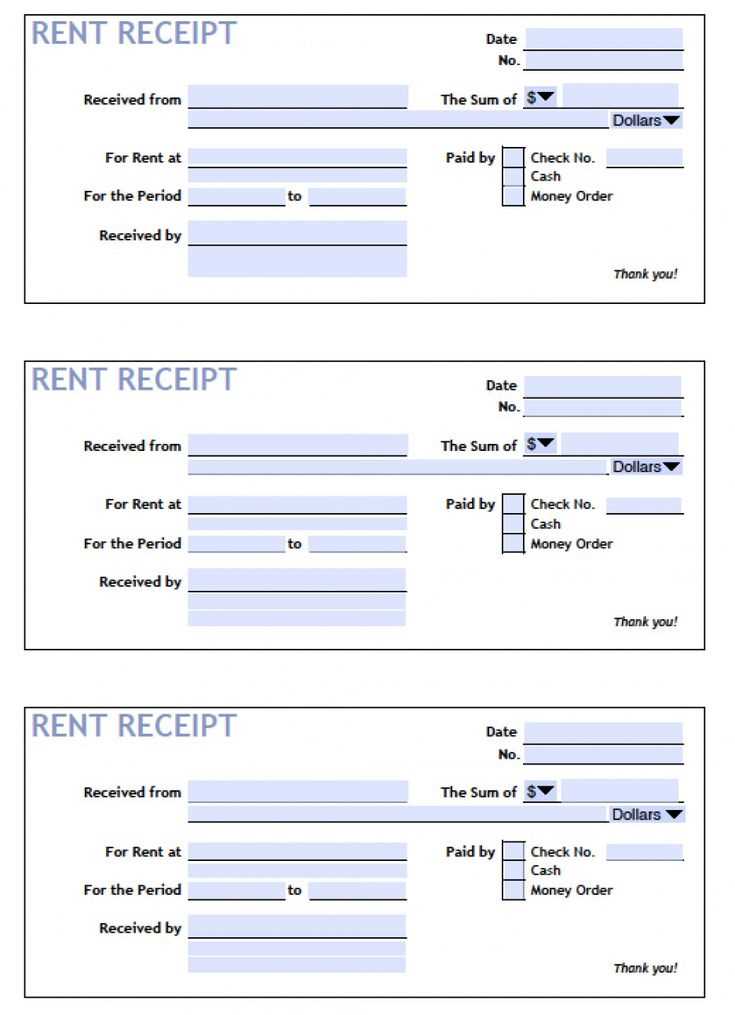
For anyone renting out property, creating a clear and professional rent receipt is a must. A well-structured receipt not only provides proof of payment but also helps keep financial records organized. Whether you’re a landlord or tenant, using a CRA-compliant rent receipt template ensures that both parties are covered in case of disputes or tax-related issues.
Make sure your rent receipt includes the key details: the date of payment, the amount received, the rental period, and the tenant’s name. Always specify the method of payment, whether it’s cash, cheque, or electronic transfer. This clarity prevents misunderstandings and helps maintain transparency.
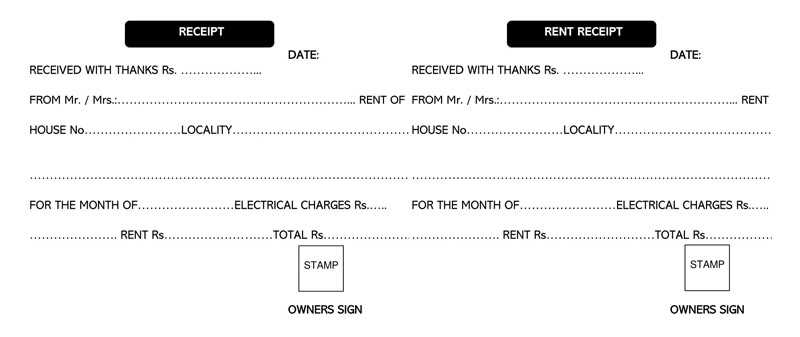
By using a reliable template, you’ll save time while staying on top of your financial paperwork. Ensure that your template follows any specific CRA guidelines for rental properties, including the correct format and required fields. This simple step can save you from confusion during audits or tax season.
Steps to Create a Rent Receipt Template
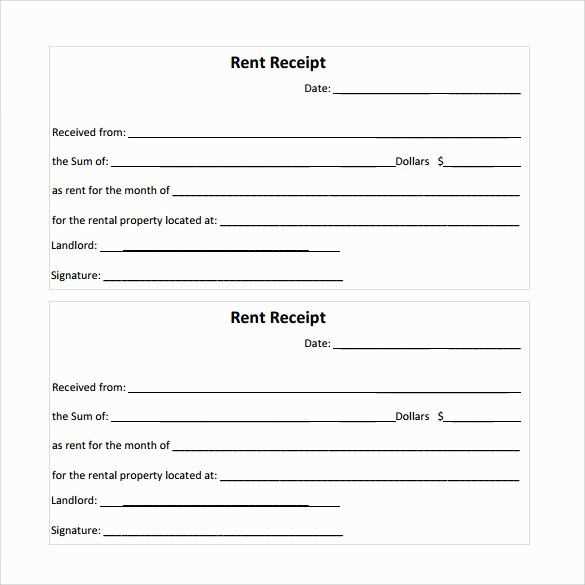
Begin with defining the structure of your template. Include fields for the tenant’s name, rental property address, and payment details such as the amount paid, payment method, and date received. These details ensure clarity and accountability in each transaction.
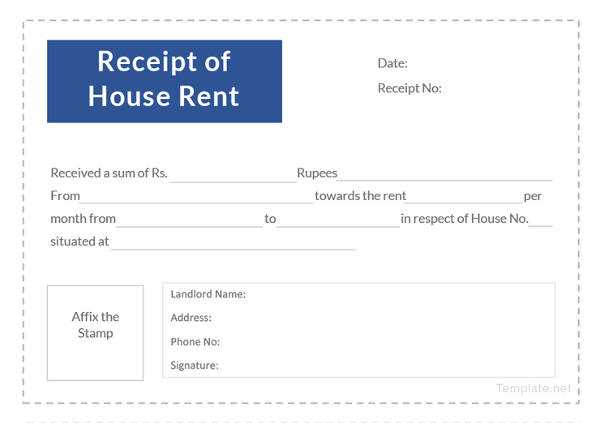
Next, insert a section for the receipt number, which helps with organizing records. This number can be automatically generated for each new receipt. The date the rent was paid should also be clearly marked, indicating the period covered by the payment.
Make space for the landlord’s name and contact information. Including this information ensures that both parties know how to get in touch with each other if needed. Specify the amount paid in both numbers and words to avoid any confusion.
Afterward, leave room for any additional notes or terms relevant to the rent payment. This could include late fees, discounts, or adjustments made to the rent. A signature section can also be helpful for both parties to acknowledge the transaction.
Finally, ensure the template is simple, clear, and easy to update. You can format it in a way that allows easy customization for different tenants or payment periods. The template should be easily editable, whether you are using a text editor or spreadsheet software.
Common Mistakes to Avoid When Filling Out a Rent Receipt
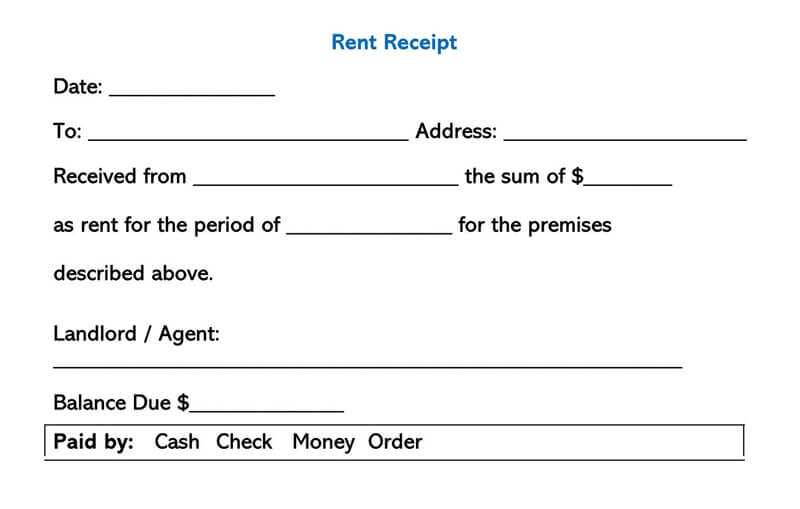
Double-check the date before finalizing the receipt. Mistakes here can lead to confusion about payment periods. Ensure that the day, month, and year align with the rent payment date.
Accurate payment amounts matter. Verify that the payment figure matches the agreed amount in the rental agreement. Any discrepancies can cause unnecessary disputes between the landlord and tenant.
Always include the full name of both parties. This avoids potential issues over which tenant or landlord made or received the payment. It’s best to write out the full names rather than using initials or nicknames.
Don’t forget to include the payment method. Indicating whether the payment was made by cash, check, bank transfer, or other methods provides clarity and helps in case of any future payment verification.
Be mindful of omitting any necessary details like the property address. This can cause confusion if multiple properties are being rented out. Including the address guarantees that there’s no ambiguity about which rental the receipt pertains to.
Lastly, keep a copy for your records. Both parties should maintain a copy of the rent receipt for reference, ensuring that any future issues can be resolved with clear documentation.
How to Customize a Rent Receipt for Specific Needs
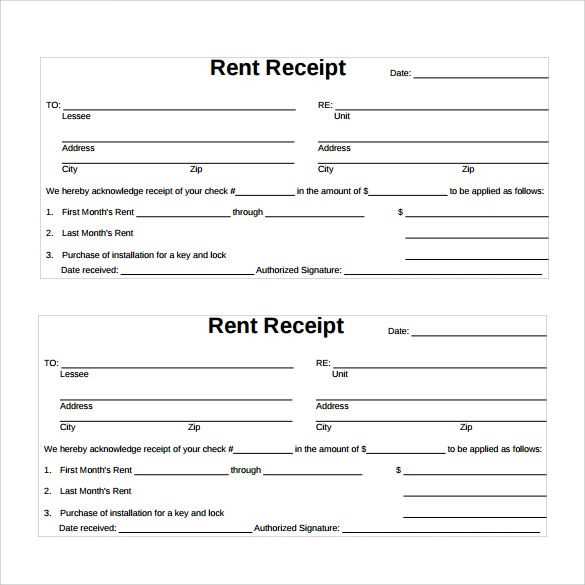
Adjust the rent receipt template by adding custom fields for any relevant details that apply to your transaction. If the rental agreement includes multiple tenants, create separate sections for each tenant’s payment details. Include the specific payment method, whether it’s cash, check, or bank transfer, and any reference numbers for tracking purposes.
If the payment covers more than one month, break down the total amount into individual payments for each month. This makes it easier to track payments over time. You can also add a line for late fees if applicable, showing any additional charges added to the total amount due.
For special cases, such as rent paid in advance or deposits, clearly indicate these amounts with corresponding dates. If the rental includes utilities, make a separate section for utility payments with details on the charges and due dates. Customize the receipt with the property address and contact information for better clarity.
Finally, include a space for both the landlord’s and tenant’s signatures, confirming that the payment details are correct and agreed upon. This adds an extra layer of assurance for both parties.
