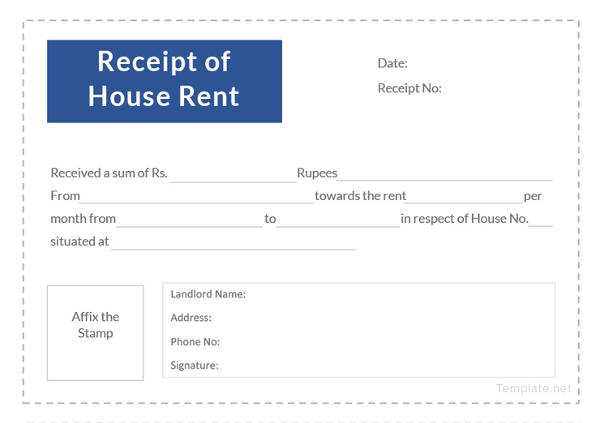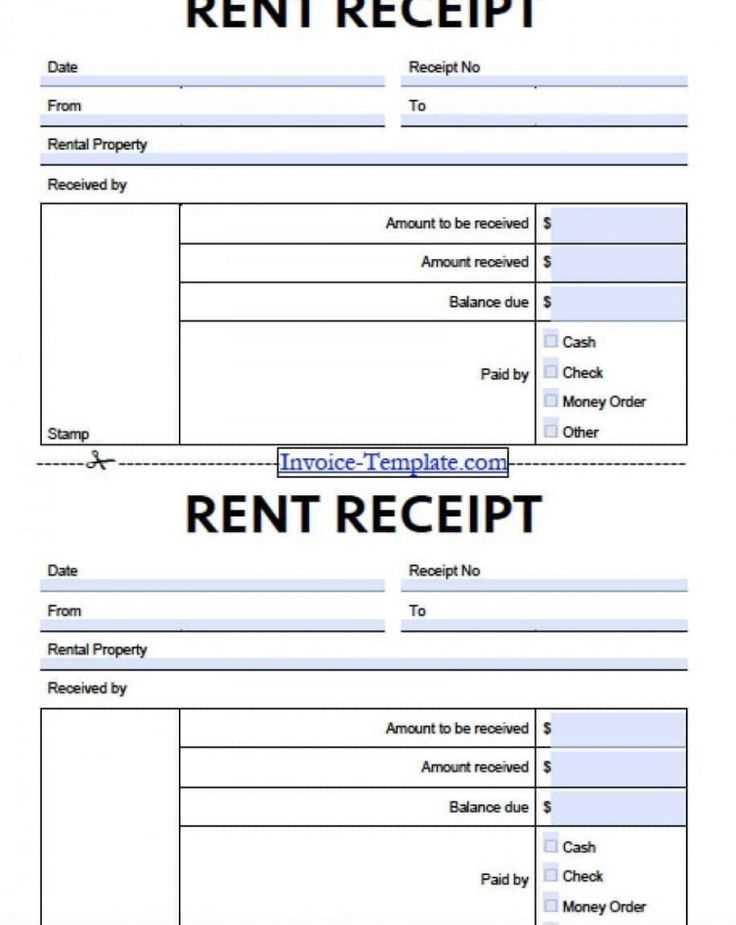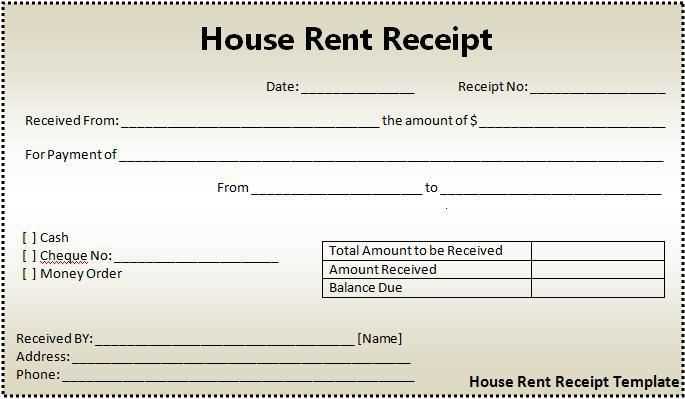
Quick and Simple Rent Receipt Template
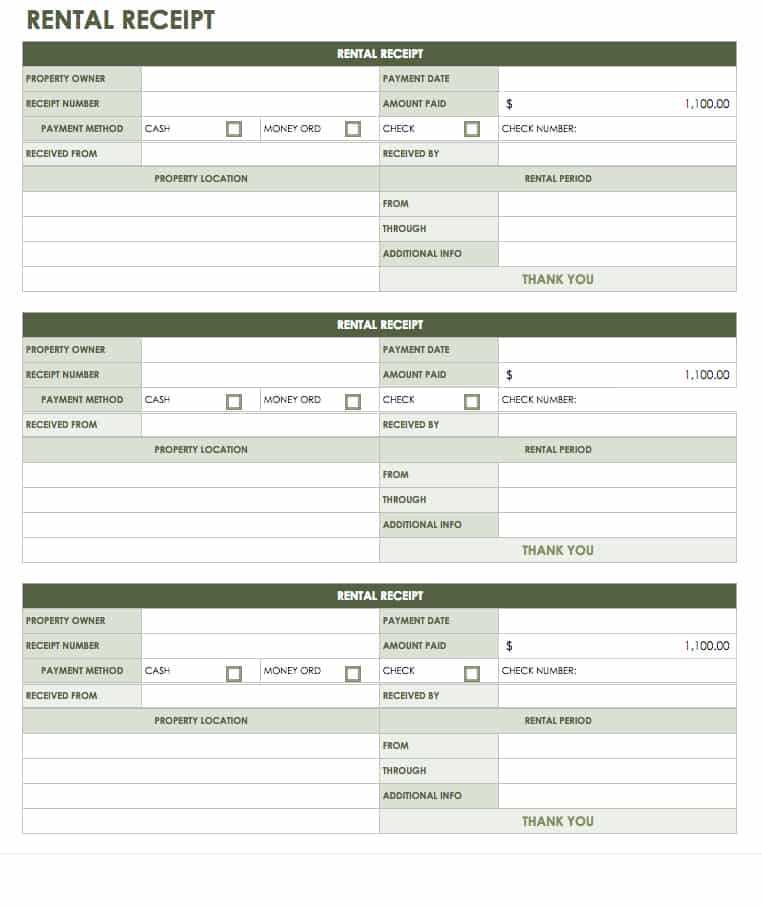
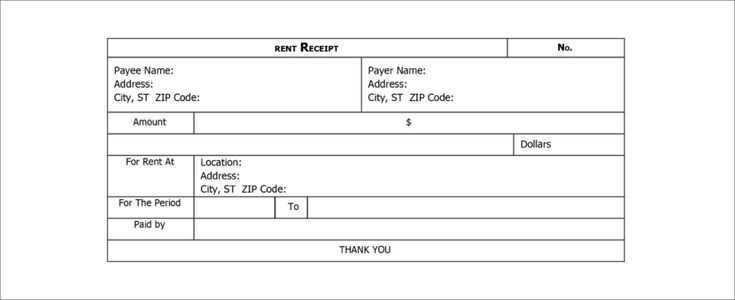
Create a structured rent receipt in Google Sheets to keep track of payments efficiently. Use a table with essential details:
- Tenant Name
- Landlord Name
- Rental Address
- Payment Date
- Amount Paid
- Payment Method
- Signature
To set up the template:
- Open Google Sheets and create a new spreadsheet.
- Label columns with the necessary fields.
- Use Data Validation for payment methods (e.g., Cash, Bank Transfer).
- Apply Conditional Formatting to highlight unpaid rent.
- Insert a SUM formula to track total payments.
Automate with Google Sheets Functions
Speed up data entry with simple formulas:
- Use =TODAY() for automatic date entry.
- Apply =TEXT(A1, “MMMM yyyy”) to format months properly.
- Generate unique receipt numbers with =ROW().
Convert your sheet into a printable receipt by adjusting margins and using the Print Settings for a clean layout.
Sharing and Digital Signatures
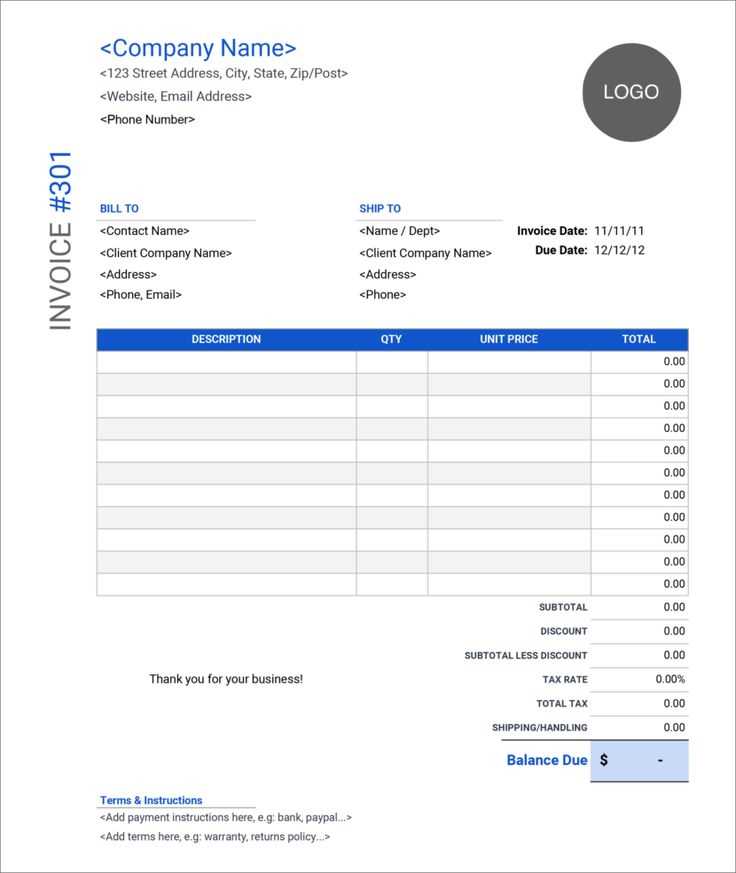
Share receipts via Google Drive or email. Use DocuSign or an image upload field for digital signatures.
With these steps, you’ll have a well-organized rent receipt system that simplifies record-keeping.
Google Sheets Rent Receipt Form
How to Create a Rental Receipt in Google Sheets
Key Elements of a Rent Receipt Form
Customizing for Various Rental Agreements
Automating Calculations and Payment Tracking
Sharing and Printing Receipts in Google Sheets
Common Mistakes to Avoid When Using a Rental Form
Use a structured table to organize rent payment details. Include columns for tenant name, rental period, amount paid, payment date, and payment method. Format the currency column for clarity.
Ensure automatic calculations for total rent received. Use formulas like =SUM(range) to track payments. Apply conditional formatting to highlight overdue amounts.
Customize fields based on rental terms. If late fees apply, add a separate column with =IF(DueDate
Enable easy sharing by setting access permissions. Go to “File” > “Share” and select “Anyone with the link” for tenants to access their receipts instantly.
Before printing, adjust page layout. Use “Print Setup” to fit the table on one page, set headers, and enable gridlines for better readability.
Avoid errors by double-checking formulas. Use data validation to prevent incorrect entries. Select a column, click “Data” > “Data Validation,” and set conditions for accurate input.
