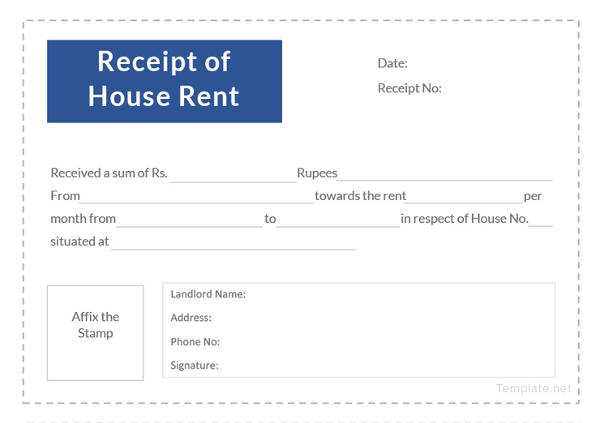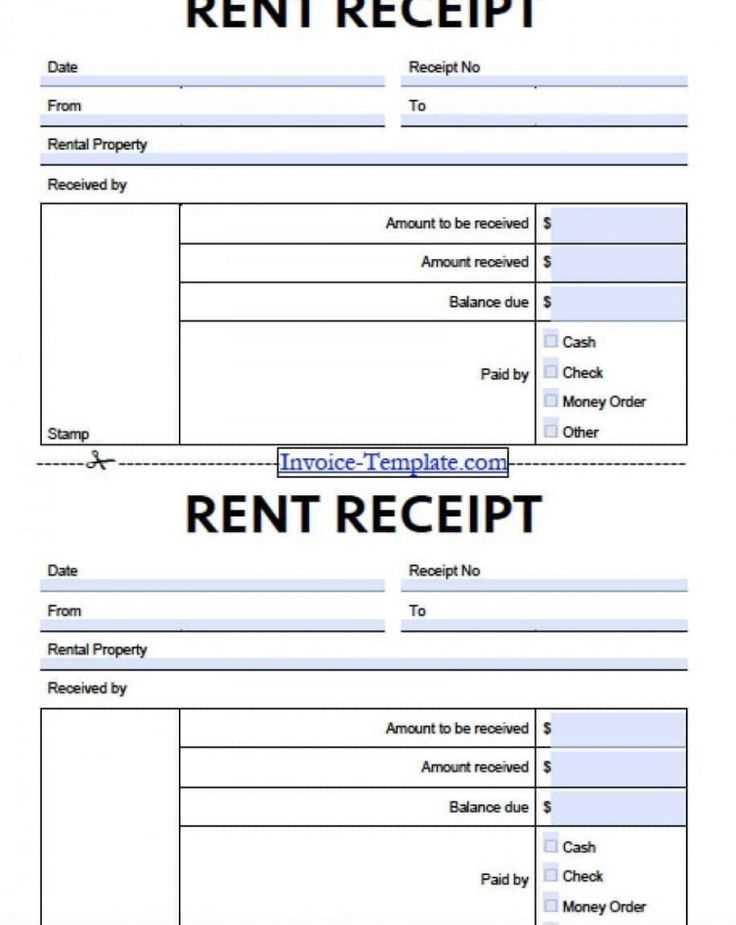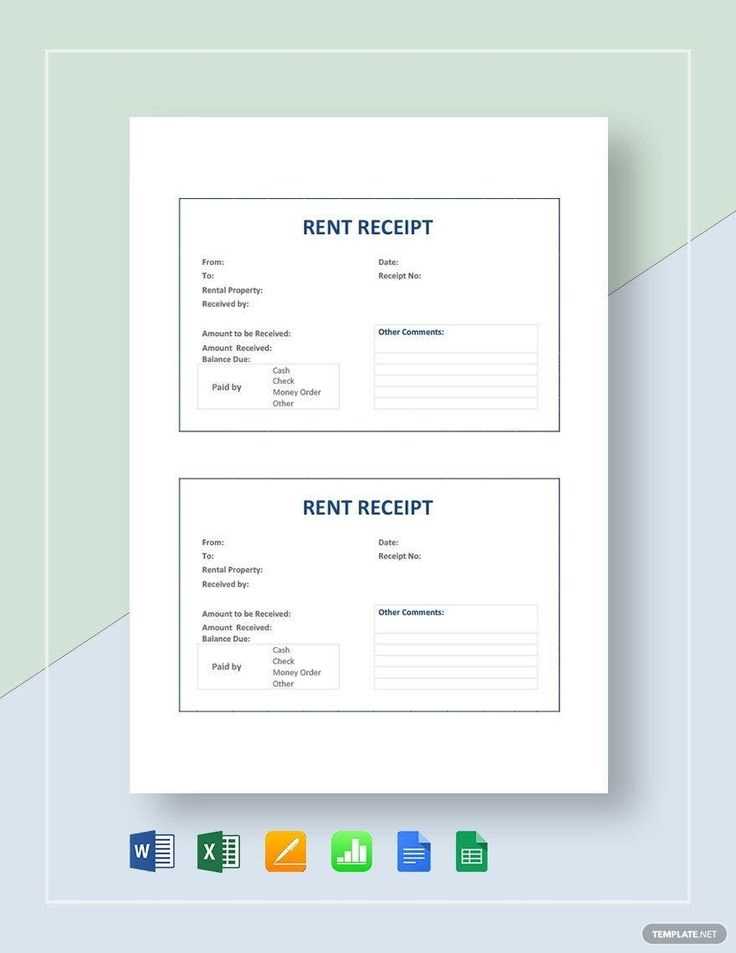
If you’re looking for a clear and simple way to create a rent receipt, a Pages template offers an easy solution. It allows landlords to quickly issue receipts that include all necessary details in a professional format. The template covers important fields like tenant information, rental period, payment amount, and payment date. Using a pre-designed template saves you time and ensures accuracy every time.
To customize your receipt, simply fill in the details relevant to each transaction. Include your property’s address, the tenant’s name, the payment method, and any other notes that may be important. This helps both you and your tenant keep records organized and accessible. A well-structured receipt also prevents misunderstandings and serves as a reliable reference for both parties.
By choosing a Pages template, you also get a customizable layout that you can modify to suit your needs. Whether you’re a seasoned landlord or just starting, this template provides a straightforward way to maintain transparency and streamline rental payment tracking.
Pages Rent Receipt Template
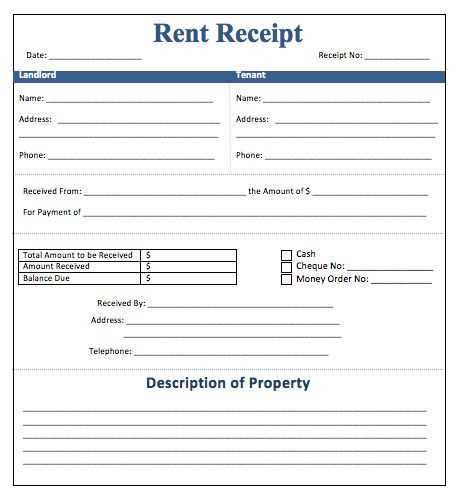
A well-designed rent receipt template can streamline record-keeping for both tenants and landlords. Ensure your template includes key elements such as tenant and landlord details, rental property information, payment date, amount paid, and payment method. This structure keeps everything clear and organized, reducing confusion for both parties.
Key Details to Include
The receipt should start with the tenant’s name and the landlord’s contact information. Add the address of the rental property and specify the rent period (e.g., monthly or weekly). The total amount paid should be clearly displayed, along with the payment method (cash, check, bank transfer, etc.). It’s also useful to add a section for any late fees or credits, if applicable, to avoid misunderstandings.
Formatting for Clarity
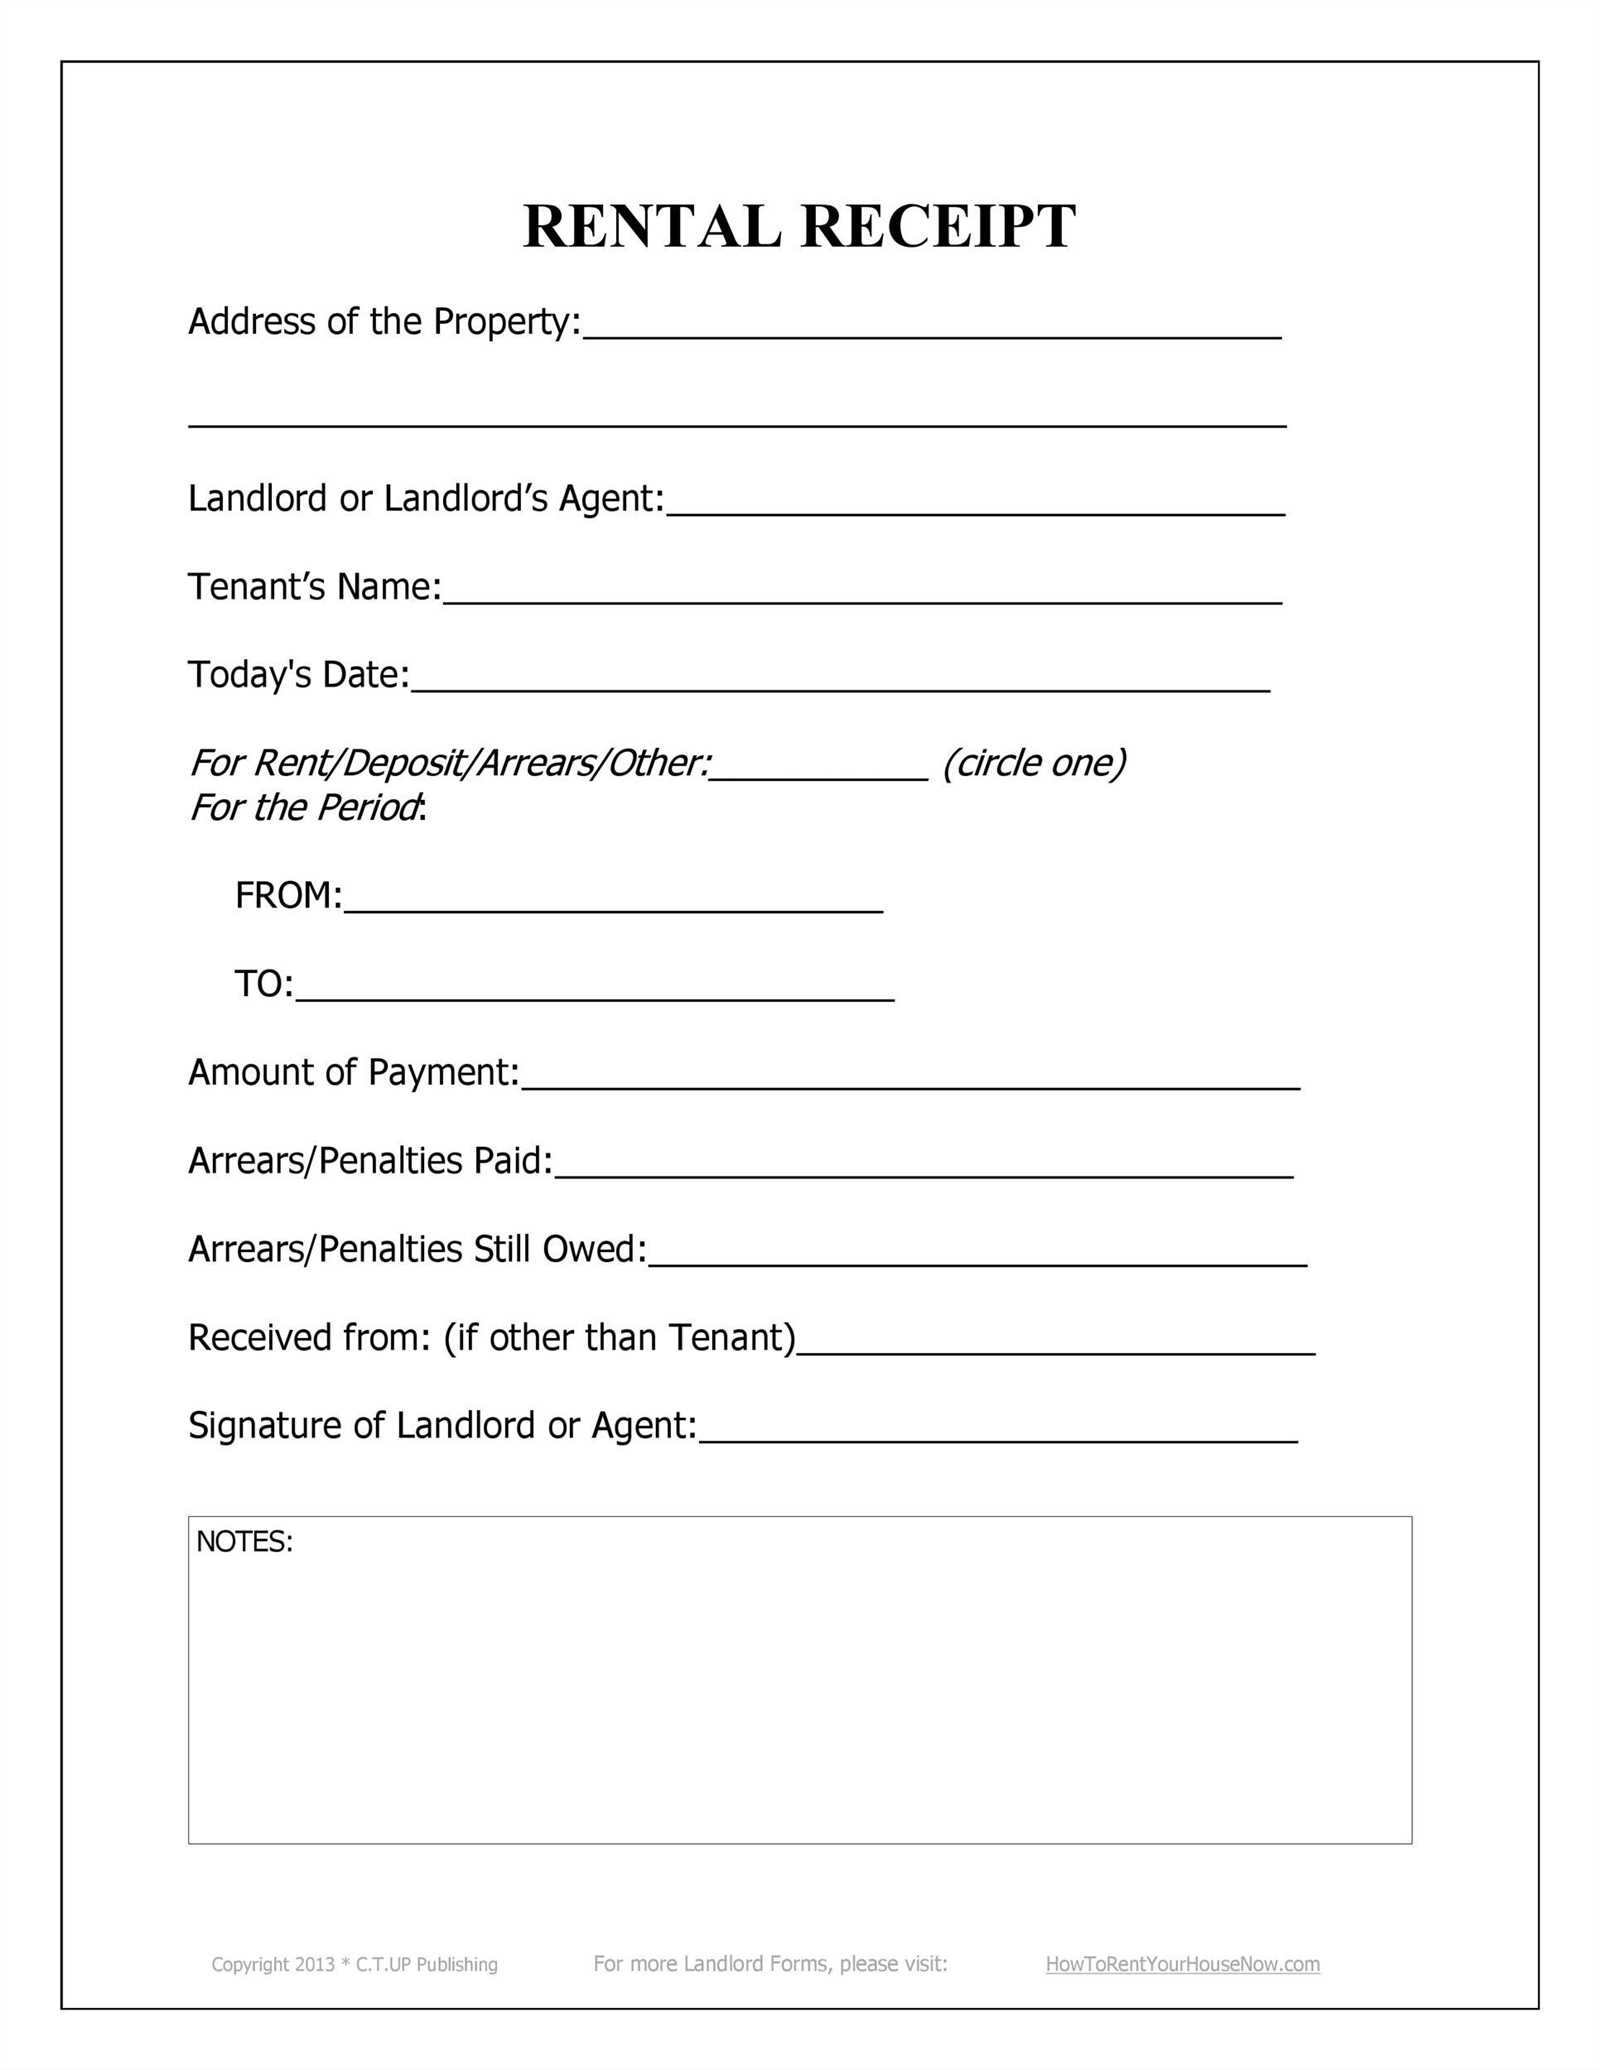
A clean, easy-to-read design enhances the functionality of your template. Use tables to separate sections like payment breakdowns or additional charges. Make sure to leave space for both the tenant and landlord to sign, confirming the transaction. Offering an option to add a receipt number can also help with tracking multiple payments over time.
How to Customize the Template for Your Rental Business
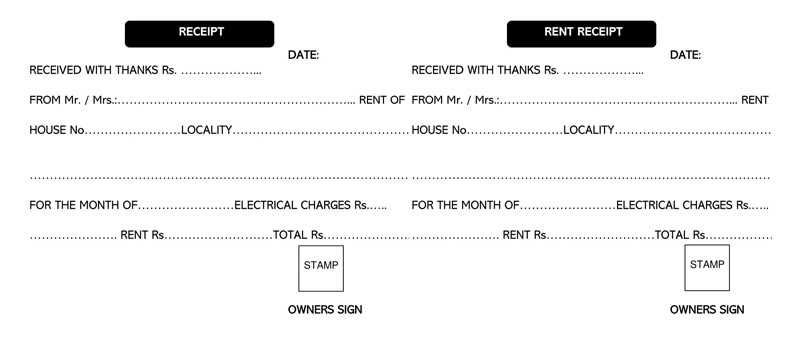
Begin by adjusting the header to reflect your company’s name and logo. This creates a personalized touch and helps establish brand recognition. Modify the template’s layout to match your business’s style, keeping it clean and professional.
Next, incorporate the necessary rental details. Add fields for the property address, rental terms, and specific dates (start and end of the rental period). Make sure you have space for the rental rate, deposit, and any additional fees like cleaning or late charges.
For accurate record-keeping, include a payment breakdown section. Clearly list all charges and payments made, ensuring that tenants can easily understand the financial aspect of the transaction. Also, update the tax section if applicable to your region.
Don’t forget to customize the footer with your contact information and business terms, such as cancellation policies or maintenance responsibilities. This ensures clarity and prevents any future misunderstandings.
Finally, review the document for readability. Use a simple, legible font and avoid clutter. Organize information into sections or tables to make the receipt clear and easy to navigate.
Common Errors to Avoid When Using a Rent Receipt Template
Ensure the correct details are included in every receipt. A common mistake is omitting the full address of the rental property or failing to include the correct payment amount. Always double-check the tenant’s name and the exact rent period to avoid confusion later.
Incorrect Dates or Amounts
Misdating the receipt or listing incorrect rent amounts can cause issues for both parties. Verify the rent period corresponds to the payment date and the amount matches the agreed-upon sum. Missing or incorrect dates can lead to disputes over payment timing and missed payments.
Missing Signatures or Contact Information
Leaving out the landlord’s or tenant’s signature or contact details can make the receipt less valid. Always ensure both parties sign and provide contact information, as this adds credibility and accountability to the document.
Best Practices for Storing and Sharing Rent Receipts
Store rent receipts digitally for easy access and organization. Keep them in cloud storage or a secure file system with clearly labeled folders. This ensures you can quickly locate any receipt when needed.
- Use a consistent naming convention for each file, such as “Rent Receipt – Month – Year”.
- Ensure all receipts are scanned in high quality for clarity and legibility.
Always back up your digital files regularly. This prevents the loss of important receipts due to technical issues. Set up automatic backups to cloud services or external drives for extra security.
When sharing rent receipts, consider using secure methods. Email or messaging platforms with encryption are ideal. For added privacy, password-protect documents before sending them.
- If you need to share with a landlord or property manager, use a trusted platform that supports secure file transfers.
- For added security, avoid sending receipts over unencrypted email services.
Maintain physical copies only if necessary, especially for tax records or disputes. Keep them in a safe, organized place such as a filing cabinet or a designated folder. Avoid keeping receipts scattered or in a place where they could easily get damaged.
Finally, review and update your storage practices regularly. As your rental history grows, ensure your organization system remains efficient and secure for easy retrieval.
