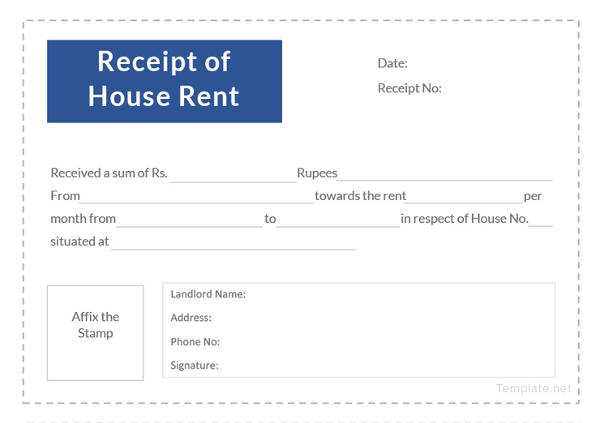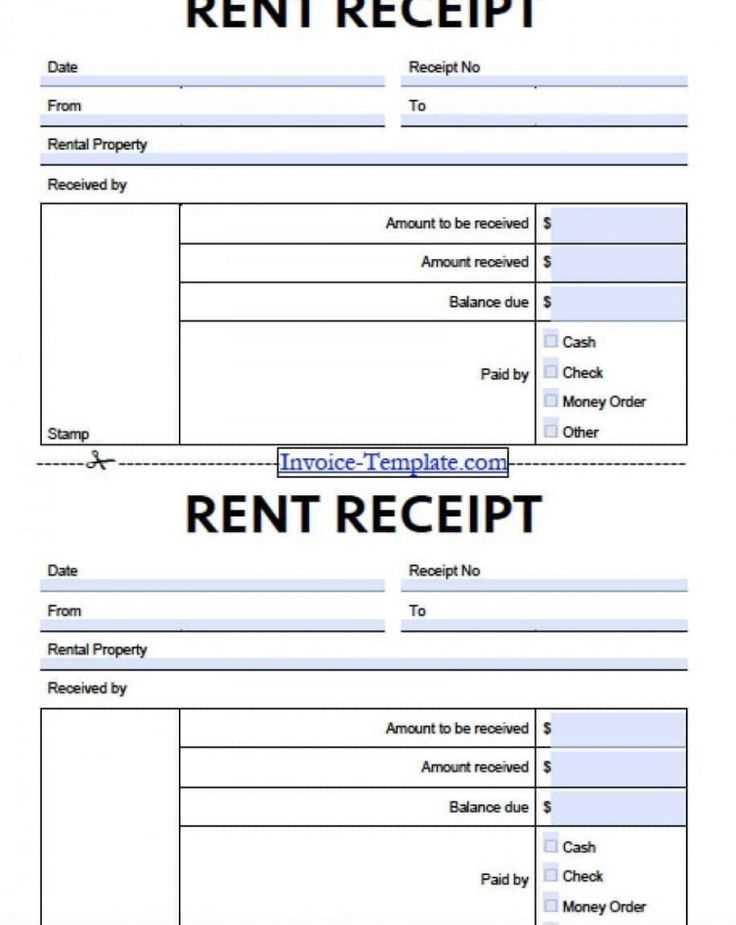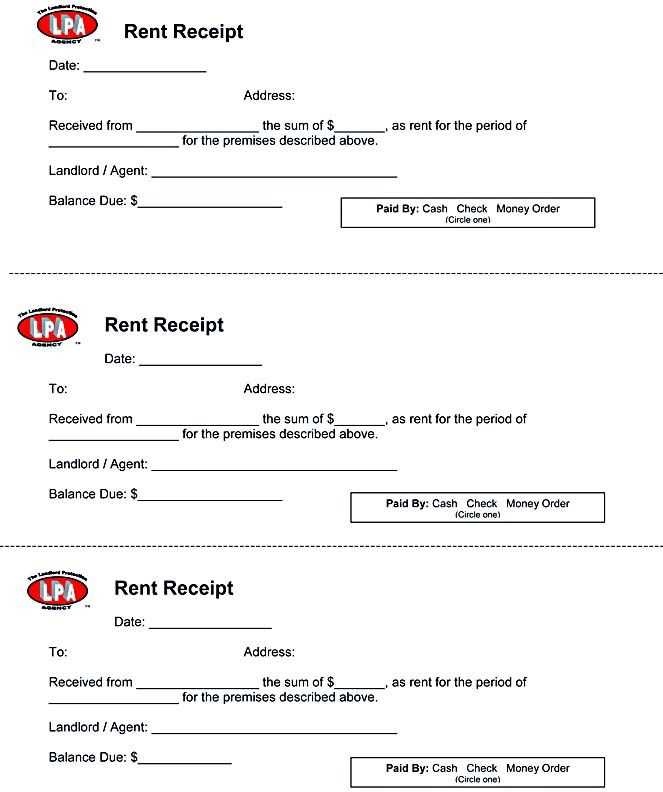
When you pay rent, always ask for a receipt. A rent receipt is a useful document to confirm payment and protect both the landlord and tenant. It provides proof in case of disputes or tax purposes. Ensure the receipt includes key details like the tenant’s name, landlord’s name, payment amount, and the payment date.
Use a clear format to avoid confusion. A rent receipt template should list the property address, the payment period, and the method of payment. Always mention the total rent amount, any additional fees, and whether the payment is partial or full. This helps track payments over time and avoids misunderstandings.
Tips for Creating a Receipt: Include a unique receipt number for easy reference. If paying through a bank, ensure the transaction ID is included. For cash payments, provide a handwritten receipt or use a template with space for a signature. The receipt should always be dated and include the landlord’s contact information for clarity.
Always store receipts in a safe place. Both digital and paper copies are valuable for records. Whether you are a tenant or landlord, maintaining accurate receipts protects both parties.
Receipt for Rent Paid Template
A rent receipt should clearly show the transaction details, ensuring both the tenant and landlord have a reference for future needs. Start with the date of payment and the amount received. Include the rental period the payment covers, such as the start and end dates of the month. Be sure to list the method of payment, whether it was cash, check, or electronic transfer. Add both the landlord’s and tenant’s full names and contact information for clarity.
Clearly state the property address in the receipt to avoid any confusion about which unit the payment applies to. If possible, include a unique transaction number for record-keeping. A well-structured receipt prevents disputes and ensures both parties have accurate documentation.
End the receipt with a simple acknowledgment, like “Payment received in full,” followed by the landlord’s signature. This confirms the transaction is complete. Keep a copy for both parties to reference if needed.
How to Include Tenant Details in the Template
List the tenant’s full name clearly at the top of the receipt. This ensures that both parties can quickly identify who made the payment. Include their rental address, as it helps verify the property being rented. If applicable, also include the unit number to avoid confusion with other tenants in a multi-unit building.
Provide the tenant’s contact information, such as their phone number or email address. This ensures easy communication if further details are needed. For added clarity, note the rental period, specifying the start and end dates of the payment being acknowledged. This helps both parties confirm the terms of the rental agreement.
It’s also a good idea to mention the tenant’s payment method. Whether the payment was made by cheque, cash, or bank transfer, specifying this will avoid future disputes. If possible, include a reference number for the transaction to track payments with precision.
Steps for Listing Payment Amount and Date
List the exact payment amount first, ensuring accuracy. This amount should reflect the total rent due for the specific period, without any alterations or rounding. Place it prominently, ideally next to the heading or section title for quick reference.
Record the Payment Date
Include the precise date when the payment was made. This date should match the transaction or payment receipt. If the payment was done in multiple parts, clearly list the dates for each installment to avoid confusion.
Provide Payment Method Details
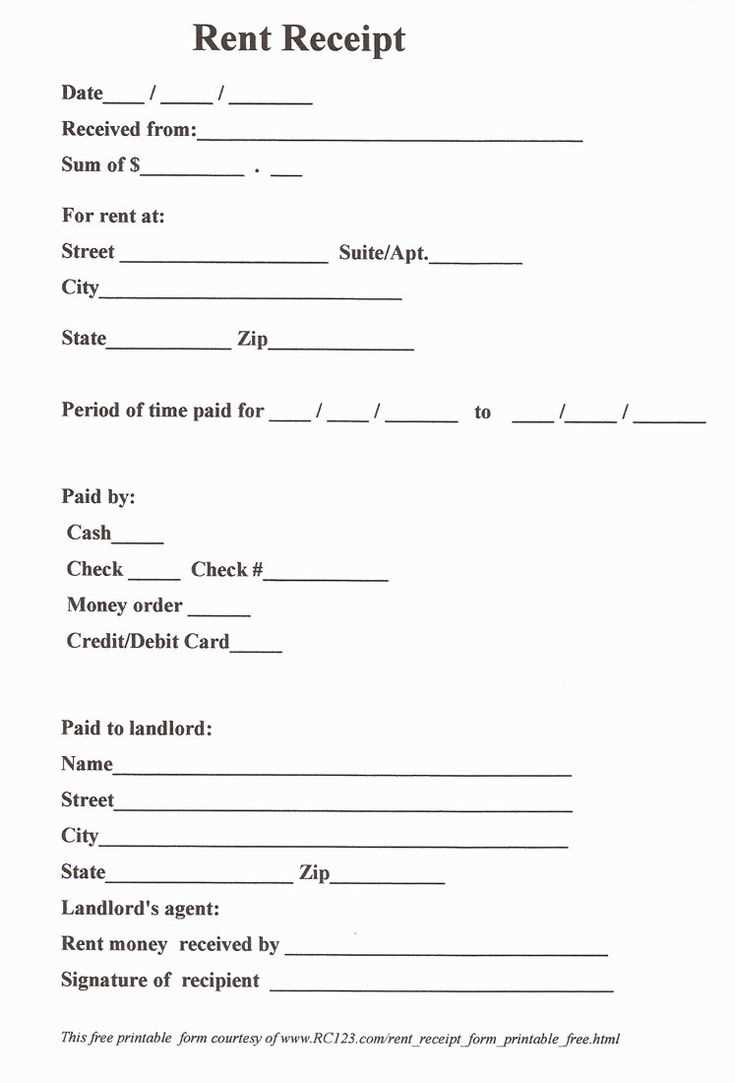
For clarity, mention the method of payment used, whether it was cash, bank transfer, or credit card. This ensures the tenant has an accurate record and helps resolve any potential discrepancies in the future.
Indicating Rent Period and Due Dates
Clearly state the rental period in your receipt to avoid misunderstandings. Include the start date and end date of the rental period. If the rent is paid monthly, specify the months covered by the payment.
Example for Monthly Rent
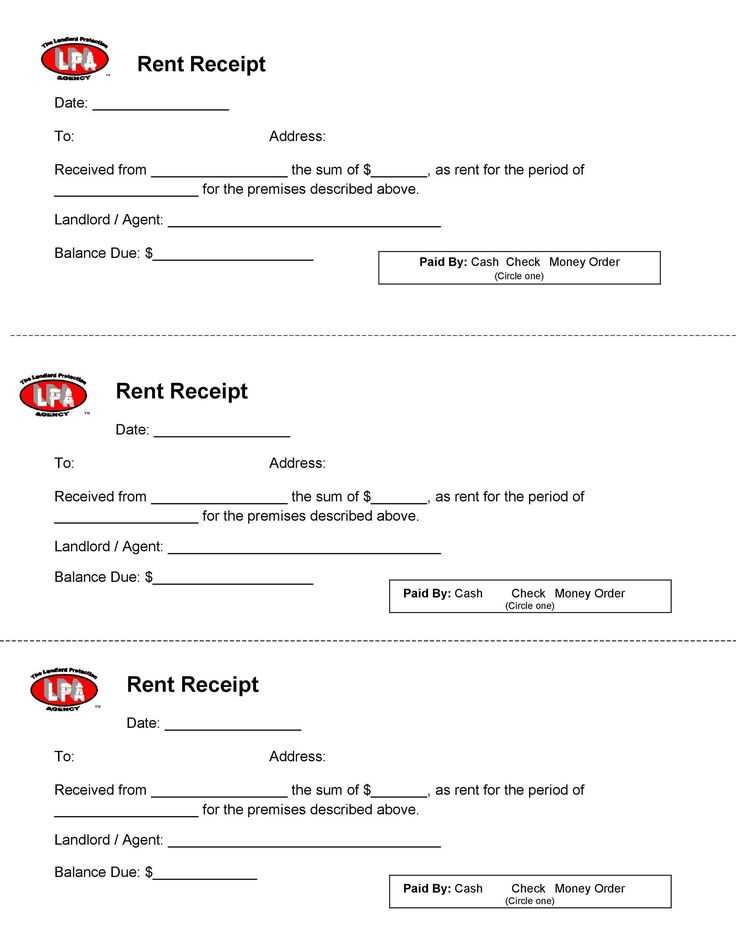
For example, “Rent paid for the period from January 1, 2025, to January 31, 2025.” This ensures both parties are aware of the timeframe the payment applies to.
Indicating Due Dates
Clearly list the due date for the next payment. Use a specific date format like “Due on February 1, 2025,” to avoid confusion. If there is a grace period, include it as well: “Due on February 1, 2025, with a 5-day grace period.”
These details help tenants keep track of their obligations and reduce the chance of late payments.
Adding Property Information to the Receipt
Include property details to make the receipt clear and useful for both parties. This provides transparency and avoids confusion when verifying payments. Follow these steps to ensure the property is properly represented:
| Property Name | Enter the official name or address of the property being rented. |
|---|---|
| Property Address | List the complete address, including street, city, state, and postal code. |
| Unit Number (if applicable) | Include this if the property is part of a multi-unit complex. |
| Landlord’s Name | Provide the name of the landlord or property management company receiving the payment. |
| Lease Period | Specify the period for which the rent applies (e.g., monthly, quarterly). |
This information helps ensure the receipt accurately reflects the rental transaction and is useful for future reference or audits.
How to Format Payment Methods and Transaction IDs
Ensure clarity by listing payment methods in a consistent, structured manner. Include the exact name of the payment service, such as “Visa,” “PayPal,” or “Bank Transfer,” without abbreviations. This avoids confusion and makes tracking transactions easier.
Payment Methods
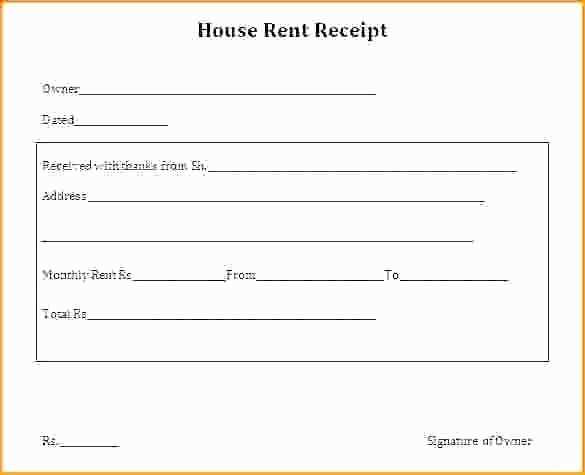
- Use the full name of the method: “Mastercard,” not just “MC.”
- If using an online payment service, include the provider’s full name: “Stripe,” not just “card payment.”
- If applicable, add the payment account or reference number to identify the specific source of the payment.
Transaction IDs
- Clearly display the unique transaction ID generated by the payment service.
- Ensure the ID is easily distinguishable, such as placing it in bold or a different font style.
- Provide a direct link to the payment service’s transaction history if possible for easier tracking.
Follow this format for consistency and accuracy in documenting rental payments. Keep it simple and precise to prevent any confusion during verification or future reference.
Creating a Signature Section for Landlord and Tenant
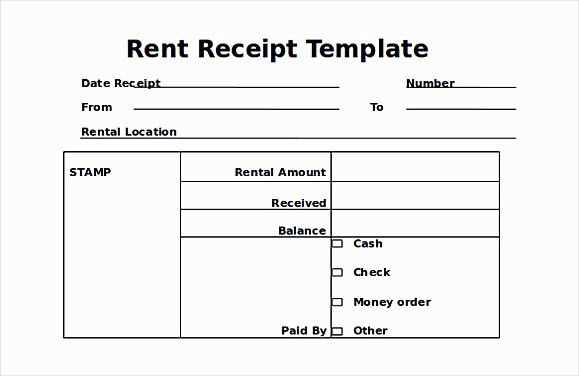
Include clear spaces for both the landlord and tenant to sign and date the receipt. This section ensures both parties acknowledge the agreement and payment details. Make sure to label each signature line with the role of the individual (e.g., “Landlord’s Signature” and “Tenant’s Signature”). This helps avoid confusion about who is signing. Additionally, provide a space for the printed name below the signature lines to confirm identity.
Signature Fields
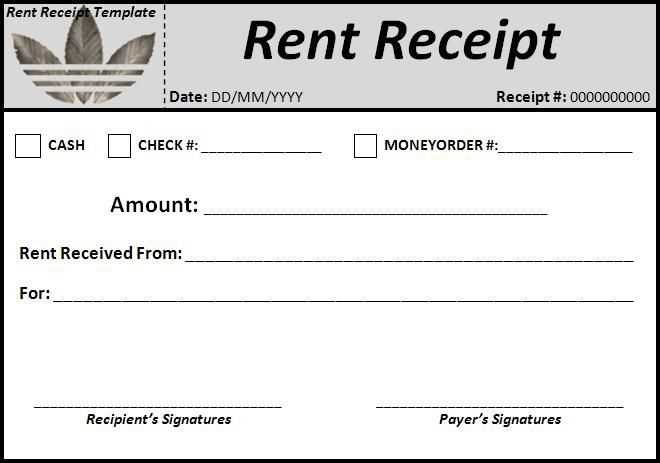
For clarity, the landlord should sign and date in the first section, followed by the tenant’s signature in the second. Use a line for each signature and a box for the date to standardize the layout. By including the date, both parties confirm the receipt of rent on a specific day, avoiding any potential disputes later.
Printed Name and Contact Information
Include a space for each party to print their full name under the signature. If needed, add an optional field for contact details (such as phone number or email) to ensure the parties can easily communicate if necessary.
