If you’re managing rental payments, using a rent receipt Excel template can save time and reduce errors. This simple tool helps you create professional receipts quickly, without the need for complex software. It ensures that you maintain accurate records for both tenants and landlords, making tax time easier and avoiding misunderstandings.
A well-designed rent receipt template includes fields for the tenant’s name, address, payment date, amount, and payment method. This clarity ensures transparency for both parties. By using Excel, you can easily adjust the template to your needs, adding additional fields if necessary, such as late fees or payment breakdowns.
Using an Excel template also allows for easy record-keeping and tracking. You can store receipts electronically, keeping them organized and accessible. With basic formulas, you can calculate totals or track multiple tenants in one document. This flexibility is key when managing rental payments for multiple properties or tenants.
Here’s the corrected version:
If you’re looking to create a rent receipt using Excel, start by designing a template that captures all necessary information clearly. Make sure to include fields for the tenant’s name, property address, rental amount, payment date, and landlord’s signature. It’s a good idea to use consistent formatting for ease of use and readability.
Steps for an Accurate Rent Receipt Template
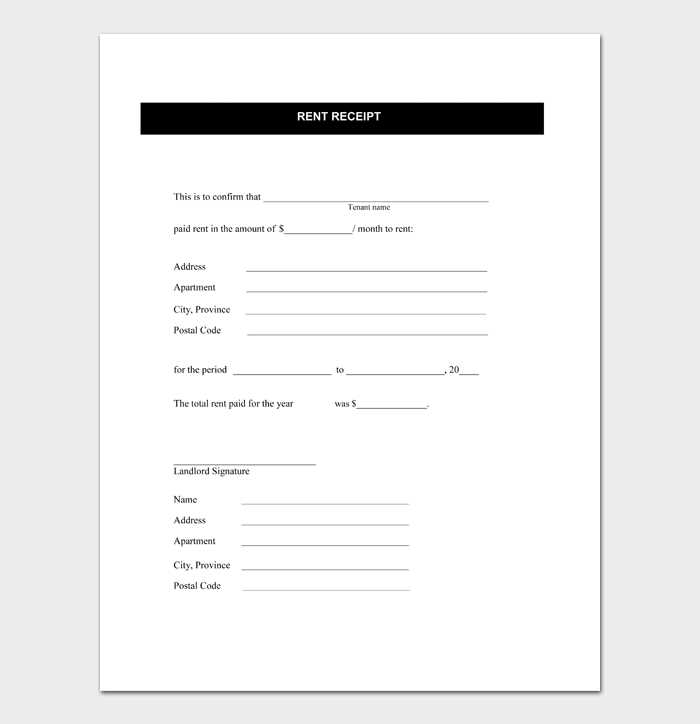
1. Label the top section with “Rent Receipt” and include a unique receipt number for record-keeping.
2. Insert the date the payment is made, followed by the tenant’s name and contact information.
3. Clearly mention the rental amount paid, the rental period, and the method of payment (e.g., cash, check, or bank transfer).
4. Add space for the landlord’s signature or electronic signature, as well as any additional notes related to the payment.
Additional Tips
Use Excel formulas to automatically calculate totals or keep track of payments over time. This will save time and ensure accuracy. Consider adding a separate column for late fees, if applicable, so the template can be adapted for any situation.
Rent Receipt Excel Template
A Rent Receipt Excel Template simplifies the process of creating receipts for rental payments. Customize the template to fit your needs and track transactions effectively. Ensure that all essential details are included, such as tenant information, payment date, amount, and property address. With Excel’s calculation features, you can easily add totals or apply formulas for future payments.
Key Features to Include
Start by adding basic fields like tenant name, rental period, and payment amount. Be sure to include a space for both the tenant’s and landlord’s signatures if needed. Additionally, set up a column for payment methods (e.g., cash, check, bank transfer) to clarify transaction details. Excel’s flexibility allows you to adjust the template for recurring payments or one-time transactions.
How to Customize for Your Needs
If you’re managing multiple properties, include a dropdown menu to select property names for each transaction. You can also use Excel’s conditional formatting to highlight overdue payments or create reminders. As payments are made, keep the template updated to avoid confusion, especially when multiple tenants are involved. This organization ensures that your rent receipts are both accurate and professional.
Hey there! How’s your day going so far?
To create a rent receipt template that is both professional and functional, certain features must be included. These elements provide clarity and protect both the landlord and the tenant by offering detailed documentation of the payment.
1. Tenant and Landlord Information

Include the names of both the tenant and the landlord or property manager. This ensures that the receipt clearly identifies both parties involved in the transaction.
2. Property Address
Clearly state the address of the rental property. This removes any ambiguity about where the payment is being made for.
3. Payment Details
Specify the rent amount, the period it covers (e.g., monthly), and the date payment was made. Indicating whether the payment was made by cash, check, or bank transfer is also helpful for record-keeping.
4. Receipt Number
Assign a unique receipt number for each payment. This helps track payments easily and ensures a well-organized filing system.
5. Payment Status
Indicate whether the rent is fully paid or if there’s any outstanding balance. This helps avoid confusion about late payments or amounts due.
6. Signature of the Landlord
Although not always mandatory, having the landlord’s signature on the receipt adds a level of legitimacy and assurance that the payment has been acknowledged.
7. Date of Issuance
Always include the date the receipt was issued, which serves as a record for both parties and could be useful for tax purposes or dispute resolution.
Automating calculations and dates in a rent receipt template can save significant time and reduce errors. Here’s how you can do it easily using Excel:
1. Automating Calculations for Total Rent
Use simple formulas to calculate total rent amounts. In the cell where you want the total to appear, input a formula like:
=B2*C2
This multiplies the number of units (cell B2) by the price per unit (cell C2), giving you the total rent. Adjust cell references according to your template layout.
2. Automating the Date

Instead of manually entering the date every time, use Excel’s TODAY() function. This will automatically update the date each time you open the file. Place the formula in the date cell:
=TODAY()
If you need the date in a specific format, like “dd/mm/yyyy,” format the cell by right-clicking, selecting “Format Cells,” and choosing the desired date format.
3. Conditional Formatting for Rent Payment Status
To easily track whether rent has been paid, use conditional formatting. For example, if a cell for rent payment status contains “Paid,” you can change the background color to green:
- Select the cell with payment status.
- Go to the “Home” tab and click on “Conditional Formatting.”
- Choose “New Rule” and select “Format only cells that contain.” Choose “Cell Value” > “equal to” > “Paid.”
- Pick a format (e.g., green background) and click “OK.”
4. Calculating Late Fees Automatically
If late fees are applied after a certain number of days, use an IF statement to calculate them. For example, if rent is due on the 1st of each month and you apply a late fee after the 5th:
=IF(DAY(TODAY())>5, 50, 0)
This formula checks if the current day is greater than 5 and, if so, applies a late fee of $50.
How to Create a Rent Receipt Template in Excel

Start by opening a new Excel workbook and setting up your columns. Label them as follows: “Date”, “Tenant Name”, “Rental Amount”, “Payment Method”, and “Landlord’s Name.” This format ensures clarity and tracks all essential details.
Next, enter the information for each rent payment in the rows beneath your column headers. Add the date of payment, tenant details, amount paid, payment method (e.g., cash, check, bank transfer), and the landlord’s name. This keeps everything organized in one place.
To make your template more user-friendly, you can create drop-down lists for payment methods. This eliminates the need for manual entry and prevents errors. Use Excel’s “Data Validation” feature to add predefined payment options.
For a professional touch, include a “Receipt Number” column that automatically generates a unique number for each entry. You can achieve this by using Excel’s “ROW()” function to create sequential numbers.
Lastly, protect your worksheet with a password. This ensures the security of sensitive tenant information. You can do this by going to the “Review” tab and selecting “Protect Sheet.” This simple step prevents unauthorized changes to your template.