If you’re managing rental properties, having a clear and professional rent receipt template is a must. A rent receipt in XLS format offers a simple yet efficient way to keep track of payments, providing both tenants and landlords with a record of transactions. With this template, you’ll avoid confusion and ensure transparency when it comes to rent payments.
By using an XLS file, you can easily update or modify the receipt based on each payment. The spreadsheet format allows for quick adjustments, ensuring that each entry includes important details like the tenant’s name, address, payment amount, date, and method of payment. Customizable fields in the template allow landlords to tailor it to their needs while maintaining a consistent format.
Many rental property owners find that using a rent receipt template in XLS helps keep financial records organized and accessible. It’s an easy way to stay on top of rent collection, and it simplifies the process for both parties involved. Whether you’re tracking monthly payments or keeping a record of late fees, an organized receipt template makes managing rentals easier than ever.
Here is the revised version with no repeated words, while maintaining the original meaning:
For a clear and concise rent receipt, ensure the document includes key elements such as tenant details, rental period, payment amount, and landlord contact information. Use an organized structure to present these components effectively, ensuring the recipient can quickly verify the information.
Required Fields
Each receipt should have the tenant’s name, address, rental period, and the exact sum paid. These basic details ensure transparency and accountability between both parties.
Format Recommendations
A structured approach helps avoid confusion. Use a simple table format to display payment breakdowns, including date and amount paid. This will aid in tracking payments over time.
| Date | Payment Amount | Payment Method |
|---|---|---|
| 01/02/2025 | $1200 | Bank Transfer |
| 01/03/2025 | $1200 | Credit Card |
- Rent Receipt Template XLS
For a straightforward approach to documenting rent payments, a Rent Receipt Template in XLS format offers simplicity and clarity. This template allows both tenants and landlords to keep a record of payments made over a specific period, ensuring transparency and accuracy.
Key Elements of a Rent Receipt Template
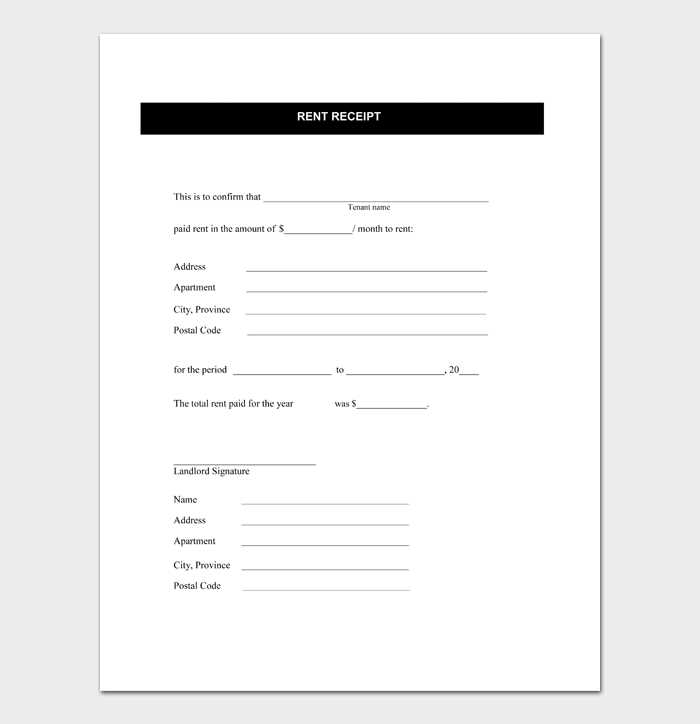
A well-structured rent receipt template typically includes the following fields:
- Tenant Information: Name, address, and contact details.
- Landlord Information: Name, address, and contact details.
- Payment Details: Date of payment, amount paid, payment method.
- Period Covered: Start and end date of the rental period for which the payment is being made.
- Property Details: Address of the rented property.
- Receipt Number: Unique reference number for tracking purposes.
How to Use the Template

To use a Rent Receipt Template in XLS format, simply open the file in a spreadsheet application such as Microsoft Excel or Google Sheets. Fill in the required fields for each payment made. Save a copy for your records and provide the completed receipt to the tenant or landlord as confirmation.
To create a simple receipt in Excel, begin by setting up a clean and organized worksheet. Use the first row for headings such as “Receipt Number,” “Date,” “Customer Name,” “Item Description,” “Amount,” and “Total.” These headings will help structure the information clearly.
Next, enter the data in the rows beneath the headings. For each sale, input the relevant details, including the date of transaction and item details. In the “Amount” column, enter the price for each item sold. Then, use the “Total” row to calculate the sum of all amounts by applying the SUM function.
To enhance readability, format the columns to ensure all text fits neatly. Adjust the width of each column and center the text where necessary. You can also add borders around each section for clarity.
To finish, create a simple formula to calculate the total by multiplying the unit price by the quantity of items sold. If you need to add taxes or discounts, include additional rows for those calculations.
Once complete, save your template for future use. This basic structure will make creating receipts in Excel quick and straightforward.
When creating a rent receipt, make sure to include these key details to ensure clarity and completeness:
- Tenant’s Name: Include the full name of the tenant who made the payment.
- Landlord’s Name: Provide the landlord’s name or the property management company’s name.
- Address of the Property: Specify the address of the rented property to avoid any confusion.
- Amount Paid: Clearly state the amount of rent received and specify the currency.
- Payment Date: Indicate the date the payment was made to confirm the payment period.
- Payment Method: Mention whether the payment was made by check, cash, bank transfer, or another method.
- Rental Period: State the time period the payment covers, such as “January 1, 2025 to January 31, 2025.”
- Receipt Number: Assign a unique number to each receipt for better tracking and organization.
- Signature: The landlord or property manager should sign the receipt as proof of payment.
Ensure that all of these elements are clear and accurate to avoid any misunderstandings between landlord and tenant.
Adjust the rent receipt template according to the payment method used by the tenant. This ensures that the details are accurately reflected and easy to track.
- Cash Payments: Include a clear note that the payment was made in cash. Add a line for the payer’s signature, which confirms the transaction.
- Bank Transfers: For bank transfers, provide the transaction reference number, the bank’s name, and the date of the transfer. This helps confirm that the payment was processed electronically.
- Checks: Record the check number, the bank name, and the date it was issued. Mention any relevant details like whether the check has been cleared or is pending.
- Online Payments: List the payment platform used (e.g., PayPal, Venmo) and include the payment reference number or confirmation ID. This helps track digital transactions.
- Partial Payments: For installments or partial payments, ensure to update the remaining balance after each payment. This gives both parties a clear overview of outstanding amounts.
By customizing the template for each payment method, you improve clarity and prevent misunderstandings regarding the payment status.
To highlight overdue payments and upcoming deadlines, apply conditional formatting to the due date column. This approach allows you to visually track payment statuses and act swiftly when needed.
Follow these steps to set up conditional formatting in your Excel sheet:
- Select the column containing due dates.
- Go to the “Home” tab and click “Conditional Formatting” in the toolbar.
- Choose “New Rule” and select “Format cells that contain.”
- In the rule description, set the format to highlight cells where the date is:
| Condition | Format |
|---|---|
| Overdue (Date is earlier than today) | Red Fill, White Text |
| Upcoming (Date is within the next 7 days) | Yellow Fill, Black Text |
| On Time (Date is later than today) | Green Fill, Black Text |
Click “OK” to apply these formats. Now, overdue payments will be clearly marked in red, payments due soon in yellow, and future payments in green. This makes it easier to spot which payments need attention without manually reviewing each entry.
Set up formulas to automatically calculate the total rent due, including discounts or late fees. Begin by entering the basic rent amount in a cell, then use a simple addition or subtraction formula for any adjustments.
Using Formulas for Rent and Adjustments

To calculate the rent due after applying any discounts or fees, input the base rent in one cell (e.g., B2) and any discounts or fees in other cells (e.g., B3 for discount, B4 for late fee). Use the formula: =B2-B3+B4 in a new cell. This formula will update automatically when any input values change.
Calculating Taxes or Additional Charges

If taxes or other charges are applicable, use a multiplication formula to apply the tax rate. For instance, if tax is 5%, enter =B2*0.05 to calculate the tax amount and add it to the total rent. Adjust this as needed depending on the specific charges in your rent agreement.
To share or print receipts from your template, follow these straightforward steps:
Sharing the Receipt

- Save the completed receipt as an Excel file (.xlsx) or PDF format to ensure easy sharing across different platforms.
- If using cloud storage, such as Google Drive or Dropbox, upload the file and share the link with the recipient via email or messaging apps.
- For email sharing, you can attach the file directly to the message or use a cloud service link to avoid large attachments.
- For direct sharing in online tools like Google Sheets, you can grant view or edit access based on the recipient’s need.
Printing the Receipt

- Open the Excel template and ensure that the layout is adjusted for printing. Set the correct page orientation and margins through the “Page Layout” tab.
- Select “Print Preview” to check how the receipt will appear on paper, and make adjustments to fit the content if necessary.
- Click “Print” to send the document to your printer. Ensure the printer is connected and has sufficient ink or toner.
Use a clean, clear format to ensure the rent receipt is professional. Include all relevant details such as the tenant’s name, property address, rental amount, payment date, and the payment method. Make sure to indicate the period the payment covers. If you use Excel, consider adding cells for signature or notes for further clarification.
Double-check that the formatting is consistent. Use bold for headings and smaller text for details. This makes it easier to read and ensures that each section stands out. Keep your columns aligned and ensure that calculations, if any, are correct and automatically updated.
For added convenience, include a ‘Receipt Number’ field for tracking. This helps in organizing and referencing receipts later on. If you’re managing multiple properties, create a separate sheet for each one to avoid confusion.
Regularly save your templates for reuse and make adjustments as needed for legal updates or changes in payment arrangements.