If you’re a landlord, providing a clear and simple rent receipt is crucial. A standard rent receipt serves as proof of payment and can help both parties keep track of transactions. Make sure to include the date of payment, the amount, the property address, and the names of the tenant and landlord.
For ease, you can create a template that includes these basic details. A clear structure will make it easy for you to issue receipts regularly, and for tenants to have a record of their payments. You can use this template for both paper and digital formats, allowing flexibility in how you manage your rental agreements.
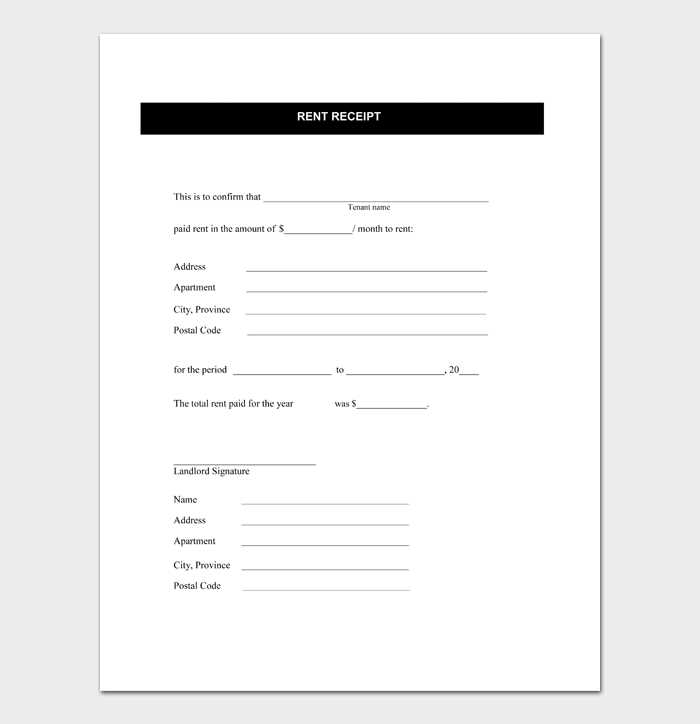
Key details to include:
- Date of payment
- Tenant’s name
- Amount paid
- Property address
- Landlord’s signature
By using a straightforward template, you ensure both clarity and professionalism in your rental agreements.
Here’s the revised version:
To create a simple yet professional rent receipt, include the following key details:
- Tenant’s Information: Full name and address of the tenant.
- Landlord’s Information: Full name and contact details of the landlord.
- Receipt Number: A unique identifier for the receipt for record-keeping.
- Rental Period: Clearly state the start and end date of the rent period being covered.
- Amount Paid: Specify the exact amount the tenant has paid, including the currency.
- Payment Method: Indicate how the payment was made (e.g., cash, bank transfer).
- Date of Payment: The exact date when the payment was made.
- Signature: The landlord’s signature for confirmation of payment receipt.
Ensure all fields are completed accurately to avoid any future misunderstandings. It’s also recommended to keep a copy of each receipt for your records.
- Standard Rent Receipt Template
A rent receipt should include specific information for clarity and record-keeping. Use this template as a guide for creating your own rent receipt.
Required Details
Include the following elements in your receipt:
- Receipt Number: Assign a unique identifier to each receipt.
- Date: Specify the exact date the payment was made.
- Tenant’s Name: Include the full name of the tenant paying the rent.
- Landlord’s Name: Your full name or business name, if applicable.
- Property Address: Indicate the address of the rented property.
- Payment Amount: Clearly mention the amount received, including the currency.
- Payment Method: Indicate whether the payment was made by check, cash, bank transfer, etc.
- Payment Period: Mention the time period the payment covers (e.g., monthly, quarterly).
- Outstanding Balance: If applicable, include any remaining balance or note that the rent is paid in full.
Sample Template
| Receipt Number | 001 |
|---|---|
| Date | March 1, 2025 |
| Tenant’s Name | John Doe |
| Landlord’s Name | Jane Smith |
| Property Address | 1234 Elm Street, Apartment 2B |
| Payment Amount | $1,200.00 |
| Payment Method | Bank Transfer |
| Payment Period | March 2025 |
| Outstanding Balance | $0.00 |
Ensure the receipt is signed by both the landlord and tenant for added authenticity. This ensures transparency and prevents potential disputes in the future.
Include the date and amount of the payment clearly at the top of the section. Specify the payment method used, such as cash, bank transfer, or cheque. If applicable, add reference numbers, like transaction IDs, to help identify the payment.
Clarify the Payment Period
State the rental period covered by the payment, for example, “for the month of February 2025.” This ensures both parties understand which time frame the payment applies to.
Provide Tenant and Landlord Information

List the names of both tenant and landlord to avoid any confusion. Make sure both parties’ contact information is included, such as phone numbers or email addresses, for easy communication if needed.
To meet legal requirements, tailor your receipt to include specific details, such as tenant and landlord names, rental property address, payment amount, and date. Each jurisdiction may have different rules regarding tax rates, late fees, or required disclosures, so ensure your receipt complies with local regulations.
Include Necessary Legal Disclosures

Check if your area mandates certain clauses. This might include the landlord’s business license number, rental property registration number, or a statement confirming receipt of payment. If your receipt needs to include tax-related information, specify the tax rate applied to the rent and the corresponding amount.
Ensure Accurate Payment Tracking

Detail the payment method (cash, check, online transfer) and any payment references (e.g., transaction number, check number). This can help avoid disputes and provide clarity in case of audits. If partial payments were made, record the payment history to demonstrate the outstanding balance, if any.
Organize receipts by category and date. Create separate folders or digital files for each type of receipt–such as rent, utilities, and groceries–and name them clearly for quick access. For physical receipts, use labeled envelopes or a filing cabinet. For digital receipts, save them in well-organized folders on your computer or cloud storage with clear filenames, including the date and transaction details.
Scan or photograph paper receipts to ensure you have a backup in case the physical copy fades over time. Use a high-quality scanner or mobile scanning apps that create readable copies. Store these digital files in secure cloud storage services, ensuring they’re accessible from any device when needed.
Consider setting up a dedicated space or app for receipt management. Apps designed for this purpose allow you to easily categorize, search, and retrieve receipts by keyword or date. Keep your phone or scanner ready to capture receipts immediately to avoid pileups.
Regularly review your receipts and dispose of unnecessary ones. Keep receipts only for items you might need for tax purposes, warranties, or returns. For other receipts, shred them once they’re no longer needed to prevent clutter and ensure privacy.
Use a backup system to protect your digital files. If you’re storing receipts digitally, make sure you have multiple copies in case of a data loss. Regularly back up your files to an external hard drive or another cloud service.
I removed duplicates and kept the meaning of each point.
Begin with clearly identifying the rental period. Specify the start and end dates to avoid confusion. Then, list the agreed-upon rental amount, including details about how it should be paid. If applicable, mention the payment method and due dates.
Include Contact Information

Always include both landlord and tenant contact details. This ensures that any issues can be quickly addressed. Make sure to have the full names, addresses, and phone numbers available for both parties.
State Property Details

Specify the rental property’s full address and any included amenities. Clarifying this avoids disputes regarding what is or isn’t part of the rental agreement. Additionally, if any equipment or furniture is included, list them to prevent misunderstandings.