If you’re managing rental properties, providing a rent receipt is an important part of maintaining clear financial records. A rent receipt PDF template streamlines the process, making it easier for both landlords and tenants to track payments. This simple tool ensures that all necessary details are included, such as the tenant’s name, payment amount, and payment date.
A good template saves time and reduces the risk of errors. It can be customized with your specific property details, such as address and lease terms. You can even add fields for additional notes or payment methods, ensuring that everything you need is captured in one document.
Choosing the right rent receipt PDF template also helps with legal compliance. In many jurisdictions, issuing rent receipts is a requirement. By using a template, you ensure that all relevant information is properly recorded and easily accessible for any future reference or disputes.
Here is the revised version:
Make sure the rent receipt includes clear and accurate details. Start with the tenant’s full name, rental property address, and the payment date. Specify the amount received and the payment method, whether by cash, bank transfer, or check. Add any relevant late fees or discounts if applicable. Ensure that the receipt includes your contact details and a unique receipt number for future reference.
It’s also important to indicate the rental period covered by the payment. This helps avoid confusion for both parties. The format should be simple yet thorough, so the information is easy to understand at a glance.
Lastly, keep a copy of the receipt for your records. This provides security and clarity in case any disputes arise later on. If you are creating the receipt in a digital format, ensure that it is saved in a format that’s universally accessible, like PDF, to guarantee that it can be opened by anyone without issues.
- Template for Rent Receipt PDF: A Practical Guide
Creating a rent receipt PDF template involves understanding key details to include, ensuring clarity and accuracy. Follow these steps to create one quickly:
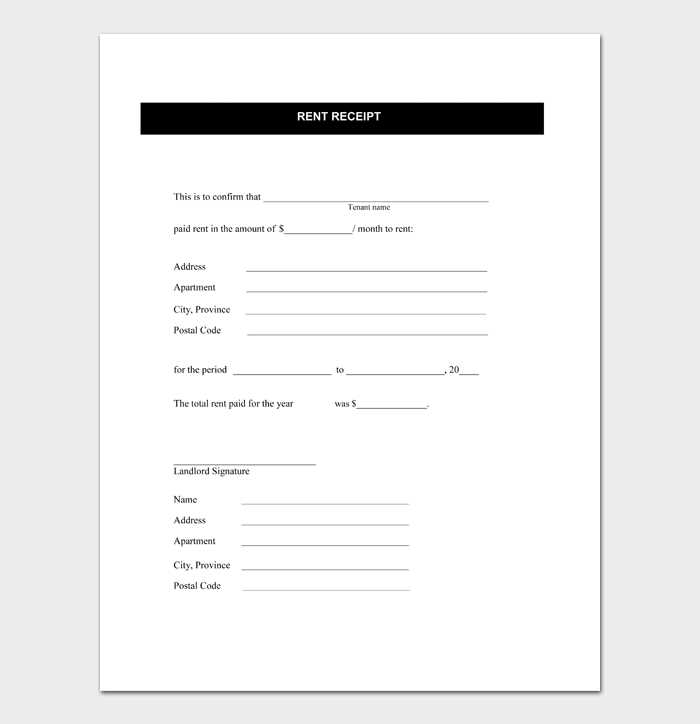
- Title of the Document: Begin with a clear title like “Rent Receipt” at the top of the document.
- Landlord’s Information: Include the full name, address, and contact details of the landlord or property manager.
- Tenant’s Information: Add the tenant’s full name and address. Double-check for accuracy.
- Receipt Number: Assign a unique receipt number for tracking and reference purposes. This will help both parties maintain organized records.
- Date of Payment: Clearly state the date the payment was made to avoid any confusion later.
- Amount Paid: List the exact amount the tenant paid for the rent, and specify if it covers any extra charges like utilities or late fees.
- Rental Period: Mention the time period the rent payment covers (e.g., from January 1 to January 31).
- Payment Method: Indicate how the payment was made (e.g., bank transfer, cash, cheque). If cash was used, specify the amount received in words for clarity.
- Signature of the Landlord: Include a space for the landlord’s signature, confirming the receipt of the payment.
- Additional Notes: Add any extra information like adjustments for previous payments, damage deposits, or special conditions if relevant.
Once all the necessary fields are in place, use PDF editing tools to format the document neatly. You can save the template for reuse, allowing you to easily fill in the details for future rent payments. Keep it professional and easy to read, ensuring that both the landlord and tenant have a clear record of the transaction.
To create a custom rent receipt template, first decide on the core information you want to include. This typically covers the renter’s name, the landlord’s details, rental property address, amount paid, date of payment, and rental period. Add a section for payment method and any additional notes like late fees or deposits if applicable.
Layout and Design
Keep the layout simple and professional. Use a clean font like Arial or Times New Roman for readability. Organize sections with clear headings: Rent Information, Payment Details, and Landlord’s Signature. You can use tables or borders to separate different sections, ensuring the information is easy to scan.
Personalization Options

Incorporate your branding by adding your logo and contact details in the header or footer. You can also choose color schemes that align with your business or personal style. Adding a unique serial number for each receipt can help you stay organized, especially if you manage multiple properties or tenants.
Once you’ve set up the template, save it as a reusable document or PDF file. Many word processors and online tools offer pre-built templates, which you can customize to meet your needs. This way, you’ll have a consistent format for all your rent receipts moving forward.
Make sure to list the full name of both the landlord and the tenant. This helps identify the parties involved in the transaction clearly.
Include the rental property address. This provides specific details about the location being rented, which is especially important if the landlord owns multiple properties.
State the rent amount paid. Always specify the exact amount in both numbers and words to avoid confusion in case of discrepancies.
Specify the payment date. This is crucial for both parties to track the payment period and avoid misunderstandings about overdue amounts.
Include the payment method. Whether the tenant paid by check, cash, bank transfer, or any other method, documenting this ensures clarity in case of disputes.
If applicable, mention any late fees or adjustments. If the tenant was charged for late payment or made additional payments, make sure to note them to maintain accurate records.
Ensure there’s a reference to the rental period. This specifies which month or period the rent covers, especially if payments are made in advance.
Include a unique receipt number. This makes it easier to track and reference individual receipts, especially if a tenant needs to request documentation at a later time.
Signatures can add extra security. While not always mandatory, both the landlord’s and tenant’s signatures help confirm the transaction’s authenticity.
Optionally, note any security deposit details. If the tenant paid a deposit, include the amount and state whether it’s refundable.
Automating rent receipt generation with PDF templates simplifies the process, saves time, and reduces errors. By using software or scripting tools, you can create a system that automatically fills in the details of each transaction and generates a PDF receipt tailored to your needs. Here’s how you can do it:
1. Choose the Right Tool

Start by selecting an automation tool or platform that suits your workflow. Popular choices include Zapier, Integromat, or custom solutions using Python scripts. These tools connect your rent payment system (like a database or payment platform) to a PDF generator, eliminating the need for manual entry.
2. Design Your PDF Template

Create a PDF template that includes all relevant fields, such as tenant name, address, payment date, amount, and any other details you need. You can use tools like Adobe Acrobat, Google Docs (with PDF export), or specialized software like DocuSign or PDFShift to create these templates. Ensure the template is well-structured, with placeholders for dynamic data.
Once the template is ready, the automation tool will automatically populate it with information from your rent payment system. For instance, when a tenant makes a payment, the system can automatically extract the payment details and fill them into the PDF, ready to be sent out instantly or stored for future reference.
This process eliminates the need to manually create each receipt, saving you valuable time and ensuring consistent formatting. You can also set up the system to send the receipt via email or upload it directly to your property management system for easy access.
Minimizing Redundancy While Retaining Meaning in Rent Receipt Templates

When designing a rent receipt template, focus on reducing redundancy while maintaining clarity. Each line should serve a clear purpose, ensuring the key details are conveyed without unnecessary repetition. Here’s how to structure the content efficiently:
1. Keep Data Fields Simple and Clear

Use concise labels for each section. Instead of repeating “tenant” or “landlord” in every field, clearly define sections with specific titles like “Tenant Name,” “Landlord Name,” and “Payment Details.” This reduces clutter while keeping the message clear.
2. Use Tables for Organized Presentation
Tables help structure information in a readable manner, avoiding the need for excessive text. Group related fields together to make the layout neat and easy to follow.
| Field | Details |
|---|---|
| Tenant Name | John Doe |
| Landlord Name | Jane Smith |
| Rent Amount | $1,200 |
| Payment Date | February 1, 2025 |
| Receipt Number | 123456 |
By structuring information this way, you minimize redundant wording and ensure that all relevant data is easily accessible.