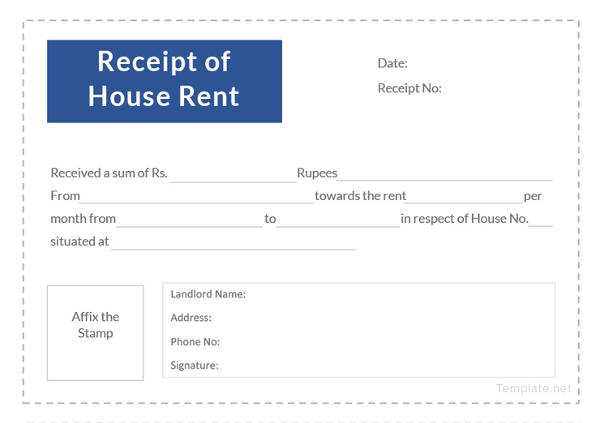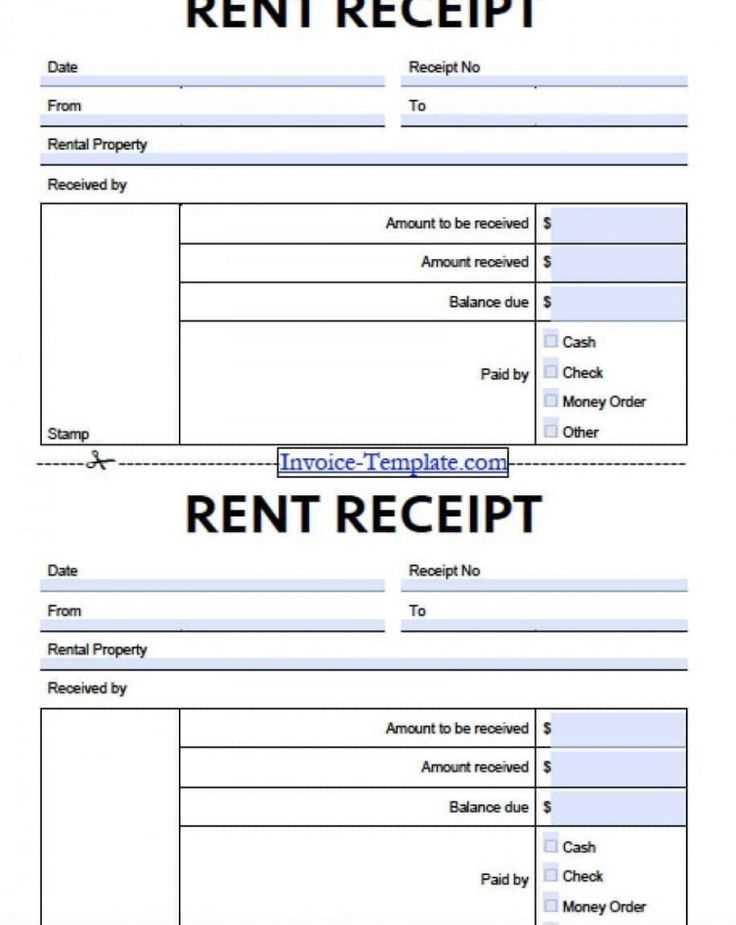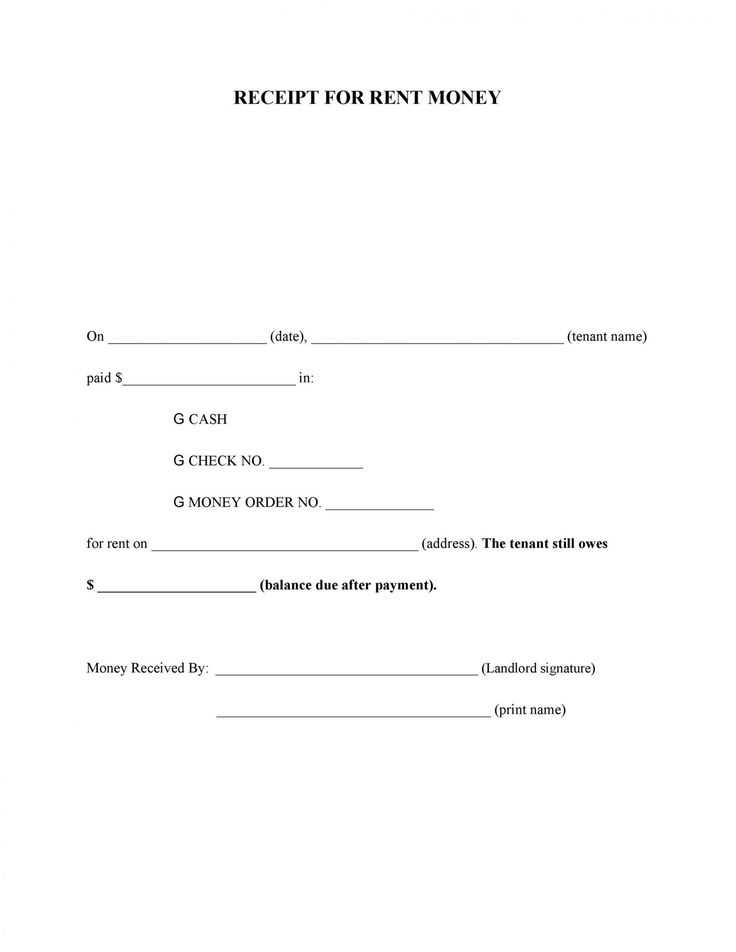
A rent receipt serves as proof of payment and protects both the landlord and tenant. To create a clear and professional document, include essential details: date, amount, payment method, and property address. A structured template ensures accuracy and simplifies record-keeping.
Begin with the landlord’s and tenant’s names, followed by the rental property’s full address. Specify the payment date and the period covered. Indicate the amount paid, the currency, and the method used–cash, check, bank transfer, or other. If a check was used, note the check number.
For added clarity, mention any remaining balance or confirm full payment. The landlord or property manager should sign the receipt, and providing a duplicate copy is advisable. Digital receipts are also an option, especially for online transactions.
Below is a ready-to-use template that ensures all critical details are included. Fill in the blanks or customize it to suit specific needs.
Template Receipt for Rent Payment
Use a structured format to create a clear and legally sound rent receipt. Always include:
- Date of Payment: The exact date the rent was received.
- Tenant’s Name: Full name of the person making the payment.
- Landlord’s Name: Full name of the property owner or management company.
- Rental Property Address: The complete address of the rented unit.
- Amount Paid: The total rent amount received.
- Payment Method: Specify cash, check, bank transfer, or another method.
- Rental Period: The dates covered by this payment.
- Signature: The landlord’s or authorized agent’s signature.
Example Rent Receipt Template
For a ready-to-use format, structure your receipt like this:
Rent Receipt
Date: [MM/DD/YYYY]
Received From: [Tenant’s Name]
Rental Address: [Full Property Address]
Amount Paid: $[Rent Amount]
Payment Method: [Cash/Check/Transfer]
Rental Period: [MM/DD/YYYY - MM/DD/YYYY]
Received By: [Landlord’s Name]
Signature: ________________
Additional Notes
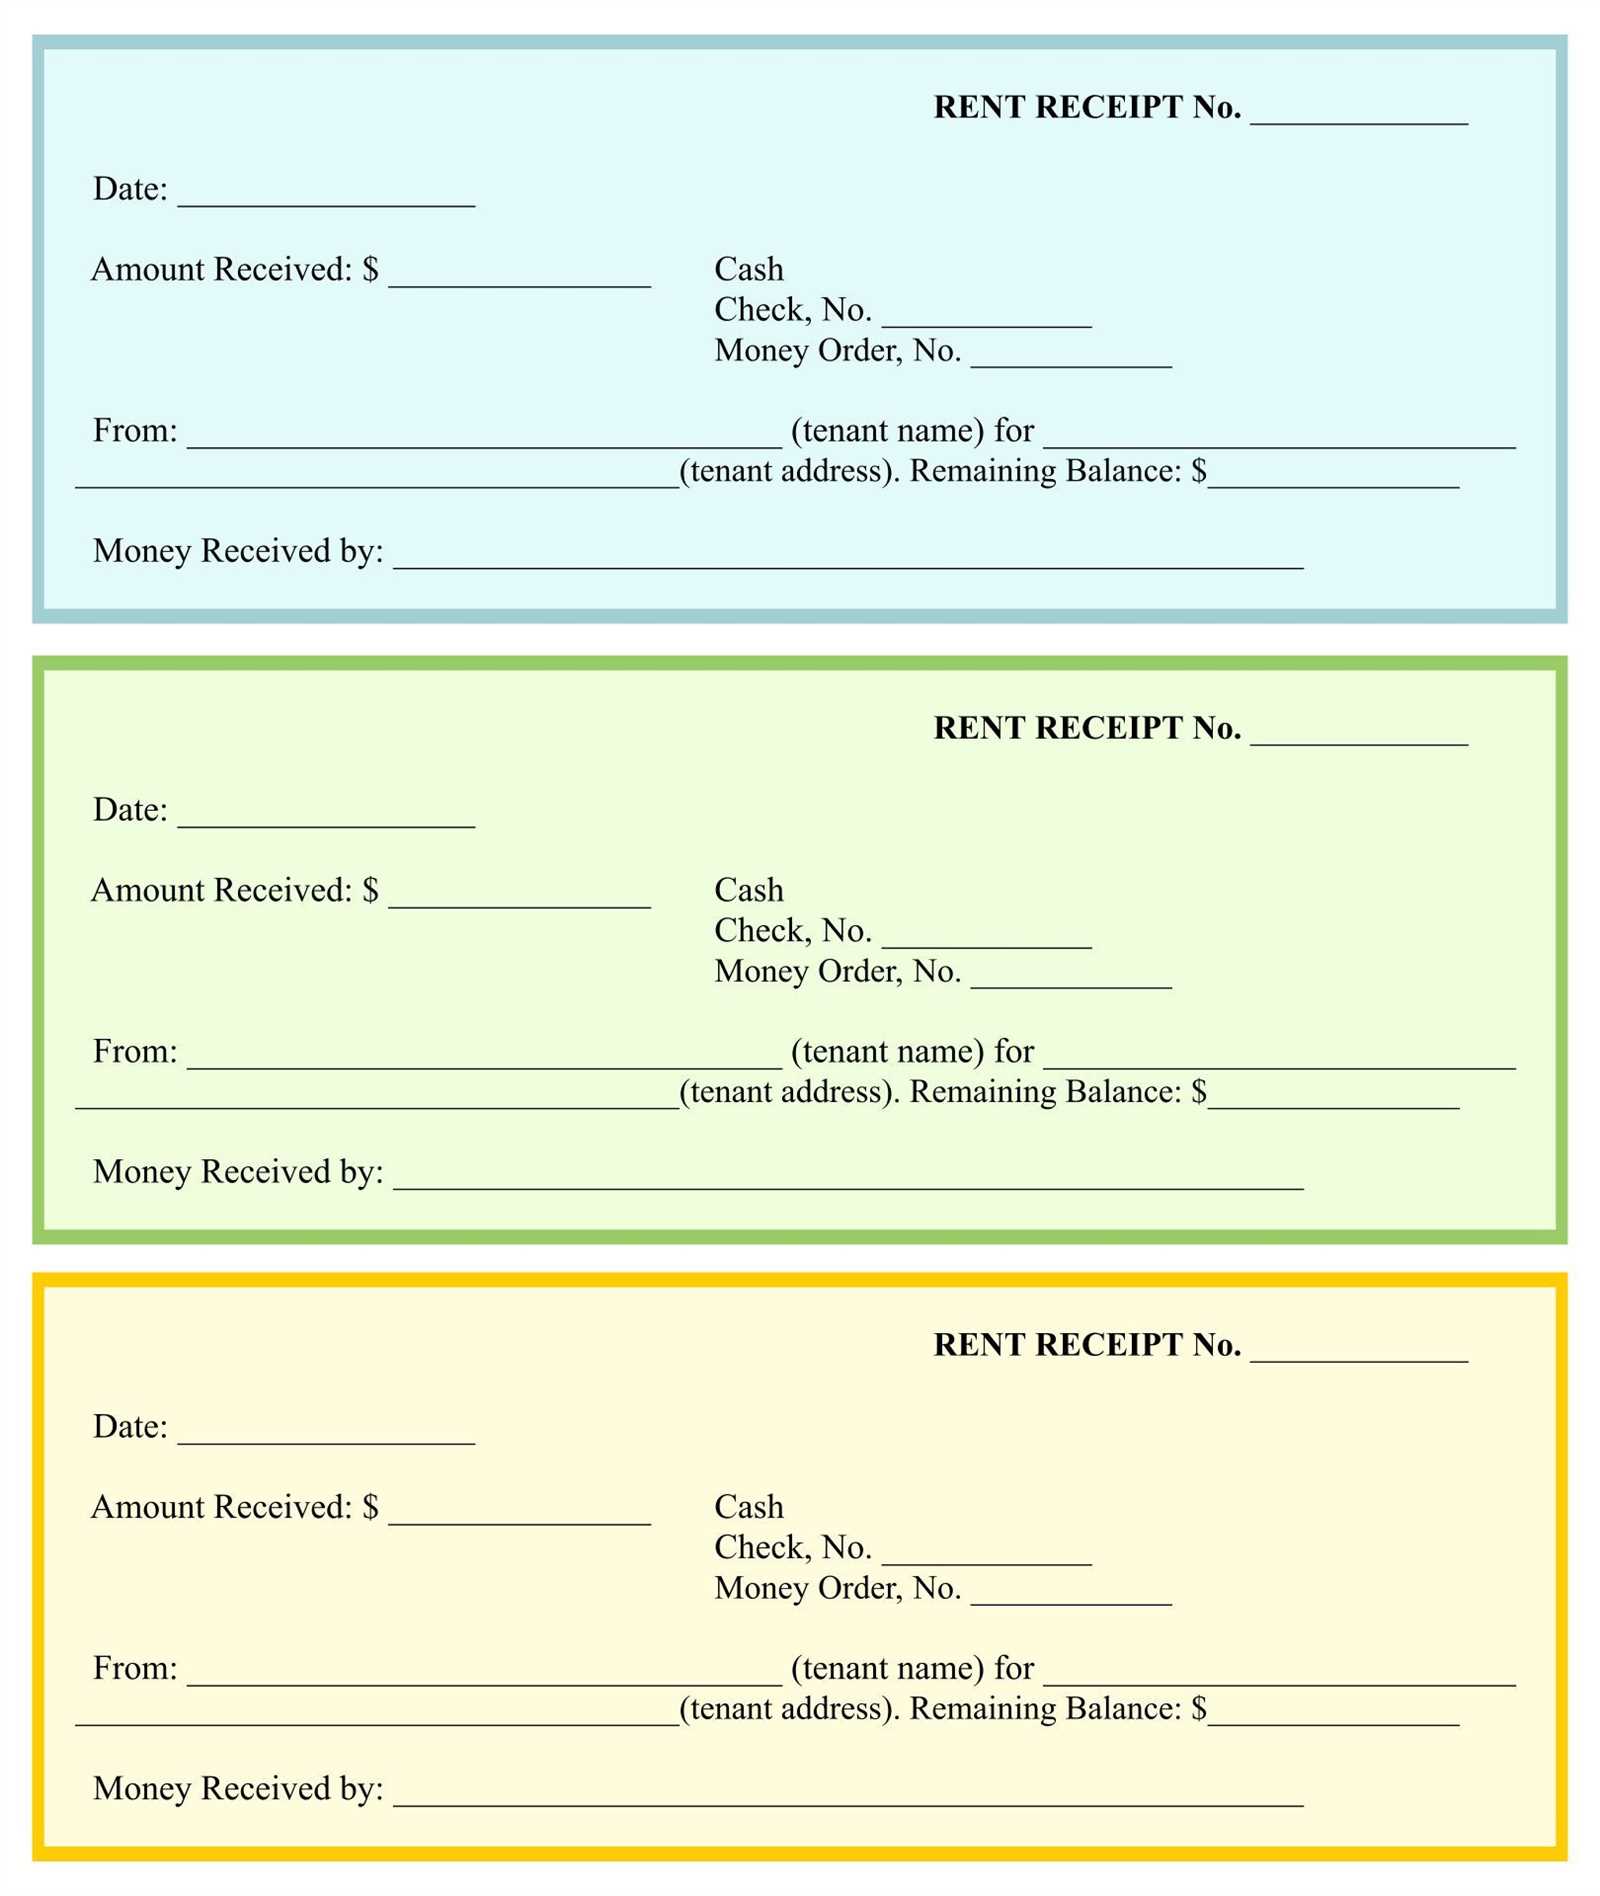
Keep copies of all receipts for record-keeping. If payments are made electronically, provide a digital receipt with a confirmation number. For cash payments, always issue a signed paper copy.
Key Details to Include in a Rent Payment Receipt
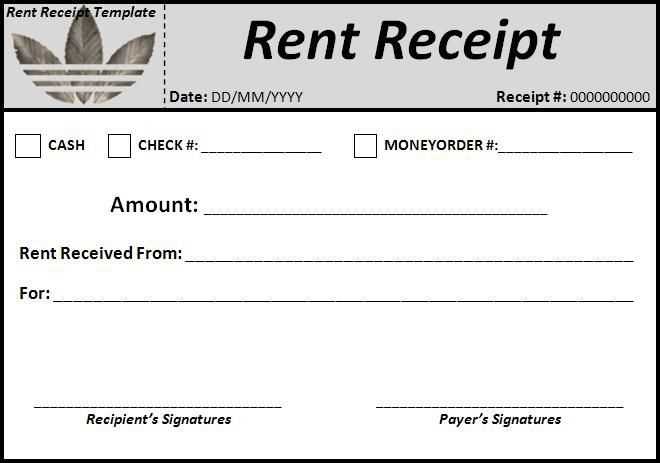
Specify the full name of the tenant and landlord to ensure clarity in case of disputes. Include the rental property address exactly as stated in the lease agreement.
Payment Information
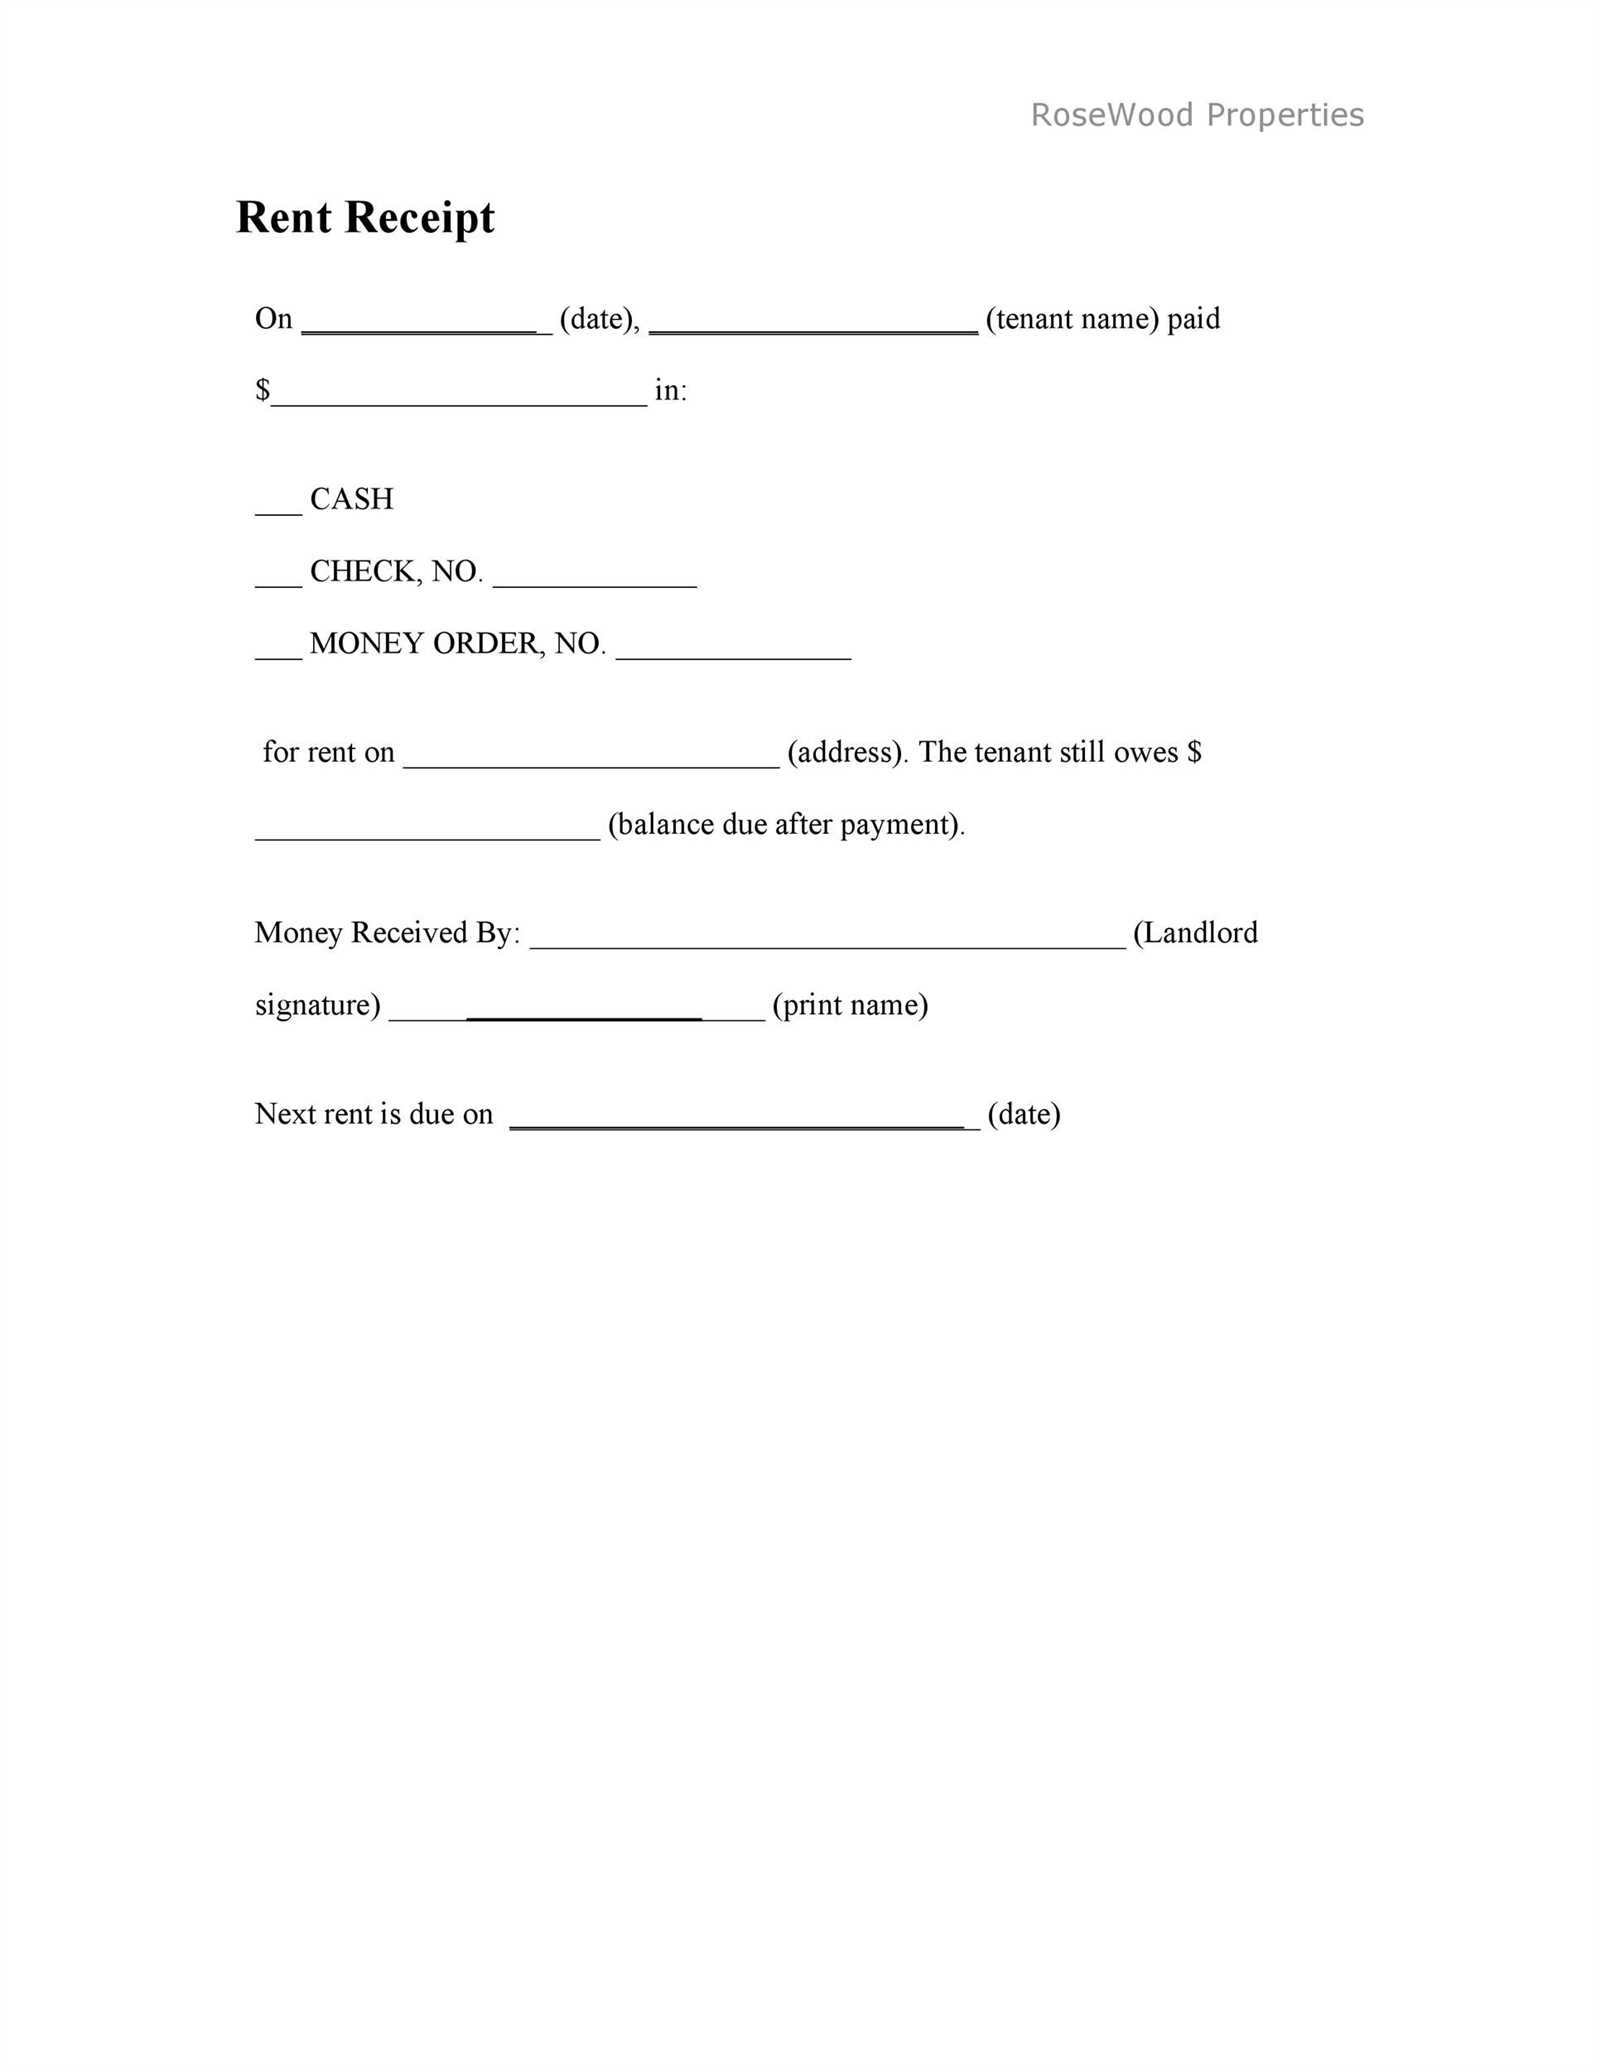
List the payment amount in both numerical and written form to avoid misinterpretation. Mention the payment date and the period it covers. If late fees apply, state them separately.
Payment Method and Receipt Number
Identify how the rent was paid–cash, check, bank transfer, or another method. Include a receipt number or transaction ID for easy tracking.
End with the landlord’s or property manager’s signature and contact details. A signed receipt confirms authenticity and can serve as proof in legal matters.
Formatting and Layout for Clear Documentation
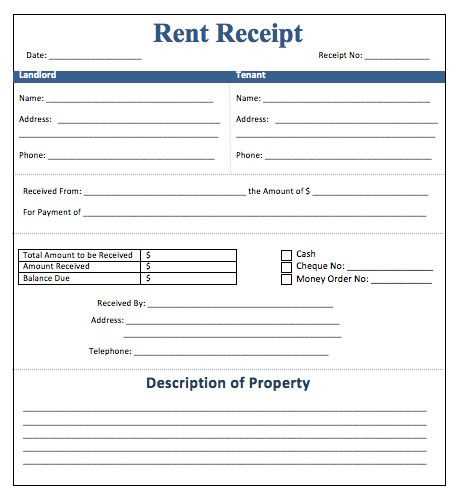
Use a clear structure with sections and labels. A rent receipt should have distinct sections for date, tenant and landlord details, payment amount, and rental period. Label each section with bold text to improve readability.
Align elements for quick reference. Use left alignment for labels and right alignment for numerical values to create a logical flow. Consistent spacing between sections prevents clutter.
Prioritize legibility with simple fonts. Use a sans-serif font like Arial or Helvetica in a readable size (12–14pt). Avoid decorative fonts that can make numbers and names harder to read.
Highlight key details. Bold the total amount paid and rental period to ensure they stand out. If using color, choose high-contrast combinations like black text on a white background.
Keep margins and spacing consistent. Use at least 0.5-inch margins on all sides and maintain even spacing between lines and sections. This prevents overcrowding and makes scanning easier.
Include space for signatures. Add designated lines for both tenant and landlord signatures at the bottom. This confirms acknowledgment and makes the receipt legally valid.
Printable and Digital Receipt Options
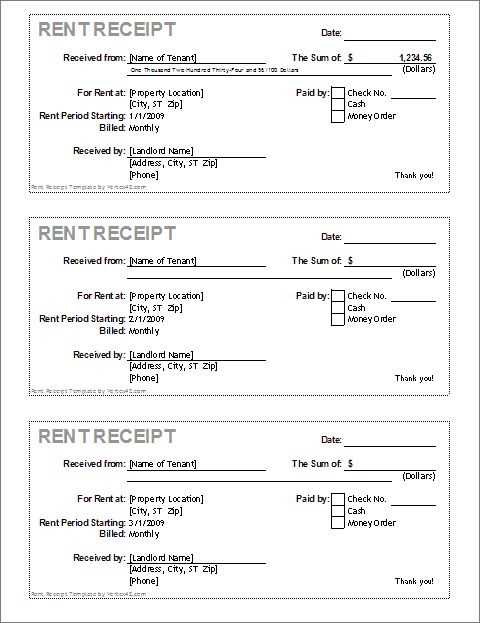
Choose a format that suits your needs. A printed receipt works well for in-person payments, while a digital version provides convenience for online transactions. Both options should include the same key details: payment date, amount, recipient, payer, and property address.
- Printable Receipts: Use a standardized template in Word, Excel, or PDF format. Keep blank copies ready for quick completion. A carbon-copy receipt book is useful for instant duplicates.
- Digital Receipts: Send receipts via email or messaging apps using a PDF or image file. For automation, create a fillable PDF or use accounting software to generate and store records.
Maintain consistency in formatting across both types to ensure clarity. Save digital copies for record-keeping, even if using printed receipts.
